Homemade Pandan Extract

homemadepandanextract001 homemadepandanextract003

Method adapted from here.

Items needed : pandan leaves, some water, a food processor, and a fine mesh filter or a cheese cloth.

____________

01. Discard the dried and dark green outer layer leaves, use only the softer, bright green leaves inside.
02. Trim off the roots and cut up the leaves into small pieces (the smaller the better, pandan leaves are very fibrous and are impossible to blend without cutting them up first), and place them in a food processor.
03. Depending on how much leaves you use, add water bit by bit as you blend, just to make the blending easier.  Adding too much water will dilute and make the extraction of the pandan paste difficult, see my notes below.
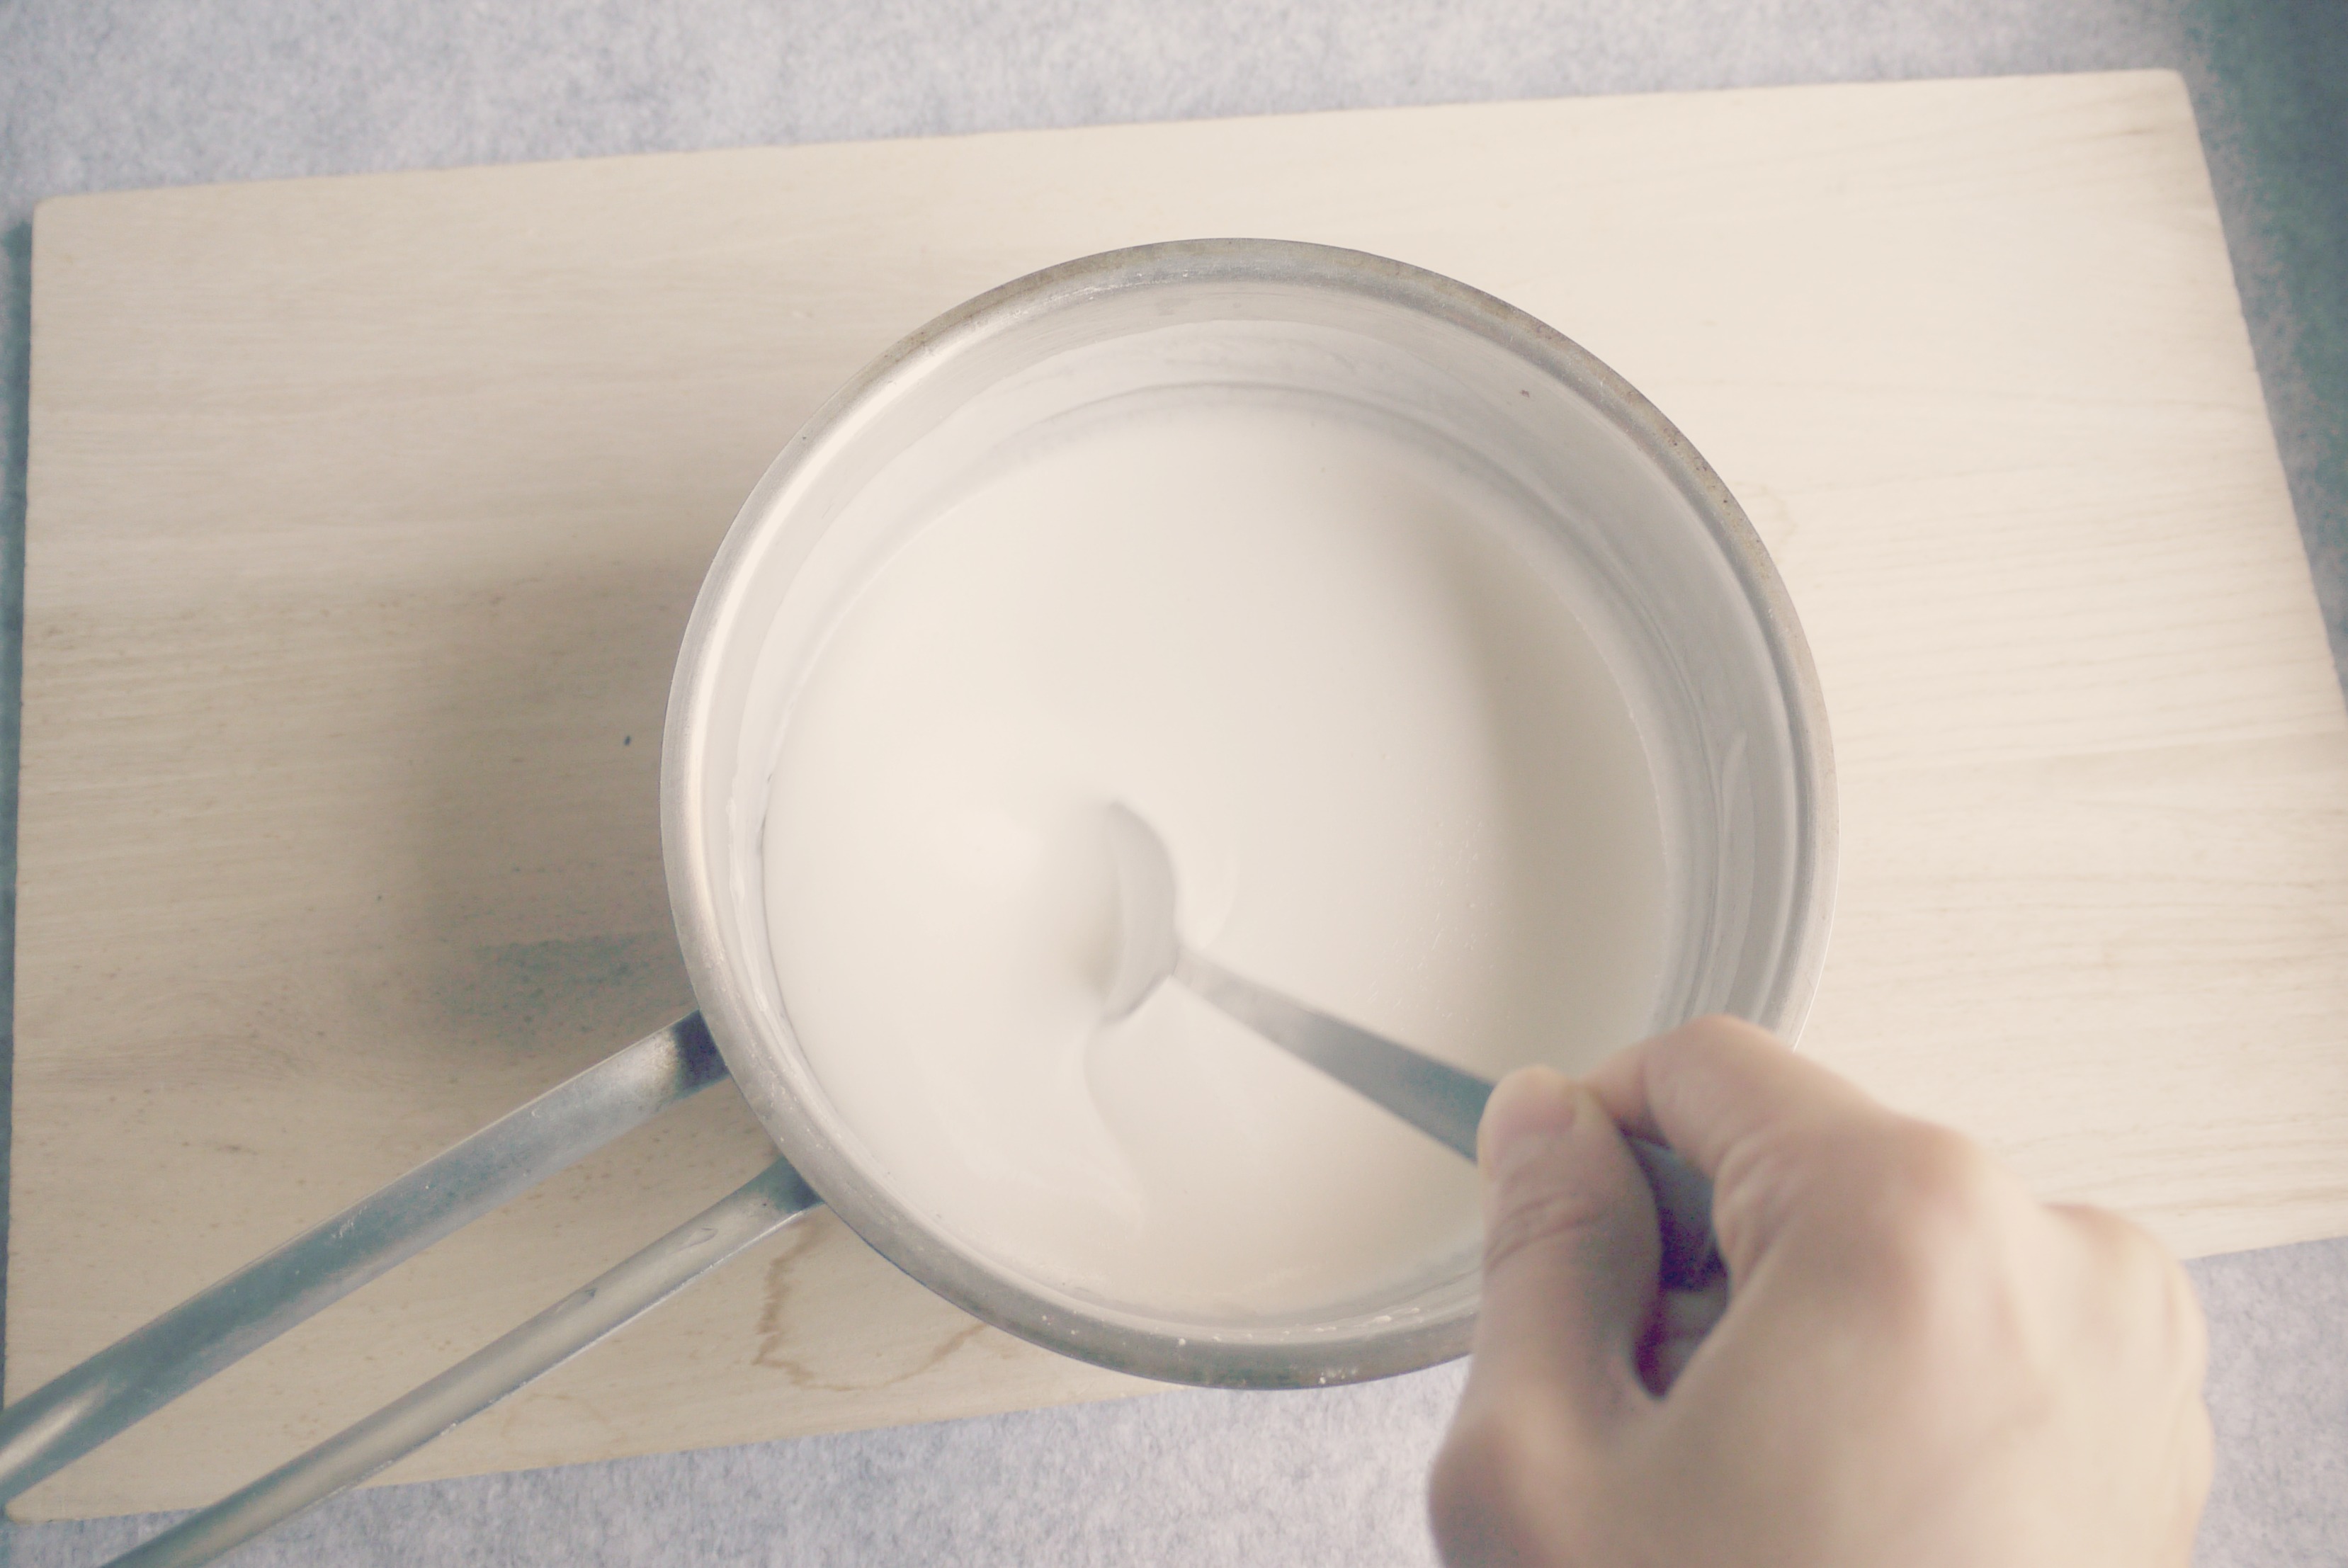
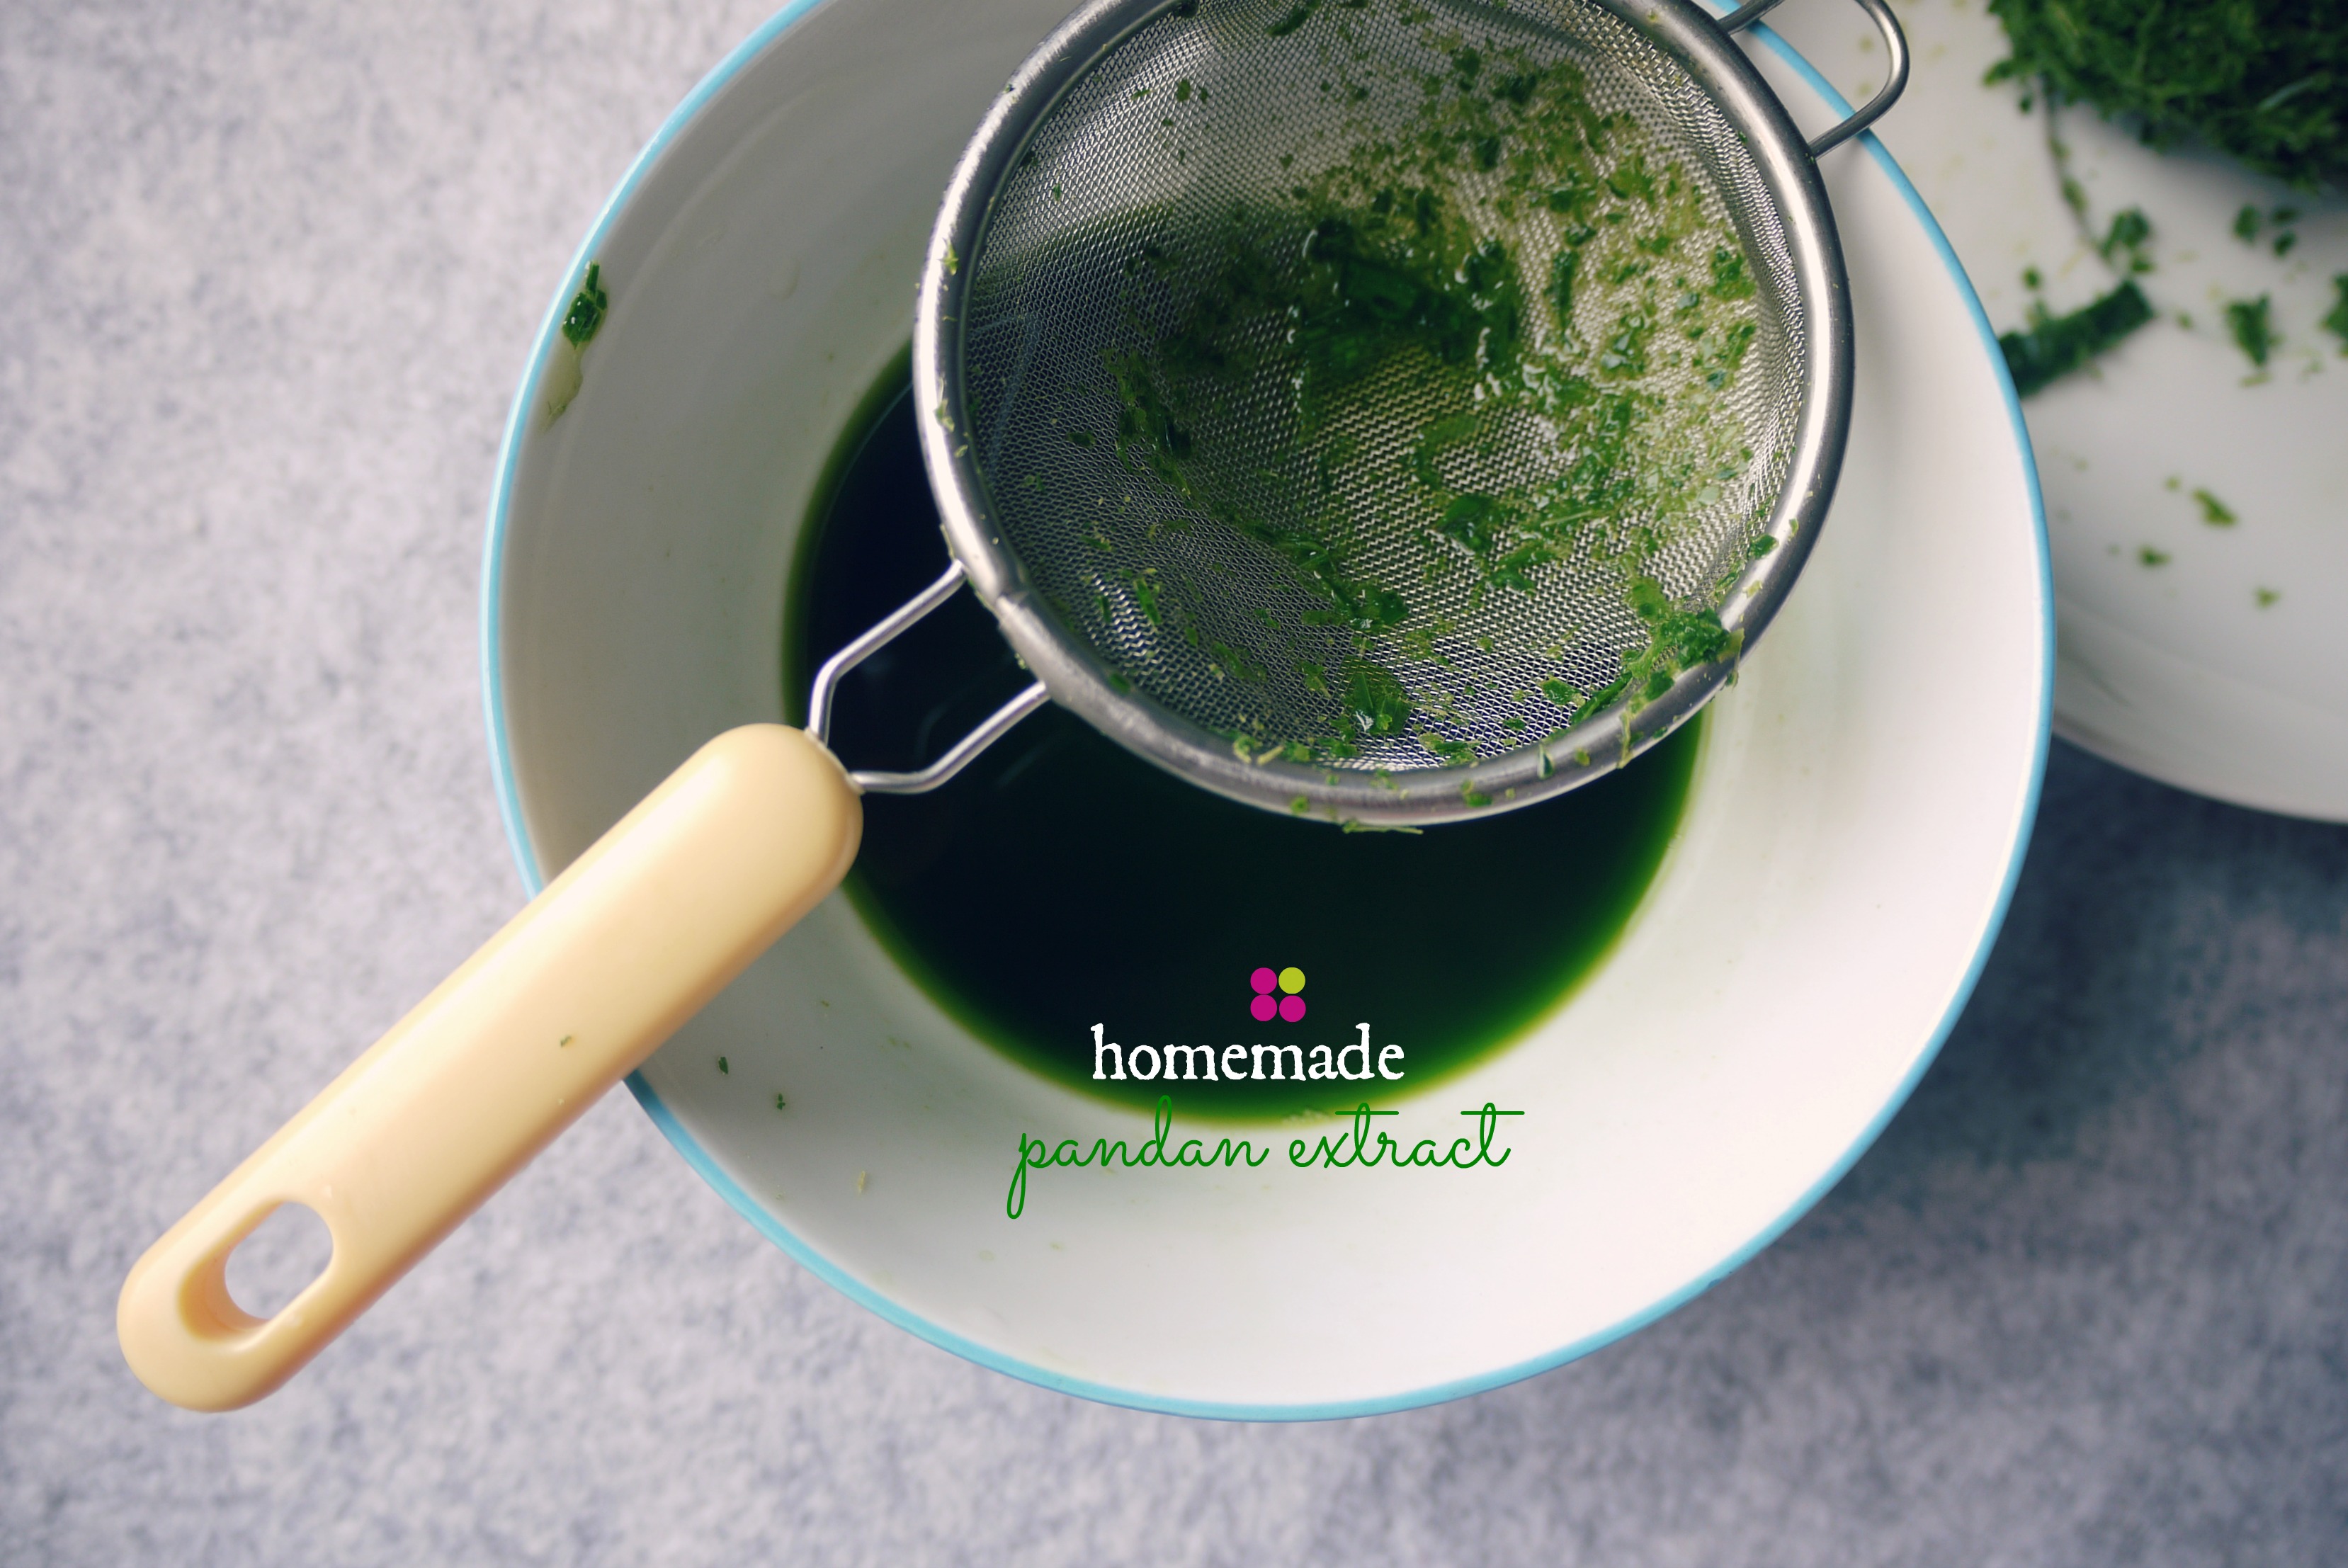
04. Filter the blended leaves through a wire mesh/cheese cloth.  Squeeze to the very last drop, even if using your bare hands if necessary!
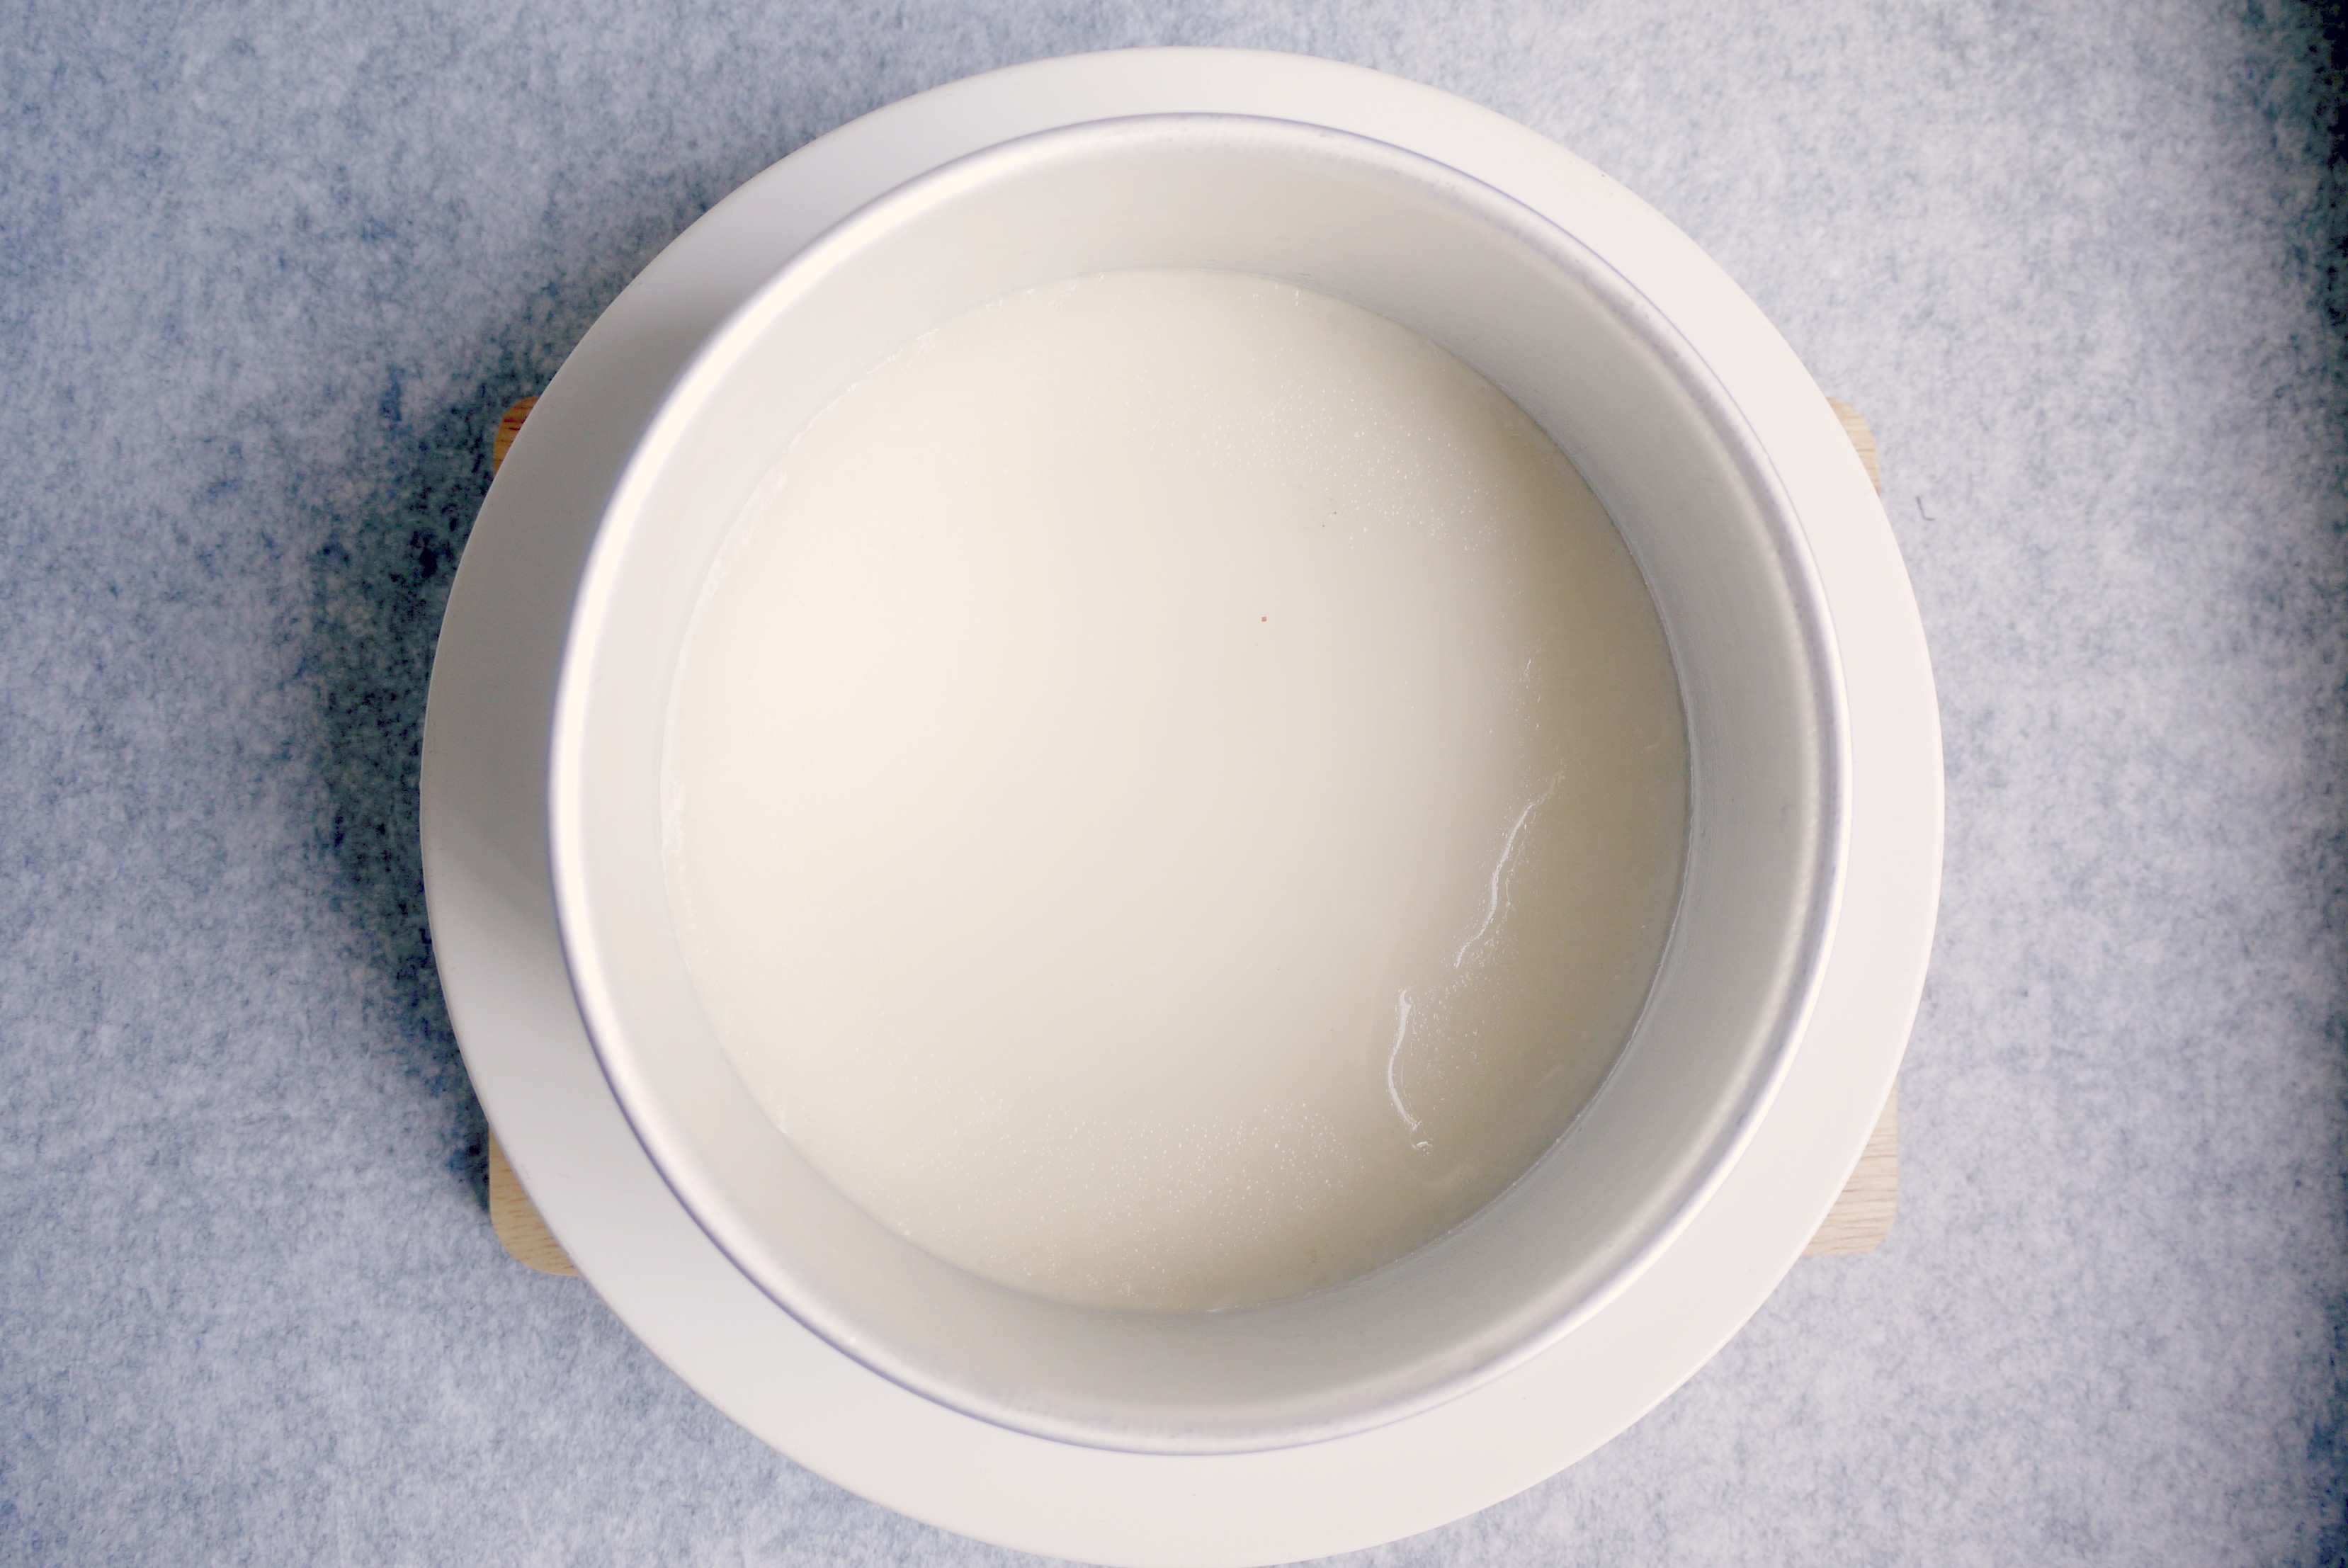
05. Let filtered pandan juice sits in the fridge for a few days till the pandan extract sink to the bottom of the container.
06.  Remove excess liquid on top and store the pandan extract in a covered container in the fridge, use up within 2 weeks.

++ Notes 001 // I am going to try this extraction method using a coffee filter next time round.   Letting the pandan juice sits a few nights in the fridge works very well for the pandan extract to settle at the bottom of the juice.  However, it was difficult to scoop out the clearer liquid on top without mixing it up with the separated dark green pandan extract below.  The extract is so fine and light; any slight movement, such as the lowering down of the spoon, would inevitably mix up the solution again, though the sediments now take a faster time to sink.  I had no choice but to accept that a little of the top liquid (actually pandan flavored water) will be going into my pandan cake.

Onion Chicken Stir Fry

sweetonionchickenstirfry003 sweetonionstirfry002This recipe from AllRecipes.com is rated 4.5/5 stars.  I simplified it by stir-frying just the chicken meat and onion with the seasonings.

RECIPE : ONION CHICKEN STIR FRY
/ Source

____________

1 piece chicken breast, about 250g, diced
1/2 onion, sliced thinly
2 tablespoons peanut oil
1/2 cup water
1 tablespoons soy sauce
1 tablespoon sugar
1 tablespoon cornstarch
1 stalk spring onion , for garnish (optional)

____________

01. Mix water, soy sauce, sugar and cornstarch well in a small bowl, set aside.

02. In a heated wok, add peanut oil.  Once the oil starts to smoke, add onion slices, and fry till they turn translucent.

03. Add chicken meat, and continue to fry till they turn white.

04. Stir the bowl of sauce to mix well again (cornstarch will settle to the bottom when set aside) and pour into the wok.

05. Keep stirring till the sauce is reduced and thickened to coat the chicken meat.

06. Transfer onto a plate, garnish with spring onions, and serve immediately with steamed white rice.

Muah Chee

muahchee003a muahchee009 muahchee008 muahchee005 muahchee006 muahchee007 muahchee001 muahchee002Every time I order muah chee, I wish that the seller would snip off from the white slab, a bigger piece of the steamed glutinous rice cake for me.  But it’s always the same miserable portion, it could have even gotten smaller over the years with inflation, but I’m not sure.

She would then proceed to cut it further into smaller and smaller (and smaller!) pieces, before finally coating them with peanut grounds (Good thing that they are still pretty generous with the peanuts).  All these, packed into the tiniest palm sized clear plastic box, and I am off to enjoy my 2 minutes of heaven.  Yup, that’s how fast I can chomp them down.

My wish for a larger serving, with bigger chunks, was finally granted after I found the numerous Muah Chee recipes online.  There is the Happy Call Pan method, the Microwave method, the Pan Fry method, and finally, the traditional Steamer method, which I adapted below.

Here’s how:

RECIPE : MUAH CHEE
/ Source

____________

For Dough:

200g glutinous rice flour
1 tablespoon shallot oil
2 teaspoons fine sugar
1/2 teaspoon salt
250 ml water

For Peanut Ground Mix:

150g roasted unsalted peanuts
75g fine sugar

____________

01. Mix the flour, shallot oil, sugar, salt and water in a big mixing bowl.  Stir well to make sure that there are no lumps.

02. Pour mixture into a greased 6 inch pan, steam over medium heat for 25 minutes.

03. Once the mixture is cooked though, brush some shallot oil over the surface, and allow it to cool.

04. Prepare peanut ground mix by blending peanuts and sugar in a food processor.  Do not over blend, or you’ll get peanut butter.  Put this mixture into a food tray/pan.

05. Now the fun part.  Cut the cooked dough into bite size pieces with a pair of kitchen scissors, the dough will be sticky.  Place the cut dough bits in the peanut mixture, coat well. Once coated, these tiny morsels won’t be as sticky.  Place on plate, top with more peanut ground mix, serve immediately.

Fried Shallots and Shallot Oil

shallotoil001 shallotoil002

A must in my pantry.  A pot of shallot oil and a container with the crispy fried shallot bits are always at the corner of my kitchen counter.

Too lazy? Drizzle shallot oil with light soy sauce over blanched vegetables to make a simple dish.
Too boring?  Add a few drops over a bowl of clear hot soup, it will smell instantly better.
Too hungry?  Dry tossed egg noodles with shallot oil and kecap manis makes a fast and fulfilling meal, better than eating instant noodles.
It’s also my choice condiment over a plate of steaming hot chee cheong fun (猪肠粉), instead of the sweet sesame sauce that the breakfast stalls usually provide me with.

You can choose to make as much or as little as you want,  simply adjust the quantity of shallots and oil.  Just make sure that the amount of oil used is enough for the sliced shallots to be fully submerged.  If you are a die-hard-shallot-oil-fan like me, have a dedicated small covered pot just for frying shallot oil, and use it as the storage container after preparing.  That’s one less greasy utensil to wash later!

I don’t store the oil and fried shallots in fridge, as some recipes suggested, I find it too troublesome to return the oil to room temperature every time I use it.  I have been leaving them covered in a cool dark corner, this method has been working so far for me.  But try to finish them within one week, that should not be too difficult if you cook everyday, otherwise, keeping them in the fridge might be a safer idea.

FRIED SHALLOT OIL

INGREDIENTS

  • 200g shallots, remove peel and sliced thinly, about 2-3mm
  • Peanut or vegetable oil, enough to cover the sliced shallots

METHOD

01. Set a small pot over high heat, add oil and bring it to hot.  To test oil temperature, drop a shallot slice, oil is ready when it bubbles right away.
02. Add shallot slices, stir occasionally with a pair of wooden chopsticks.  The oil temperature will dip when the shallots are first added, watch for the oil temperature to return to high.
03. Once you notice that the temperature of the oil has returned to high, turn the heat slightly lower, and maintain this gentle sizzle, keep stirring.  Frying the shallots over high heat will shorten the cooking time, but may lead to burnt shallots and a bitter taste in the oil : a no-no.
04. At the first sight of the shallots turning from light purple to light brown –
// A. If you are using the cooking pot as the storage container for the shallot oil : shut down the fire and start to pick out the ones turning golden brown first with chopsticks or slotted spoon (the sizzling/cooking process will still go on even after turning off the heat). Drain them over a plate lined with paper towels.  The shallots will continue to cook even after being scooped out from the oil, and will turn a shade darker after they have cooled down.  Do not wait till them have turned golden/dark brown to drain them from the oil, or they will be burnt by the end of the cooling process.  There will be some shallot bits left at the bottom of the oil with this ‘picking’ method, but I am not too concerned with it; the heat has been turned down long before these bits can become charred.  Treat them as extra bonuses when you scoop them out with the oil!
// B. If you are not using the pot as the storage container : when the shallots has turned golden brown, turn off the heat and strain the hot oil over a clean, dry strainer.  Make sure you use a HEATPROOF container to collect the oil, as it is very hot.  Drain the fried shallots over paper towels to remove excess oil.
06.  Cool fried shallots and shallot oil completely before storing.  Use an air-tight container for fried shallots, crispy ones are very much preferred!

No-Bake Chocolate Cheesecake

chocolatecheesecake005 chocolatecheesecake001 chocolatecheesecake002 chocolatecheesecake003 chocolatecheesecake004For days when I feel like having a cake, but simply don’t feel like going though the whole complete process.

Simply whip + chill.

And out comes my 8 inch dessert by brunch.

This school holiday is sure making me lazy 🙂

RECIPE : NO-BAKE CHOCOLATE CHEESECAKE
/ Source (Cheesecake Filling)
/ Source (Graham Cracker Crust)

____________

For Graham Cracker Crust

150 grams Digestive Biscuits
2 tablespoons (30 grams) granulated white sugar
6 tablespoons (85 grams) unsalted butter, melted

For Cheesecake

8 oz (250 grams) semisweet chocolate chips, melted
2 x 8oz (250 grams) blocks of cream cheese at room temperature
1/3 cup of brown sugar
1/3 cup of granulated white sugar
2 tablespoons of fresh milk
1 teaspoon of vanilla extract
1/2 teaspoon of instant coffee powder (NOT 3-in-1)
chocolate chips for topping, optional

____________

For Crust
01. Put all digestive biscuits in a large zip-lock bag, and place it flat on kitchen counter, crush the biscuits into fine crumbs with rolling pin, or bare hands.

02. Mix biscuits crumbs, sugar and melted butter in an 8 inch spring form pan.

03. Press the crumbs mixture evenly onto the bottom of the pan to achieve the cheesecake crust finishing.  Chill this in the fridge while making the filling.

For Filling
01. Whip cream cheese in a large bowl till fluffy, about 2 minutes.

02. Add brown and white sugars, milk, coffee powder and vanilla extract, whip for 2 minutes.

03. Add melted chocolate and whip for 2 minutes.

Construction
01. Scoop/ Pour the filling into the pan with chilled crust.  Smooth the surface with the back of a spoon.

02. Sprinkle top of the cake with chocolate chips.

03. Chill the cake for at least 3 hours before serving.

+ Note 001 // Before releasing the spring-form pan to remove the cake, I use a butter knife to go around the edge of the cake, to make sure that the cheese filling does not stick to the side of the pan.

+ Note 002 // Used Nestle Tollhouse semi-sweet morsels for toppings, and Beryl semi-sweet baking chocolate for fillings.

+ Note 003 // Yields an 8 inch cake

Creamy Creamless Pumpkin And Cauliflower Soup

creamypumpkinsoup003 creamypumpkinsoup001 creamypumpkinsoup002How many times have I been “creative” with this creamy soup without cream recipe?  I am not stopping yet! 🙂

CREAMY CREAMLESS PUMPKIN & CAULIFLOWER SOUP
// Adapted from : The Amateur Gourmet
// Yields a generous bowl

INGREDIENTS

  • 3 tablespoons olive oil
  • 1 medium yellow onion, sliced thin
  • 1 head cauliflower, chopped
  • 1/4 of a small pumpkin, cut into cubes
  • Salt, to taste
  • Hot boiling water

01. Heat the olive oil in a pot on medium heat. Add the onions, cook them over low fire until they turn soft and translucent.  Ensure that they don’t turn brown, stir occasionally.
02. Add the chopped cauliflower and pumpkins just enough hot water to cover the ingredients.  Increase the heat slightly, add salt and allow soup to boil.  Once the soup starts to boil, turn heat lower and simmer for about 15 -20 minutes, till cauliflower and pumpkins are cooked and have turned soft.  Let soup cool aside till lukewarm.
03. Pour the mixture in batches into a blender and blend.  When the soup is fully blended, pour it back to the pot and reheat it.
04. Season with salt and pepper.  Serve immediately.