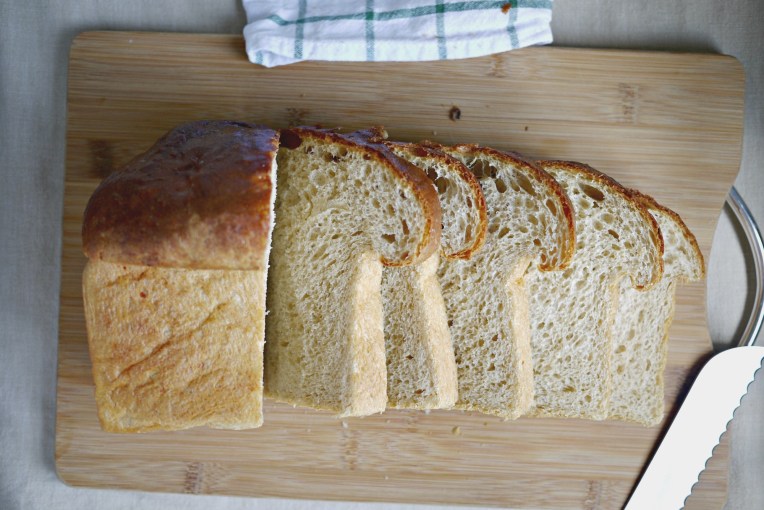
Of all the root vegetables that I add to my bread recipes, taro is my favourite; it produces the most lovely white fluffy crumbs. However, my recipes call for 100g of mashed taro only, at most 150g for each pullman loaf. I end up with excess taro which becomes a burden to clear lately, as I don’t cook as many meals as before.
So I went back to enriching my bread with potatoes. To make my baking life easier, I don’t even weigh them anymore; I simply use up a small-size potato that I can cup with one hand.
To pen this recipe, I weighed 100g of mashed potato for this bake. But I think the recipe is really forgiving, 135g -150g of potatoes should work too!

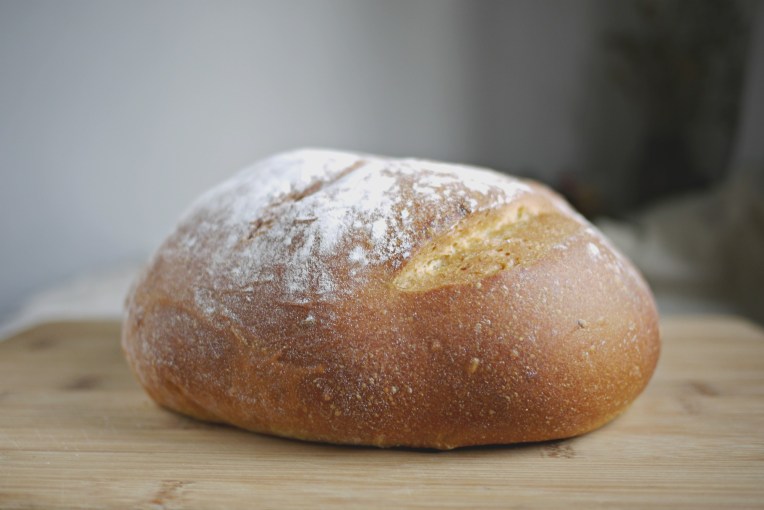
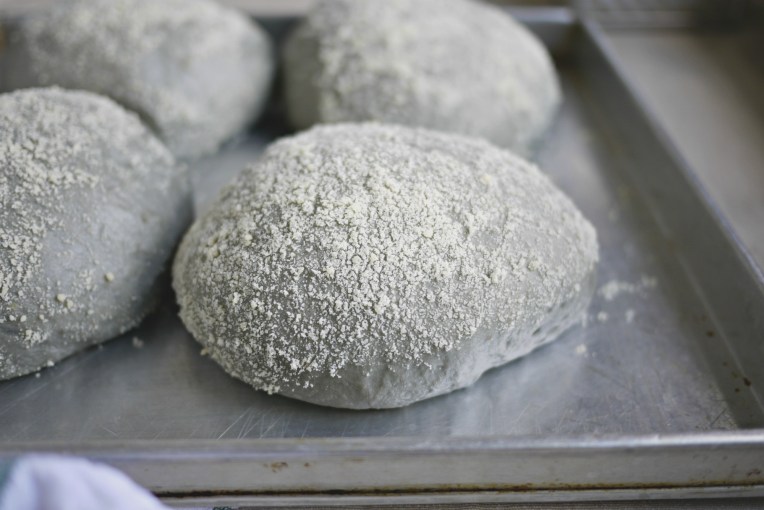
The first 60-minute bulk proof was completed inside the mixing bowl. I transfer it to a wooden board to be shaped into a boule. Since I have time, I let it relax for another 15 minutes before its final shaping.
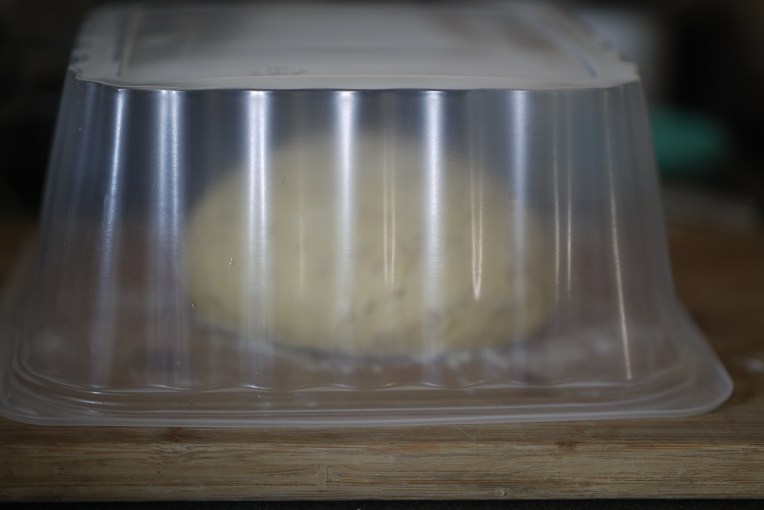
Covered, free from the draft, of course.

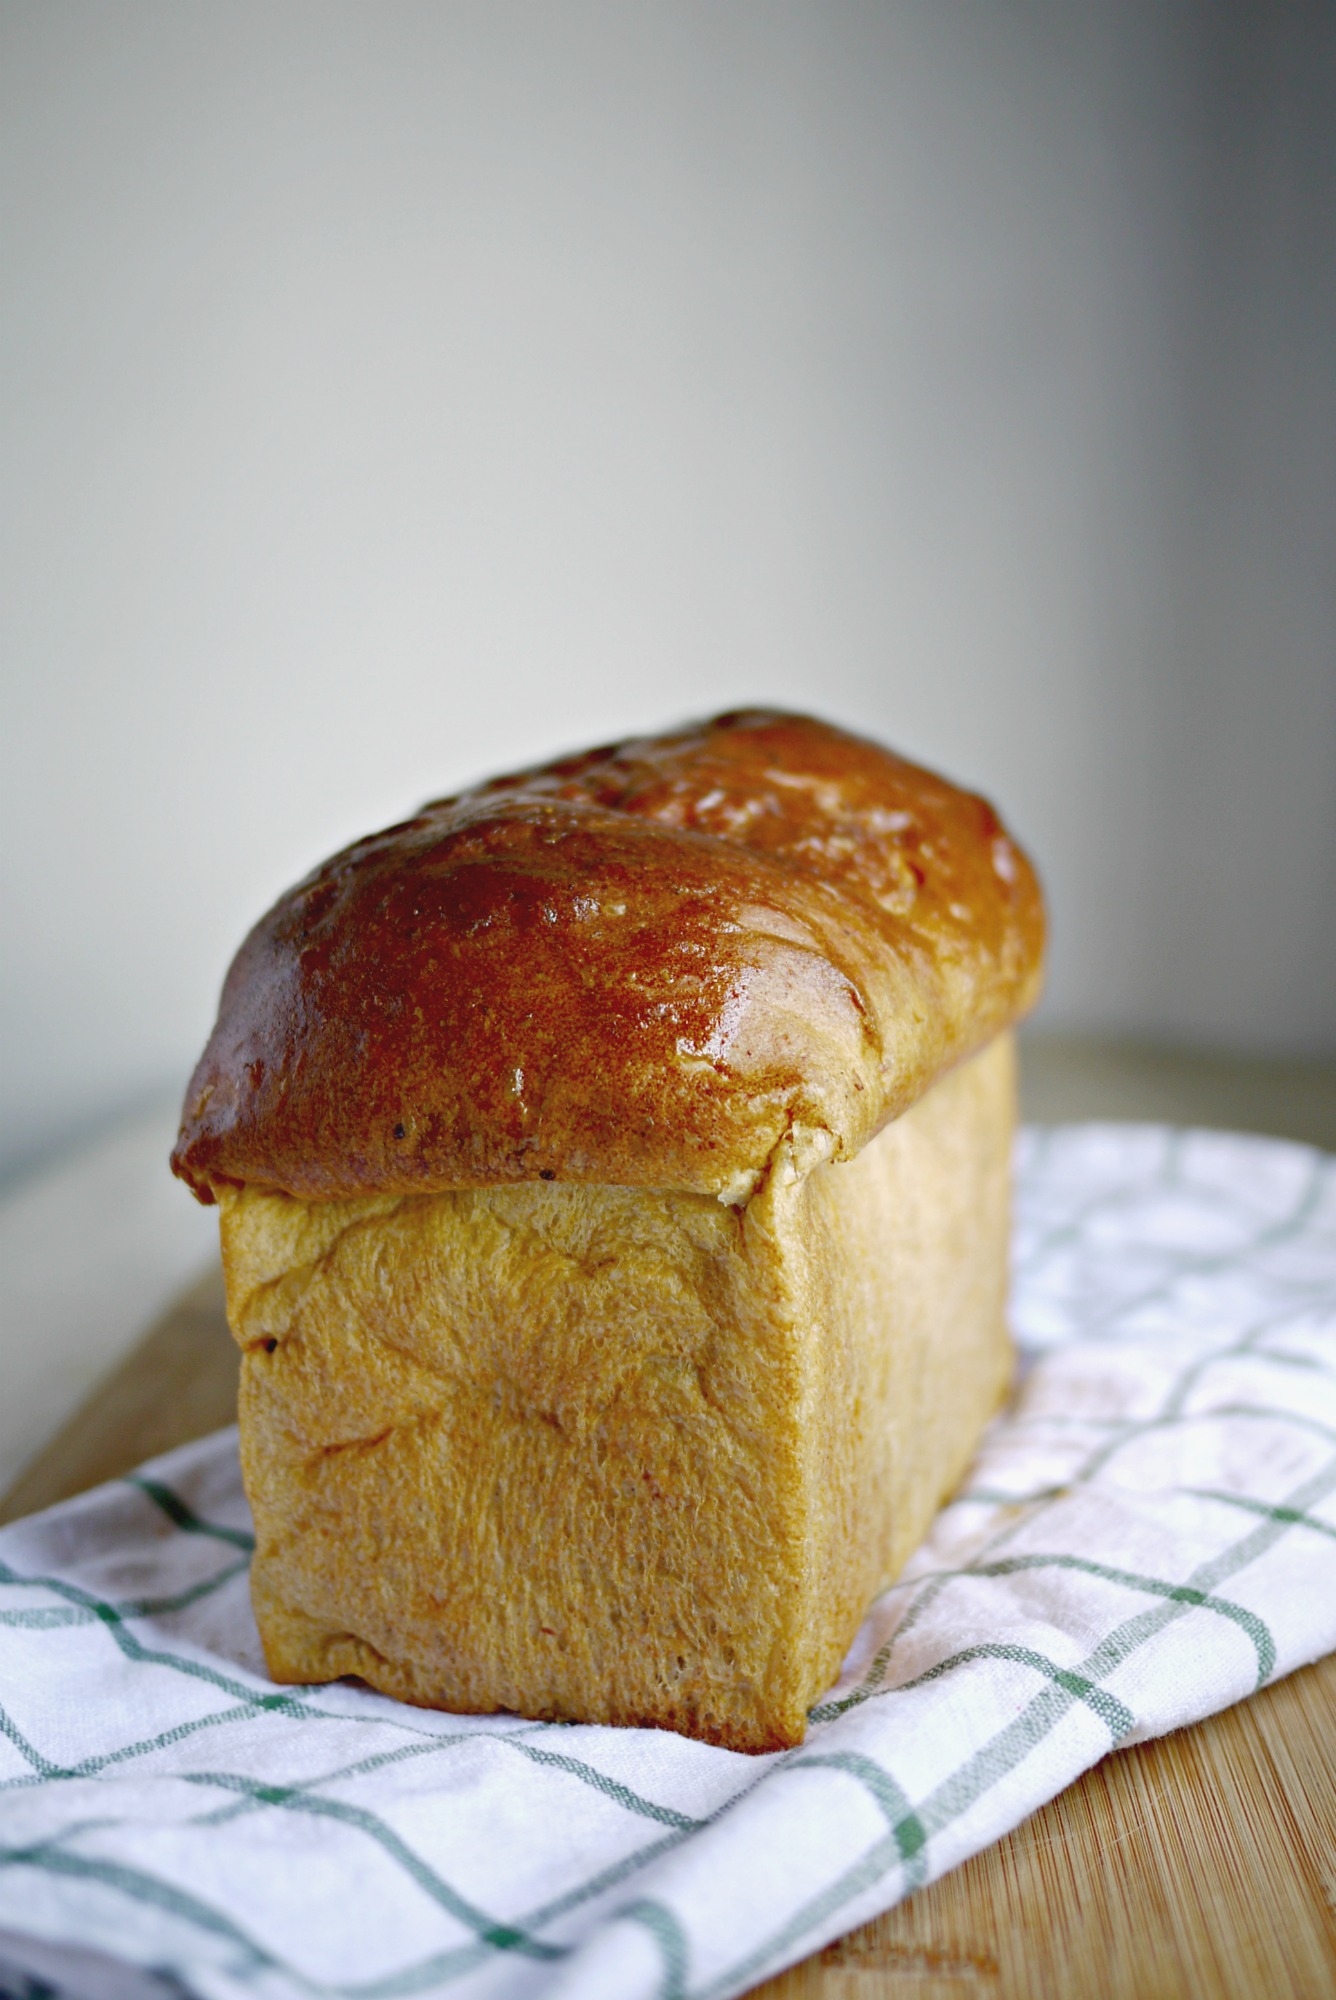
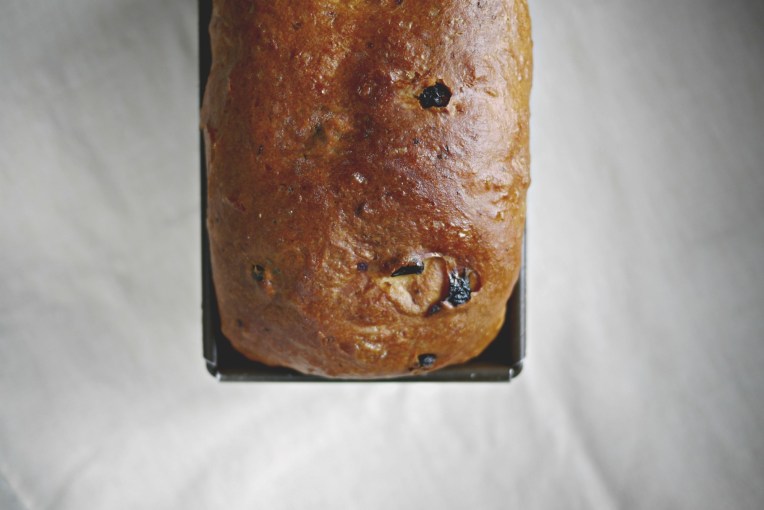
After final shaping, I transfer it to a Pullman loaf tin that I line with a reusable baking cloth bought from here, no more single-use parchment/baking/greaseproof paper trash!
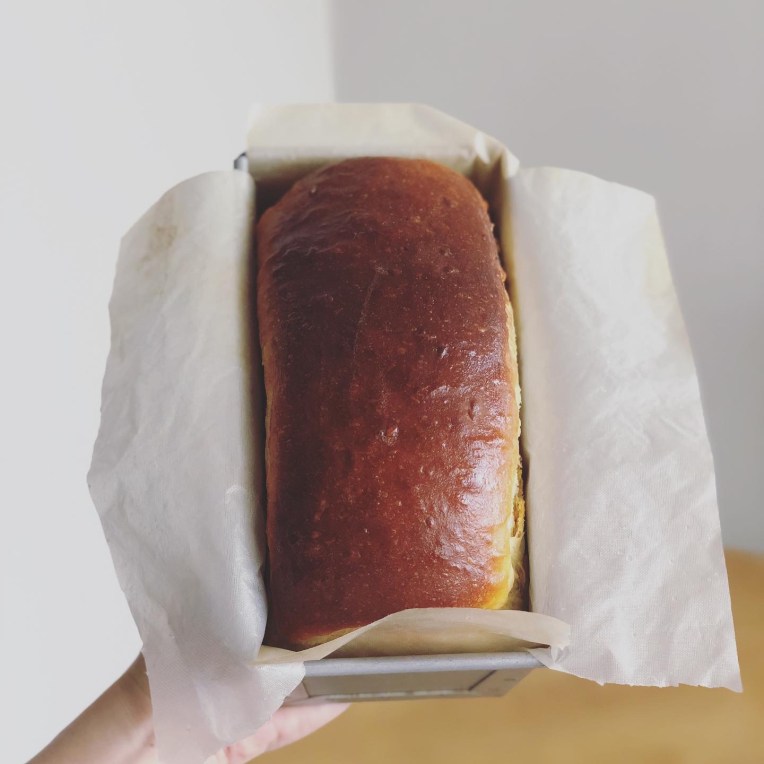
I let the dough take its time to rise to the rim of the loaf tin, then I bake it for 30 minutes at 170C. Here’s the detailed recipe, below.
Flaxseed Potato Bread
220g bread flour 100g cooked potatoes, mashed 1/2 teaspoon instant dry yeast 1/4 teaspoon sea salt 2 tablespoons raw honey
1 egg, beaten
30g water*
20g cold butter, cubed
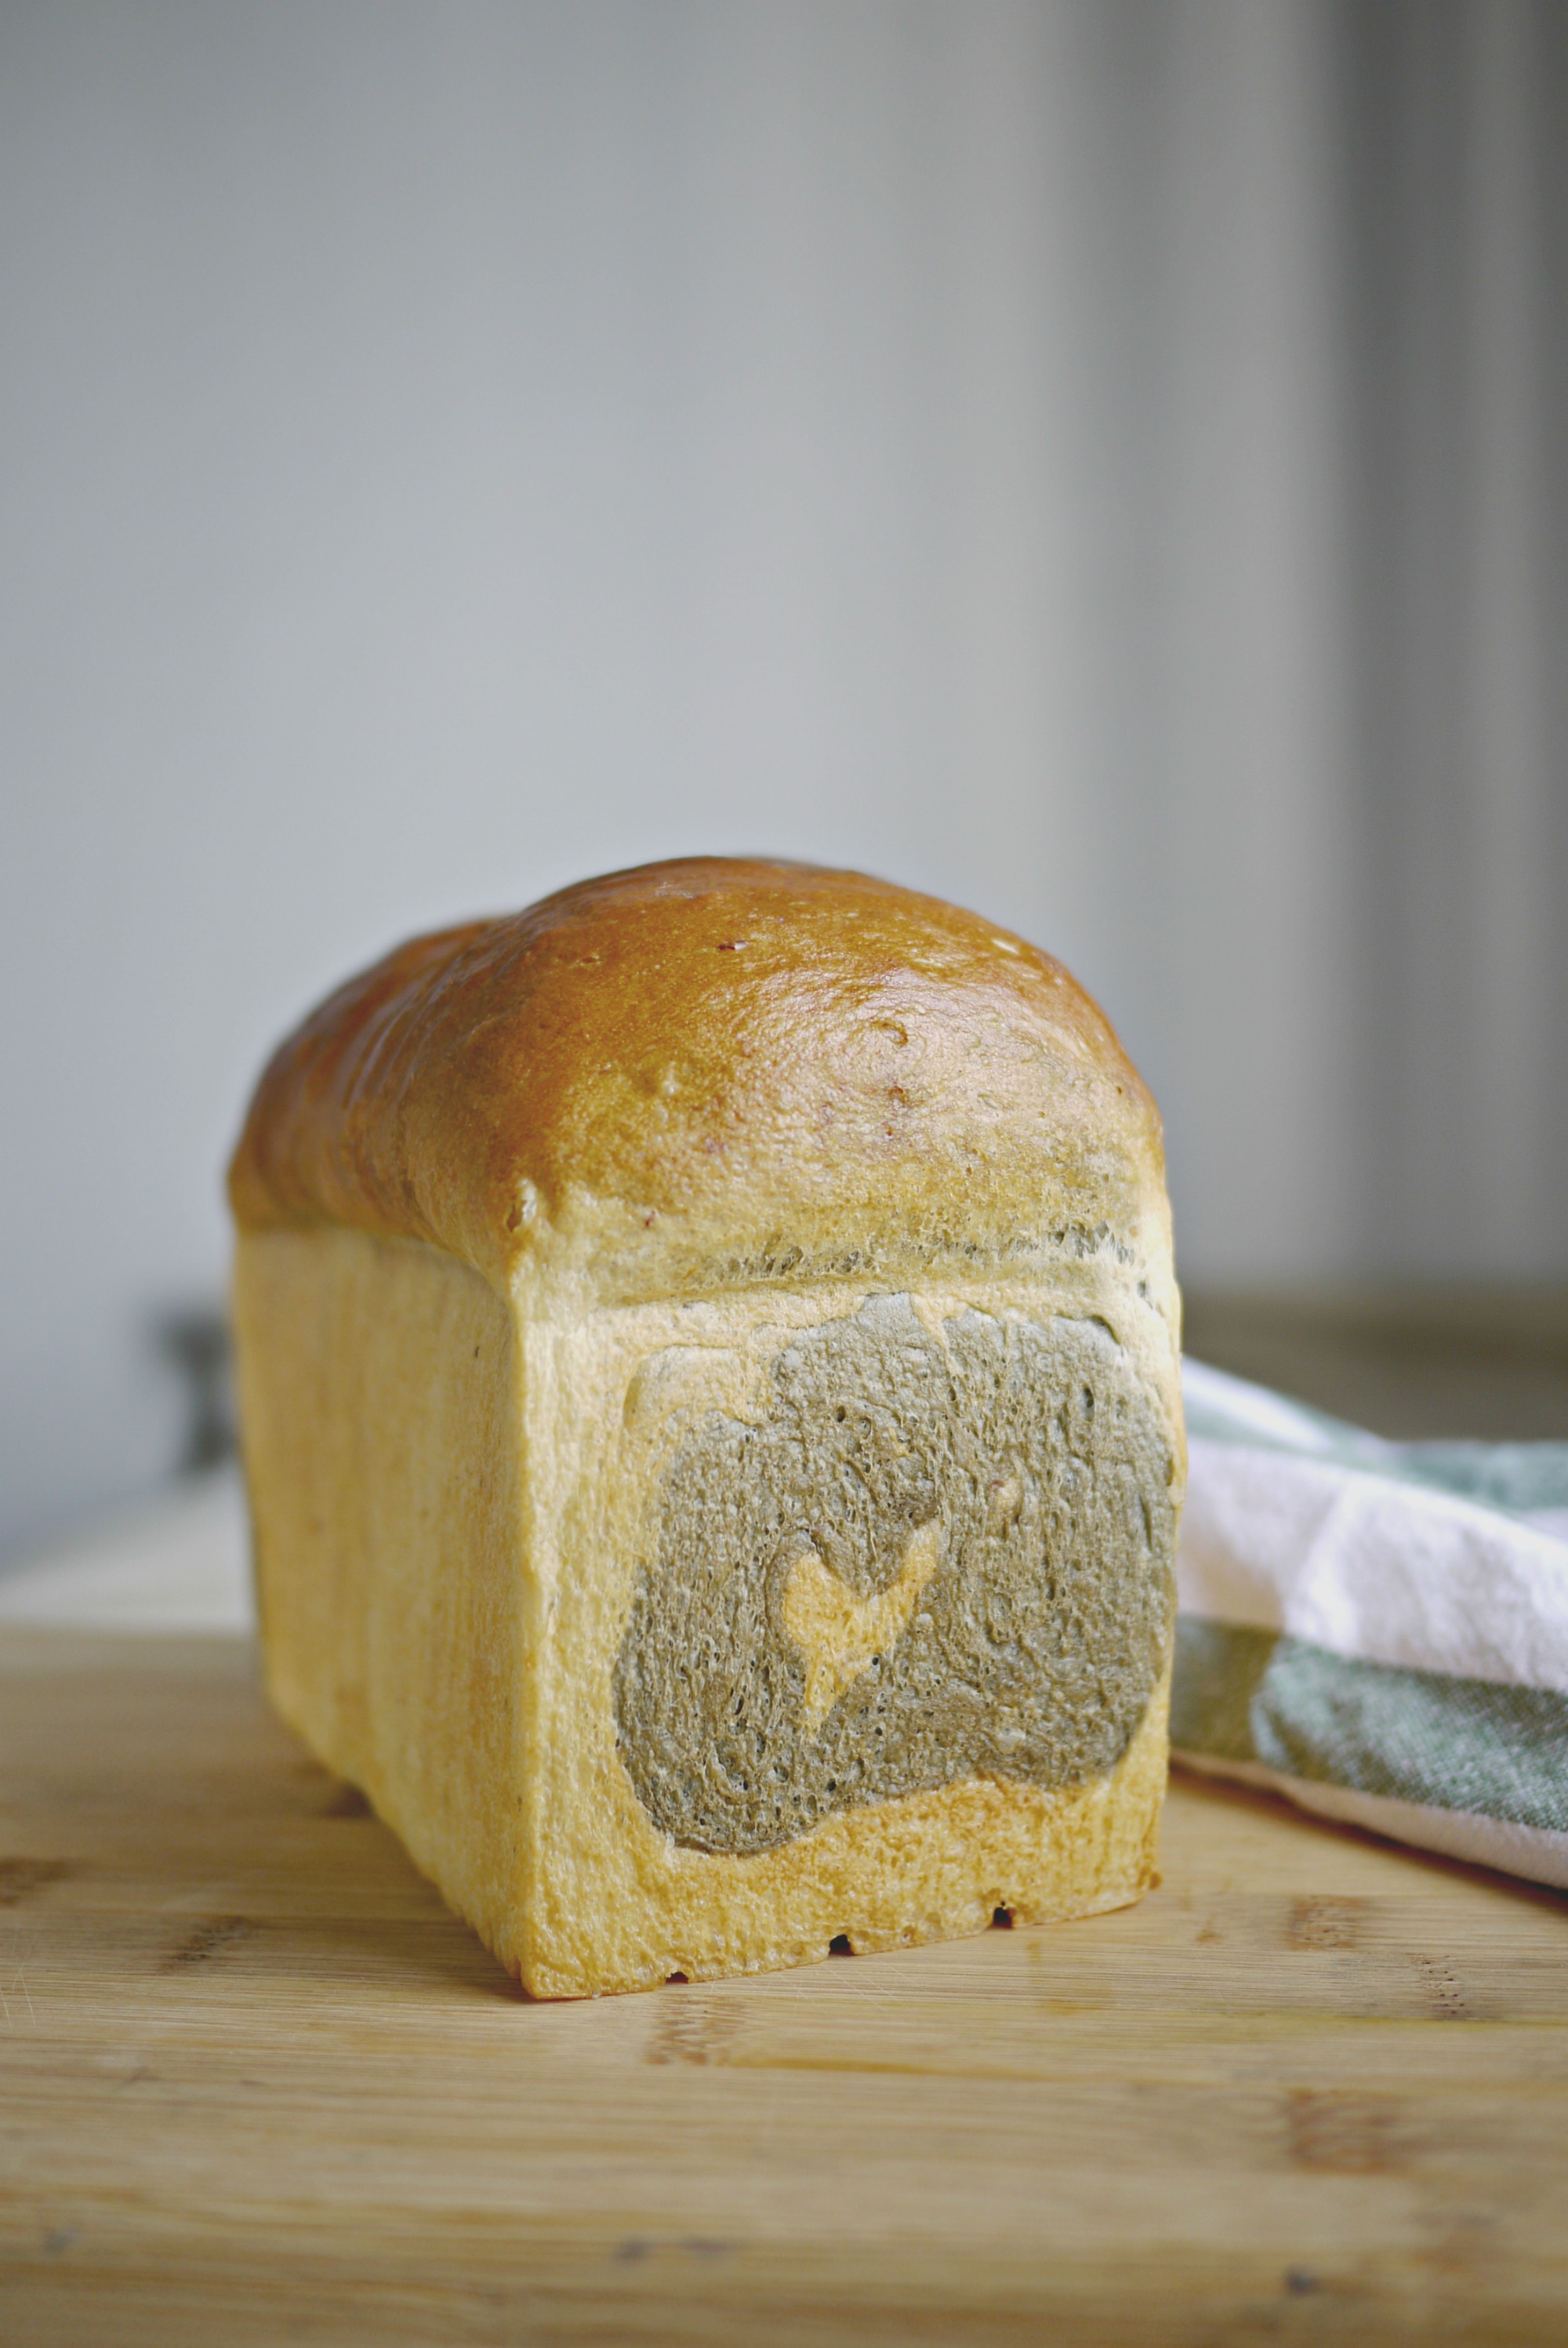
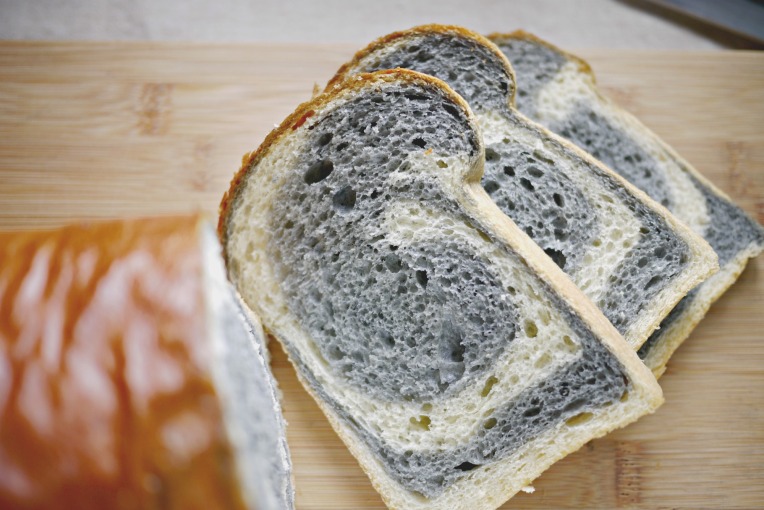
2 tablespoons flaxseeds
* Do not pour all 30g water into the mixer bowl, add water bit by bit, watch the dough closely, stop once the ingredients form a rough ball.
In a mixer bowl, combine bread flour, mashed potatoes, egg, instant yeast, sea salt, raw honey, and water. Turn on the mixer with a dough hook attachment and knead these ingredients on the lowest speed (KA 1) till they come into a ball. Continue to knead for 3 minutes, then stop the mixer and let the dough sit for at least 10 minutes.
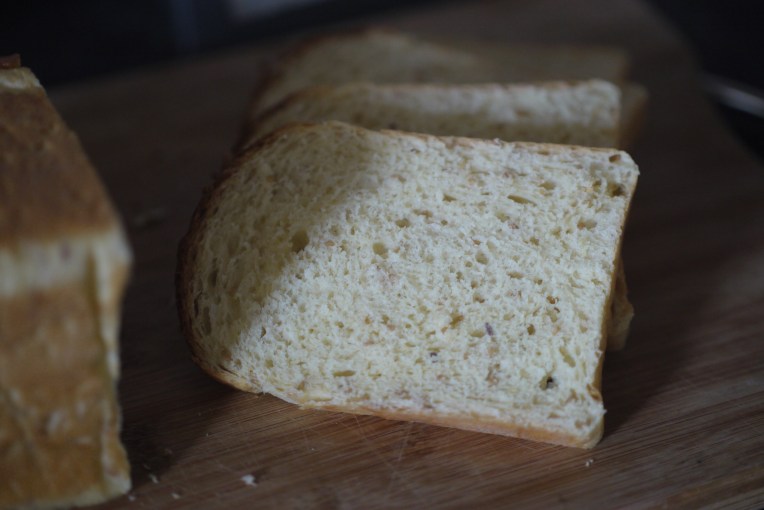
Turn on the mixer again and knead for 1 minute before adding butter cubes one by one while the mixer is running on its lowest speed. Keep kneading till there are no traces of butter left and the dough has reached windowpane stage. At this stage, the dough will be extremely pliable and baby-bottom soft. Add flaxseeds and knead for another 1-2 minutes, or until the seeds are well mixed into the dough.
Leave the dough in the mixer bowl for its first proof of 60 minutes. The dough will rise to double its volume, punch down to deflate and transfer it to a clean worktop.
Flatten the dough to push out gas trapped inside the dough, either by hand or a rolling pin. Shape the dough into a boule, let it sit for 15 minutes.
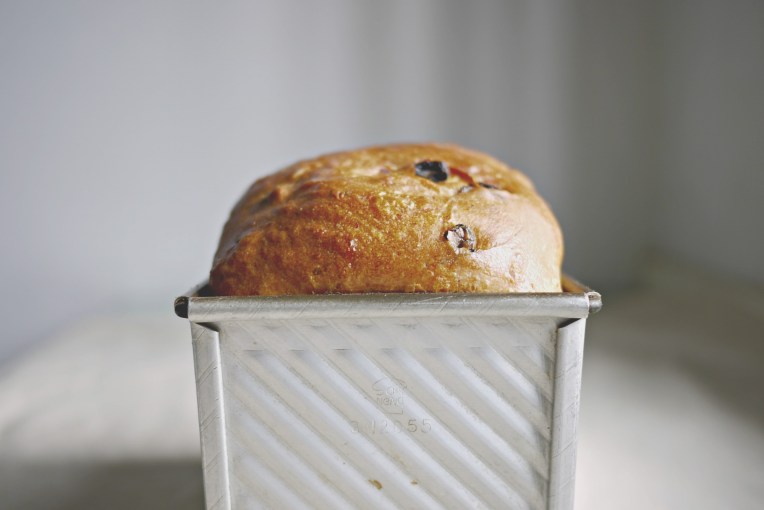
Next, shape it into a log and place it in a bread tin, seam side facing downwards. Let this sit in a draft-free place to rise for another 50-60 minutes.
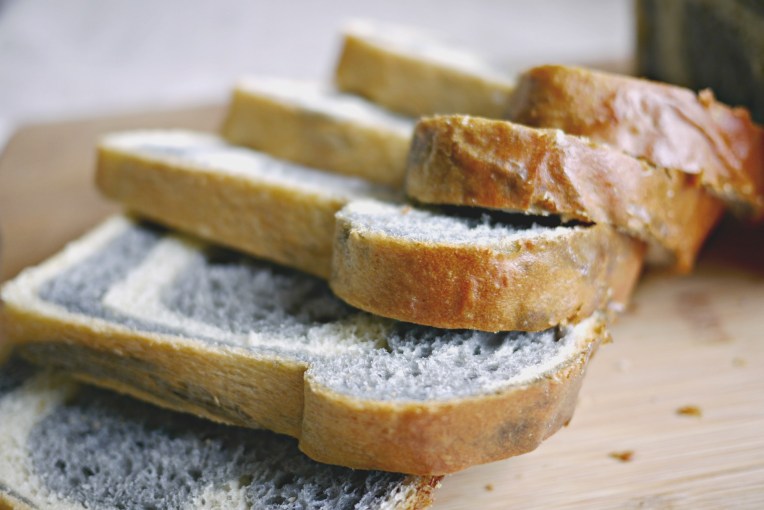
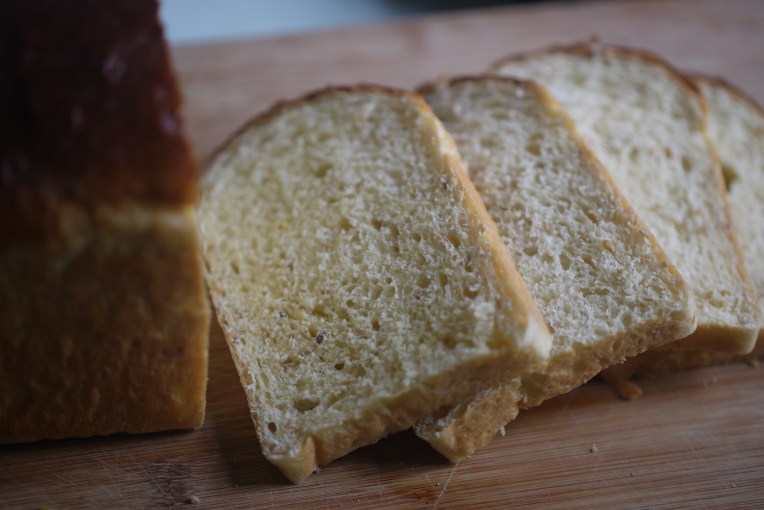
When the bread has risen to the rim of the baking tin, bake in a preheated oven at 170C for 30 minutes. Remove the bread from the pan immediately after baking, and let it cool on a rack completely before slicing or serving.
Store in an airtight container if not consumed immediately, to keep the loaf soft and the crumbs from drying out.
*Wash the reusable baking cloth with dish detergent (or tea seed powder), air-dry completely before stowing them away for next baking session.