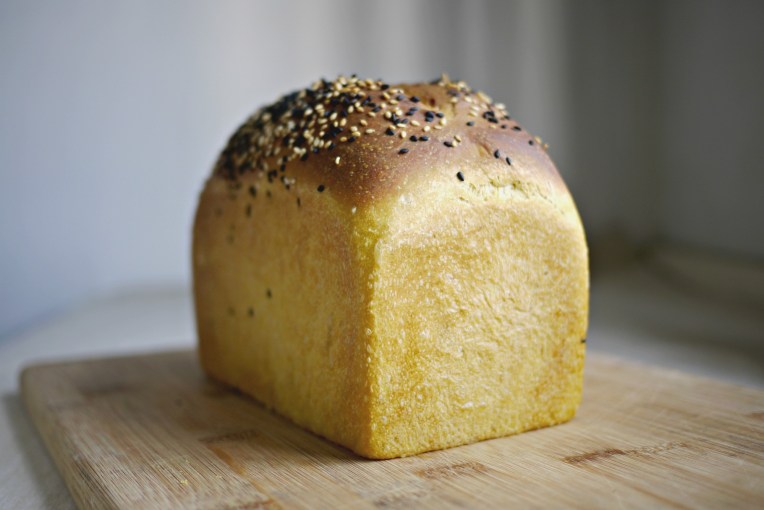
I save bread packaging from going to landfills by baking my own rustic bread loaves baked with plain flour bought in bulk. Currently into natural starter and Tartine’s recipes seem to be on everyone’s must-bake list.
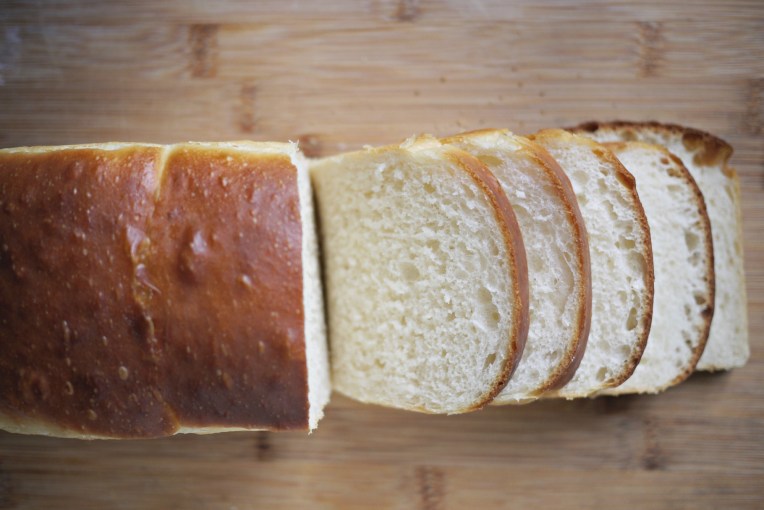
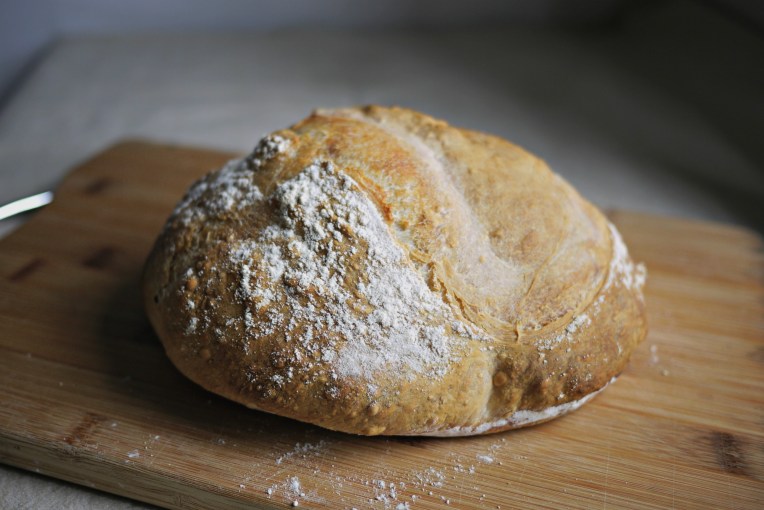
There is nothing different about the recipe I used to bake this classic Tartine sourdough except that I have halved it, based on the size of my Dutch Oven and my refrigerator’s capacity. Why bake the full recipe when it takes me a few mornings to finish one loaf? What helped a lot is that this dough recipe is a breeze to mix. Simply mix another batch when the loaf is about to finish.
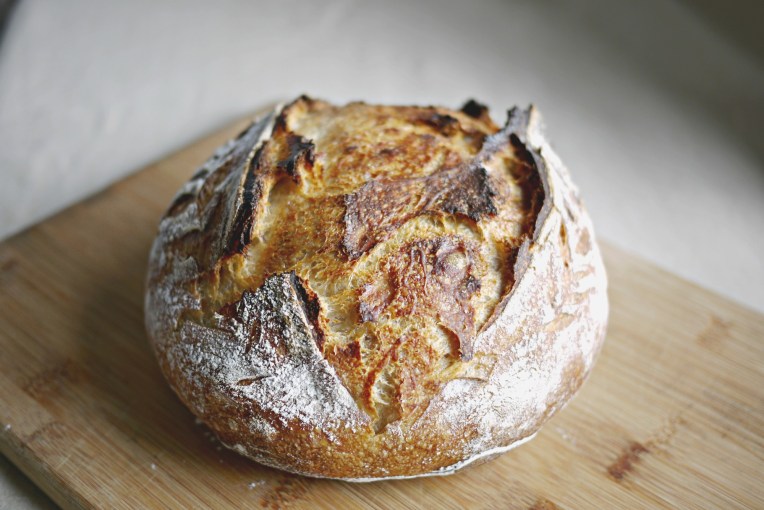
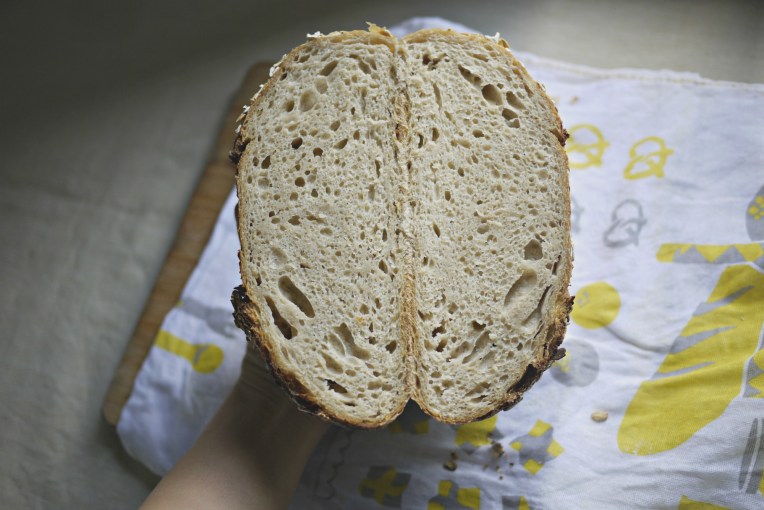
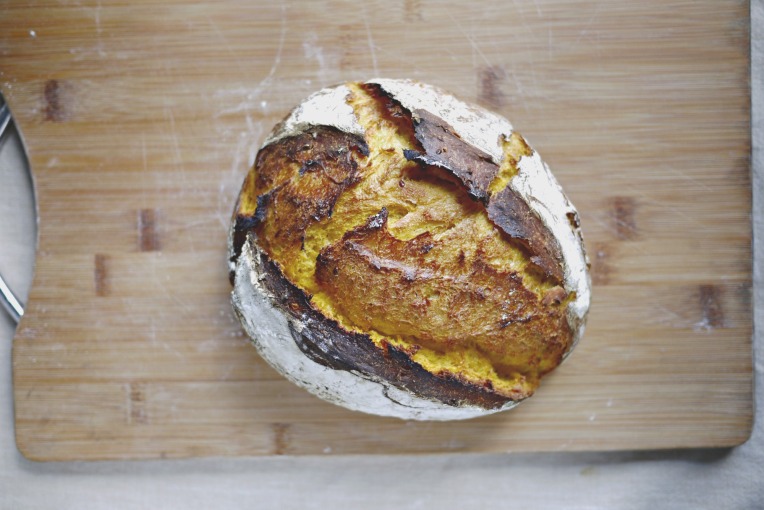
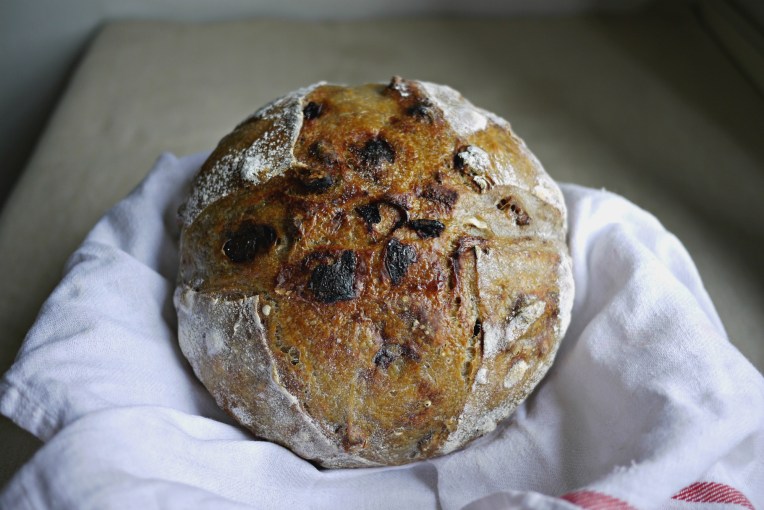
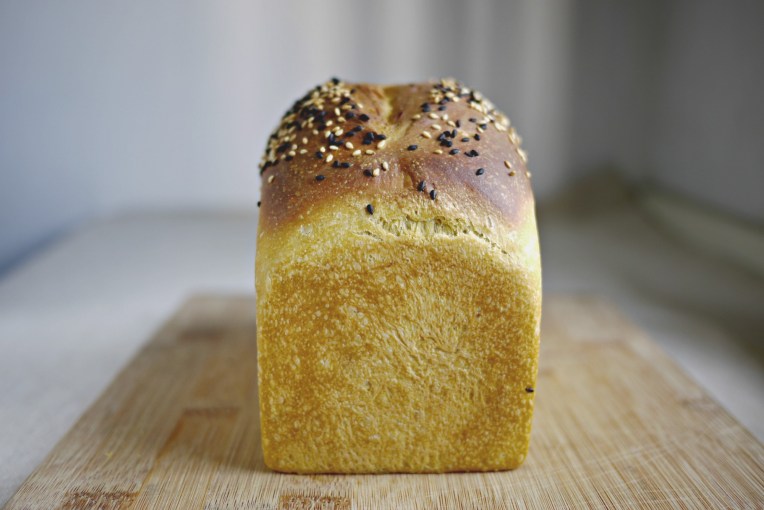
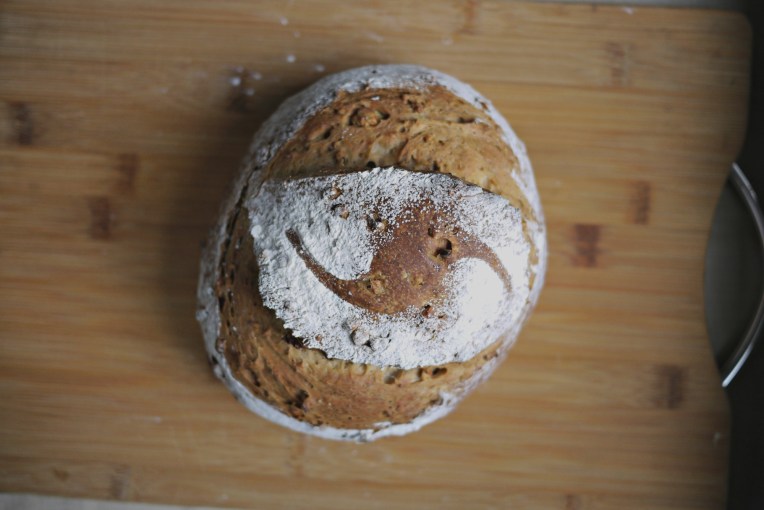
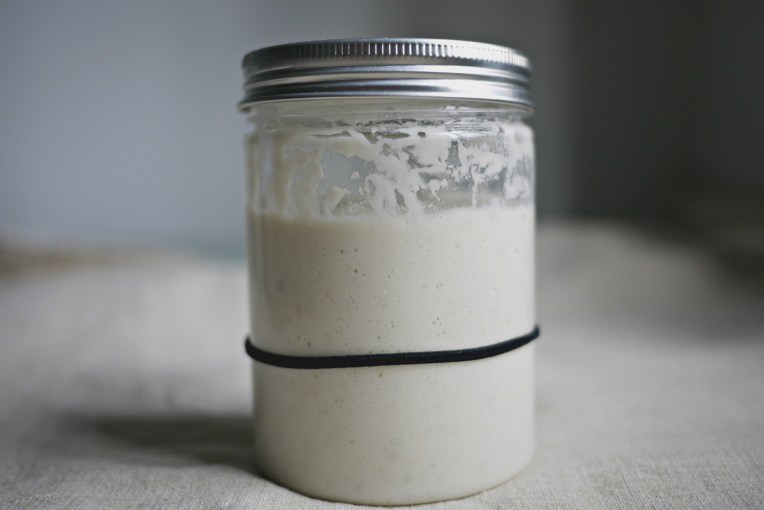
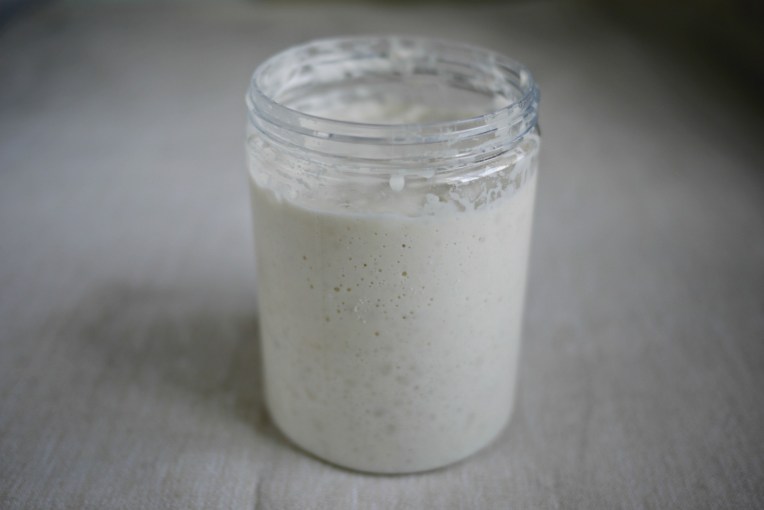
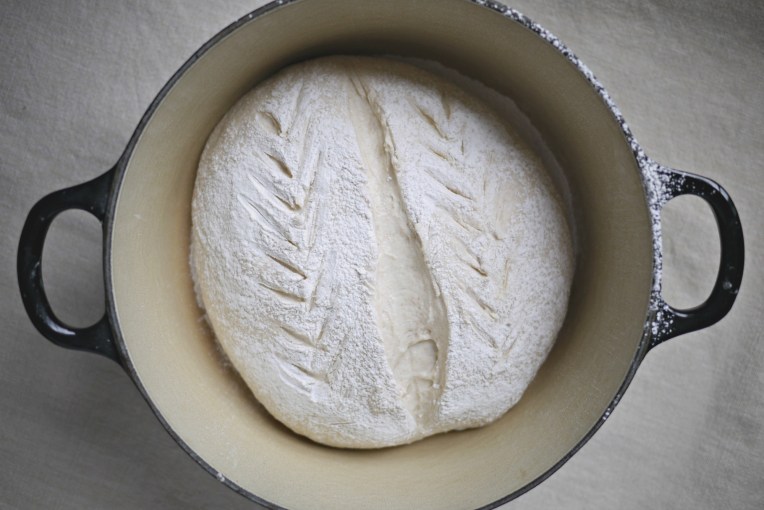
An active starter is a critical ingredient here. I continue to be awed endlessly by my natural starter that produces the most dramatic oven spring in my short sourdough baking history. Coating the surface of the bread with rice flour before slashing is also a must, to make the “split” more obvious and help it look more ‘pro’ and rustic. My heart skips a beat every time I uncover the pot after the first 40 minutes in the oven.
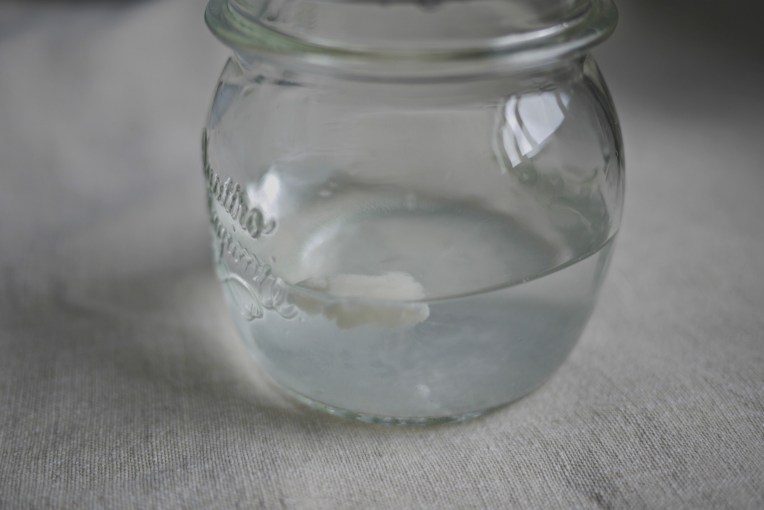
To ensure that the starter is active, I make sure that I feed my starter at regular interval until it can double within 3 hours at room temperature which is 30C here.
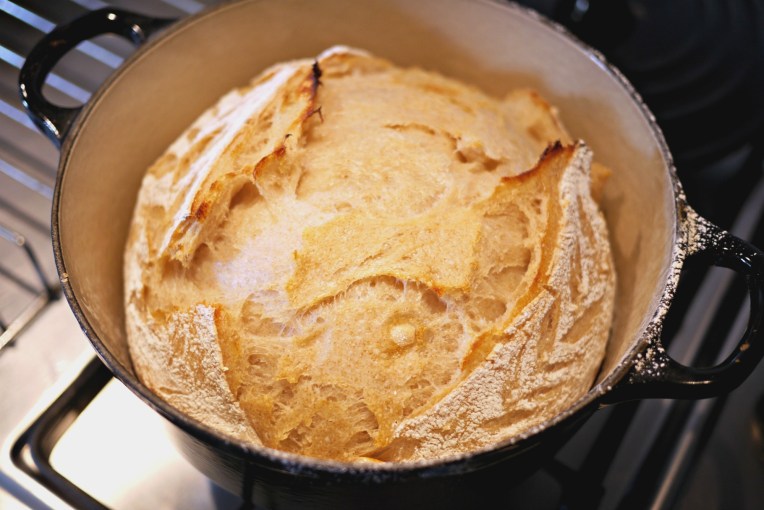
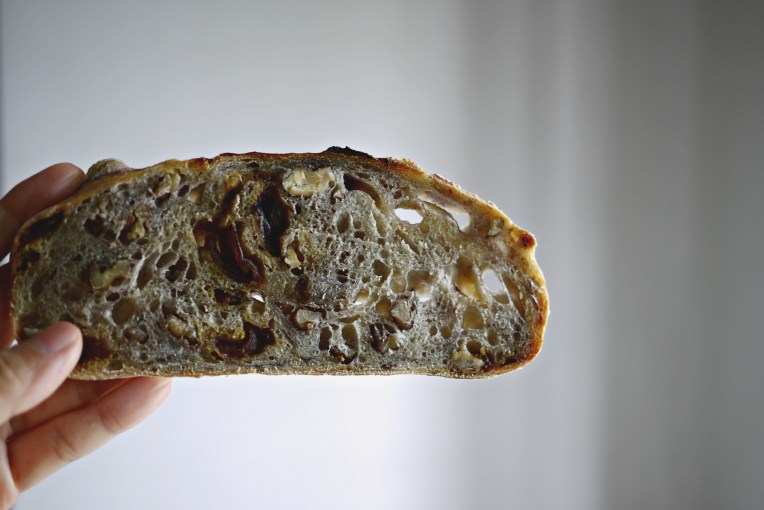
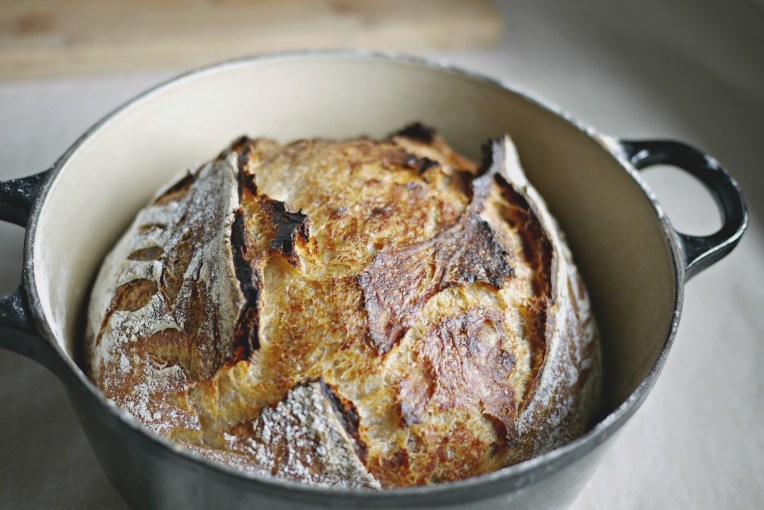
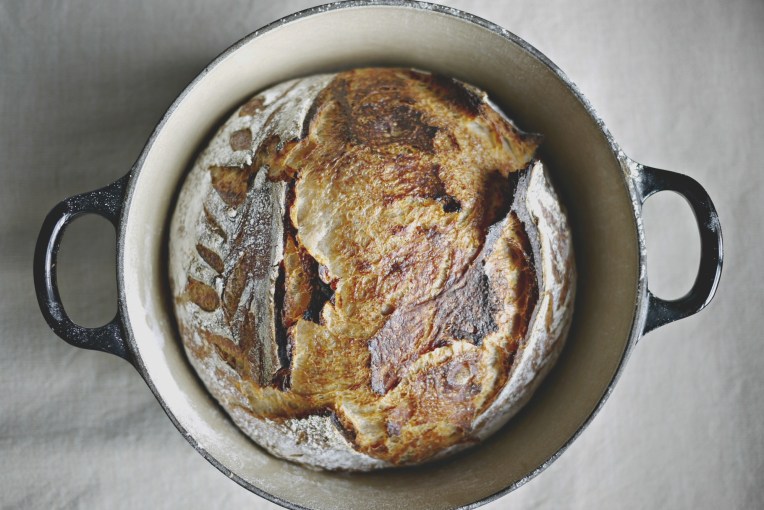
While the original recipe stated 20 minutes with the lid and 20-25 minutes with the lid off, this is for bakers who are experienced or willing to risk a scalding arm with a preheated hot dutch oven pot at 230C. I bake my dough cold, straight from the chiller and in an unheated pot, but I still manage to get a perfect oven spring and a crust that caramalize to a beautiful brown. I have to bake the bread longer though: 40 minutes in the oven with the lid on and another 40minutes without the lid.
Made for myself a step by step pictorial guide with 1/2 the ingredients of this recipe. Hope you will find it useful too.
Tartine Sourdough Country Loaf
Start with an active starter, pour 125g into a mixer bowl, and add 370g water.
Stir around with a wooden spoon until the starter is mixed well with the water.


Add 350g plain flour and 150g wholemeal flour to the diluted starter.
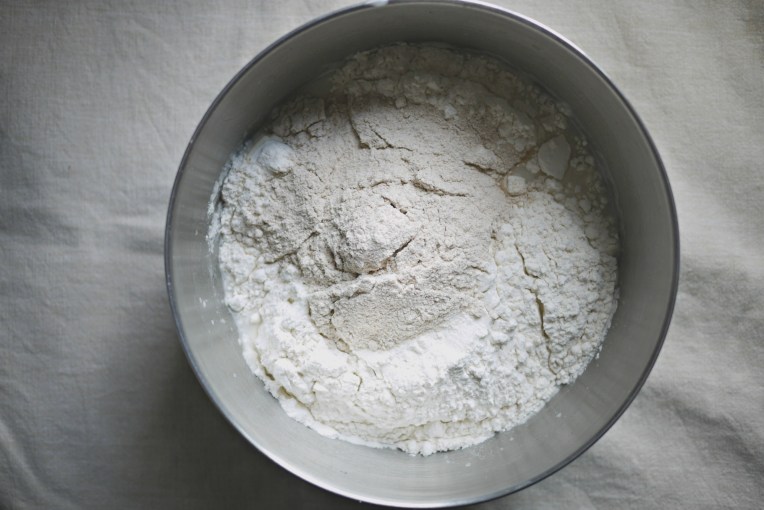
Stir and mix with the wooden spoon. Let this sit aside for at least 30 minutes, covered.

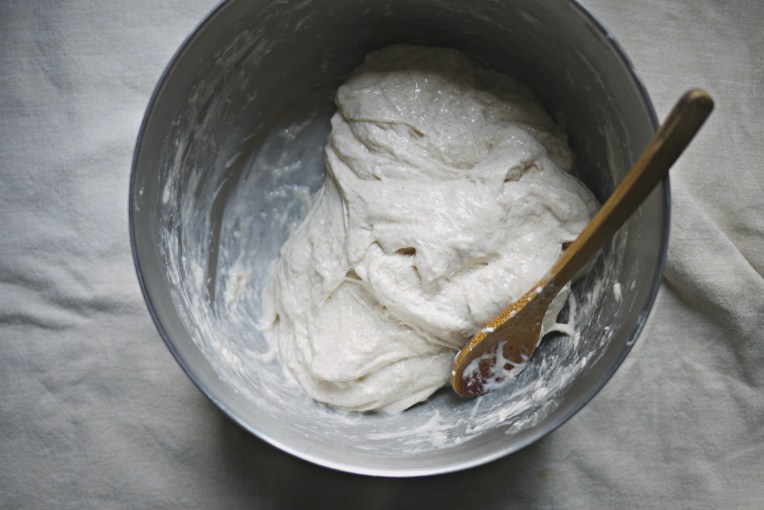
After 30 minutes, sprinkle 10g sea salt on top of the dough and another 25g water, and

gently stir to mix the salt and water into the autolysed dough, which will appear smoother at this point.

Mix until all the water has been absorbed by the dough. Then, with a clean wet hand, do a few round of “stretch and pull” actions. Let dough sit for another 30 minutes.
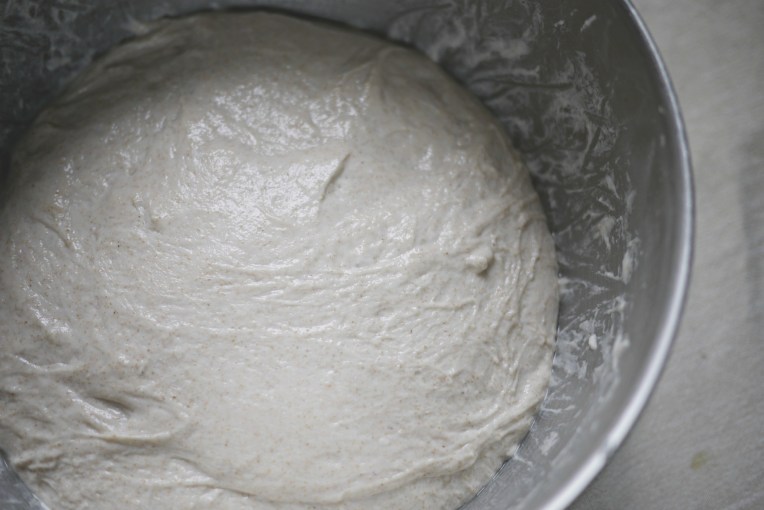
After 30 minutes, repeat the “stretch and pull” action, then let it sit for 30 minutes again. This will be “Turn #1”. Repeat this for another 3 times.
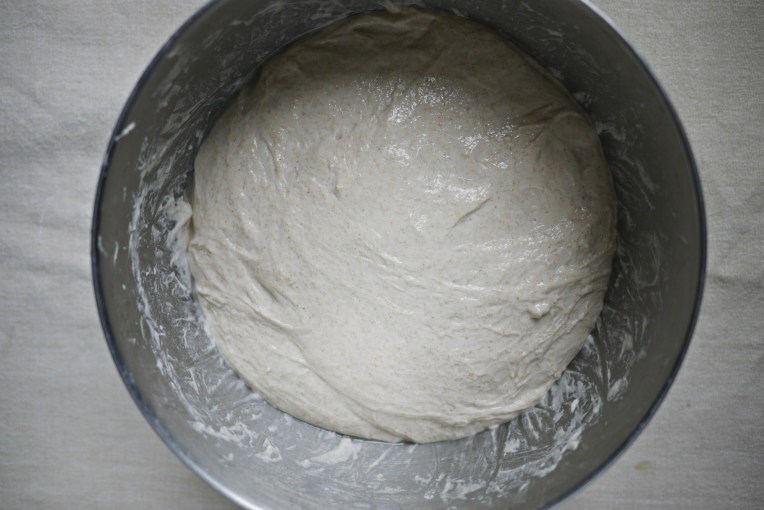
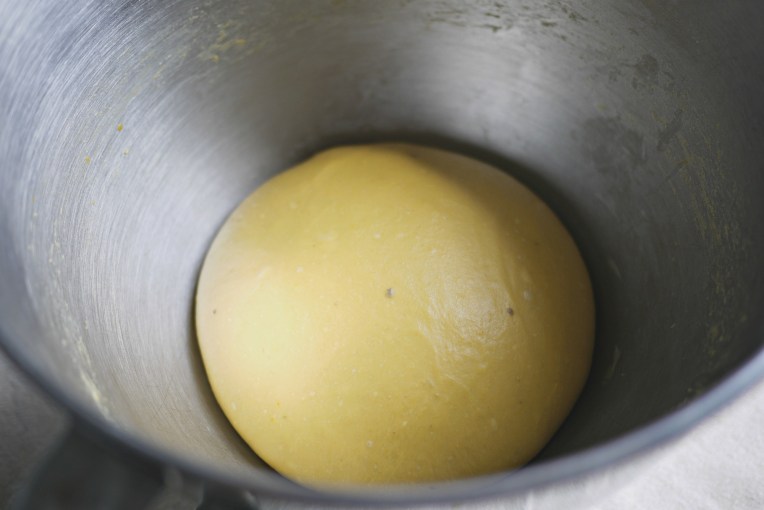
After “Turn #4”, transfer the dough to a container with cover, or simply cover the mixer bowl (if your fridge has ample space for it) with a pot lid of the right size, and let it bulk ferment inside the fridge overnight.
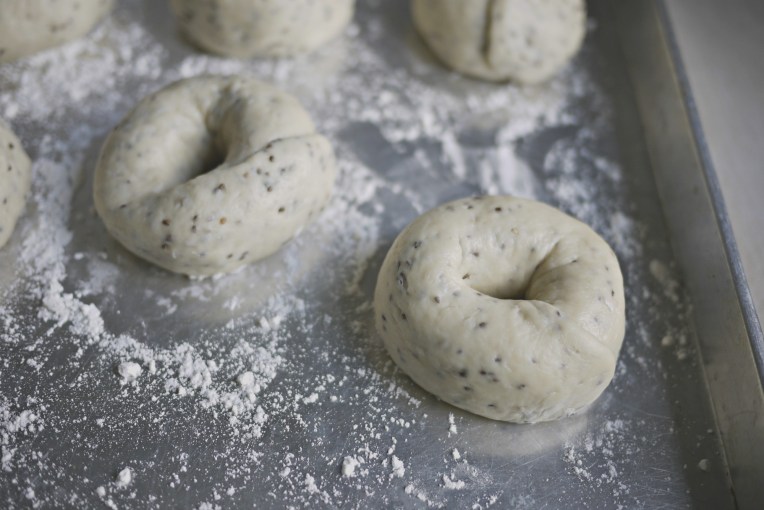
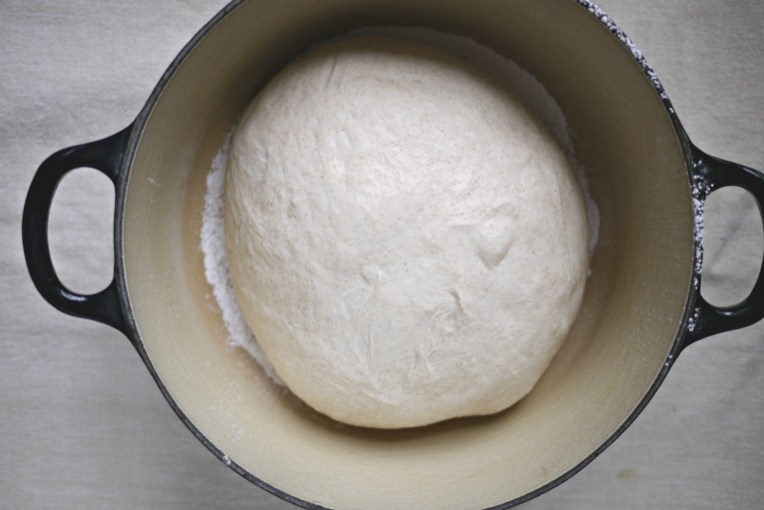
Next morning, when ready to bake, preheat oven to 250C. Flour the base of a Dutch Oven with rice flour, to prevent the bread from sticking to the pot when baking. I do this to save on parchment paper. Retrieve the dough from fridge and shape the dough gently into a ball, place it inside the pot, seam side downwards.
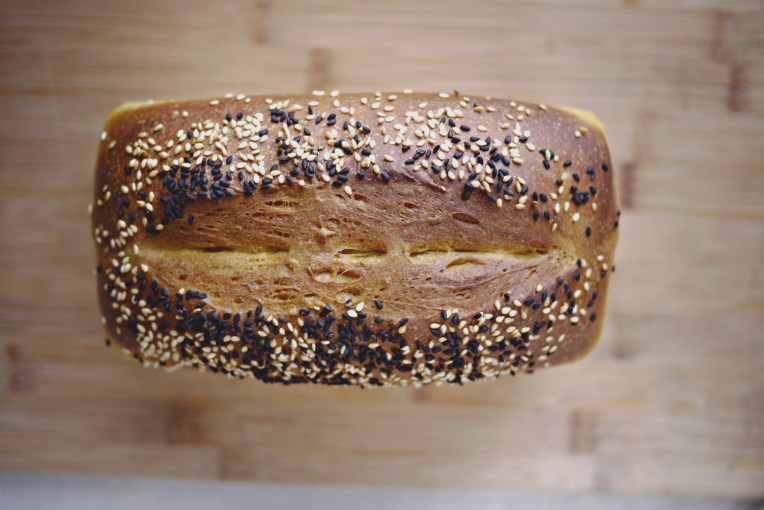
Sprinkle rice flour on top and make a score on the surface of the dough.
Cover and bake for 40 minutes.

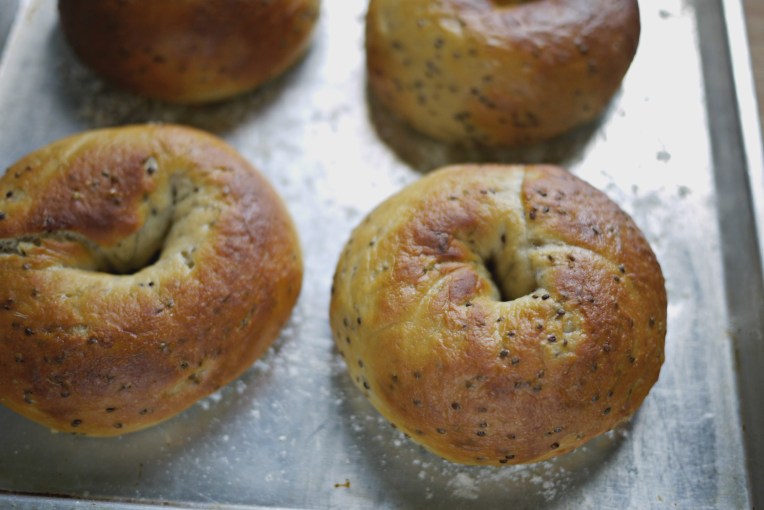
After 40 minutes, Remove cover, and bake for another 40 minutes at 220C.
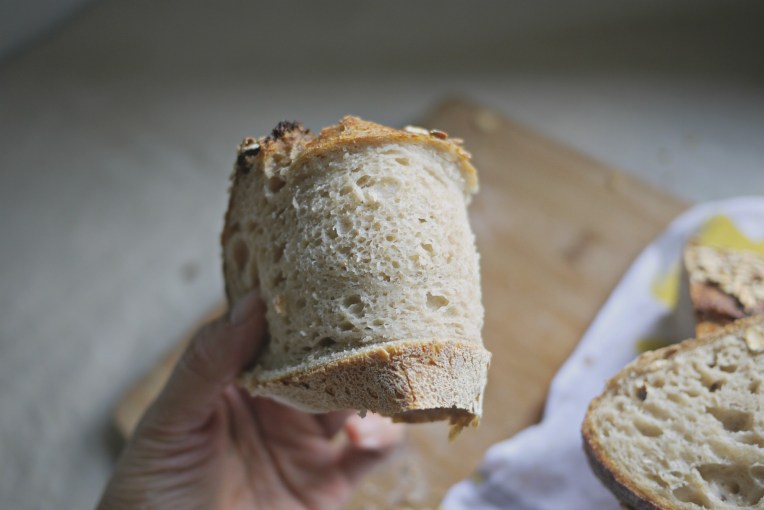
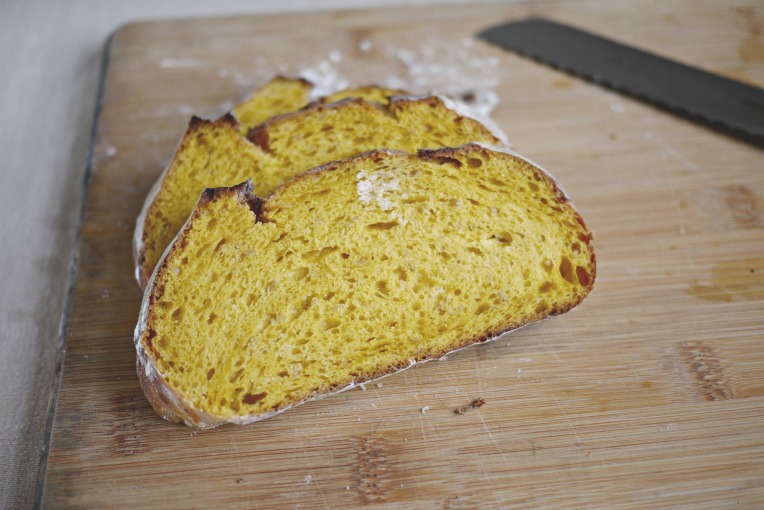
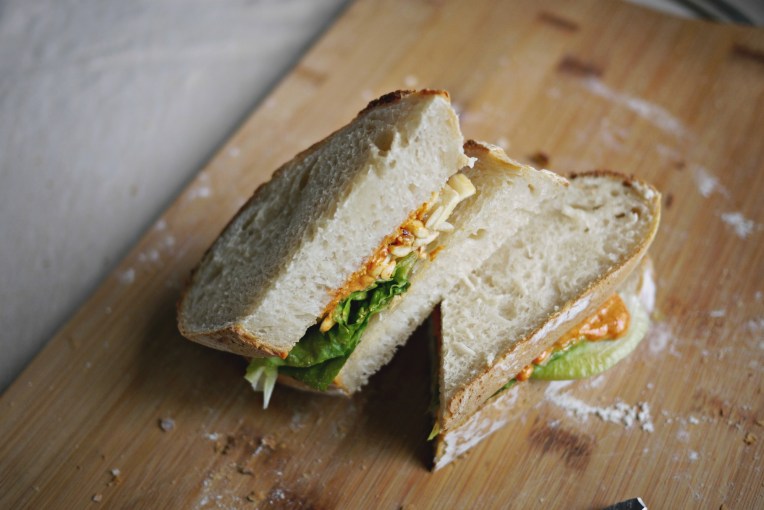
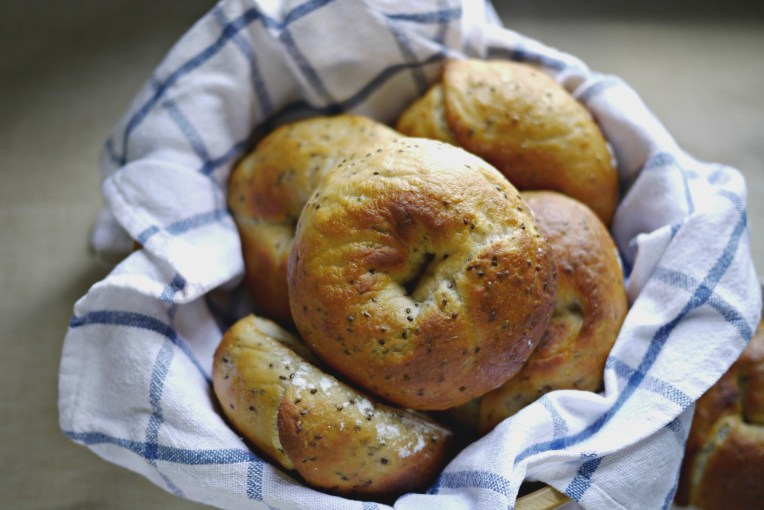
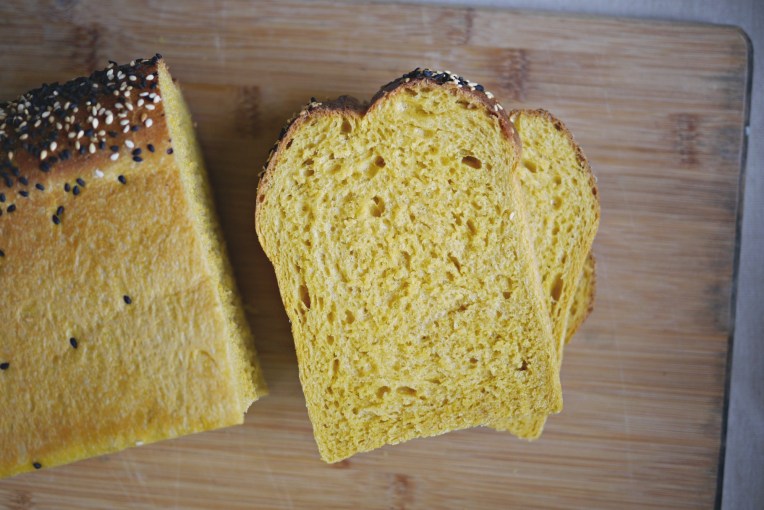
After baking, remove the bread from the Dutch Oven immediately, and let it cool completely on a rack before slicing. Store unfinished bread in an airtight container to prevent crumbs from drying out.
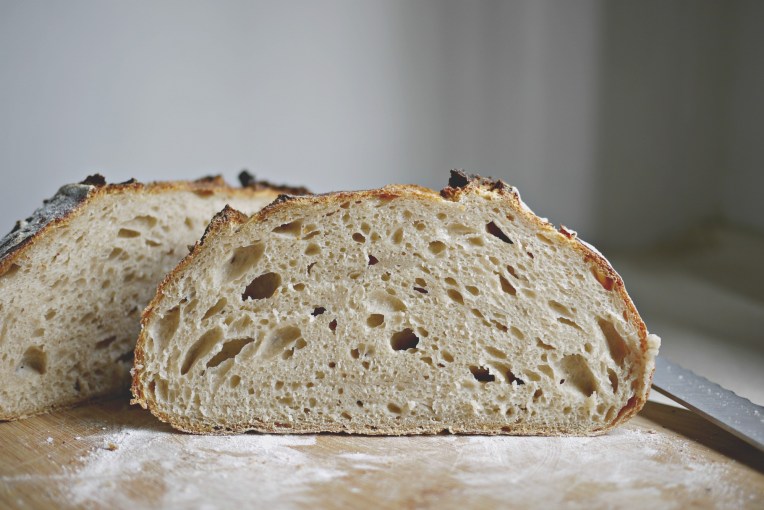
Enjoy!