The March School Holiday is over.
For the stay at home mums, did you find yourself eating out more often, or did you stick to home cooked meals during this holiday period? I guess it depends on the kind of holiday schedules the children have. I know of some kids who still spend like, three days in school, for curriculum activities or project work. Mine was lucky, and was only required to return to school for just one day, so we got to spend FOUR FULL WEEKDAYS together. I thought I felt a sense of relief from the children when they finally return to school this morning. I hope they are not getting tired of me… after all, it was not exactly just me and the kids at home all the time. We still managed to catch 2 movies, 1 ice skating session, and a visit to the library, I’ll say not bad, for a short break like this.
The meal planning was a bit messy though. Since most activities were carried out in the afternoons, I managed to settle most of the lunch meals at home (so that I could use up my fresh groceries: say no to food waste) and dine out in the evenings, so that there was less rushing home for meal preparation.
This “Pepper Lunch Hack” was one of the recipes I tried out with my children during one of the lunch meals. The key is in the two sauces, or so this website claims. Instead of serving it as a “one-plate-meal” like what Pepper Lunch do at their outlets, I prepared it as a casserole dish, with white rice served separately. My kids commented that while it is not exactly 99% the same, it’s nonetheless delicious as a rice pairing dish. Maybe I topped with a tad too much broccoli, and changed the flavor, but I think the vegetables bring the nutritional value of this dish a great notch up!
+++ Notes.001 / prepare the two key sauces in advance.
+++ Notes.002 / according to the source, the recipe serves two, but I have plenty of leftover for the two sauces which I pack in sauce bottles and store in chiller for future use.
RECIPE : PEPPER LUNCH STYLE BEEF & BROCCOLI CASSEROLE
/ Source
____________
/ Honey Sauce
1 tablespoon cooking oil / i used peanut oil
2 tablespoon chopped onion
1 teaspoon minced garlic
1/4 cup honey
2 tablespoon light soy sauce / i used kikkoman
1/8 teaspoon salt
1 teaspoon cornstarch
____________
01. Mix all ingredients and cook in a saucepan until garlic and onions are cooked and turned soft, about 3 minutes.
02. Remove saucepan from heat, allow sauce to turn cool.
03. Puree in food processor and transfer to sauce bottle or container.
____________
/ Garlic Soy Sauce
1/2 cup light soy sauce / i used kikkoman
4 cloves garlic, crushed and peel removed
2 teaspoon sugar
1 teaspoon cornstarch
1/2 cup water
____________
01. In a saucepan, add the soy sauce and garlic together, let sit for 30minutes.
02. Add remaining ingredients, and bring to boil.03. Remove saucepan from heat, allow sauce to turn cool.
03. Puree in food processor and transfer to sauce bottle or container.
____________
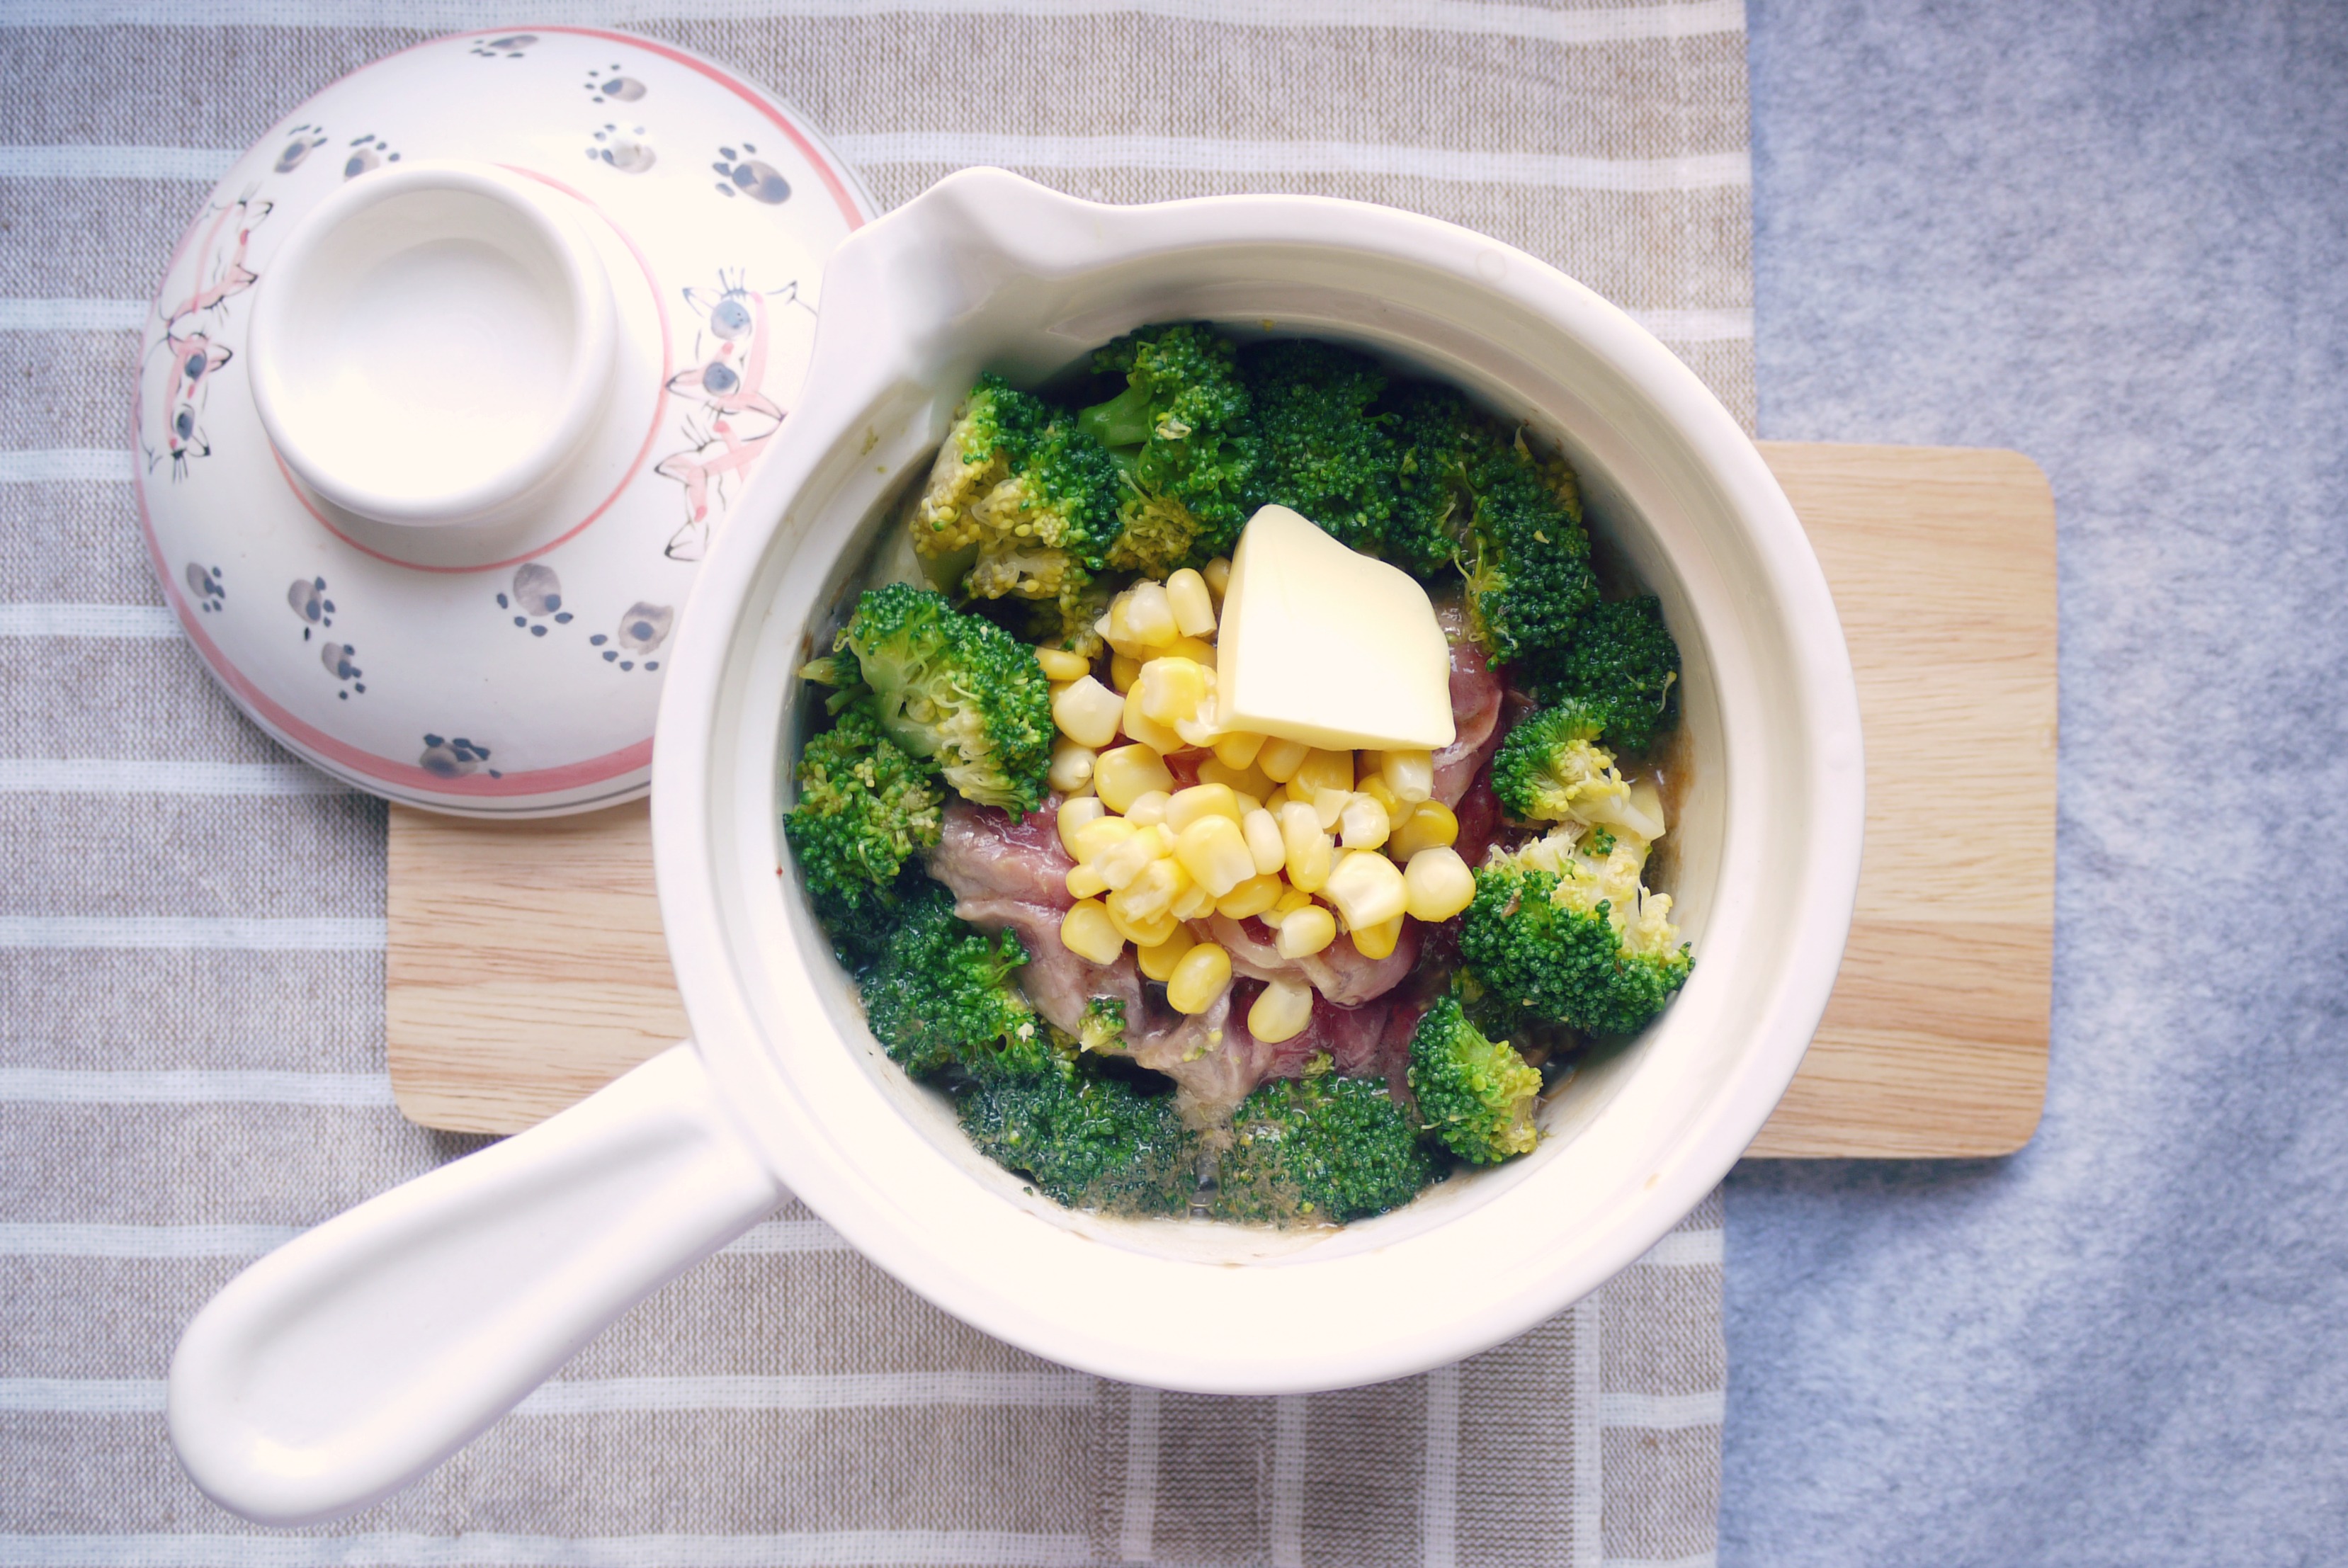
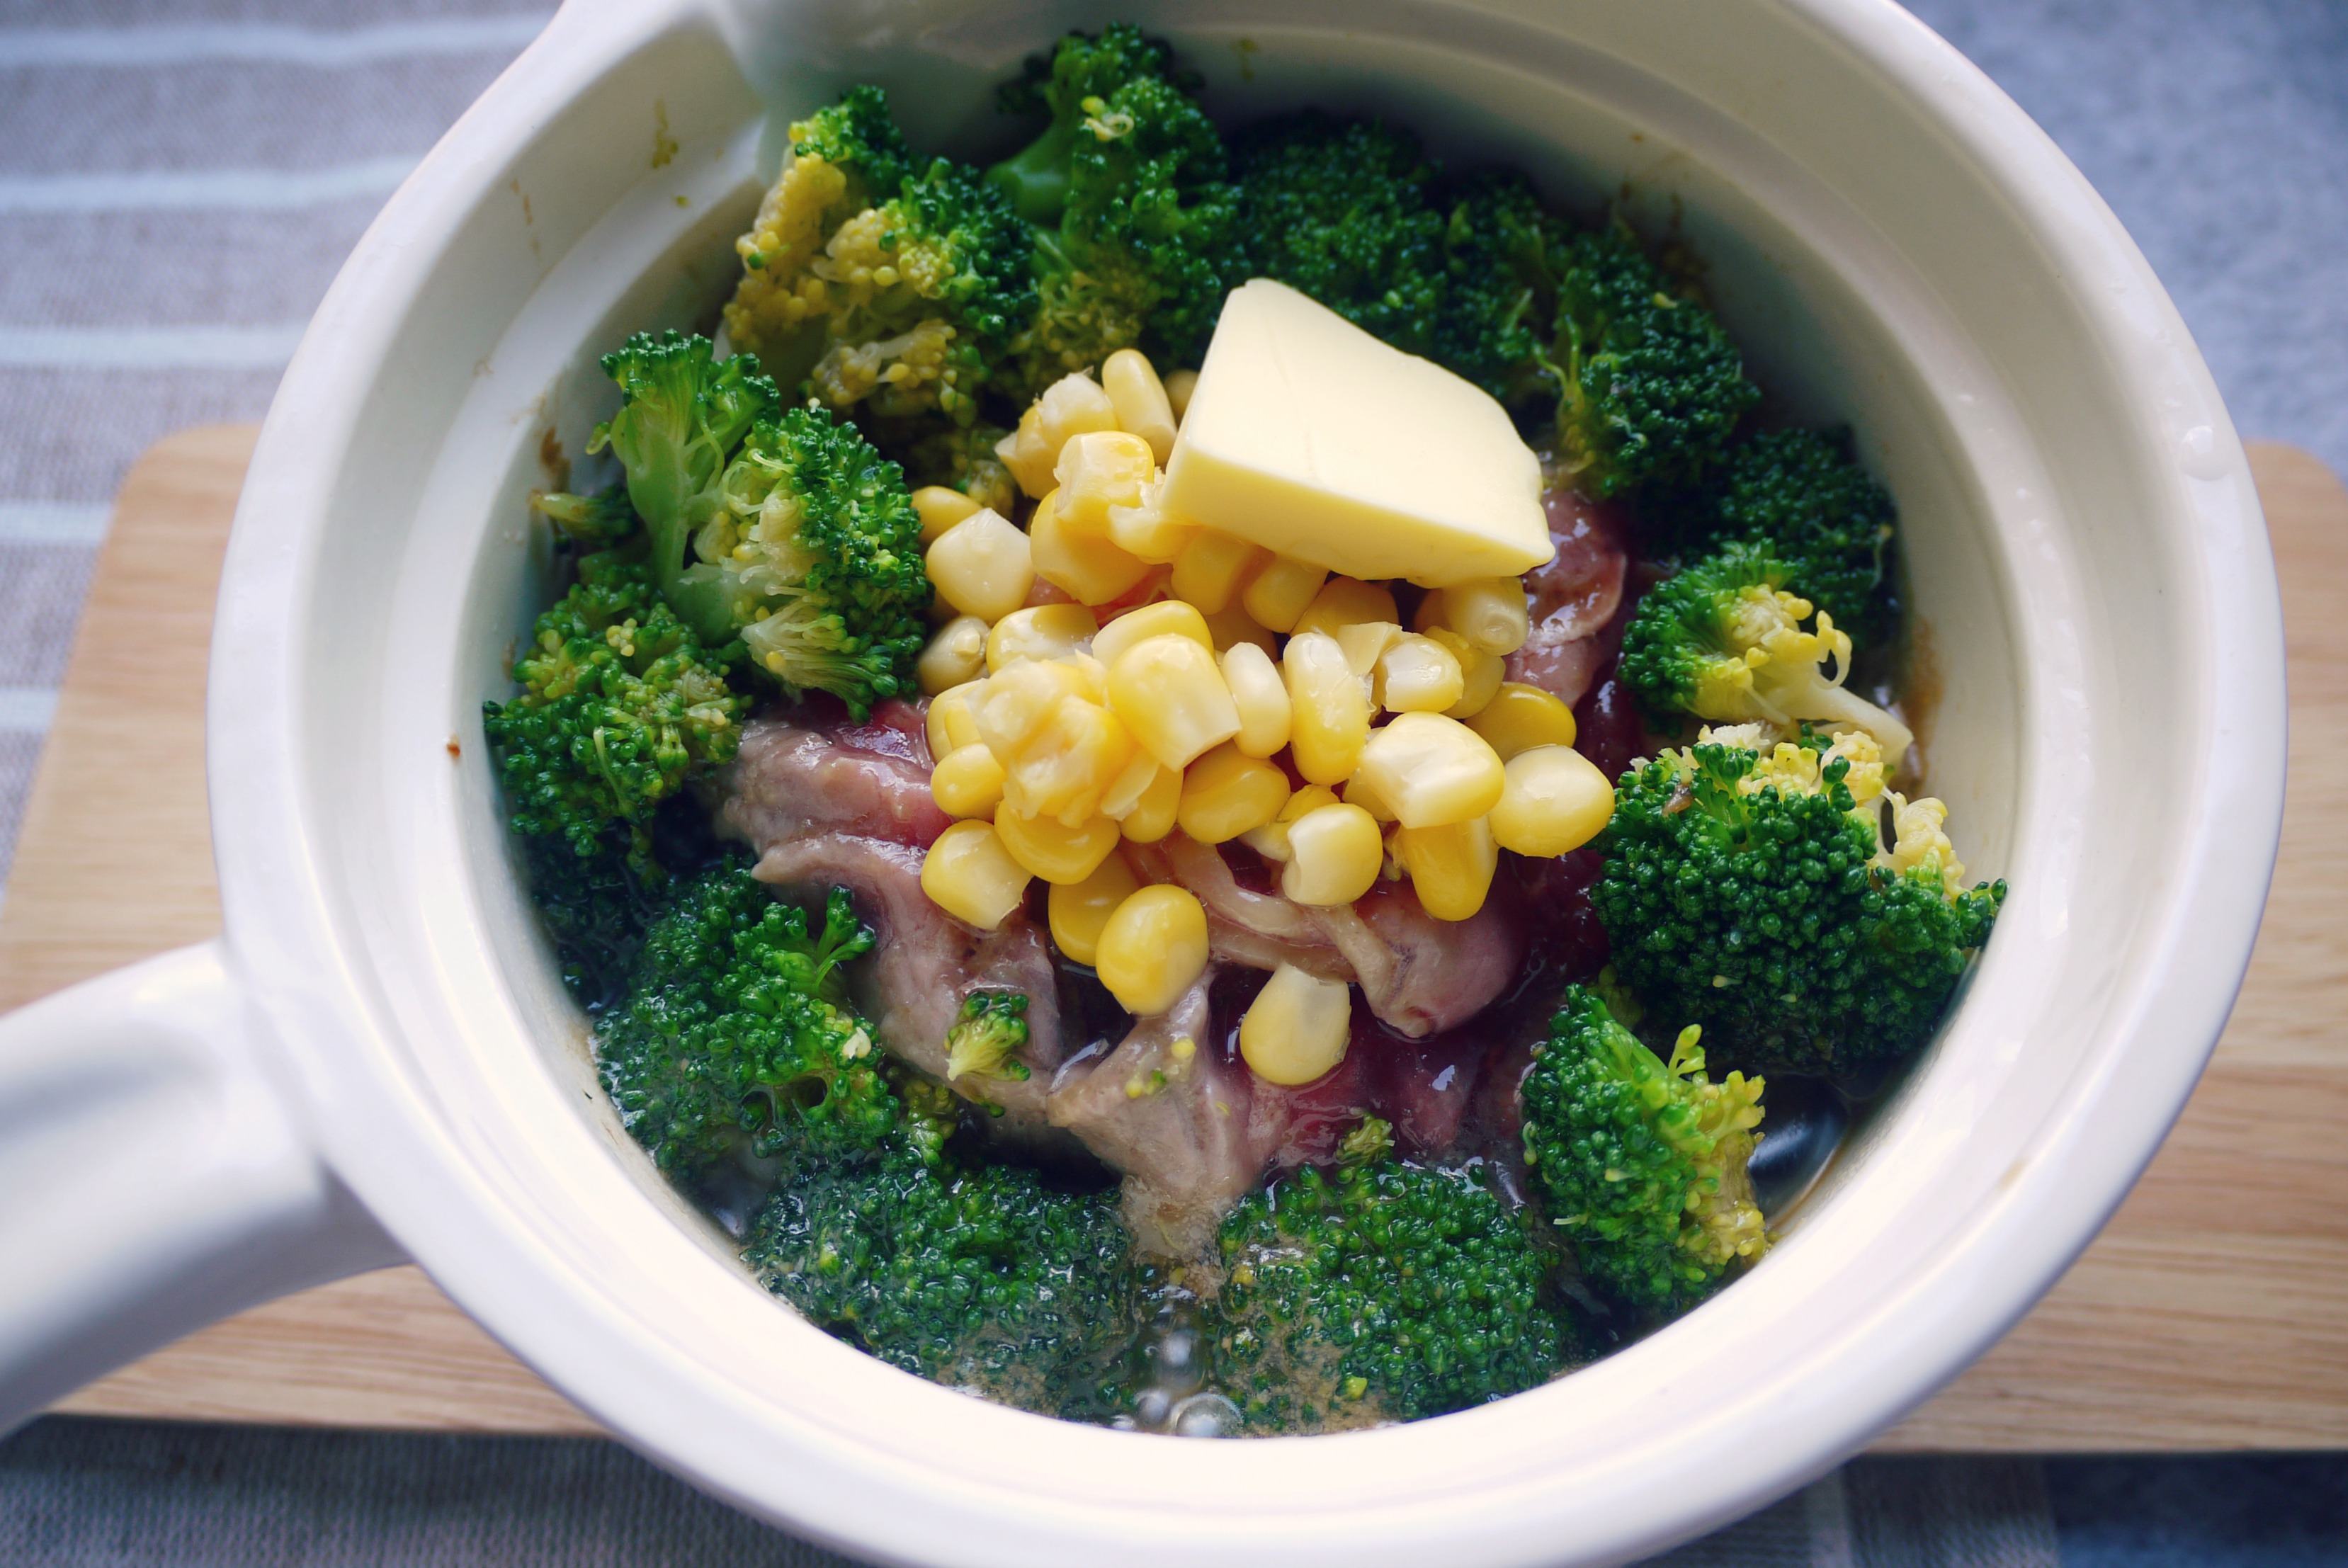
/ Assembling
400g thinly sliced beef / i used sukiyaki or shabu shabu, completely thawed
1/4 cup canned corn
1 head broccoli, washed, cut into bite size florets, blanched in boiling water with a pinch of salt
3 tablespoon cooking oil / i used peanut oil
1 tablespoon butter
1 stalk chopped spring onion
black pepper, to taste
____________
01. Heat up cooking oil in casserole over low heat.
02. Place thawed sliced beef in the middle of the casserole.
03. Arrange cooked broccoli florets around the beef.
04. Drizzle the two sauces over the beef and broccoli. I used about 1/3 of each sauce. Do not stir.
05. Cover casserole. Turn up heat to high for about 30 seconds.
06. Turn off fire. Top with spring onions, corn and cold butter.
07. Serve immediately. Stir around to cook beef slices and pair with steamed rice. Season with black pepper, and more the 2 sauces if necessary.