EzLink Card Makeover

ezlinkcardmakeover1 // mono+co ezlinkcardmakeover3 // mono+co ezlinkcardmakeover2 // mono+co ezlinkcardmakeover4 // mono+co

The card started to break up into 3 separate sheets of plastic few months back, but I  continue to use the center white portion (where the magnetic strip is), without any effort to find a replacement, and secretly proud of my new found minimal style.  But a blank white card is not easy to be spotted in the bag, or wallet, and get lost very easily too.

So I got myself a soft case that fits the card exactly, making sure it still fits inside my wallet.  Then I proceed to spice things up with printable gift wrapper printables here (ducky theme for my girl*), and here (anchor).

The nautical one looks stylish, doesn’t it?  I scaled the files smaller before printing, so that the patterns look proportionate for a small card.

Creamy Cauliflower Garlic Rice

creamycauliflowergarlicrice1 // making it blissful creamycauliflowergarlicrice2 // making it blissful

The no-cream creamy cauliflower soup was ridiculously successful, so when I saw this garlic rice recipe, I held even higher hopes, and it looks like I’ve got another great no-cream creamy sauce recipe, with cauliflower once more.  I’ll never want to run out of cauliflower again!

CREAMY CAULIFLOWER GARLIC RICE
// Adapted from : A Pinch of Yum
Serves: 2

INGREDIENTS
2 cups chopped cauliflower
2 cups vegetable stock, or water
3/4 cups jasmine white rice, or brown rice, cook and set aside
1 tablespoon butter, or olive oil
salt to taste
2 cloves minced garlic
Cheddar cheese or Mozzarella cheese, as toppings

1. In a medium pot, bring vegetable stock to boil, and cook cauliflower till soft.  Shut off fire, let the cauliflower and stock cool down – I have a fear for placing very hot things in my blender.
2. Once the cauliflower and stock turn to room temperature or lukewarm, transfer the cauliflower to a blender and adding stock bit by bit to puree till it forms a smooth creamy consistency.  Season with salt.
3. Mix the puree with cooked rice, stir well.
3. In a skillet, melt butter and then garlic, and fry till the garlic is very fragrant.
4. Add in the creamy cauliflower and rice mixture, and stir to incorporate the garlic into the rice.
5. Divide the rice  into 2 plates, top with cheese, and season with pepper, salt, and your favorite herbs.  Serve immediately.
6. You can also serve the rice and mozzarella cheese toppings in an oven proof dish and bake it for a few minutes till the cheese topping melts and bubbles.

DIY Freezer Paper Stencil

teeproject7teeproject3 teeproject2 teeproject4 teeproject5
teeproject1
Did you get anything from the mid year sale?  I got myself a cotton T-shirt for $5 to try out this stencil project.  I could not find freezer paper locally, but from the tutorials found online, I understand that it appears to be paper with a plastic coat. So the next best thing that came into my mind was the brown food wrapper with a thin plastic film that some hawkers still use to pack takeaways.  I use this all the time for my craft work.

And it worked!  I referred to these tutorials here, here and here.

A few pointers for myself to take note:
#1. Set iron on high (cotton setting) WITHOUT steam.
#2. Place a cardboard inside the T-shirt before painting to prevent color seeping through to the back of the T-shirt
#3. Let fabric/silkscreen paint dry completely before peeling off the stencil.
#4. Iron over the dried paint again to set it.

Have fun!

DIY Popsicle #006 : Pomegranate Popsicle

diypopsicle // mono+co diypopsicle6 diypopsicle6a

When pomegranate juice/ juice concentrate were once making the anti-oxidant/superfood headlines years ago, I thought they were, too expensive; to drink the bottled version daily?  The frequency was suggested by the promoter in the pharmacy, of course, to boost consumption level and speed up sales.

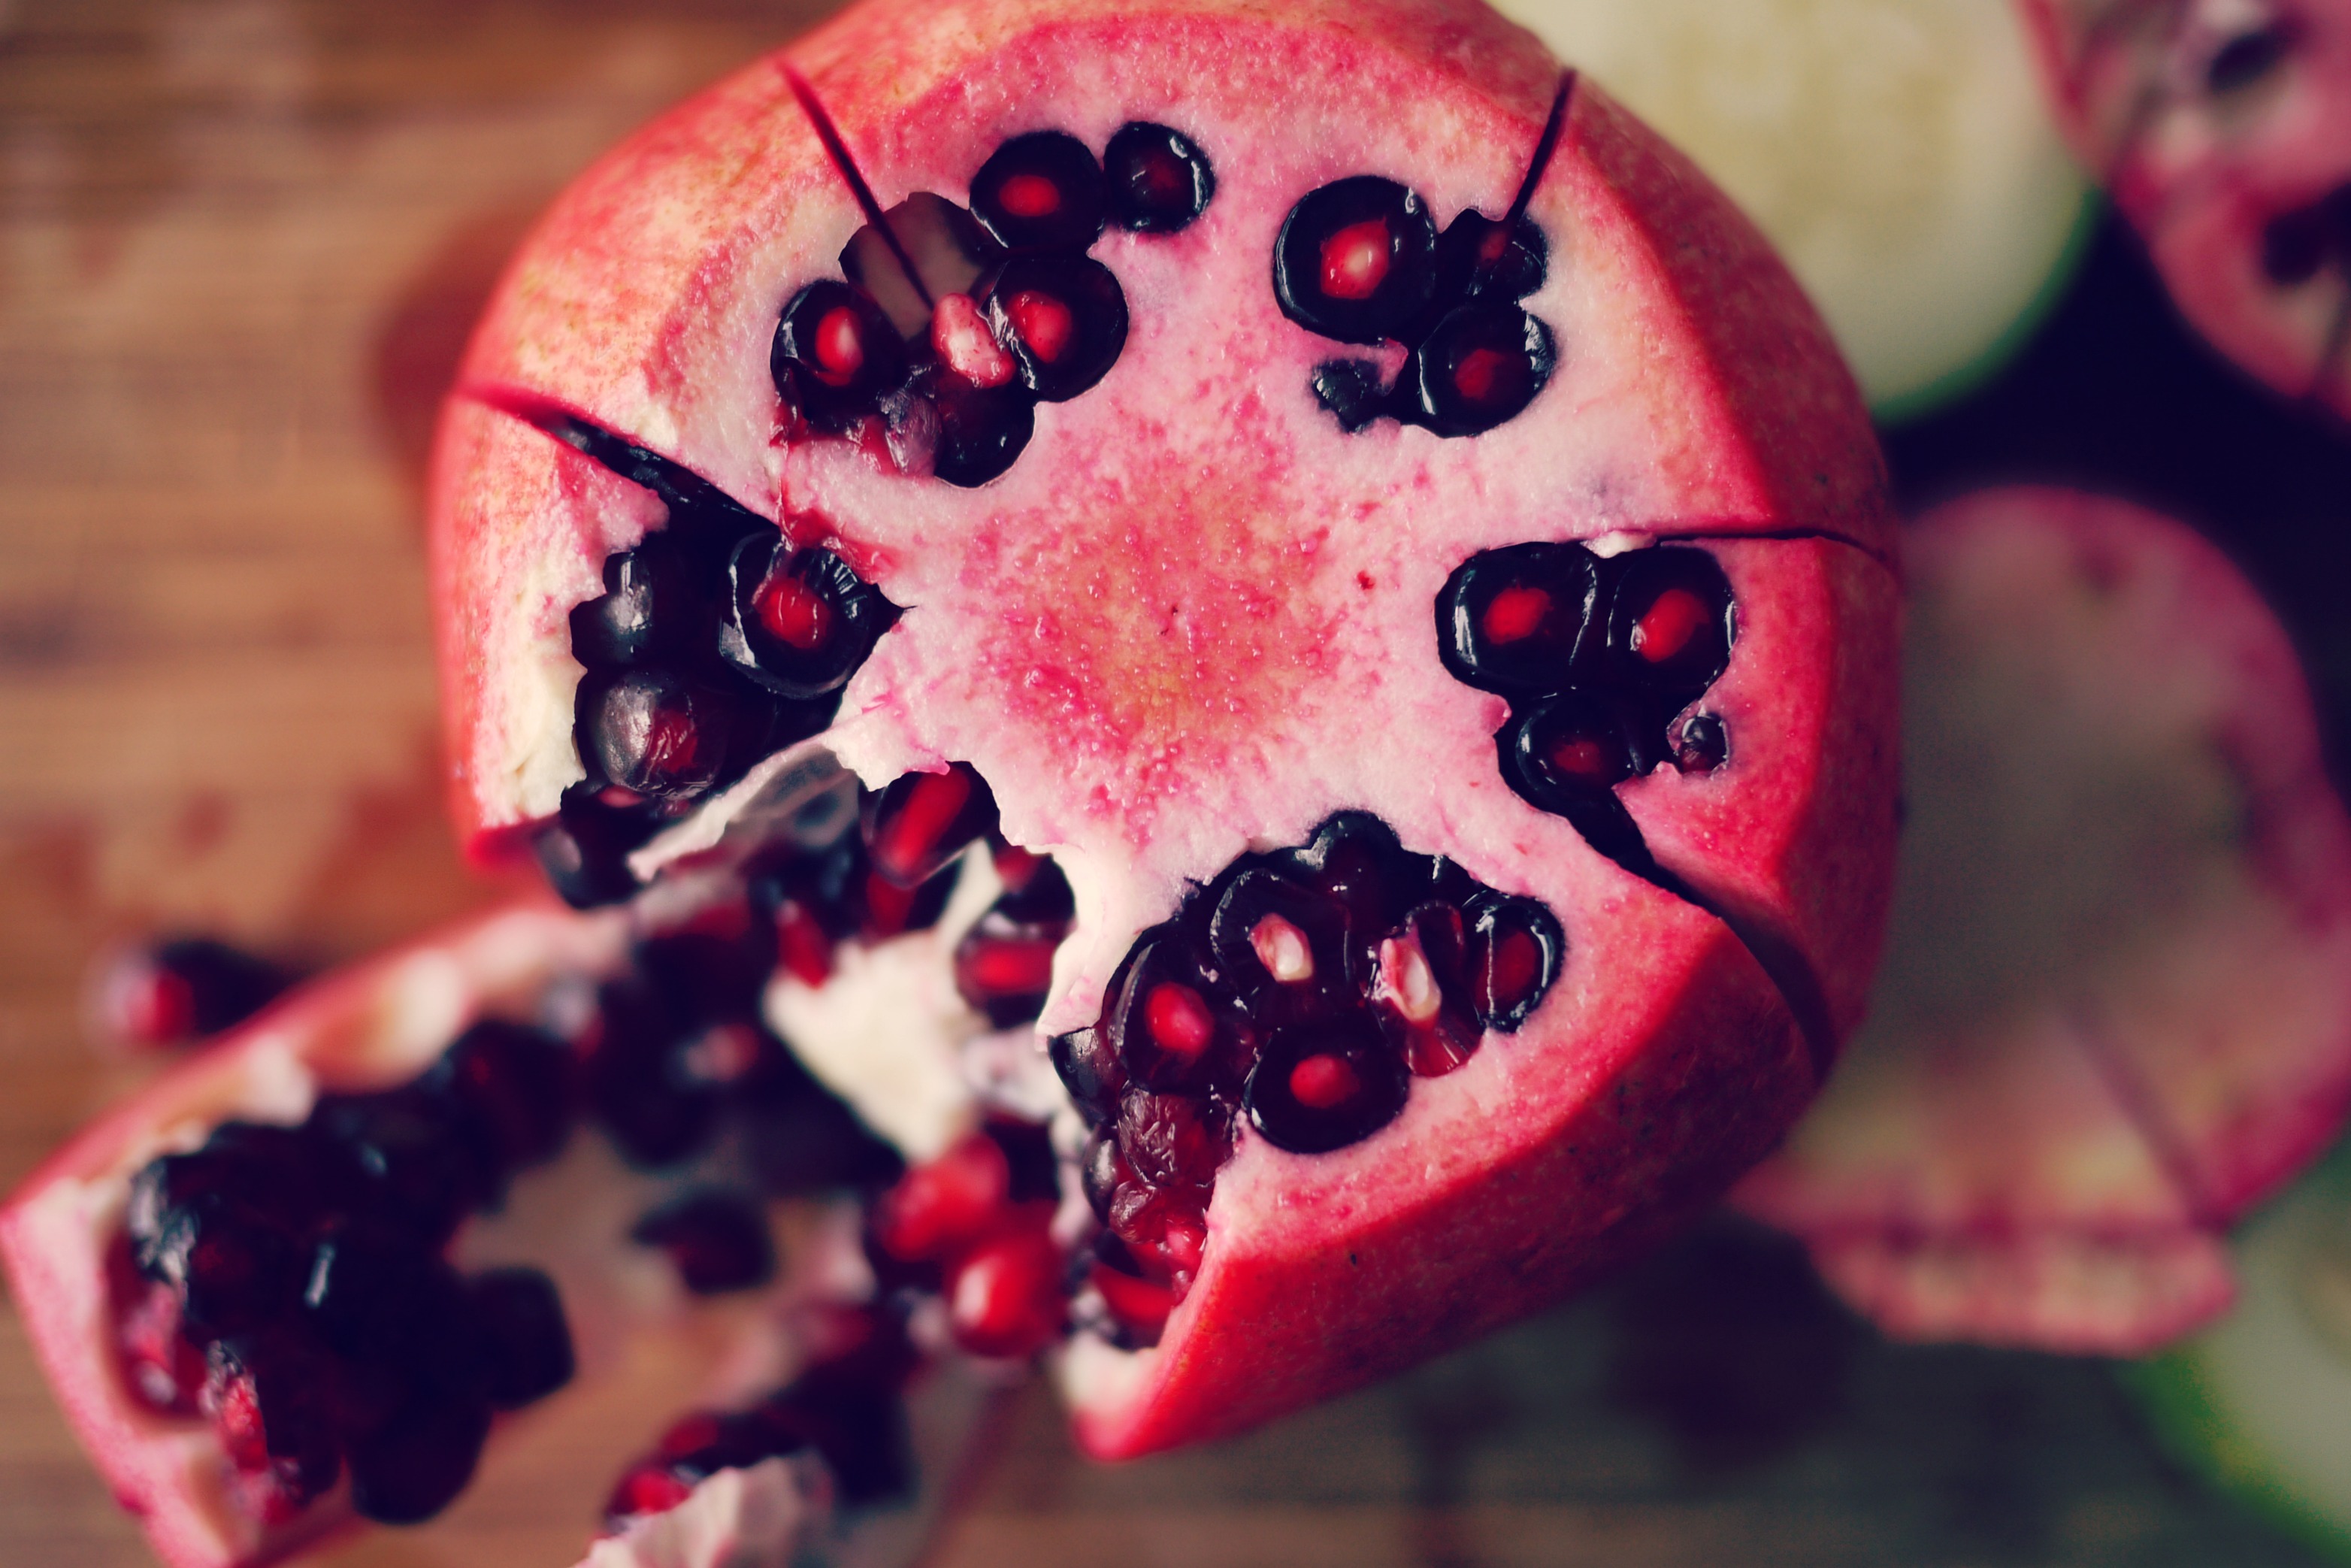
Pomegranates also looked too complicated a fruit to be de-seeded if I want to buy it fresh, eat it pulp and all, after all fresh is the best, right?  Turns out de-seeding is not that difficult.  De-seed like a pro here (actual de-seeding starts 4:40min, but the overall video is interesting to watch for more information on pomegranate) or here (actual de-seeding starts at 1:30min).  Just be careful not to let the juices stain your shirt.

Since then, I have been buying the fruit only when it’s in season, (I got these last month) and make my own pomegranate juice with a juice extractor.  I don’t eat the fruit as I still haven’t acquire the taste of consuming the seeds along.  My kids have no problem with that though, so I’ll save a small bowl of the fruit for them and juice the rest.

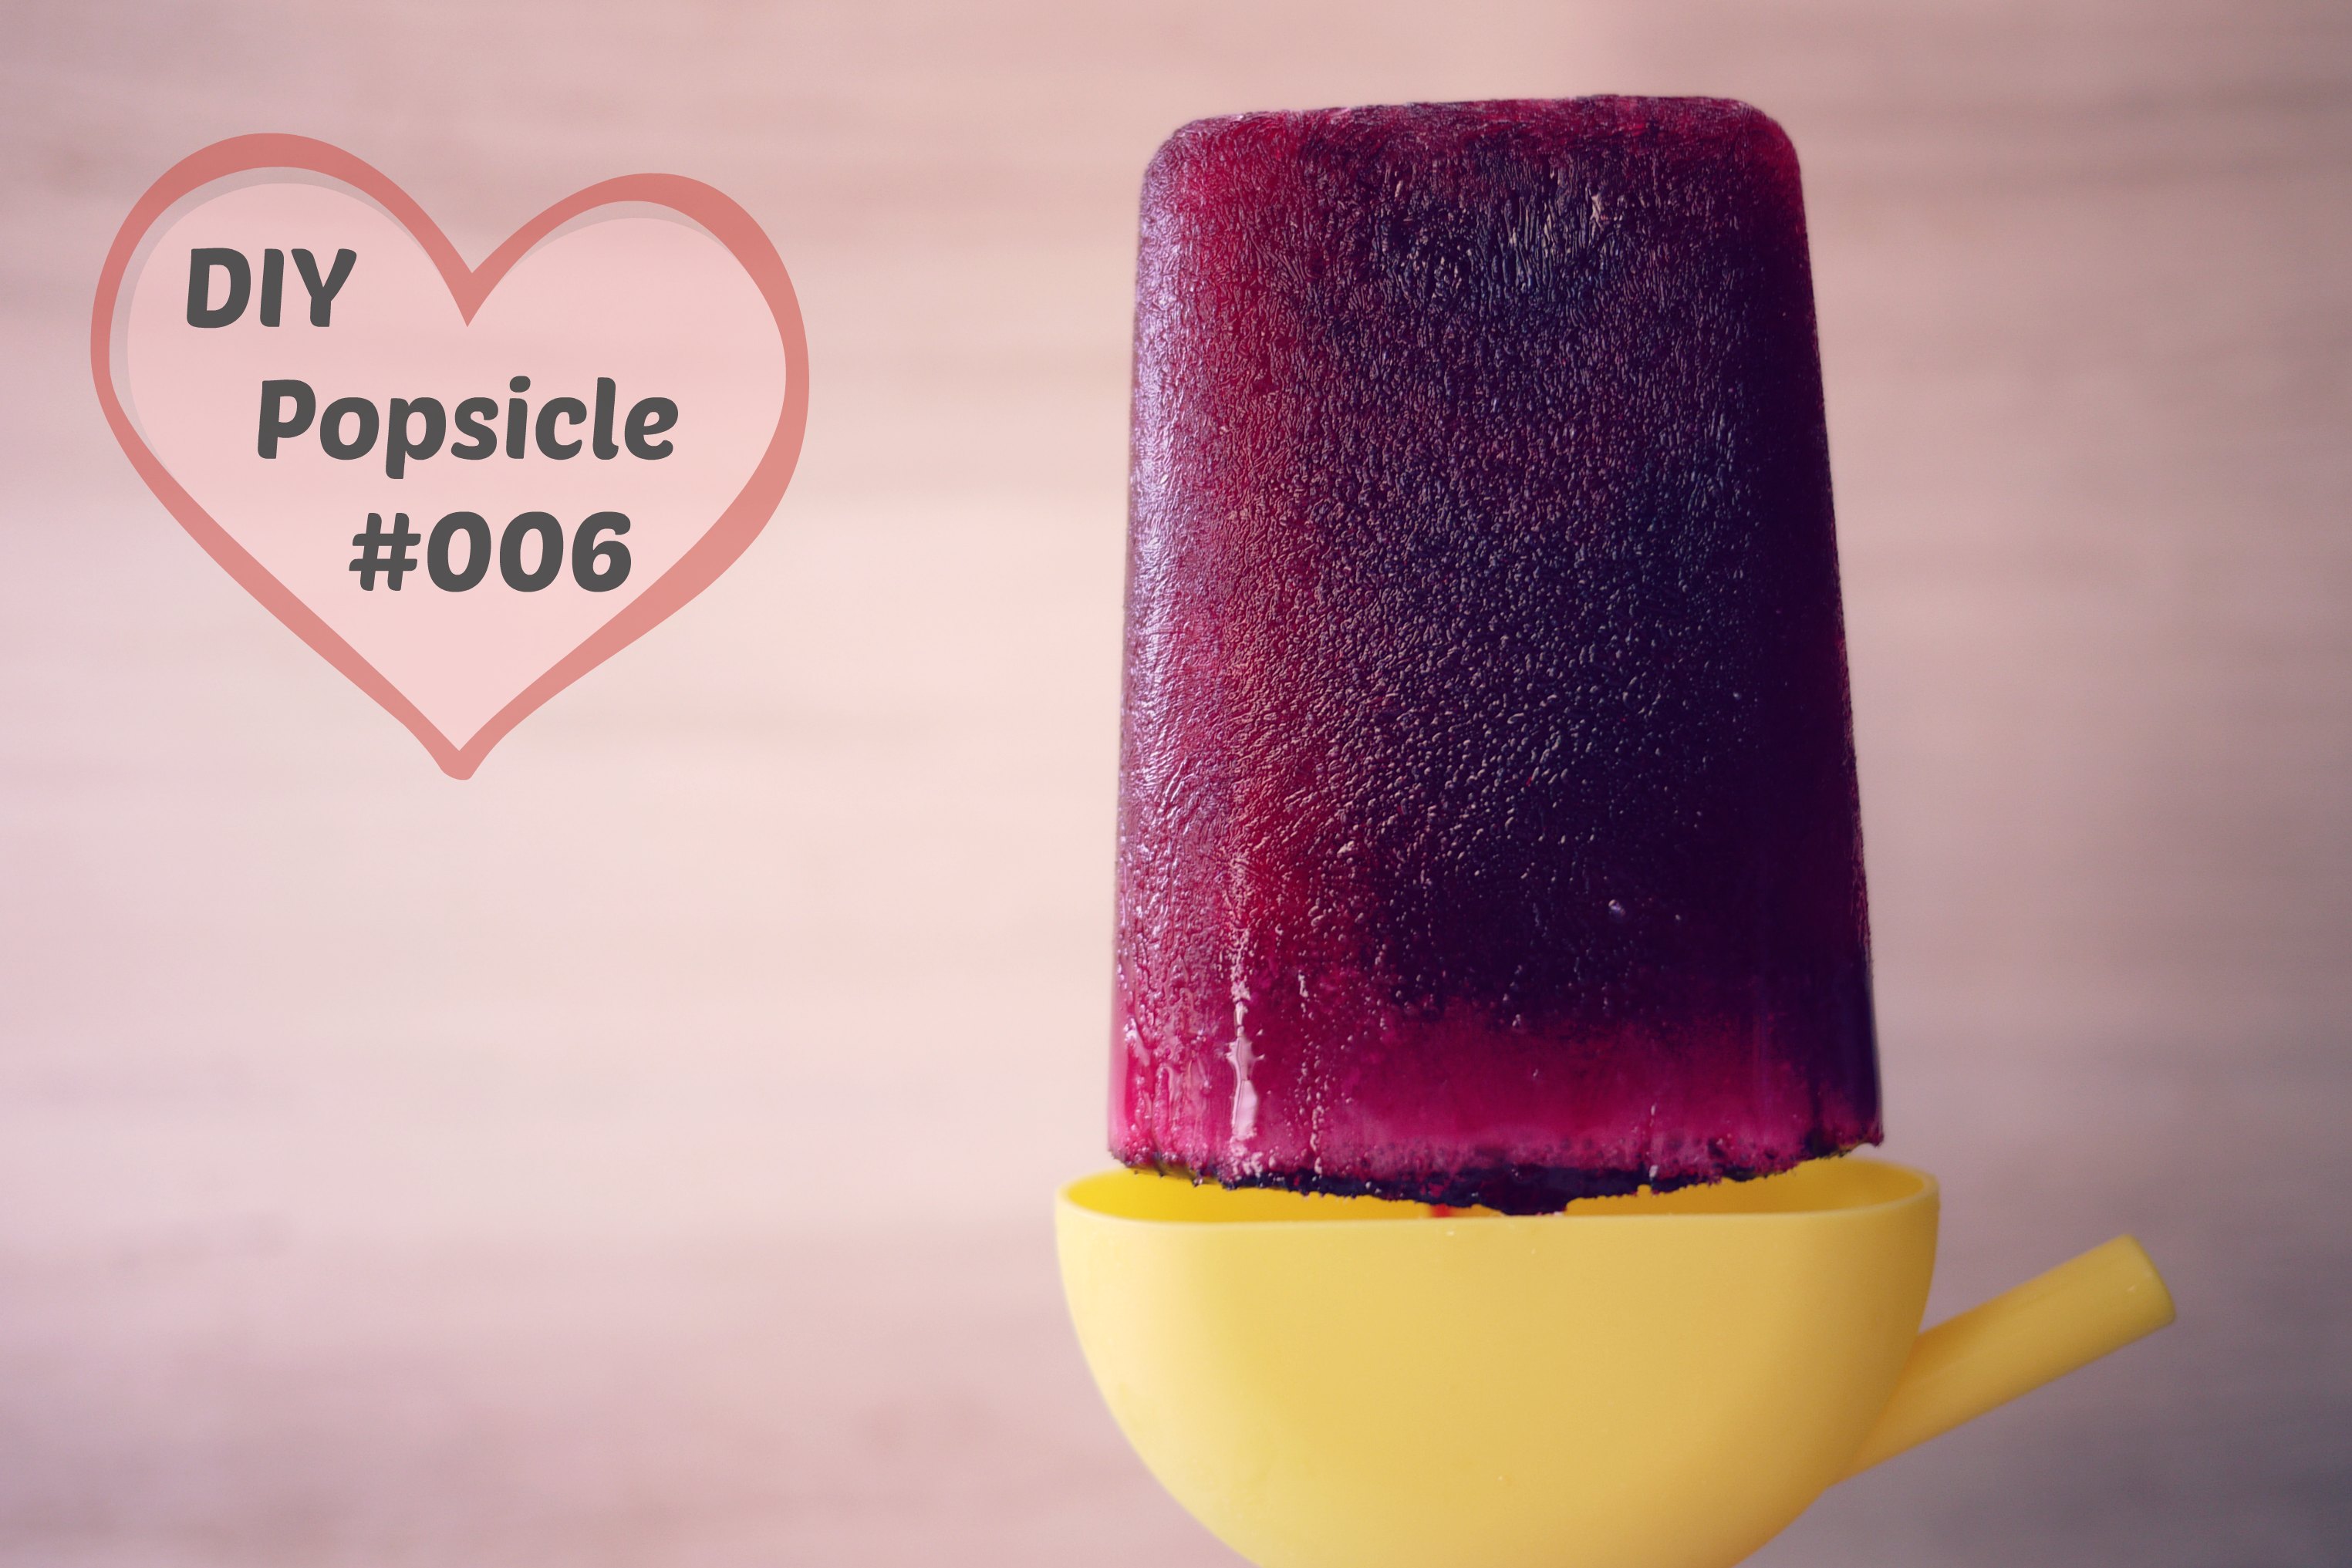
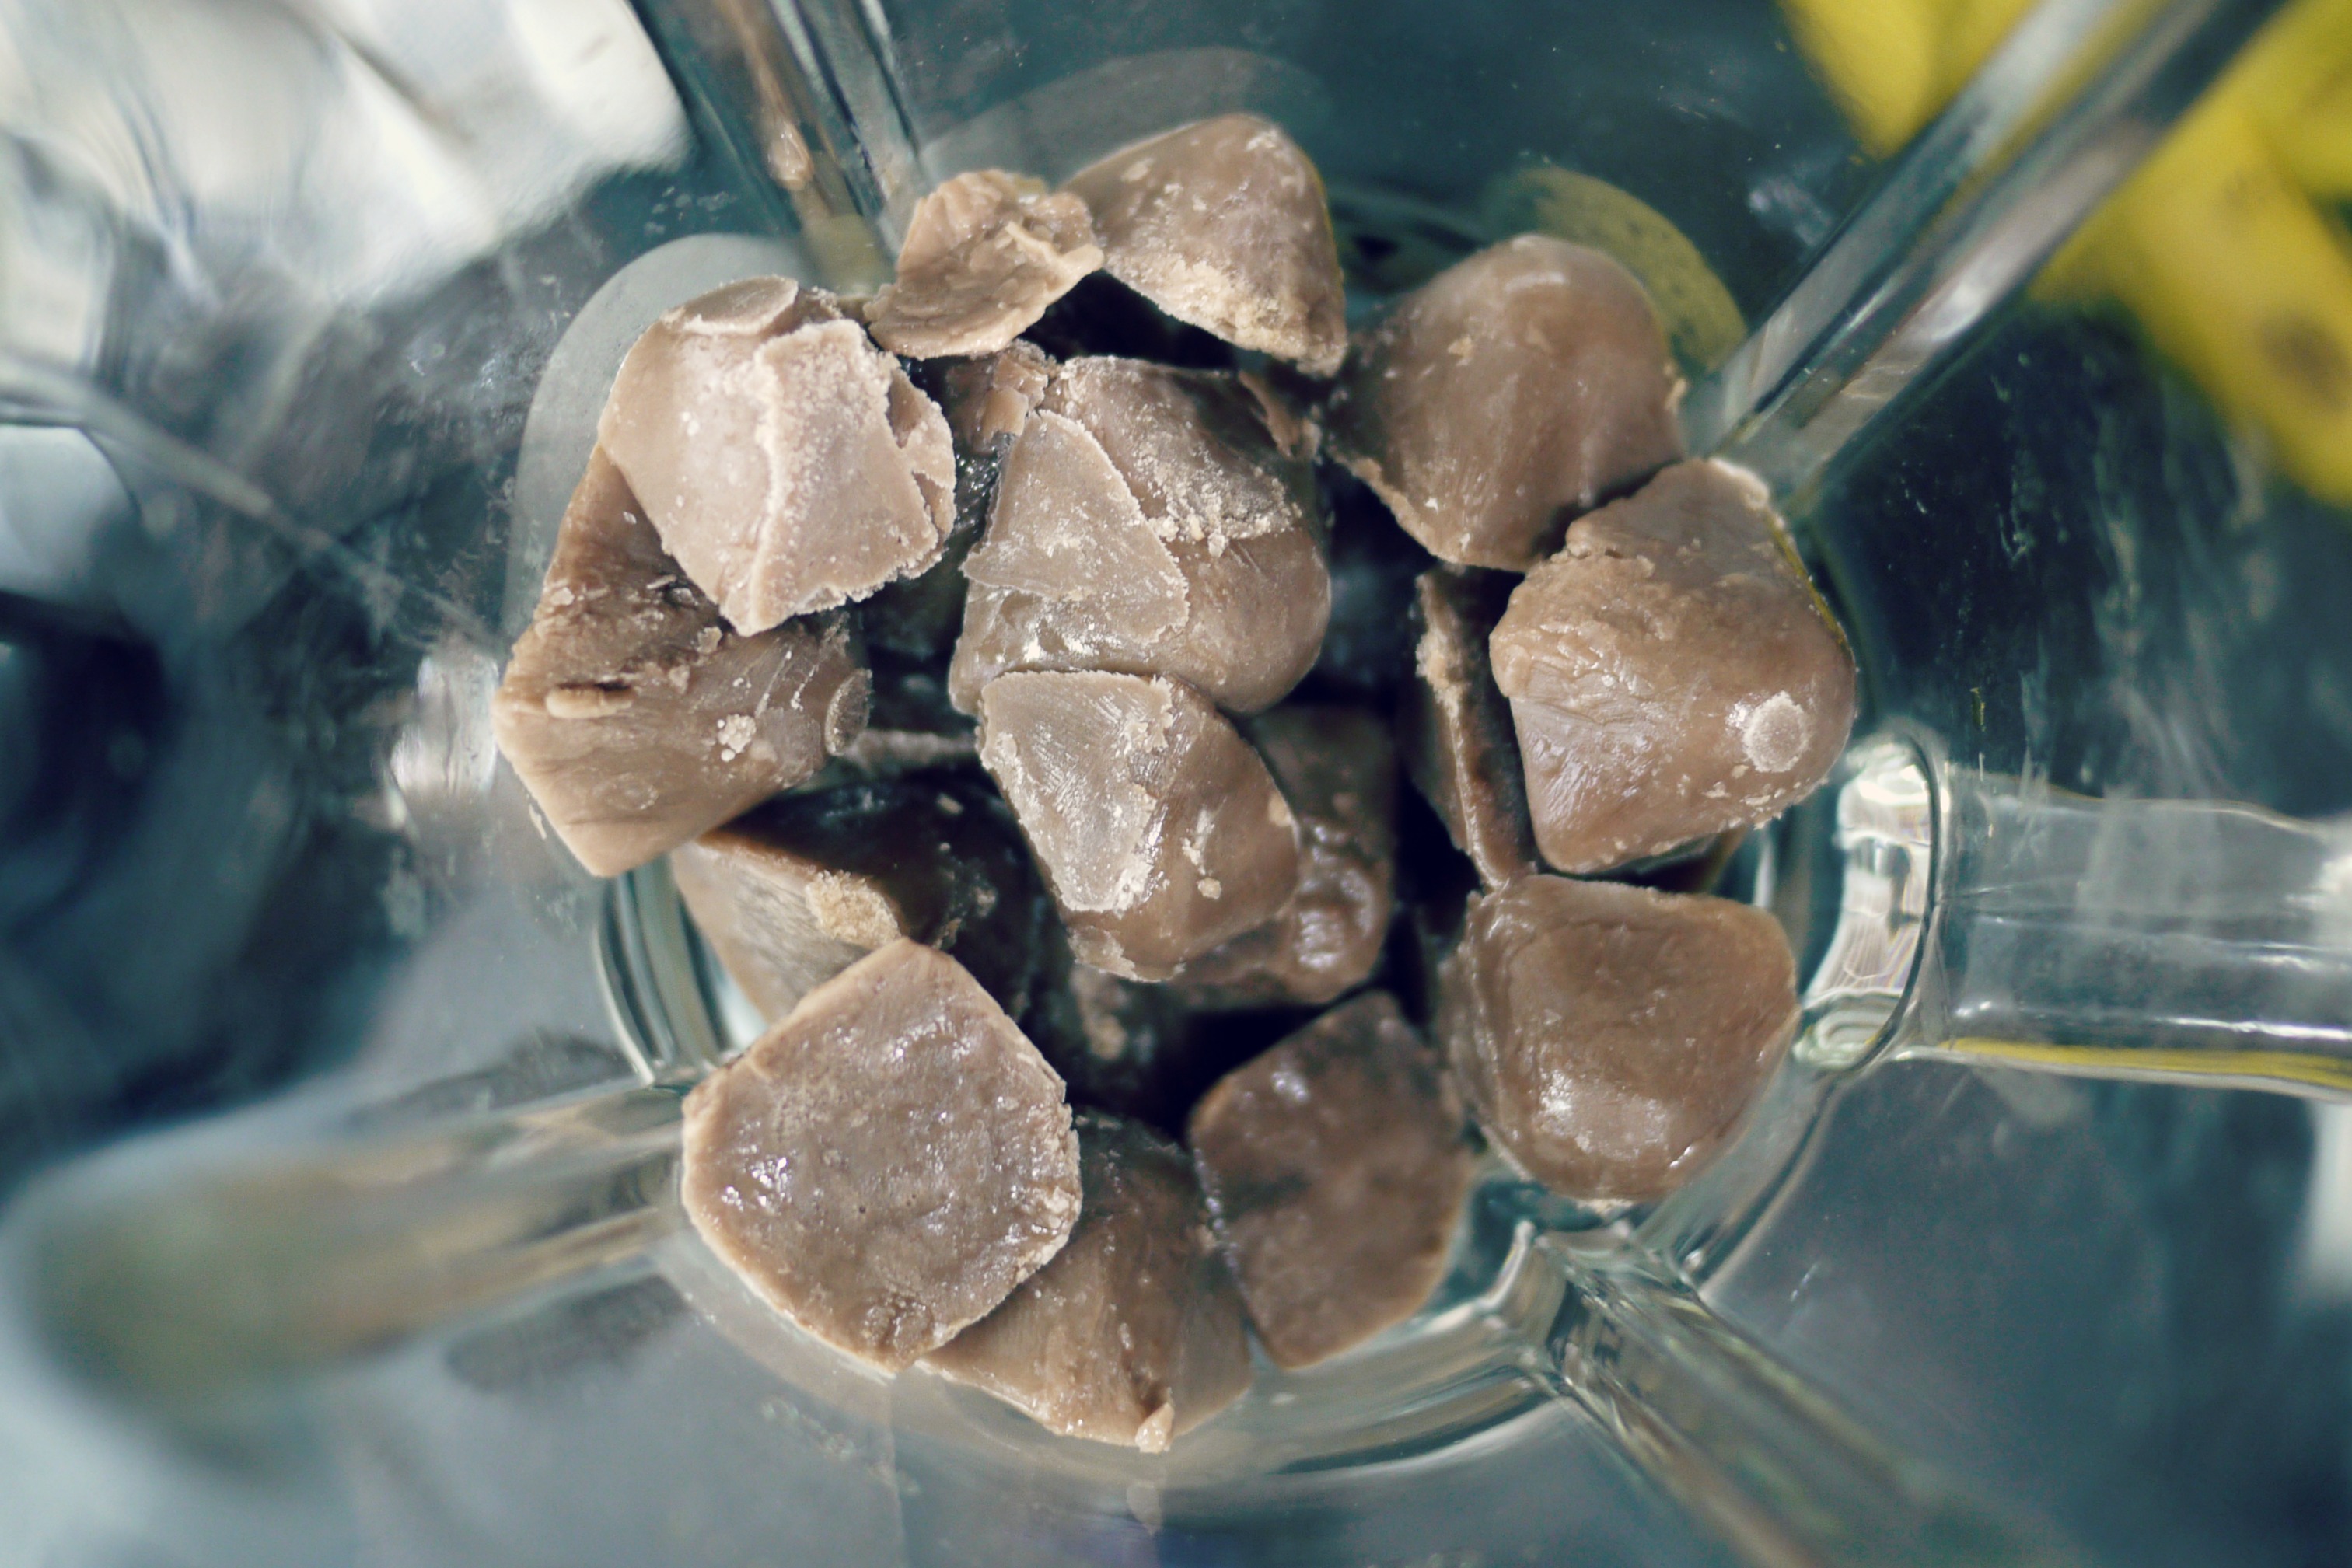
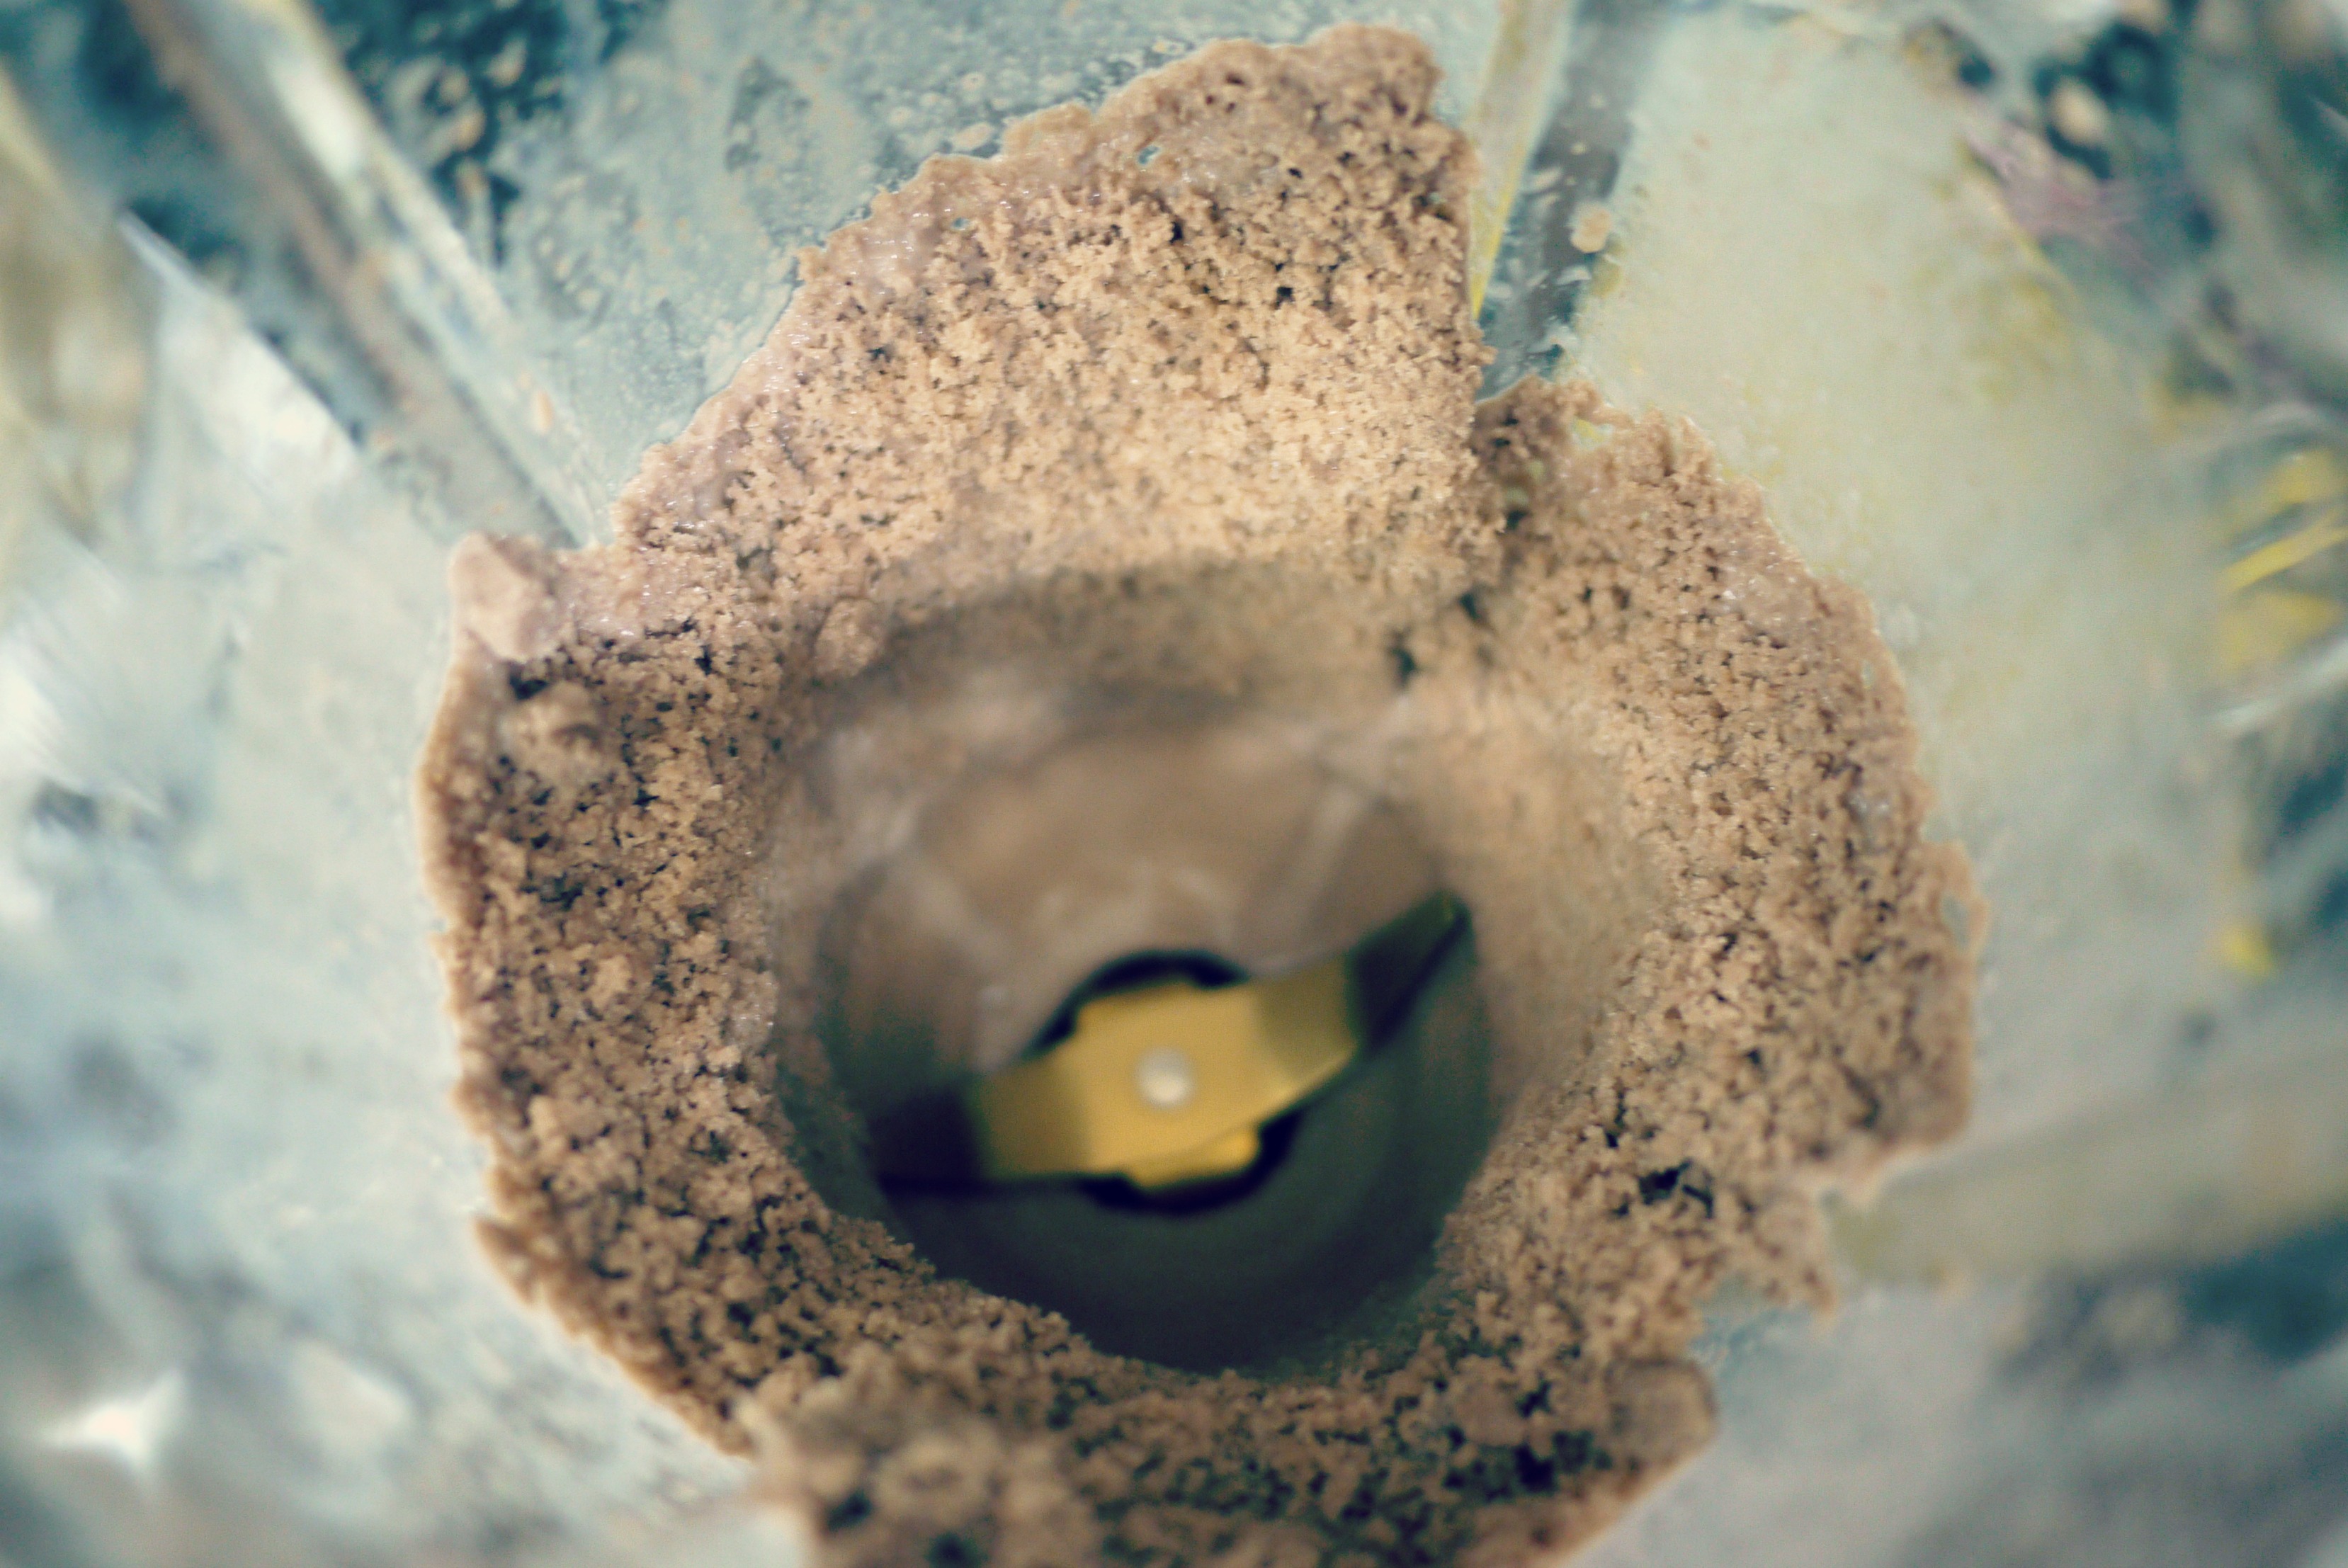
On this particular day,  I juiced another 2 pomegranate to make popsicles.   In case you haven’t tried fresh pomegranate juice before, it tastes like thickened Ribena, but not so sweet, which is yummy!

DIY Popsicle Version 006 : Pomegranate Popiscle
1. Base : Fresh pomegranate juice only
2. For some bites : I did not add any, but I have come across some adding blueberries to their pomegranate popsicle recipes.  Double the anti-oxidant level! 🙂

Easy Milkshakes

frozenmilkshake1 frozenmilkshake2 frozenmilkshake3 frozenmilkshake4

These may not be correctly termed as milkshakes, more like ice blend or 冰沙.  But a favorite brownie store serve us their signature milkshake this way.  We love the fact that they are slower to melt, take longer to savour, plus we love slurping crushed ice that tastes of rich chocolate milk.

Freeze your favorite full cream chocolate milk (we used UHT ones which are creamier that is great for this recipe) in ice cube trays the night before, you’ll yield one serving per tray.  If you do not have enough ice cube trays, freeze them in a few batches to make more than one serving.

To make, just blend these frozen milk cubes for a few minutes in the blender till you get finely crushed ice.  Pour the crushed ice into glasses.  Slurp, … opps I mean, serve immediately.

Works great with strawberry milk too, see last photo.

DIY Buttermilk

buttermilkpancake2buttermilkpancake1

Love the holidays.

Everything is done at a slower pace.  Breakfasts and suppers are longer.  More stuffs are made from scratch.

Like Buttermilk.

Mix lemon juice and milk and leave to stand for a while.  When it starts to curdle, it’s ready.  Cheaper than store-bought ones.  Then you’ll have the best ingredient for homemade pancakes.

DIY BUTTERMILK
Yield 1 cup

1.Mix 1 tablespoon of lemon juice with 1 scant cup of fresh full cream milk,  let it stand aside for about 10 minutes.  Ready once it’s curdled.

BUTTERMILK PANCAKES
// Adapted from : Martha Stewart
Yields : 6 medium pancakes.

INGREDIENTS

  • 1 cup all-purpose flour
  • 1 teaspoon baking powder
  • 1/2 teaspoon baking soda
  • 1/4 teaspoon salt
  • 1 and 1/2 tablespoons sugar
  • 1 large eggs, lightly beaten
  • 1 and 1/2 cups buttermilk
  • 2 tablespoons unsalted butter, melted, plus some for cooking

1. Mix flour, baking powder, baking soda, salt and sugar in a medium bowl.
2. Whisk egg, buttermilk, butter together and add to the dry ingredients in step 1 above.  Batter would have some small lumps.  If batter still appears runny, let it stand for a while more, it should thicken up.
3. Slightly grease pan with melted butter, and turn on fire to low heat.
4. Pour batter into heated pan, and let it cook over low heat.  Do not let batter spread thin.
5. When pancakes have bubbles on top and slightly dry around edges, flip over.  Cook till both sides are done.  Repeat till batter is used up.
6.  Serve warm, immediately.  Top with more butter (this homemade butter pads here), and this gula melaka syrup here.

Book Cover 002

bookcover002 // mono+co

Have your kids been journaling/doodling more during the past hazy week?  This is a second exercise book I wrapped with brown paper and simply decorated with a checkered floppy disk label.

Kaleidocycle

kaleidocycle // mono+co kaleidocycle // mono+co

A Kaleido-what?

While making the popup card yesterday, we stumbled upon another great paper craft on the same site to make this toy.  I can’t explain how the thing works, see here for yourself.  The printable template is there too.  Just print it out, give yourself 10 minutes to sort the instructions out, and then impress the kids with it.