Veggie Tempeh Sub

veggietempehsub1 veggietempehsub2 veggietempehsub3 veggietempehsub4 veggietempehsub5 veggietempehsub6

The first time I bought “fresh” (those wrapped in banana leaf and newspaper) tempeh from wet market, I thought it had turned moldy and threw it away.  Little did I know that these fermented soy beans are ranked so high on nutritional scale because of these “moldy” qualities.  Since then, they have turned up pretty regularly on my grocery list.

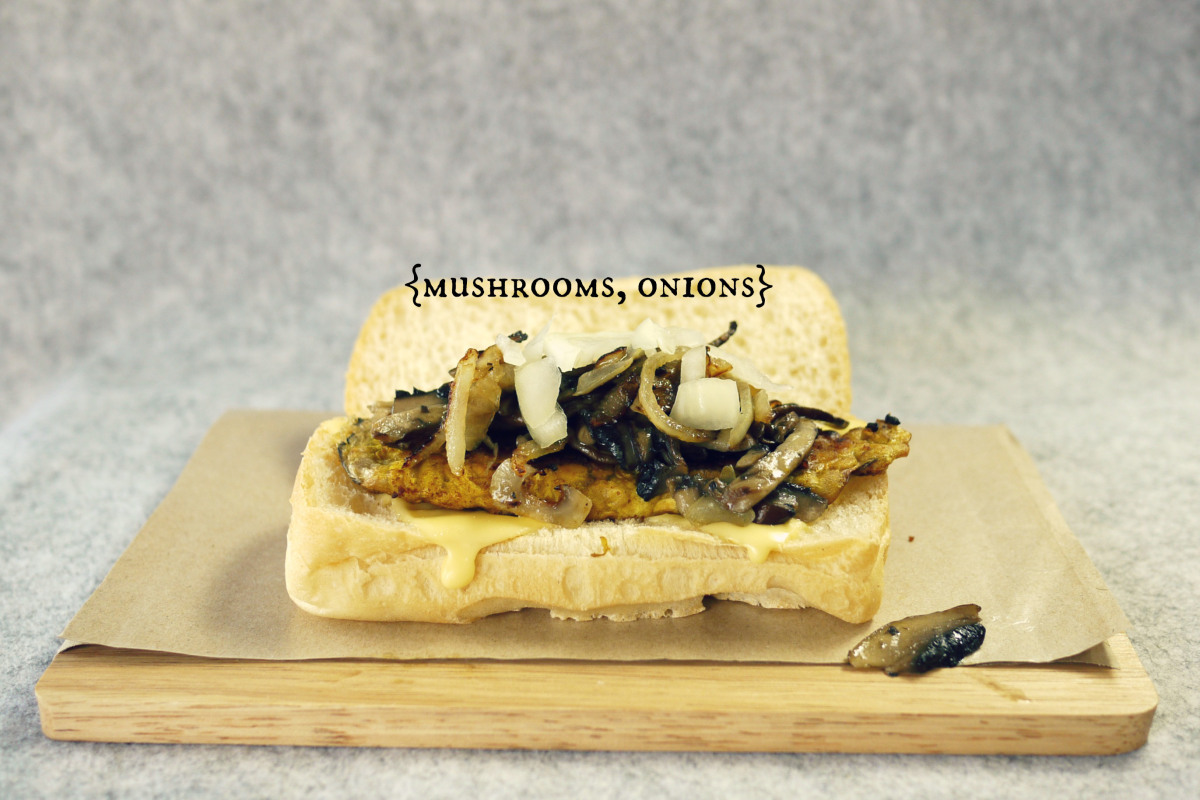
Besides deep-frying them to make tasty crispy snacks, tempeh is also great as a meat replacement patty.  The trick is to marinate the tempeh to taste “meaty” and saute till brown after.  Garlic powder, Worcestershire or BBQ sauce are great for that purpose.  I boil the tempeh slices first before dipping them in marinate so that they can absorb the sauce better when they are still hot.  After topping up with mushrooms, alfalfa sprouts (another superfood!) and caramelised onions, my kids can’t even tell that there is no meat in this sandwich.


VEGGIE TEMPEH SUB SANDWICH
Makes 1 sandwich
INGREDIENTS
- 2 tempeh slices
- 1 Ciabatta bread
- Olive Oil
Tempeh Marinate :
- 1/2 teaspoon garlic powder
- 1/2 teaspoon tumeric powder
- 1 tablespoon soy sauce
- 1/2 tablespoon worcestershire sauce
Toppings:
- Cheddar cheese slices
- 1 big portobello mushrooms, sliced
- 1/2 yellow onions, sliced
- Alfalfa sprouts

INSTRUCTIONS :

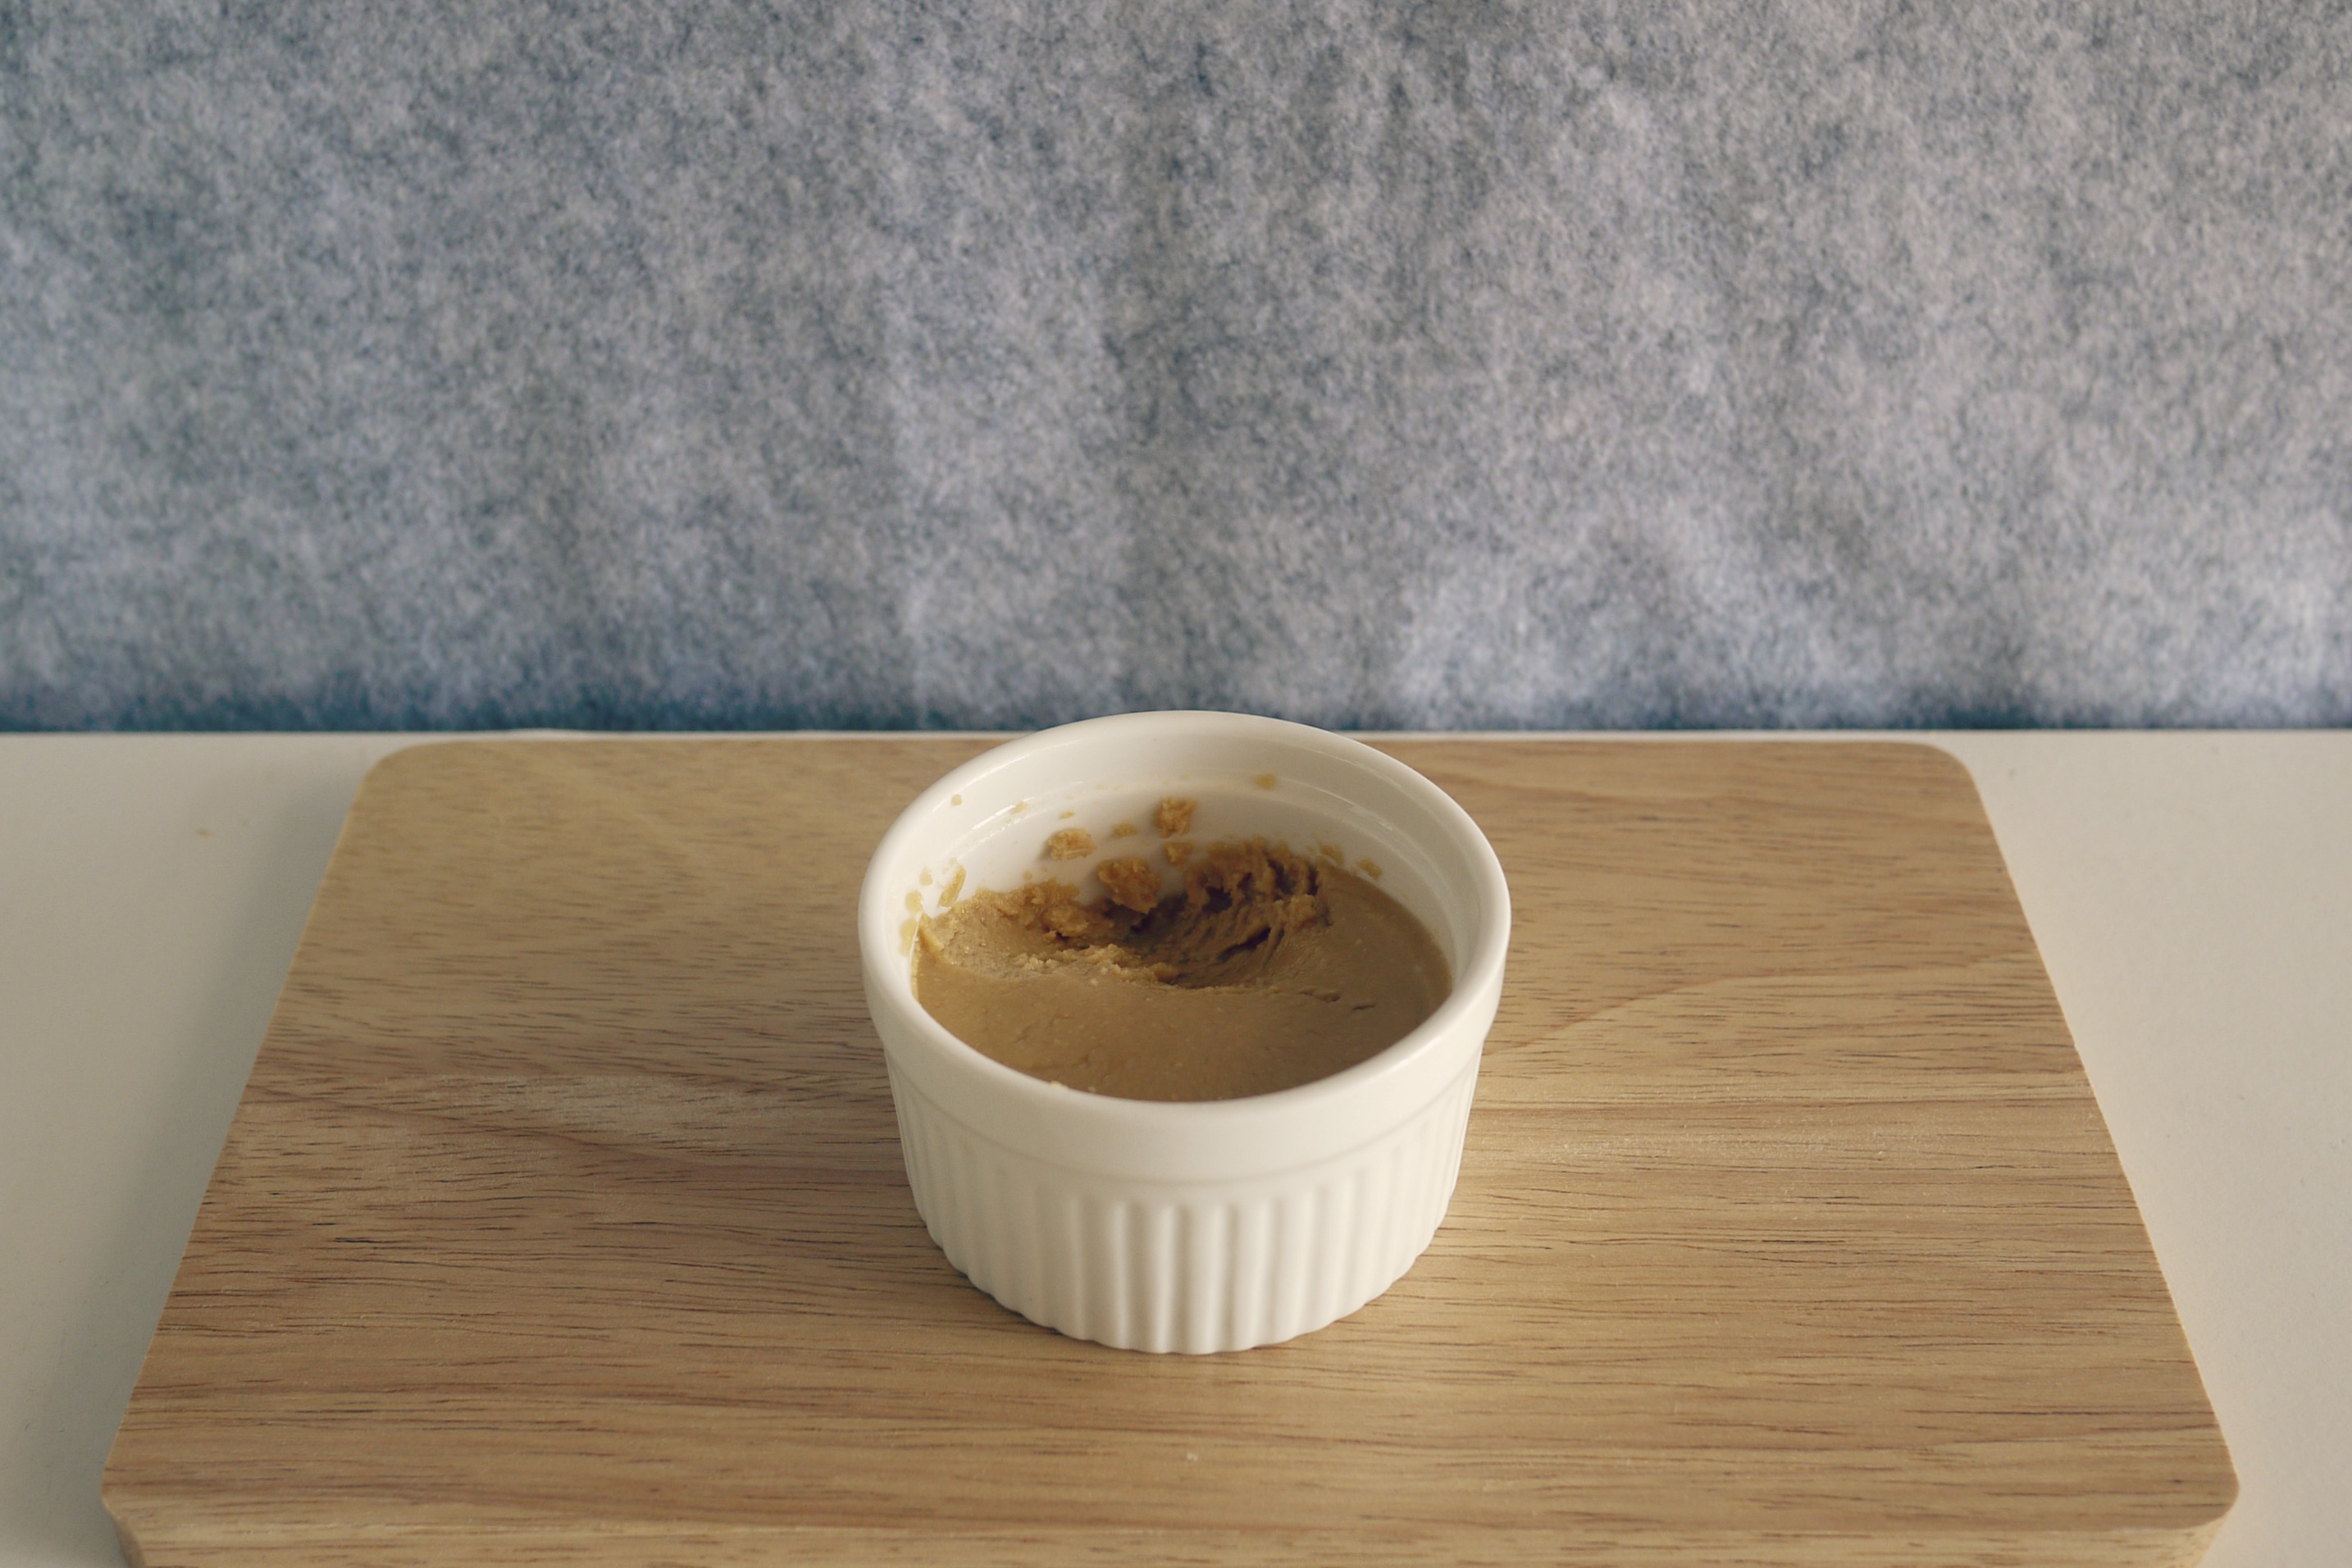
01. Mix marinate ingredients in a saucer, set aside.
02. Cook tempeh in boiling water for about 3 minutes, remove tempeh from water place in marinate sauce.  Prick tempeh with fork a few times and marinate for about 10 to 30 minutes.
03. In a heated pan with olive oil, saute onion slices till they turn soft over medium heat.
04. Add portobello mushrooms and continue to saute, add more oil if necessary.
05. Once onion slices have caramelised and mushrooms turn soft, remove from pan and set aside.
06. Add some oil to the pan, and saute marinated tempeh on both sides.

ASSEMBLY :

01. Slice Ciabatta bread into half, and toast with cheddar slices. Place tempeh slices.
02. Add saute mushrooms and onions.  I added some chopped uncooked onions as well for some crunch.
03. Lastly, top with alfalfa sprouts and serve immediately.

DIY Popsicle #003 : Banana Puree Popsicle

diypopsicle3a diypopsicle3b diypopsicle3c diypopsicle3d

First, an easy ice cream recipe : Always stock a small tub of frozen cut bananas in the freezer, that is all you need to make “healthy, sugar-gluten-dairy free, single ingredient ice cream” on a hot day.

Just puree the frozen fruit in a blender till they look like sticky “cream”, you may need to start-stop the blender a few times and use a spoon to move the frozen bananas around so that they get into the blades.

The end result is so close to the real thing; tastes, melts and glides around in your mouth just like normal ice cream, minus the guilt.  You can re-freeze the puree to get a firmer texture, but I usually can’t wait, just scoop them out and serve direct on a cone, sometimes with toppings like chopped almonds or peanuts.  Today, I blended more bananas and mold them into popsicles.

For the today’s popsicle recipe,  I blended a bit of natural yogurt with the banana puree made from 2 large bananas.  This is to add some tangy flavor, which I like in my popsicles, totally optional.

DIY Popsicle Version 003 : Banana Puree Popiscle
1. Base : Banana Puree.  Blend and blend 2 large frozen cut bananas and 2 tablespoons of natural/ greek yogurt (optional) till you get a sticky mixture. Fill popsicle molds with puree.  Tap the molds on the table a few times before freezing, to get rid of air pockets inside the mixture.
2. For some bites : None.

Steamed Pumpkin Glutinous Rice Cake 南瓜喜粄

xiban1 xiban2

南瓜喜粄 .

I have never seen or tasted these cakes before in my life.  A few blogs that I follow make them year after year after year.  So they must be good right?   Apparently, these cakes hold a special, nostalgic memory for many, a few reminiscing the days when this cake was sold as a regular snack item at the night market, when enamel plates were the de rigueur tableware, and when mom and mother in law used to make them for special days, and maybe still do now.

A search online to find the English name lead me to : Hi pan, Xi pan ….. I’ll just translate it myself in this case, pairing the 2 main ingredients: Pumpkin and Glutinous Rice, with the cooking method: Steaming.

The proper way is to steam these cakes on banana leaves, then top with a red dot using food coloring to make it a lucky/festive cake.  Since this is a trial attempt, I’ll “prop” it nicely next time.:-)

I used this halved recipe that yields 12 pieces, original recipe yields 22 pieces.
And when I pick up more experience, I’ll like to try this in purple!

P.S. These steamed cakes bite more like nonya kueh, chewy and sticky, but in a lighter way.  Which was surprising to me, because based on all the photos I have seen online, the cakes’ texture looked like steamed egg cake 鸡蛋糕.  Even when I tear open one I made, it still looks like a cake texture at such close range (See 2nd photo above).  I am no Hakka descendent, and never tasted 喜粄 before.  Did I make it right?  Mmmm…

DIY Popsicle #002 : Mango Yogurt Popsicle

diypopsicle2 diypopsicle2a

I made popsicles yesterday with Yoplait Mango Yogurt.  If the creamy kind of popsicle is what you like, then there are a lot of flavors for you to experiment with at the dairy section.  Some recipes online suggest draining away the extra liquid in the yogurt first, for a truly creamy texture.  But I have no problem skipping this step, my frozen yogurt popsicles still turn out creamy, like ice cream.

DIY Popsicle Version 002 : Mango Yogurt Popiscle
1. Base : Yoplait Mango Yogurt.  Simply scoop yogurt straight into the mold.  Tap the mold on the table a few times before freezing, to get rid of air packets within the yogurt.
2. For some bites : The yogurt already came with chunks of mangoes.   If you prefer more bites, or a different species of mango like the Indian or Thai variety, feel free to dice some and add them in first before filling the mold with yogurt.

Homemade Tomato Pasta Sauce

homemade tomato pasta sauce3jpghomemade tomato pasta sauce1

I have heard about how easy it is to make your own tomato sauce for pasta, but I have never tried.  I would usually prepare the simplest cold tomato sauce with just diced tomato, herbs, minced garlic and olive oil.  Only fresh ingredients, real food, good for body right?  Tell that to the kids, they prefer the thick chunky version, better still, the ones that come in cans and loaded with sugar.

I caved in,  so I made this tomato sauce from scratch last week with the recipe from Chubby Hubby, and again this week.

I think I am getting the hang of it.  The red wine vinegar is a must, to make the sauce taste like the store-bought type (ironic?).  I did not use the Hediard brand that was suggested, but it was good enough for my kids.  Then simmer the mixture slowly and patiently to a thick sauce.  I used plum tomatoes for both attempts so far, and want to try cherry tomatoes next time.

According to the website, this sauce can be made in advance and store up to 1 week in the chiller or months in the freezer.  Great as pizza sauce too.  Woohoo!

HOMEMADE TOMATO PASTA SAUCE
// Source : Chubby Hubby

INGREDIENTS
(Yields 600ml of sauce)

1-2 cloves garlic, peeled and finely chopped
2 tbs olive oil
1 fresh red chilli, deseeded and finely chopped
1 tbs fresh oregano, chopped or 2 tsp dried oregano
2 X 400g tins of Italian plum tomatoes (cherry tomatoes are also nice)
1 tbs red wine vinegar
1 handful fresh basil leaves, roughly chopped
salt and freshly ground pepper to taste
2-3 tbs extra virgin olive oil

1. Fry the garlic with the olive oil in a heavy-bottomed pan (no aluminum) placed over medium-high heat.
2. Once the garlic starts to release its aroma, add the chilli, oregano and tomatoes. Stir gently without breaking up the tomatoes.
3. Bring to the boil and simmer for about an hour.
4. Add the vinegar, then stir and chop up the tomatoes in the sauce.
5. Add the fresh basil, season to taste and add extra virgin olive oil.

DIY Popsicle #001 : Orange Strawberry Kiwi Popsicle

diypopsicle1 : orange strawberry kiwi popsicle // mono+co
The weather is so hot lately, I am glad I finally bought these $2 popsicle maker (makes 4 popsicles) from Daiso to make my own healthy cold treats. There are so many combinations of fruit juice and cut fruits to use, it’s really up to your own imagination and creativity to come up with your favourite recipe. Or leave it to the store’s fruit section promotion to decide. 🙂

Just stick to these 3 simple rules:
– Always put the diced fruits into the mold first, before filling it up with juice.
– Freeze for at least 3 hours before trying to remove the popsicles from the mold.
– Run the mold under running tap water to slightly defrost the ice on the mold first, before attempting to pull out the popsicle.

DIY Popsicle Version 001 : Orange Strawberry Kiwi Popsicle
1. Base : Freshly squeezed orange Juice, about 2 big oranges is enough for 4 popsicles. The supermarket happened to run promotion for oranges at $2.80 for 10. Even if the oranges are sour, they will still taste fantastic as popsicles!
2. For some bites : Diced kiwi fruits and Korean strawberries. You’ll be surprised how little you need to fill 1/3 of the molds, before topping up with juice.

Milk Bread Loaf

milkbread2 milkbread1milkbread3milkbread4
This Sweet Milk Bread recipe is a keeper.  Original 元子’s recipe had plain water and whole egg.  After 2 bloggers’ modifications (1st here, then here), the recipe now uses fresh milk and egg whites instead.  My final proof took almost 4 hours for the dough to rise and fill 80% of the loaf pan, but I think the overall texture was worth the wait.

As with all fresh homemade bread (no additives, bread improver, blah, blah), finish it up within 2 days.  On day 3, bread sort of dried out, and turned crummy, even though I only slice it before eating

Made notes below next to the ingredients to remind myself what I have used or tweaked.  So far, all my 3 attempts have been very successful.

The Big Man asks for consistent taste in his daily bread, commented that I have attempted far too many different milk/sweet bread recipes.  I think this is his way of saying that I should stick to this recipe.

MILK BREAD
//Adapted from Eileenの记事本

INGREDIENTS:
250g bread flour (I used Prima) / plain flour (I used Sheng Siong house brand, Happy Family)
50g fine sugar
65g egg white
100ml fresh milk (I used Meiji full cream)
8g milk powder (I used Fernleaf)
1/2 teaspoon instant yeast
1/4 teaspoon salt
25g unsalted butter (I used SCS and Anchor)

Oven Temp : 170C
Bakeware : Bread Loaf Pan

1. In a mixer with paddle attachment, mix well all ingredients except butter at low speed.
2. Change to a dough hook attachment, add in butter, and continue mixing till window pane stage, about 20 minutes.
3. Remove mixing bowl from mixer, cover with a clean tea towel, and leave it aside for 1 hour, The dough will rise to approximately twice its original size.
4. Punch down the inflated dough, and pour it out onto a clean worktop.
5. Evenly divide the dough into 3 portions (approx 160g each), roughly work them into balls and leave it covered for 15 minutes with the tea towel.
6. Flatten and roll out with a pin and roll up dough like a swiss roll from the shorter end.  Leave dough aside for another 15 minutes.
7. Repeat step 6, this time pinching the seams to seal tightly.  Arrange the 3 rolled up dough with seam facing down into the loaf pan.  Final proof till dough rise up to fill 80% of the pan.
8. In a preheated oven at 170C, bake for 35 minutes.
9. Remove the bread from the baking tin immediately after the baking is done.  Leave the bread on a cooling rack to cool completely before slicing.

For a better understanding of Step 6-7, See Photos Here.

Pandan Chiffon Cake

pandan1 pandan2 pandan4

This Pandan Chiffon Cake recipe was from a corporate desktop calendar.  No celebrity chefs or food bloggers (the recipes compiled were contributed by the staff of the company) , no fancy ingredients, no hype and just one simple photo of the cake.

PANDAN CHIFFON CAKE
Adapted from : Ascendas 2013 Calendar, November Recipe

INGREDIENTS A:

  • 100g cake flour, sifted
  • 6 egg yolks
  • 20g castor sugar
  • 50g olive oil
  • 50g fresh milk
  • 50g coconut cream
  • 50g condensed milk
  • 1 teaspoon pandan leaf juice

INGREDIENTS B:

  • 100g castor sugar
  • 12g corn flour
  • 6 egg whites

Oven Temp : 180C
Duration : 35 minutes of baking, 15 minutes of cooling
Bakeware : 16cm chiffon pan ( I used a 26cm bundt pan without problem)

01. In an electric mixer with paddle attachment, combine egg yolks and castor sugar well at medium speed.
02. Add olive oil, fresh milk, coconut cream, condensed milk, pandan juice, and mix till well combined.
03. Fold in sifted cake flour.  Let batter mixture stand for 10 minutes.
04. In a separate mixing bowl, with a whisk attachment, beat ingredients B (egg whites, cornflour, castor sugar) till stiff peak stage.
05. Fold in egg white mixture gently into the batter mixture in 3 additions, just until blended, without deflating the batter.
06. Pour batter into chiffon cake pan.  Run a butter knife across the batter to remove air pockets.
07. Bake at 180C for 35 minutes or until skewer inserted comes out clean.
08. Invert pan on a rack to cool for 15 minutes before removing to serve.

DIY Honey Peanut Butter

honeypeanutbutter1 honeypeanutbutter2 honeypeanutbutter3

Do you know that by running roasted peanuts in a food processor for several minutes, you’ll get peanut butter?

No lengthy list of ingredients or instructions.  It is interesting to see the peanuts being transformed into a smooth paste within 5 minutes.  I make just enough to be consumed within 2 days using a handful of peanuts.  It will take slightly more time to process for larger servings.  I stopped short of letting them becoming too runny as it is more difficult to use as a bread spread.  As a drizzle for waffles or pancakes, I will process them longer.

I do not add salt or oil, like most recipes online, as I use ready roasted salted peanuts.  Make sure you get the skinless ones.  Honey is added towards the end of the blending process to make it tastier for the kids.   After reading this, I might even consider adding chocolate chips for my next batch.