DIY Popsicle #007 : Yakult Popsicle

diypopsicle7

I asked myself this before making these Yakult popsicles: “Does freezing Yakult kill the Shirota strain?” Nope, see answer to question 14 here.  Guess it’s the same as freezing yogurt.  They just go dormant.

Somewhere between the original and the orange flavor, right in the middle, things were not freezing well, all my 4 popsicles broke off at the same place when I tried to unmold them.  But they were still yummy nonetheless.

DIY Popsicle Version 007 : Yakult Popiscle
1. Base : Yakult drink (or other fermented milk drink) in 4 flavors.  Wait for one layer to freeze, before adding the next flavor.
2. For some bites : None.  I am getting lazy here….. 🙂

Creamy Cauliflower Garlic Rice

creamycauliflowergarlicrice1 // making it blissful creamycauliflowergarlicrice2 // making it blissful

The no-cream creamy cauliflower soup was ridiculously successful, so when I saw this garlic rice recipe, I held even higher hopes, and it looks like I’ve got another great no-cream creamy sauce recipe, with cauliflower once more.  I’ll never want to run out of cauliflower again!

CREAMY CAULIFLOWER GARLIC RICE
// Adapted from : A Pinch of Yum
Serves: 2

INGREDIENTS
2 cups chopped cauliflower
2 cups vegetable stock, or water
3/4 cups jasmine white rice, or brown rice, cook and set aside
1 tablespoon butter, or olive oil
salt to taste
2 cloves minced garlic
Cheddar cheese or Mozzarella cheese, as toppings

1. In a medium pot, bring vegetable stock to boil, and cook cauliflower till soft.  Shut off fire, let the cauliflower and stock cool down – I have a fear for placing very hot things in my blender.
2. Once the cauliflower and stock turn to room temperature or lukewarm, transfer the cauliflower to a blender and adding stock bit by bit to puree till it forms a smooth creamy consistency.  Season with salt.
3. Mix the puree with cooked rice, stir well.
3. In a skillet, melt butter and then garlic, and fry till the garlic is very fragrant.
4. Add in the creamy cauliflower and rice mixture, and stir to incorporate the garlic into the rice.
5. Divide the rice  into 2 plates, top with cheese, and season with pepper, salt, and your favorite herbs.  Serve immediately.
6. You can also serve the rice and mozzarella cheese toppings in an oven proof dish and bake it for a few minutes till the cheese topping melts and bubbles.

DIY Popsicle #006 : Pomegranate Popsicle

diypopsicle // mono+co diypopsicle6 diypopsicle6a

When pomegranate juice/ juice concentrate were once making the anti-oxidant/superfood headlines years ago, I thought they were, too expensive; to drink the bottled version daily?  The frequency was suggested by the promoter in the pharmacy, of course, to boost consumption level and speed up sales.

Pomegranates also looked too complicated a fruit to be de-seeded if I want to buy it fresh, eat it pulp and all, after all fresh is the best, right?  Turns out de-seeding is not that difficult.  De-seed like a pro here (actual de-seeding starts 4:40min, but the overall video is interesting to watch for more information on pomegranate) or here (actual de-seeding starts at 1:30min).  Just be careful not to let the juices stain your shirt.

Since then, I have been buying the fruit only when it’s in season, (I got these last month) and make my own pomegranate juice with a juice extractor.  I don’t eat the fruit as I still haven’t acquire the taste of consuming the seeds along.  My kids have no problem with that though, so I’ll save a small bowl of the fruit for them and juice the rest.

On this particular day,  I juiced another 2 pomegranate to make popsicles.   In case you haven’t tried fresh pomegranate juice before, it tastes like thickened Ribena, but not so sweet, which is yummy!

DIY Popsicle Version 006 : Pomegranate Popiscle
1. Base : Fresh pomegranate juice only
2. For some bites : I did not add any, but I have come across some adding blueberries to their pomegranate popsicle recipes.  Double the anti-oxidant level! 🙂

Easy Milkshakes

frozenmilkshake1 frozenmilkshake2 frozenmilkshake3 frozenmilkshake4

These may not be correctly termed as milkshakes, more like ice blend or 冰沙.  But a favorite brownie store serve us their signature milkshake this way.  We love the fact that they are slower to melt, take longer to savour, plus we love slurping crushed ice that tastes of rich chocolate milk.

Freeze your favorite full cream chocolate milk (we used UHT ones which are creamier that is great for this recipe) in ice cube trays the night before, you’ll yield one serving per tray.  If you do not have enough ice cube trays, freeze them in a few batches to make more than one serving.

To make, just blend these frozen milk cubes for a few minutes in the blender till you get finely crushed ice.  Pour the crushed ice into glasses.  Slurp, … opps I mean, serve immediately.

Works great with strawberry milk too, see last photo.

DIY Buttermilk

buttermilkpancake2buttermilkpancake1

Love the holidays.

Everything is done at a slower pace.  Breakfasts and suppers are longer.  More stuffs are made from scratch.

Like Buttermilk.

Mix lemon juice and milk and leave to stand for a while.  When it starts to curdle, it’s ready.  Cheaper than store-bought ones.  Then you’ll have the best ingredient for homemade pancakes.

DIY BUTTERMILK
Yield 1 cup

1.Mix 1 tablespoon of lemon juice with 1 scant cup of fresh full cream milk,  let it stand aside for about 10 minutes.  Ready once it’s curdled.

BUTTERMILK PANCAKES
// Adapted from : Martha Stewart
Yields : 6 medium pancakes.

INGREDIENTS

  • 1 cup all-purpose flour
  • 1 teaspoon baking powder
  • 1/2 teaspoon baking soda
  • 1/4 teaspoon salt
  • 1 and 1/2 tablespoons sugar
  • 1 large eggs, lightly beaten
  • 1 and 1/2 cups buttermilk
  • 2 tablespoons unsalted butter, melted, plus some for cooking

1. Mix flour, baking powder, baking soda, salt and sugar in a medium bowl.
2. Whisk egg, buttermilk, butter together and add to the dry ingredients in step 1 above.  Batter would have some small lumps.  If batter still appears runny, let it stand for a while more, it should thicken up.
3. Slightly grease pan with melted butter, and turn on fire to low heat.
4. Pour batter into heated pan, and let it cook over low heat.  Do not let batter spread thin.
5. When pancakes have bubbles on top and slightly dry around edges, flip over.  Cook till both sides are done.  Repeat till batter is used up.
6.  Serve warm, immediately.  Top with more butter (this homemade butter pads here), and this gula melaka syrup here.

Pancakes With Molded Butter Pads

kidsmakepancake1 kidsmakepancake3 kidsmakepancake4

I’m not sure my kids like making the banana pancakes or the butter pads better, but both recipes are pretty fool-proof, and extra fancy for a looong morning breakfast.  If your kids can stir, they can make these.

A plea from the pancakes: use real butter, not man-made margarine.  Make these individual servings of butter with your favorite chocolate molds the night before.  I got mine from Daiso, they have cute looking teddy bear ones too!

DIY MOLDED BUTTER PADS

1. Soften butter (salted or unsalted are fine, individual preference) to room temperature.
2. Spoon softened butter into molds, minimizing air bubbles.
3. Freeze the molds in freezer for 1 hour, or chiller compartment overnight.
4. Remove mold from fridge and tap them on counter top to dislodge the butter pads from the mold.
5. Use immediately, or keep them in a container, but always keep them in the chiller so that they won’t melt and go out of shape.

FLUFFY AMERICAN BANANA PANCAKES
// Adapted from : BBC Food
Yields : 4 fairly large thick pancakes.

INGREDIENTS

  • 135g plain flour
  • 1 teaspoon baking powder
  • 1/2 teaspoon salt
  • 2 tablespoons castor sugar
  • 130ml milk
  • 1 egg, lightly beaten
  • 2 tablespoons melted butter, and slightly more for cooking
  • 1 large banana, sliced

1. Lightly whisk milk and egg in a bowl together, then whisk in melted butter.
2. In a separate bowl, mix sifted flour and powder, salt and sugar.
3. Pour milk mixture in step 1 into the bowl of dry ingredients in step 2, and stir thoroughly with a fork, until the batter has no lumps.  The batter would be thick, not the runny kind, resist temptation to add milk/water to remove lumps, keep stirring and the lumps should disappear.  Let batter stand aside for a few minutes.
4. In a pan, brush some melted butter, and turn on fire to low heat.
5. Pour some batter into the heated pan, and let it cook over low heat.
6. Arrange banana slices on the top of the pancake, tapping them down into the batter slightly.
7. Wait till the top of the pancake starts to bubble, then turn pancake over to cook the side with bananas.
8. Remove pan from heat, and serve cooked pancake onto a plate.  Wipe the pan clean with clean towel, and brush with melted butter first, before repeating step 5-8 for the next pancake.
9. Repeat till all batter are used up.
10. Serve pancakes immediately while they are still warm.  Top with gula melaka syrup (or real maple syrup) and butter pads(above).

Gula Melaka Syrup

gulamelakasyrup3 gulamelakasyrup1 frenchtoast3 frenchtoast5

The local paper has mentioned palm sugar / gula melaka for 2 consecutive Sundays.  The earlier week featured it as an ingredient for a cupcake recipe. (Good riddance white sugar!  Definitely trying this out.)  The next week, a brand of granulated version of gula melaka was introduced by the same writer, which I think is more friendly to bake with.  I have been adding granulated gula melaka to my morning coffee, adding a nicely “burnt” aroma as well as a richer taste.  It’s a bonus to know that gula melaka has a lower GI than white sugar, and thus is a healthier sweetener than sugar.

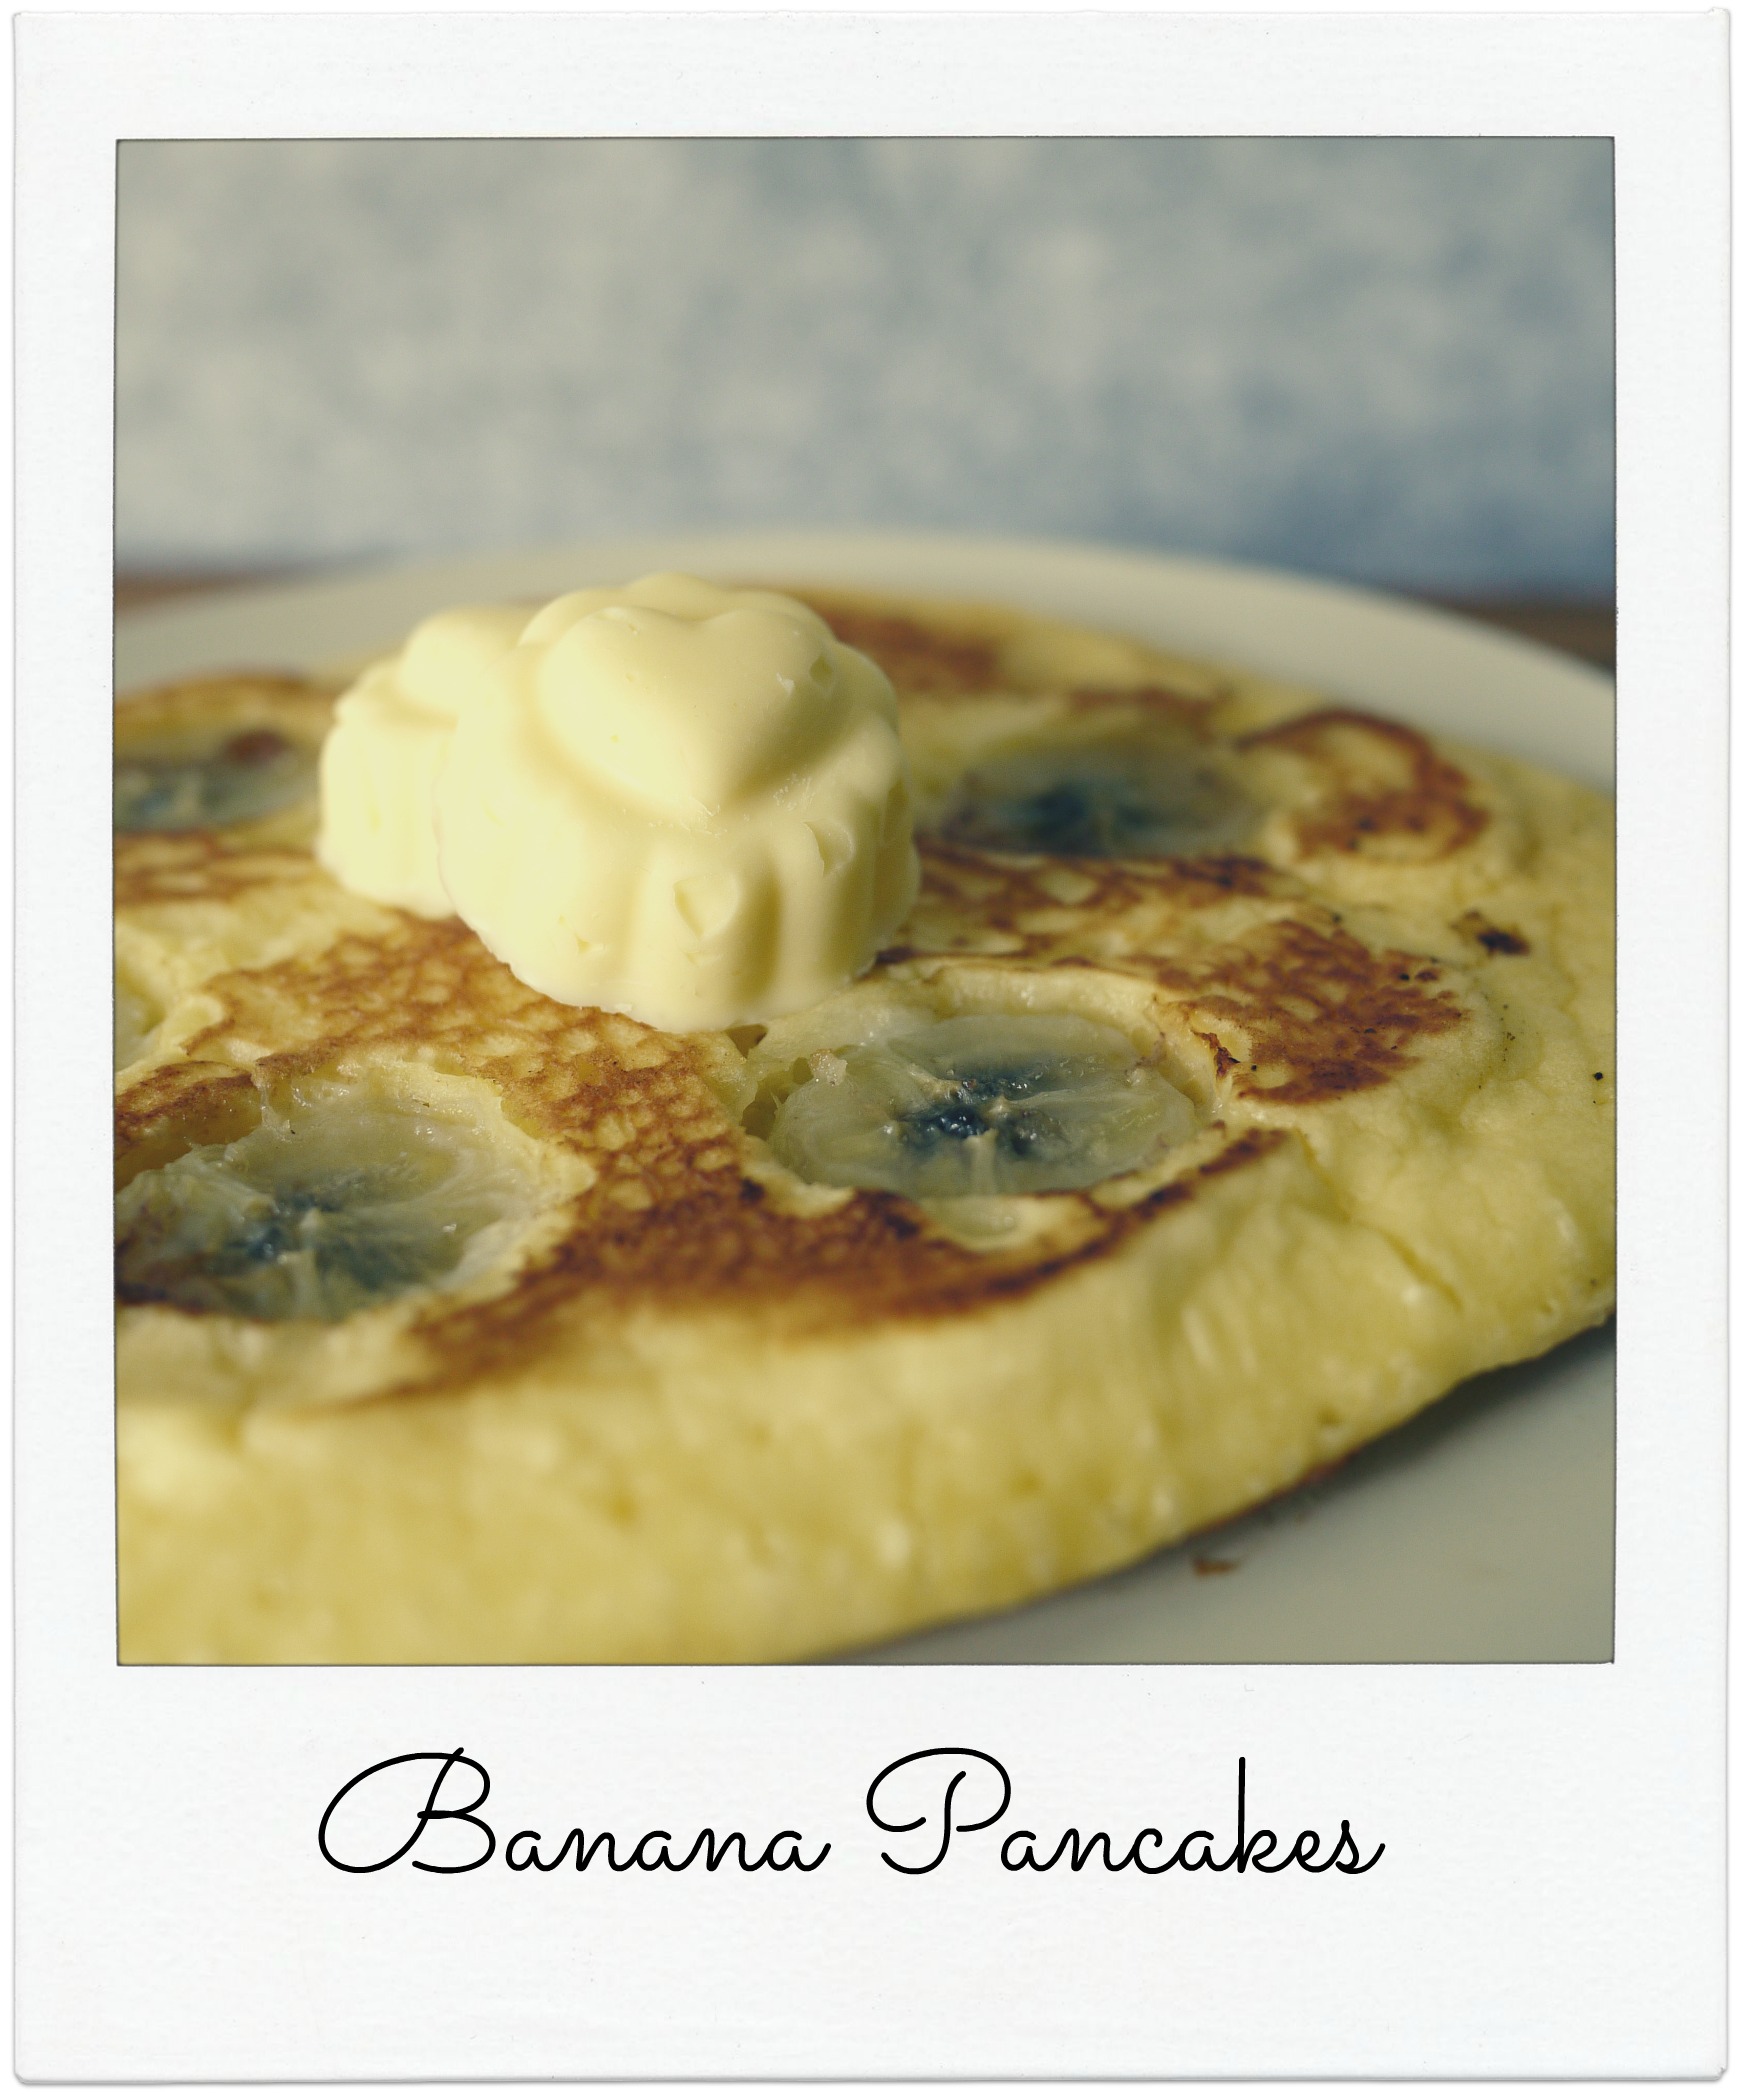
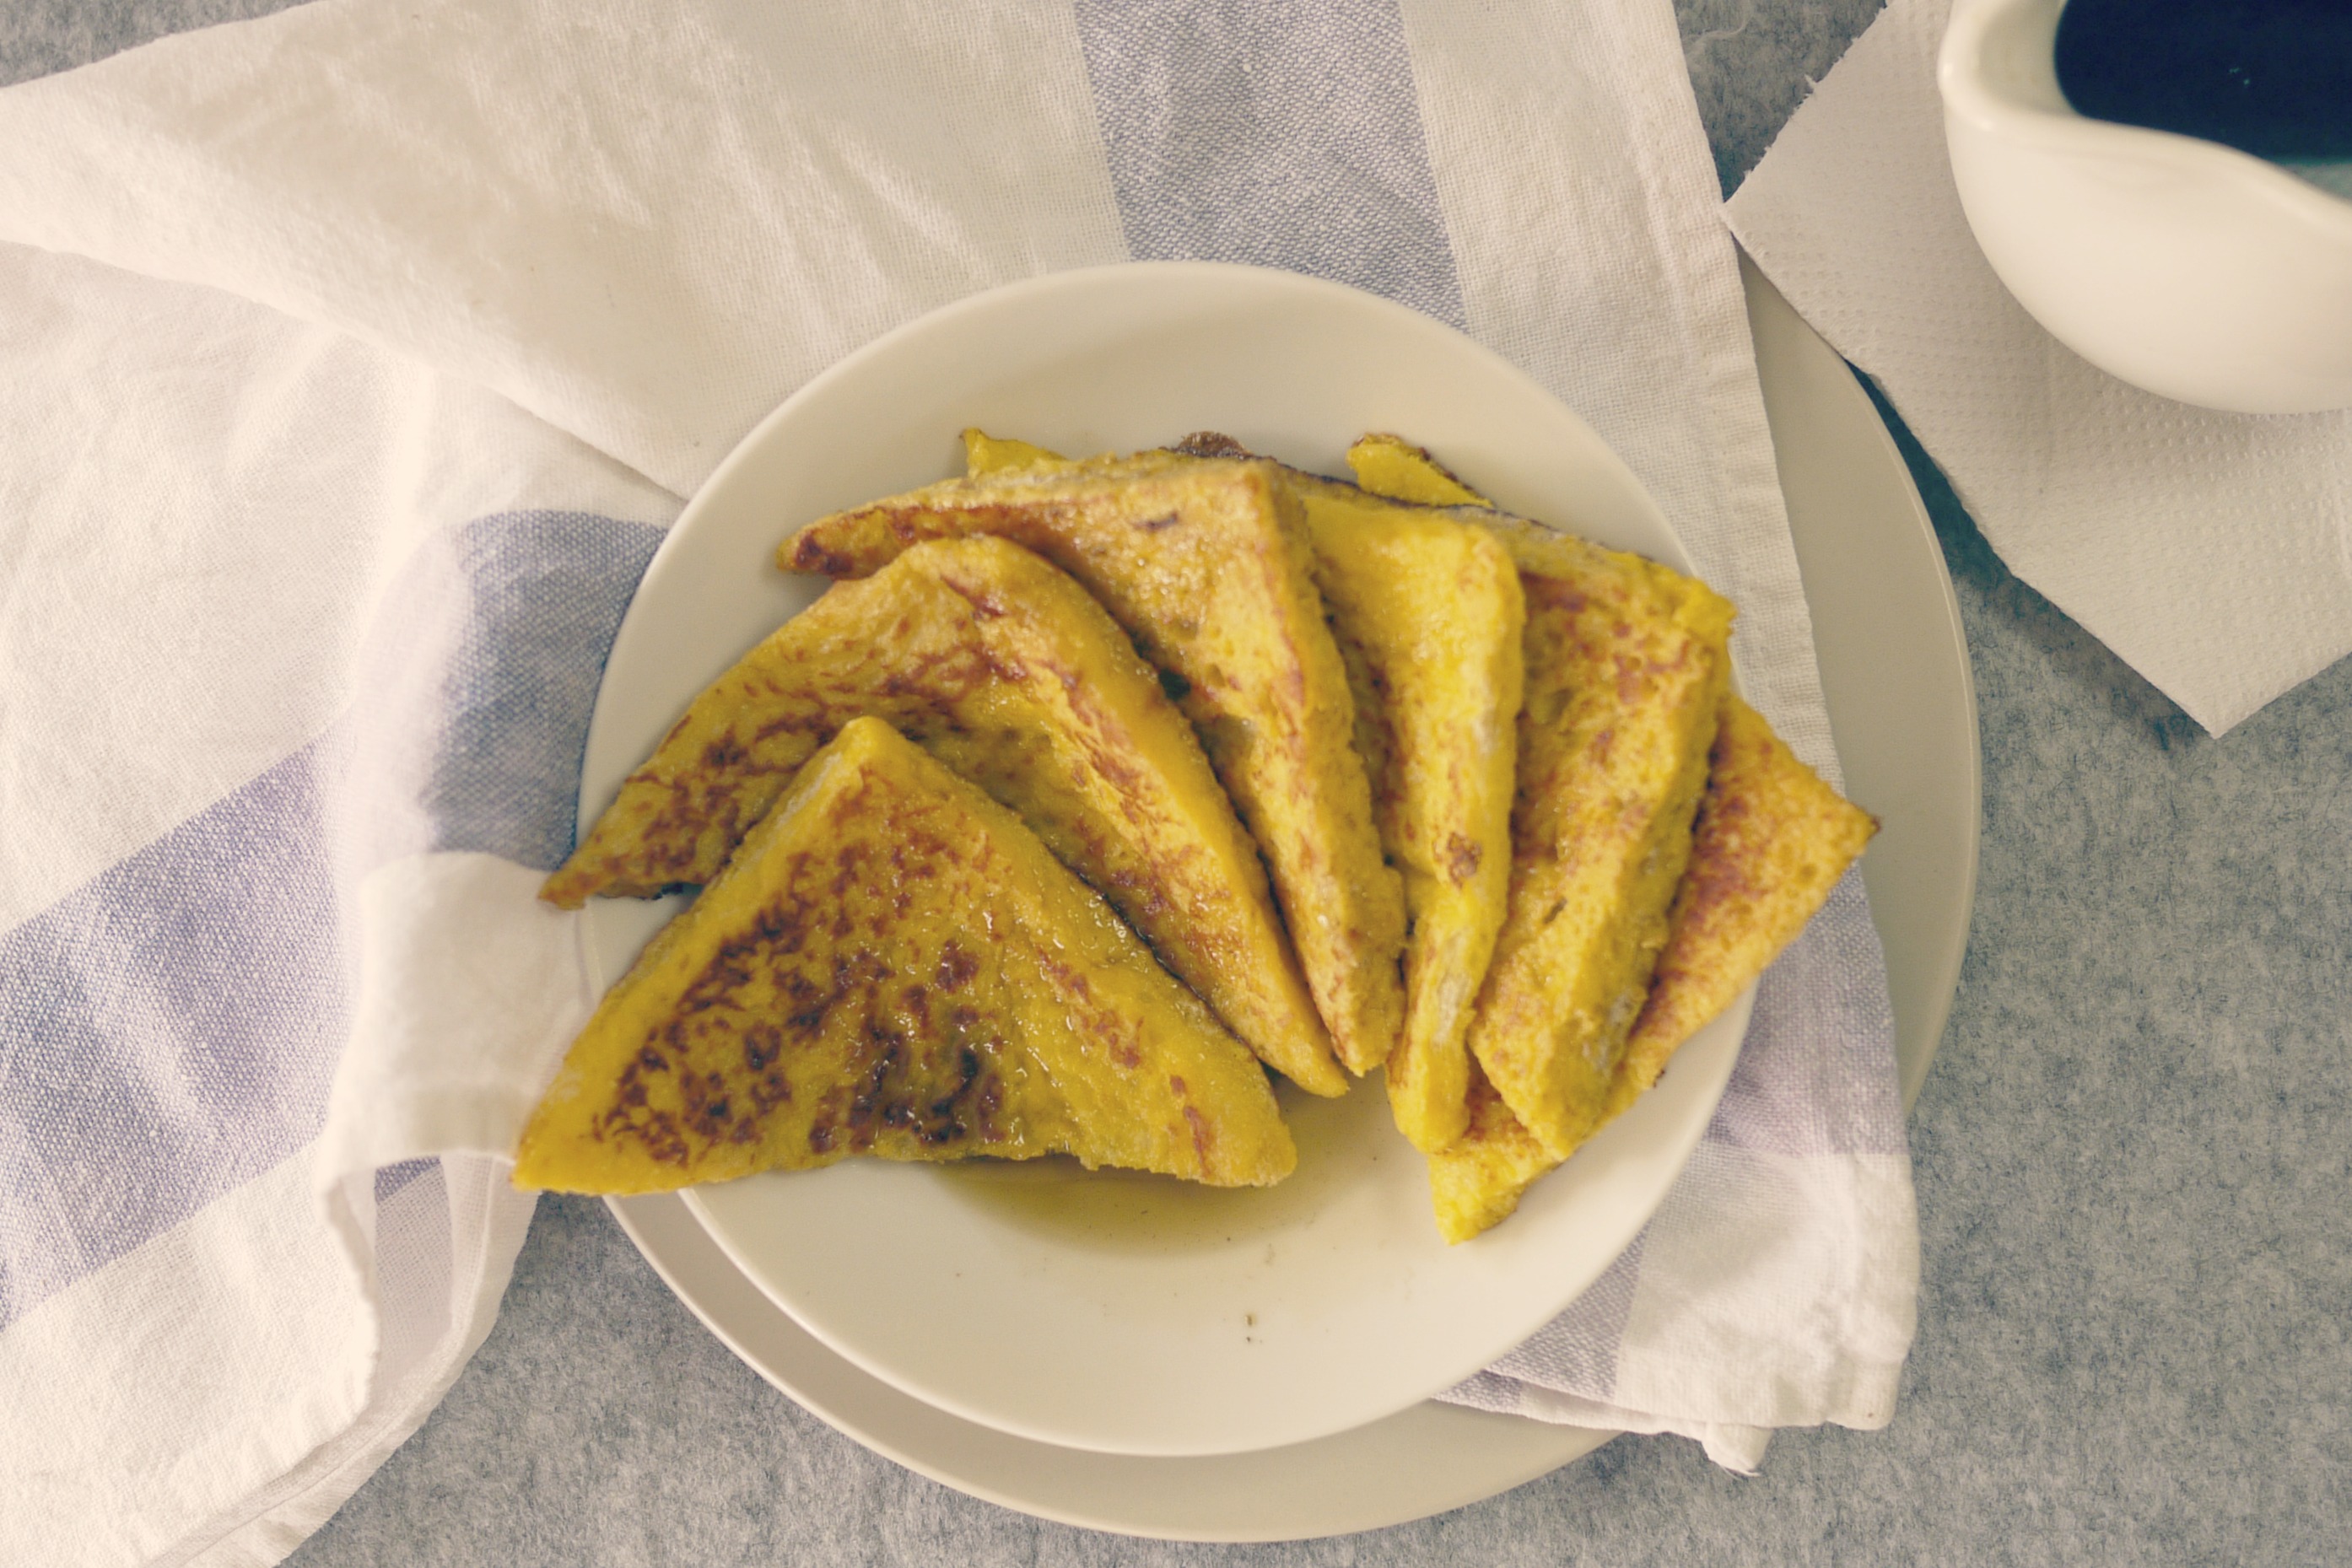
Gula melaka syrup is a pantry basic good to have around if you like your breakfasts sweet, it makes a perfect drizzle for waffles, pancakes and french toasts.  It is cheaper to make gula melaka syrup than to buy maple syrup (Note: NOT MAPLE FLAVORED SYRUP).

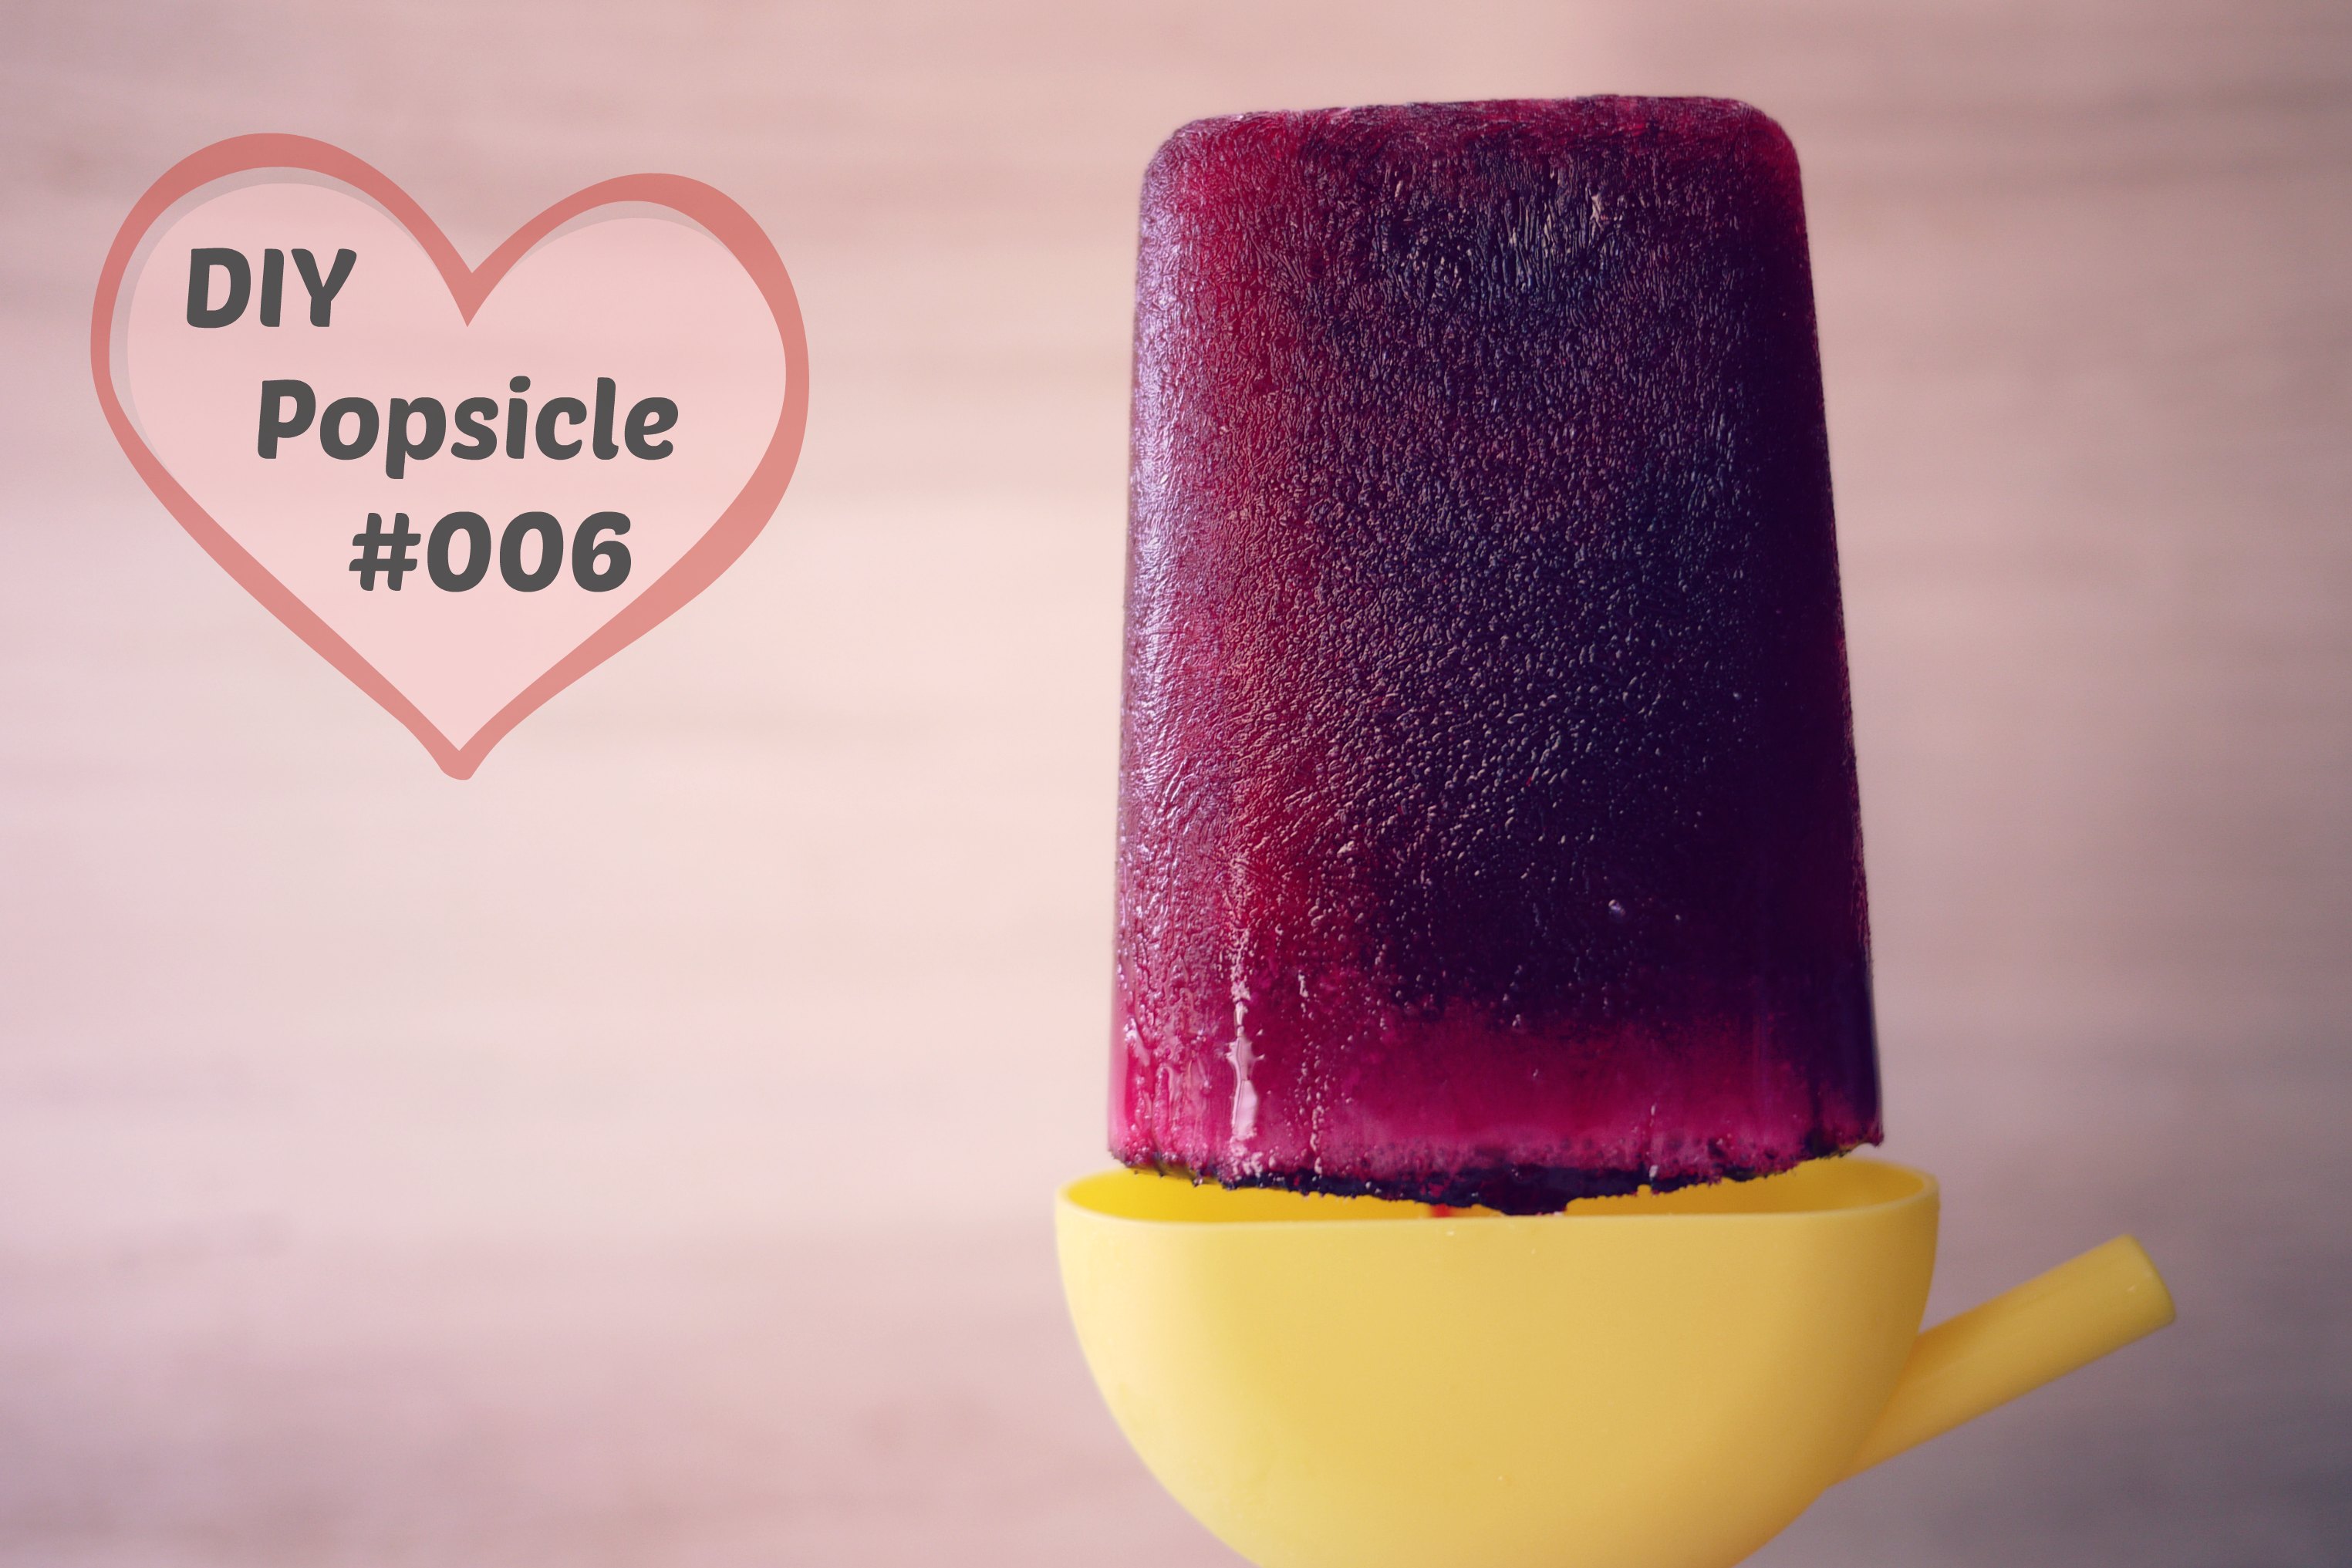
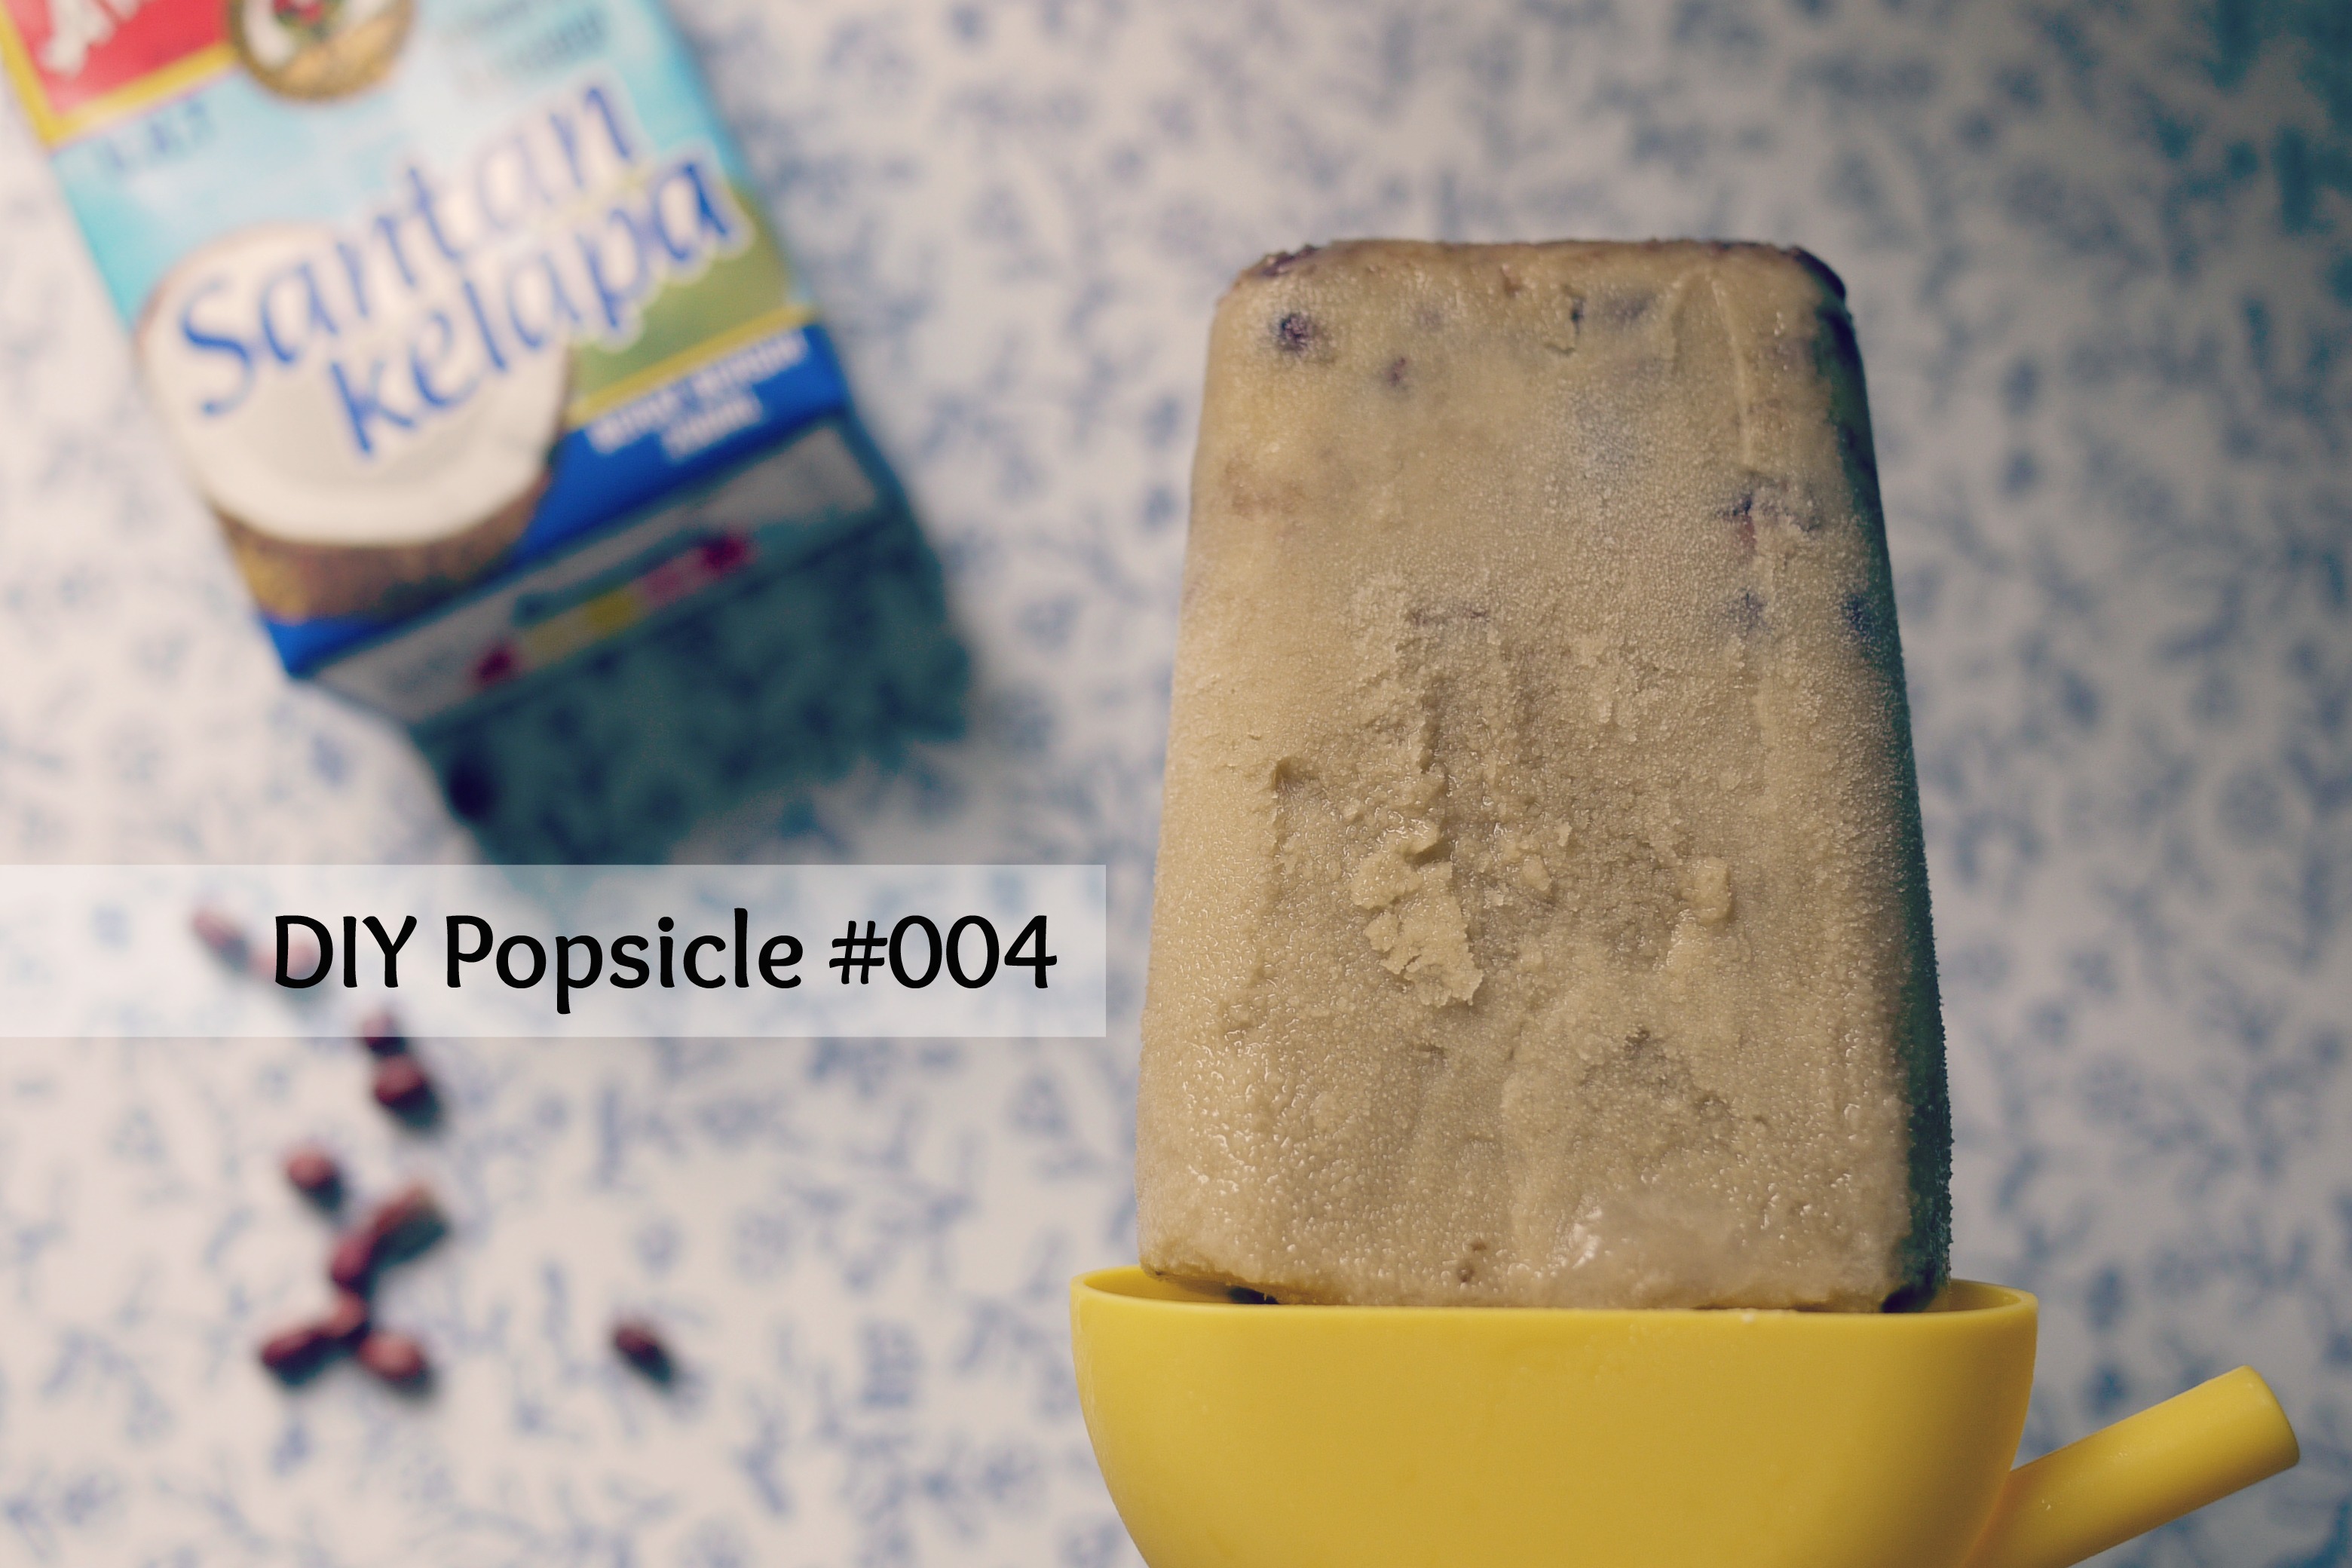
And of course, it is also wonderful for cold desserts like sago pudding, shave ice(cendol/ice kachang), and even as a sweetener in an avocado smoothie!  I have written about a popsicle recipe using gula melaka recently.

On a side note: I got a shock when I saw the ingredients “sugar, coconut, water” on a pack of gula melaka that I randomly grabbed from the market.  It wasn’t a familiar brand, and packaging design looked generic, the kind that could be used by any dried goods distributor for their red beans, barley etc.  Isn’t gula melaka simply sap from coconut flower reduced to a solid block through a boil?

“Gula melaka is made by making several slits into the bud of a coconut tree and collecting the sap. Then, the sap is boiled until it thickens after which, in the traditional way, it is poured into bamboo tubes between 3-5 inches in length, and left to solidify to form cylindrical cake blocks.” – {via}

Anyway, I put that aside and bought another pack of my usual 马六甲正椰塘 to make my gula melaka syrup.  Just to make sure.

GULA MELAKA SYRUP
// From : Cuisine Paradise

INGREDIENTS

  • 200g Gula Melaka
  • 2 Pandan leaves, knotted
  • 80ml water

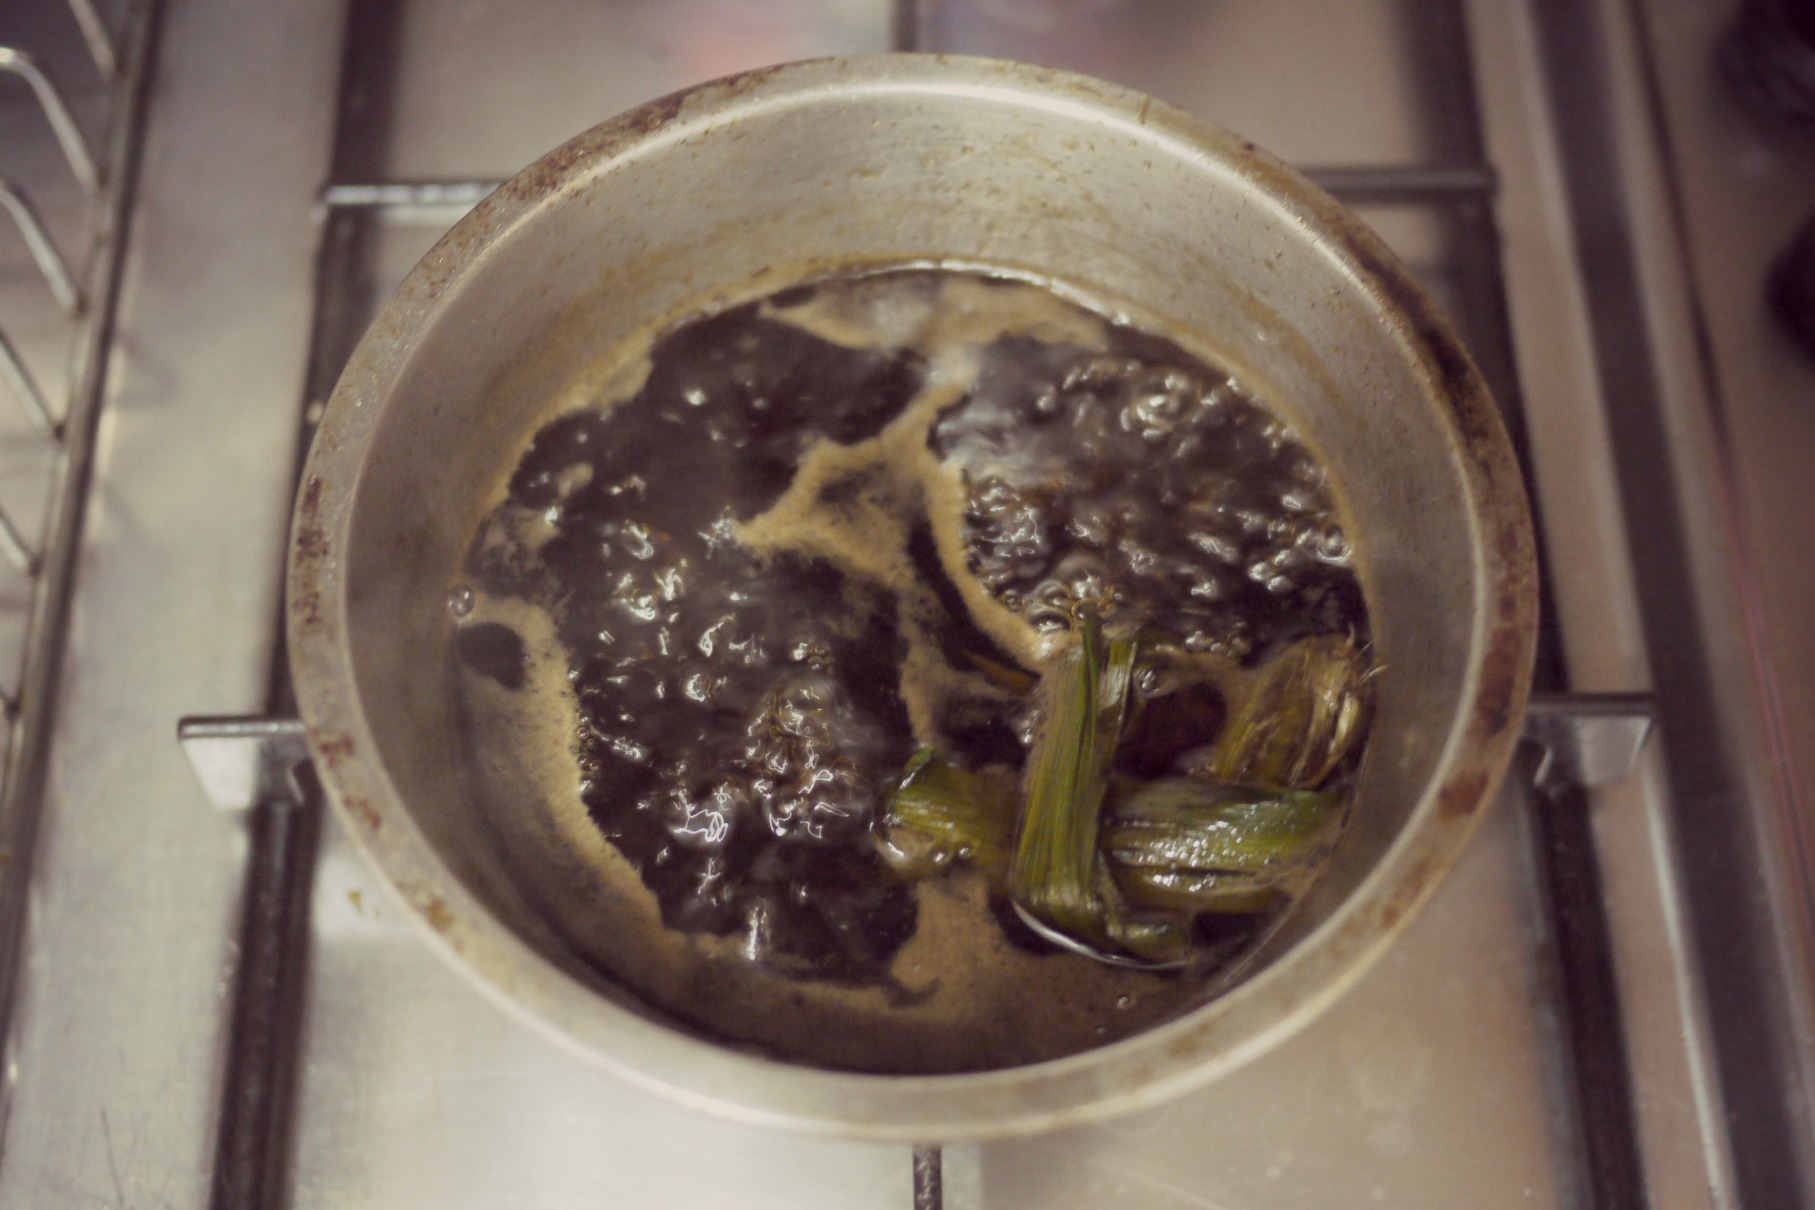
1. Place all 3 ingredients in a small pot and bring to boil.
2. Lower heat and simmer till mixture slightly thickens.
3. Remove pan from heat and allow syrup to cool to room temperature.
4. Remove pandan leaves and pour syrup into a clean container.  Use immediately, or keep stored in fridge up to 3 months.

Creamy Creamless Cauliflower Soup

creamycauliflowersoup2 creamycauliflowersoup3 creamycauliflowersoup4 creamycauliflowersoup1

4 ingredients : onion, cauliflower, olive oil and water.  No fattening cream used, same rich flavor created, thanks to the onion.  Wouldn’t you be tempted to try?

Without worrying on excessive MSG, fats or sodium level, I am adopting this creamy soup recipe to make healthier versions of other creamy soups like cream of mushroom (adding brown mushrooms, sautéed separately, and blend with cauliflower soup) or cream of corn (add fresh corn kernel to be cooked with cauliflower and onions, then blend).

You may follow the recipe below from The Amateur Gourmet, which yields 6 servings according to the site.  I prefer it thicker and add just enough hot boiling water to cover the cauliflower and onions, lesser than the 5 and 1/2 cups required.  I also cut the cooking time shorter by simply adding chopped cauliflower and hot water at the same time, right after the onions have turned translucent and soft.  The recipe originally called for the cauliflower to be cooked with the onions without water first.  I also do not like to work with very hot liquid in my blender, so I let it cool to lukewarm temperature before blending it, then reheat it again before serving.

CREAMY CREAMLESS CAULIFLOWER SOUP
// Adapted from : The Amateur Gourmet

INGREDIENTS
3 tablespoons olive oil
1 medium yellow onion, sliced thin
1 head cauliflower, chopped
Salt, to taste
Hot boiling water

1. Heat the olive oil in a pot on medium heat. Add the onions, cook them over low fire until they turn soft and translucent.  Ensure that they don’t turn brown, stir occasionally.
2. Add the chopped cauliflower and just enough hot water to cover the ingredients.  Increase the heat slightly, add salt and allow soup to boil.  Once the soup starts to boil, turn heat lower and simmer for about 15 -20 minutes, till cauliflower is cooked and turn soft.  Let soup cool aside till lukewarm.
3. Pour the mixture in batches into a blender and blend.  When the soup is fully blended, pour it back to the pot and reheat it.
4. Season with salt and pepper.  Serve immediately.

DIY Popsicle #004 : Gula Melaka Coconut Milk Popsicles

diypopsicle4

Gosh, it has been drizzling pretty often recently, hasn’t it? But the temperature hasn’t really come down after the rain, neither am I enjoying any cool breeze from my kitchen window. So the DIY popsicle project continues….

Sticking to the preference for creamy popsicle, I turned to ingredients commonly found our local dessert for inspiration : Gula Melaka Sago / Cendol. I removed the sago and cendol bits as I don’t think they taste good frozen, but I kept the red beans (think: potong ice-cream).

You may end up with extra Gula Melaka Syrup, depending on how sweet you want your popsicles. Keep them in clean glass jars, and consumed within a few weeks.

DIY Popsicle Version 004 : Gula Melaka Coconut Milk Popiscle
1. Base : Make Gula Melaka syrup by melting 100g Gula Melaka with a bit of water (50ml) in a small pot over low heat. Add Pandan leaf (1 qty, knotted) and simmer till mixture slightly thickens. Remove pot from heat and let syrup cool down slightly, about 15 minutes. Remove Pandan leaf. Mix 1/8 tsp of salt to 1 cup of coconut milk. Add Gula Melaka syrup to coconut milk slowly till preferred sweetness level.
2. For some bites : Boil and cook 2 tablespoons of red beans till soft. Fill the base of the molds with some red beans first before filling the rest of the molds with Gula Melaka Coconut Milk Mixture.

Credits :
Gula Melaka Syrup via Cuisine Paradise
Gula Melaka Sago via My Kitchen Snippets