Hoen Kwe (Mung Bean Kueh)

greenbeancake01 greenbeancake02 greenbeancake03

Keep seeing this flour on the supermarket shelves everywhere, the simple recipe is conveniently printed on the packaging.

It took me less than 15 minutes to stir and boil the mixture into a starchy consistency, after which I proceed to scrape (pouring was not impossible) it into a 6 inch cake pan to cool, and subsequently chilled before serving.

Teachers’ Day Printables

Teachers' Day Printables // Makingitblissful

*This post is totally late as Teachers’ Day fell on the 6th September this year.  But I think the links to the printables will come in handy again when the kids give their teachers a gift of appreciation for the end of the school year later in November.*

I prefer snacks like chocolates or candies when it comes to gift ideas.  I’ll either re-wrap them with a customized candy wrapper, or re-pack them into little bags and add a cute gift tag for a touch of personalization.

I decided on this Owl Thank You Teacher printable from Living Lorcurto in the end, after sourcing through the list of possibilities from the web.  The best part is : they are all FREE!

1. Teachers Are Treasures Chocolate Board via I Heart Naptime
2. Chocolate Bar Wrapper via The Celebration Shoppe
3. Tote-tally Terrific Teacher Gift Tag via Uncommon Designs
4. You are the Berry-Best Gift Tag via Love The Day
5. You are an Awesome Teacher Tag/Label via Design Mom
6. Simple Thank You Card via Tip Junkie

Pumpkin Butter Cake

Pumpkin butter cake // makingitblissfulPumpkin butter cake // makingitblissfulPumpkin butter cake // makingitblissful

First read about the cake from here, who saw it here, who almost lost the recipe from here.  The amount of sugar has since been cut to 160g (from 180g).  I reduced it further to 150g.  I also used salted butter instead of adding salt separately.

Another variation of this pumpkin butter cake (8″ square) can be found here, who also made a less fattening sponge version.

+ I used an 8 inch round pan and baked for 80 minutes.  Original recipe’s baking time was 55-60 minutes with a 7″x7″ square pan.


PUMPKIN BUTTER CAKE

 recipe adapted from here
yields an 8 inch cake

250g salted butter, softened
150g sugar
3 large eggs
150g steamed pumpkin, cooled and mashed
300g self raising flour
20g corn flour
60g milk
150g pumpkin, peeled and diced

optional : pumpkin slice and seeds for topping

01. Preheat oven to 175ºC. Line and grease the baking pan.
02. Cream butter and sugar until light and fluffy.
03. Add in eggs, one at a time, and continue creaming until colour turned pale.
04. Stir in mashed pumpkin and mix well.
05. Sift together 2 types of flour, fold into the mixture alternate with milk.
06. Gently stir in diced pumpkin.
07. Transfer batter into baking pan, arrange pumpkin slices and sprinkle pumpkin seeds on the surface.
08. Bake for 80 minutes or until a test stick comes out clean. Cool thoroughly on a rack before serving.

Save

Save

Meat Free Monday // Olive Vegetable Fried Rice

olivevegetablefriedrice001

A recipe for olive vegetable (橄榄菜) fried rice was in The Sunday Times yesterday.  The original recipe used minced pork, I mashed up some tofu 水豆腐 as replacement to make it meat-free.  Also threw in a handful of sharp spinach leaves for more nutrients and also added in a beaten egg during the last few minutes of frying, a must when I make fried rice.

// Link to the non-vegetarian version HERE.

Homemade Soft Bread Rolls

Homemade Soft Bread Rolls // MONO+COHomemade Soft Bread Rolls // MONO+CO Homemade Soft Bread Rolls // MONO+CO Homemade Soft Bread Rolls // MONO+CO

I always go back to this recipe when I want a really soft bun.  Nothing fanciful, just a straight dough recipe.  Made it “ko-song” without any fillings or toppings.

Told myself this as I was munching them away : “Always, always keep flour, yeast, sugar, salt, egg, and butter at home”, that’s all you need to bake a very fulfilling breakfast/ tea break/ supper item.

SOFT BREAD ROLLS
// Adapted from <<爆漿餐包>>
// Yields 10 small buns

INGREDIENTS

174g bread flour
43g plain flour
13g milk powder
7g instant yeast
39g white castor sugar
2g salt
22g beaten egg
100g water
22g unsalted butter

METHOD

Mix well both types of flour, yeast and milk powder in a large bowl. Set aside.

In a mixing bowl with a flat beater,  mix sugar, salt, egg and water, till well combined.

Add flour, yeast and milk powder mixture, and run the mixer on low speed till the ingredients form a ball.

Change to a dough hook, and knead for about 5 minutes.

Add in butter, and continue to knead till dough reach window pane stage.

Remove bowl from mixer, knead the dough with hand into a neat ball, cover it with a clean tea towel and proof it for 90 minutes, the dough should expand to twice its size.

Pour out the expanded dough on a clean kneading board/tabletop, and knead the dough again, pushing out gases inside.

Divide and shape the dough equally into 10 small balls (about 40g each).  Set aside to rest for 10 to 15 minutes.

Flatten each dough gently with palm, pushing out the air inside, and roll it  into a ball.

Arrange them on a baking tray.  Cover with towel and proof for another 45 minutes.

Bake in a preheated oven at 170C for 10 minutes or until the buns turn golden brown.

Remove from oven and brush melted butter on the bun’s top immediately.  This will to keep the crusts soft, even after cooling down.

Coconut Oil Granola

Recipe : Coconut Oil Granola // Mono+Co Recipe : Coconut Oil Granola // Mono+Co

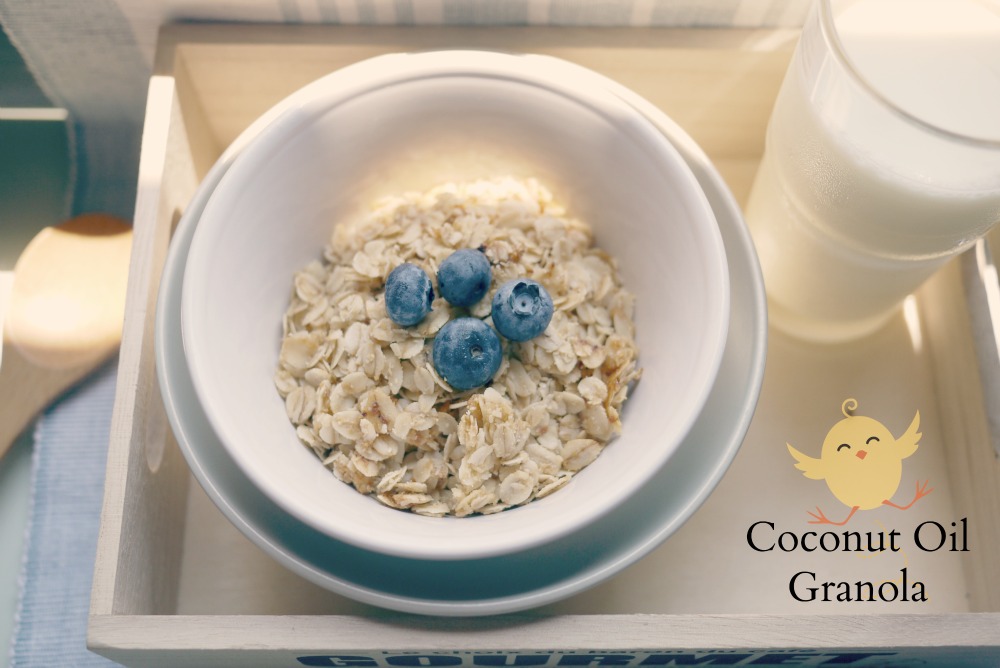
Breakfasts on school days are a pretty hurried affair.   Homemade granola is a great way to start the day, in a fast way.

I am jumping onto the coconut oil band wagon.  I bought the organic cold pressed version at $15.90 (500ml) from a health shop instead of the cheaper ones found in Mustafa.  Told myself to see how things go with this first bottle (how often I can use it and how much my family like the food cooked with coconut oil) before evaluating if a cheaper alternative can be considered.

But then again, I am not switching TOTALLY to coconut oil, it is too expensive anyway.  It will be another alternative fat for me to consider from time to time, for I have been rotating on different kinds of cooking oil in my household.  Risk management.  Diversification.  Whatever you call it in the business world.  I am doing the same thing in my pantry (stay clear of the confirmed unhealthy ones of course) just In case one fine day, another smart professor tells us that the coconut oil is not that healthy after all, hey, I did not eat it for a majority part of my life, did I?  The margarine/butter case study has taught me a lot about following food/ nutrition/diet trends: MODERATION.

The strong whiff of coconut fragrance in the house could not go unnoticed when I was baking these granola in the evening, preparing for the next day’s breakfast.  The girls approached me one after another to check out what I was cooking in the kitchen.  They ended up trying out these granola as supper, and gave them thumbs up.

I wonder if stir fried vegetables with coconut oil have any coconut taste in it, the owner of the health shop I bought the oil from told me that there won’t be any though.

// Update : I stir fried Baby Kai-lan with a tablespoon of coconut oil, definitely can smell and taste the coconut in the dish. //

COCONUT OIL GRANOLA
// Serves 2

INGREDIENTS

1 1/2 cup rolled oats
2 tablespoons ground almonds / almond slices
5 tablespoons melted coconut oil (Mine never turn solid, that’s how warm my place is!)
1 tablespoon Thai coconut sugar / Thai palm sugar / brown sugar

METHOD

Preheat oven to 180C.

In a big bowl, mix coconut oil and sugar with a metal spoon.

Add rolled oats and ground almonds. mix well to make sure the oats are even coated with oil.  Add more oil if needed.

Spread mixture on a baking sheet lined with parchment paper.

Bake for 6 minutes, stir with a wooden spoon and then continue to bake until turn golden brown, about another 6 – 8 minutes.

Remove granola from oven and cool on a rack.

Store in airtight container.

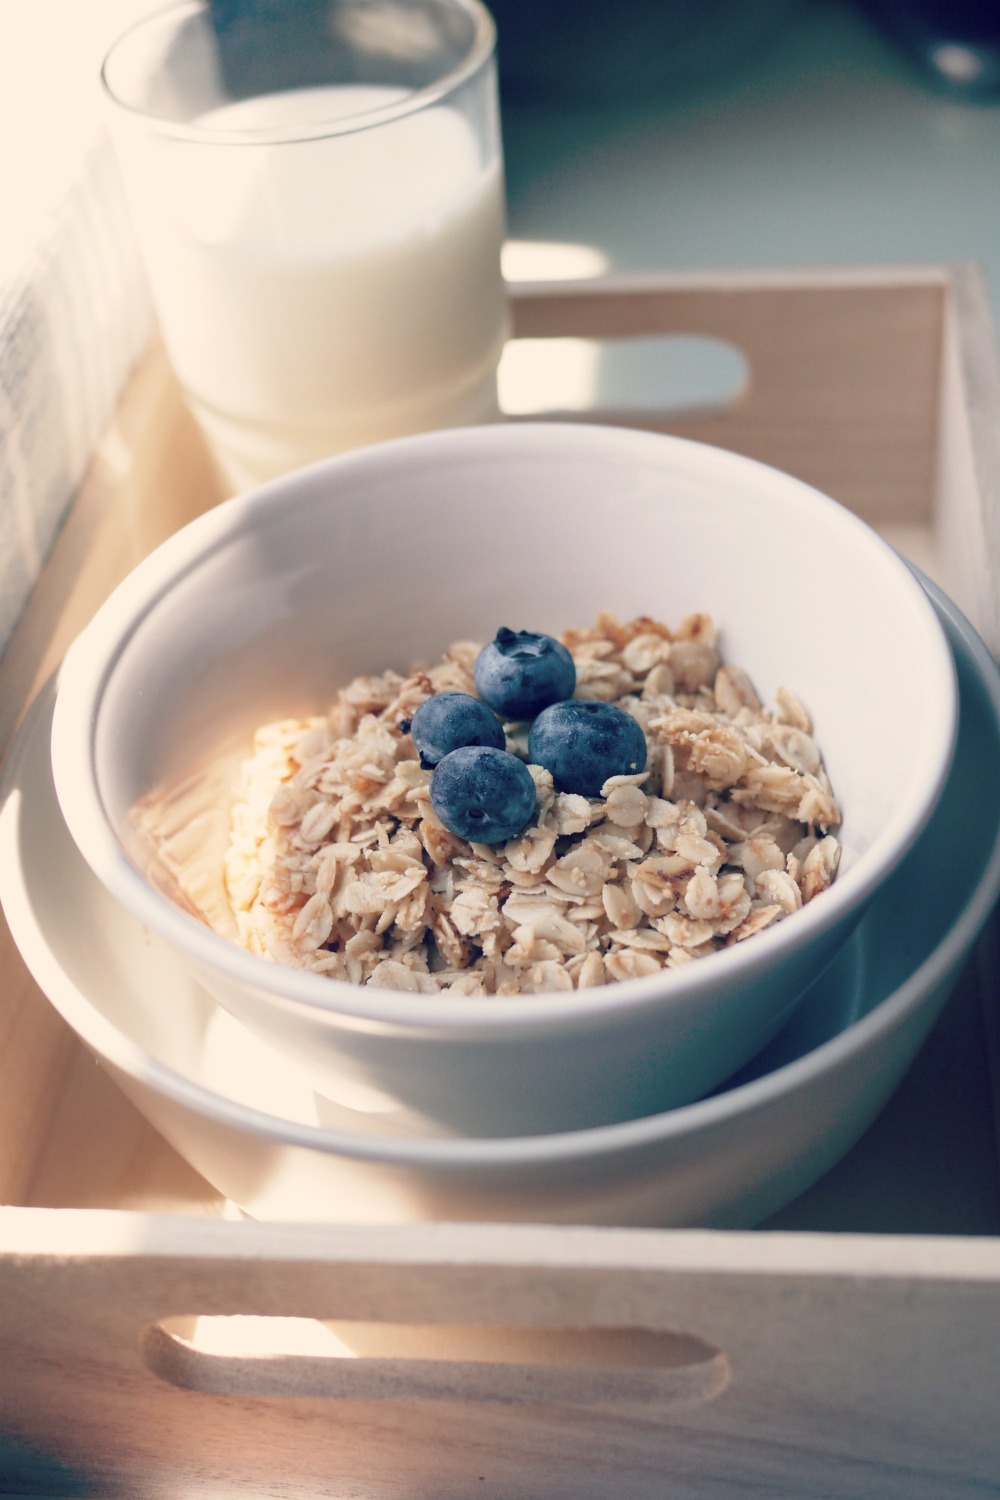
Serve with milk or plain yogurt, topped with fresh or dried fruits.

Japanese Cheese Sponge Cake

japanese cheese spongecake // mono+co

Waited whole day for the rain to go and the sun to come out so that I can shoot these cottony soft cake slices under the natural light for my recipe folder.  But things didn’t go my way (again), that’s just life, isn’t it?

By the time the sun has set, it never really peeked through those storm clouds, and I had only three slices of the 8 inch cake left (above).

Will make another cake really soon (no one will complain though) to practice these photography tips I just read.

JAPANESE CHEESE SPONGE CAKE
// Adapted from : The Little Teochew

INGREDIENTS

140g fine sugar
6 egg whites
6 egg yolks
1/4 teaspoon cream of tartar
50g butter
250g cream cheese
100ml fresh milk
60g cake flour
20g corn flour

METHOD

Preheat oven to 160C.

Melt cream cheese, butter, and milk in a metal bowl that is placed over a pot of simmering water.  Cool the mixture down to a temperature that will not cook the egg yolks.  Stir in egg yolks.

Mix flour and corn flour evenly, and fold this into the cheese mixture.  Set aside.

In a separate bowl, whisk egg whites and cream of tartar until foamy.  Add in sugar, continue to whisk, until soft peaks are formed.

Fold in egg whites into the cheese mixture , in 3 batches.

Pour mixture into a 8 inch spring form cake pan lined with parchment paper.  Extend the lining  higher than the cake pan by at least 1.5cm to allow room for cake to rise.

Bake cheesecake at 160C in water bath for 1 hour and 10 minutes, or until set.  To prevent the top from burning, cover with aluminum foil towards the end of the baking time.

Leave cake to cool inside the oven, with the door ajar, so that the cake will not collapse due to sudden change in temperature.

Homemade Popcorns for Stay Home Movie Sessions

homemade popcorns2 homemade popcorns1
One of the things I did with the kids during the second half of the month long school holiday was cooping up at home watching movies.  The haze condition chased most of us indoors, we could only do that many craft projects before the paper/glue/paint mess got too big to be handled.  So I slotted in a few celluloid classics while I do the cleaning or cooking.

A few titles that always get requested are the anime works of Hayao Miyazaki’s (宫崎骏), my kids love them, from the earlier ones like Castle in the Sky, Whisper of the Heart (My Favorite!), Kiki’s Delivery Service, to the recent ones like Spirited Away, The Secret World of Arrietty, etc.

** A Must : When you are done with the movies, and can’t get enough of their beautiful soundtrack, be sure to catch this Studio Ghibli 25 years concert, and relive those favorite moments again.

Made old school popcorns at home for snacking while watching the movies.  I always thought that you’ll need those huge looking corn popping machines seen at the theater snack bar to do the trick.  Turned out that my heavy bottom pan, some butter, and corn kernels would do.  Even your microwave could do it, some made it look even simpler with a brown bag and eating straight out of it after the corns are popped.  Just stay away from those microwave-ready popcorns.

Butter and ghee are my preferred fat for making these popcorns.  I still rely on the stove-top method instead of the microwave version because somehow my microwave seems to burn the popped corns easily.  It was so frustrating picking out the charred ones.  A lower setting did not work either.  Think I am destined to stand by the stove…

HOMEMADE POPCORNS
// Adapted from Creative Simple Life

INGREDIENTS
1 heap tablespoon of ghee
1/3 cup corn kernel

1. Place 3 corn kernels in a covered (preferably glass cover for see-through) pot and heat over medium fire.
2. Once the 3 kernels are popped, remove them from the pot, and add the ghee and rest of corn kernels into the pot, covered with lid.
3. Corns should start popping in a while, shake the pot back and forth intermittently, so that the popped kernels does not get charred below.  Lift the lid slightly to let steam escaped.
4. Once the popping slow down to just 1 per second, turn off fire, and pour the popcorns into a serving bowl.
5. Season according to preference.  I love the convenience of Old Bay or melted dark chocolate.

DIY Popsicle #007 : Yakult Popsicle

diypopsicle7

I asked myself this before making these Yakult popsicles: “Does freezing Yakult kill the Shirota strain?” Nope, see answer to question 14 here.  Guess it’s the same as freezing yogurt.  They just go dormant.

Somewhere between the original and the orange flavor, right in the middle, things were not freezing well, all my 4 popsicles broke off at the same place when I tried to unmold them.  But they were still yummy nonetheless.

DIY Popsicle Version 007 : Yakult Popiscle
1. Base : Yakult drink (or other fermented milk drink) in 4 flavors.  Wait for one layer to freeze, before adding the next flavor.
2. For some bites : None.  I am getting lazy here….. 🙂