Tidy Tuesdays: How I Clean Glass Bottles With A Narrow Neck

Tidy Tuesdays : Cleaning A Narrow Neck Bottle // Mono+Co

I love upcycling glass bottles for crafts like this.  Some of them are too pretty to be sent for recycling so I have a cupboard in the kitchen filled bottles, all sorts of shapes, sizes, and colors, rotating them around the house as decor items.  They cost me close to nothing, but glass bottles make the easiest living space update.  Just gather a few bottles in different designs, insert some foraged leaves/flowers, and voila: an instant table centerpiece.  It works every time, brightening up a boring corner, even if you only have space for one.

But the glass bottles need to be sparkling clean, especially the clear ones, like this packaging bottle from Clarins, which I later upcycled it into a reed diffuser, perfect due to its really narrow neck. I have since converted to DIY pink salt+dried lavender potpourri temporarily and this is sitting somewhere in the cupboard.

If you use reed diffuser at home, you will notice that after all the liquid has evaporated, a ring of grease is left behind by the carrier oil and essential oil combo that are mixed to form room fragrance diffuser.  The small neck of this container makes it almost impossible to clean the stain.  So when it is time for me to reuse this bottle, I have to find a way to get rid of the yellowish oil stain.

Fortunately, alcohol does the trick, and almost effortlessly.

Tidy Tuesdays : Cleaning A Narrow Neck Bottle // Mono+Co

Simply pour a thin layer of alcohol ( I use methylated spirit), swirl it around the bottle, shaking things up inside a bit, and straight away, you notice the oil are being dissolved instantly.  If there are any more stubborn stains, insert a used reed stick into the bottle, and scrub on them, this will usually do remove the last bit of the remaining stains.

Tidy Tuesdays : Cleaning A Narrow Neck Bottle // Mono+Co

Discard the alcohol, and leave the bottle to air dry.  I don’t rinse the bottle so that no watermark stains will be left behind after drying.  Alcohol disinfects the bottle more effectively than water, so I see no reason why I should double rinse the bottle.

One more thing, this method is for cleaning/disinfecting bottles meant for crafting and decorating projects, not for sterilizing bottles/jars for food.  Boiling them is the tried and true method when it comes to canning food.

Tidy Tuesdays : Cleaning A Narrow Neck Bottle // Mono+Co

Save

Save

Save

Save

Save

Save

DIY All Natural Room Fragrance : Lavender Potpourri

DIY Lavender Potpourri // Mono+Co

I can never get tired of lavender infused home fragrance.  Maybe it is because the scent is so closely associated with spa-time, which I enjoy so much.  It is my go-to scent for bedrooms, while the bathrooms, kitchen and living room experiment with a different mix of peppermint, vanilla, lemongrass, recently citronella, for its mosquito repelling properties.

Come bedtime, I will unscrew the lid of my potpourri bowl recycled from a facial clay mask jar, and breathe.  The lavender scent is widely known to soothe and relax the mind, a perfect way to end a day.  Or when I need a little help to sleep, thankfully not that often.

DIY Potpourri is super easy, just a mix of dried flowers and essential oil.  I generally use these three ingredients to make mine at home:

dried flowers – only lavender buds, in this case, as I like to keep the palette simple.
salt – I use Himalayan Rock Salt for this project, the pink hue adds extra points.
essential oil – get pure lavender essential oil from a reliable source, no synthetic concoction for me, no matter how cheap.

Why add salt?  Because it is cheaper to fill up the container with salt than lavender buds, volume by volume.  My 500g pack of salt costs $2.50, while a small sachet of lavender buds costs $7.50.  Plus, the scent comes largely from the essential oil anyway.  It’s all about being practical.

But first, choose a bowl/set up that you like since it will be part of the room decor. I like the clay mask container because it is shallow and has an 8 cm wide mouth, as diffusion of scent will be more effective with a larger surface area.  Avoid deep bottles as you will need to fill it up with more content.

Another plus point of this container is that it has a lid that let me cover the potpourri during the day when no one’s inside the room, allowing the scent to last longer without topping up on the oil too often.  The lid also allows me to refresh the potpourri once a while without adding oil by giving the container a good shake with its lid on.

I updated the style of my lavender potpourri bowl by wrapping it with a cooking twine.  It can’t get easier than this, I did not even use glue, only entailed some delicate job of tucking in the twine’s ends.  After that, simply fill up the container close to its brim with salt and lavender. The proportion of salt and dried flowers is up to personal preference.  Mine’s about 4:1.

This is now sitting on my bedside table, I only need to top up with a few drops of oil whenever I find the scent getting faint.  Low maintenance, I likey.

DIY Lavender Potpourri // Mono+Co DIY Lavender Potpourri // Mono+Co DIY Lavender Potpourri // Mono+Co DIY Lavender Potpourri // Mono+Co

Save

Save

Save

Repurpose It

project 001 mooncake box 004

I don’t usually go for the prettiest packaging when it comes to buying mooncakes, like most people, taste of the mooncake matters more.  Fancy packaging provides this recipient here with a joyful feeling that tends to be short lived when it is time to decide if I should dispose of or stow away for some unknown purpose.  Rarely the latter, as the fancier the packaging, chances are, they come in a real cumbersome bulk or an odd shape that take up far too much space.

I have been pretty happy with the few regular brands that sell their mooncakes in conventional tin boxes that I can recycle after a quick rinse to get rid of crumbs and grease.  But once a while, something plasticky ends up at our home from well meaning friends and I recently found that I seem to have a penchant for upcycling these no-so-easy-to recycle containers into household items that I can use everyday.

Like this box from a local bakery :

project 001 mooncake box 008

It seems to be made from laminated plastic so when I found that regular tissue box fits well in the larger top cover, I sew a wrap with a felt cloth and turn it into tissue box holder.  The end result is pretty encouraging.

Have you done anything similar with your mooncake packaging?

project 001 mooncake box 001

project 001 mooncake box 007 project 001 mooncake box 005 project 001 mooncake box 006

On Food Wastage And Tiny Kitchen

DIY Oat Flour // Mono+Co

How many weeks worth of food items to you keep at home?

Few days back, I was looking out for new ingredients at the wet market, when a lady next to me started lamenting how she threw away sprouted potatoes every time.  I thought she was complaining to the stall owner how fast the stocks were turning green, but she went on to elaborate that, because the potatoes at the stall were always looking so nice, she ended up buying a bag home, but never seemed to cook them.  So when they started to sprout after a while, the only safe thing to do was to throw them away.

I had two questions in my mind as I listened : “How does a nice potato look like? So much so that the lady buys it every time she sees it?”  I am biased towards the produce found in the local wet markets, they all seem very nice to me. So if her motivation to buy is “nice looking potatoes”, going by the same reason, I could end up buying every nice looking vegetable in the market.

And my second question was: “With 101 ways to cook potatoes, how can one end up throwing perfectly good ingredients away? And every time?”  I wanted to believe that the “every time” point could be an exaggeration, as “saving money is the greatest motivation to reduce food wastage” according to this study here.

I watched interestingly how the stall owner spoke with discomfort as he dispensed the perfect tip that greatly conflict with his business interest :” Just buy enough, don’t buy too much lah. Only wasting your own money.”   How’s that for a solution?  While companies all over the world roll out promotion after promotion to entice customers to buy more (Buy 3 for price of 2!  Buy 1 get 25% off 2nd item!), this stall owner sheepishly adviced the customer to buy lesser.  I am not sure if he had kept his volume lower to save the food wasting customer from embarrassment or he was worrying that his business would be affected if everyone hears his honestly simple tip.  Either way, his response greatly reflected 2 top habits that lead Singapore households to waste food at home ; over preparation of food/ingredients and oversight of expiring food inventories at home.

For me, my greatest sore is also the greatest solution to food waste reduction : a tiny kitchen at home.  Due to the lack of space, I have since developed a few (very good) habits to stock up less on pantry items.  Having a wet market and a 24 hours supermarket a stone’s throw away makes cooking with a low food inventory a lot easier.  If I run out of an ingredient, I try to replace with another, or do without altogether.  Often, I find that I do not really need a perfectly stocked pantry to prepare my daily meals.  Then once a month, I do a “total cleanse” with my pantry; to use up every single fresh ingredient or items that are close to expiry.  You will be surprised by how well stocked your pantry actually is, by refraining from grocery shopping for as long as possible.

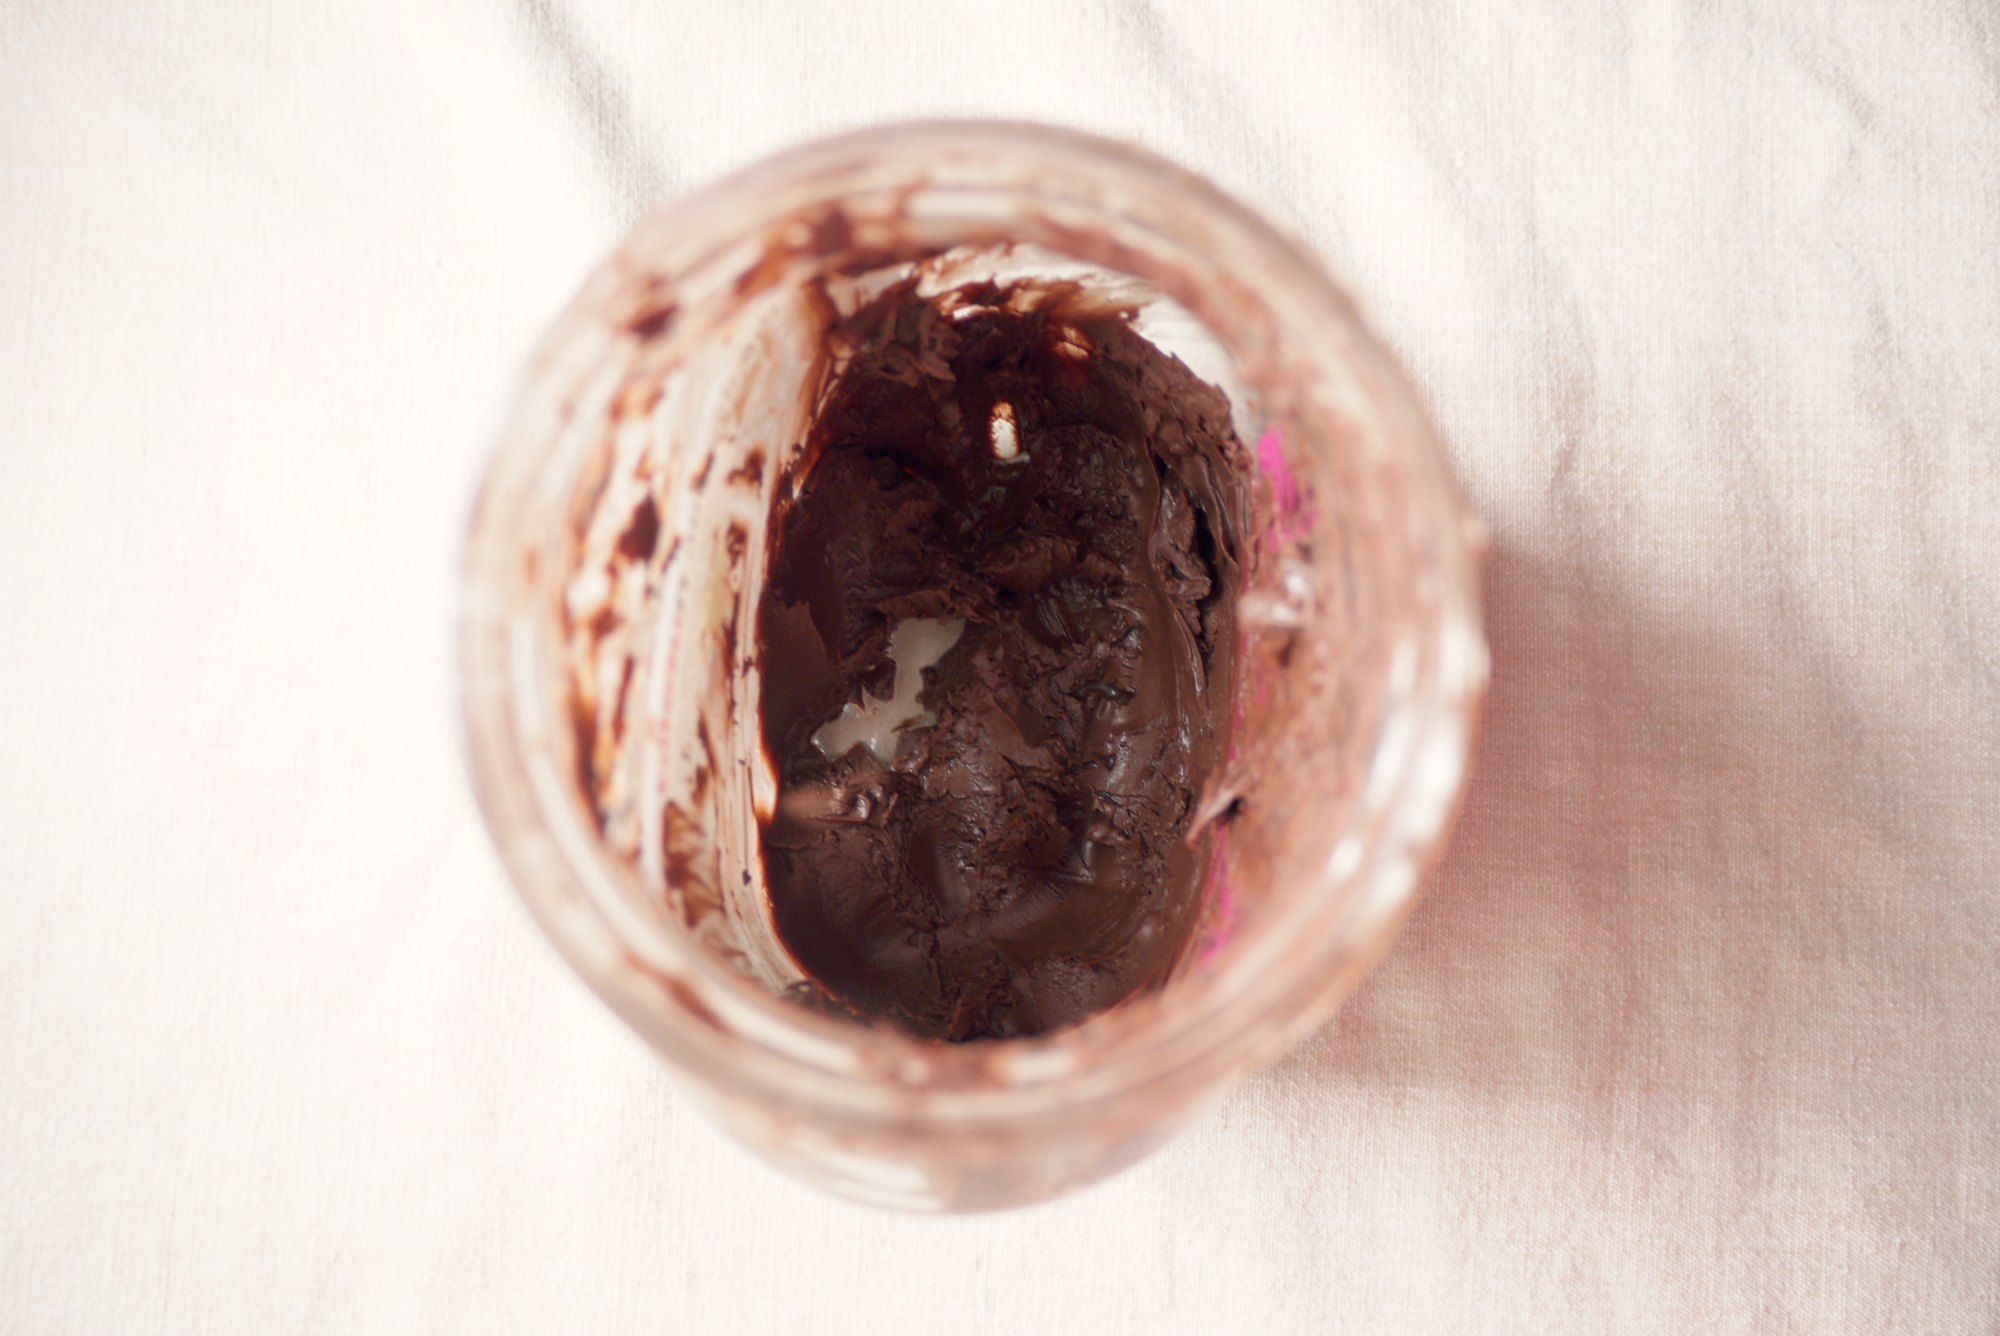
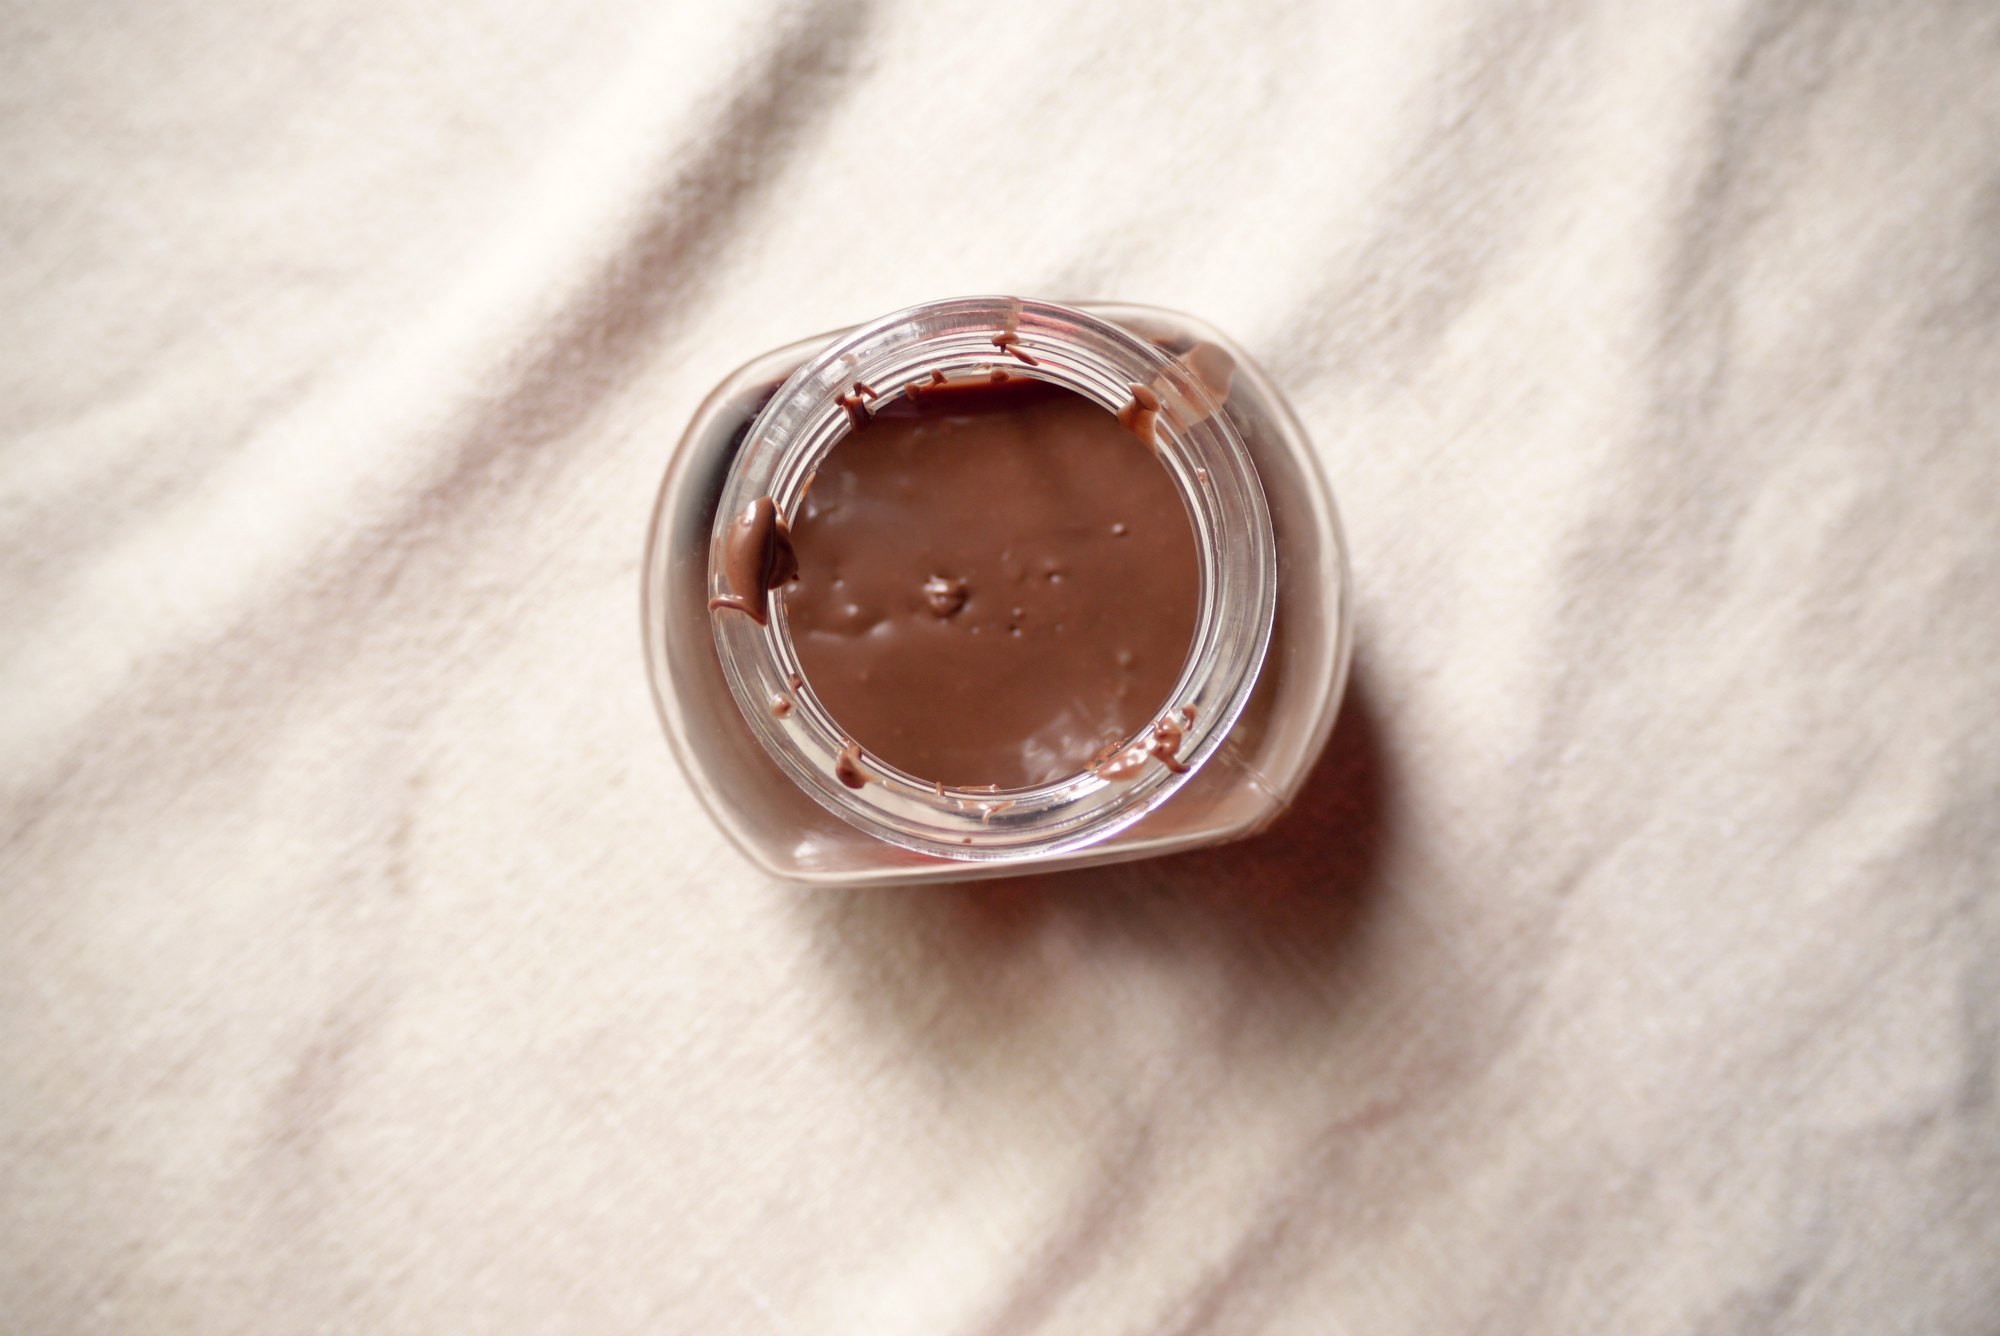
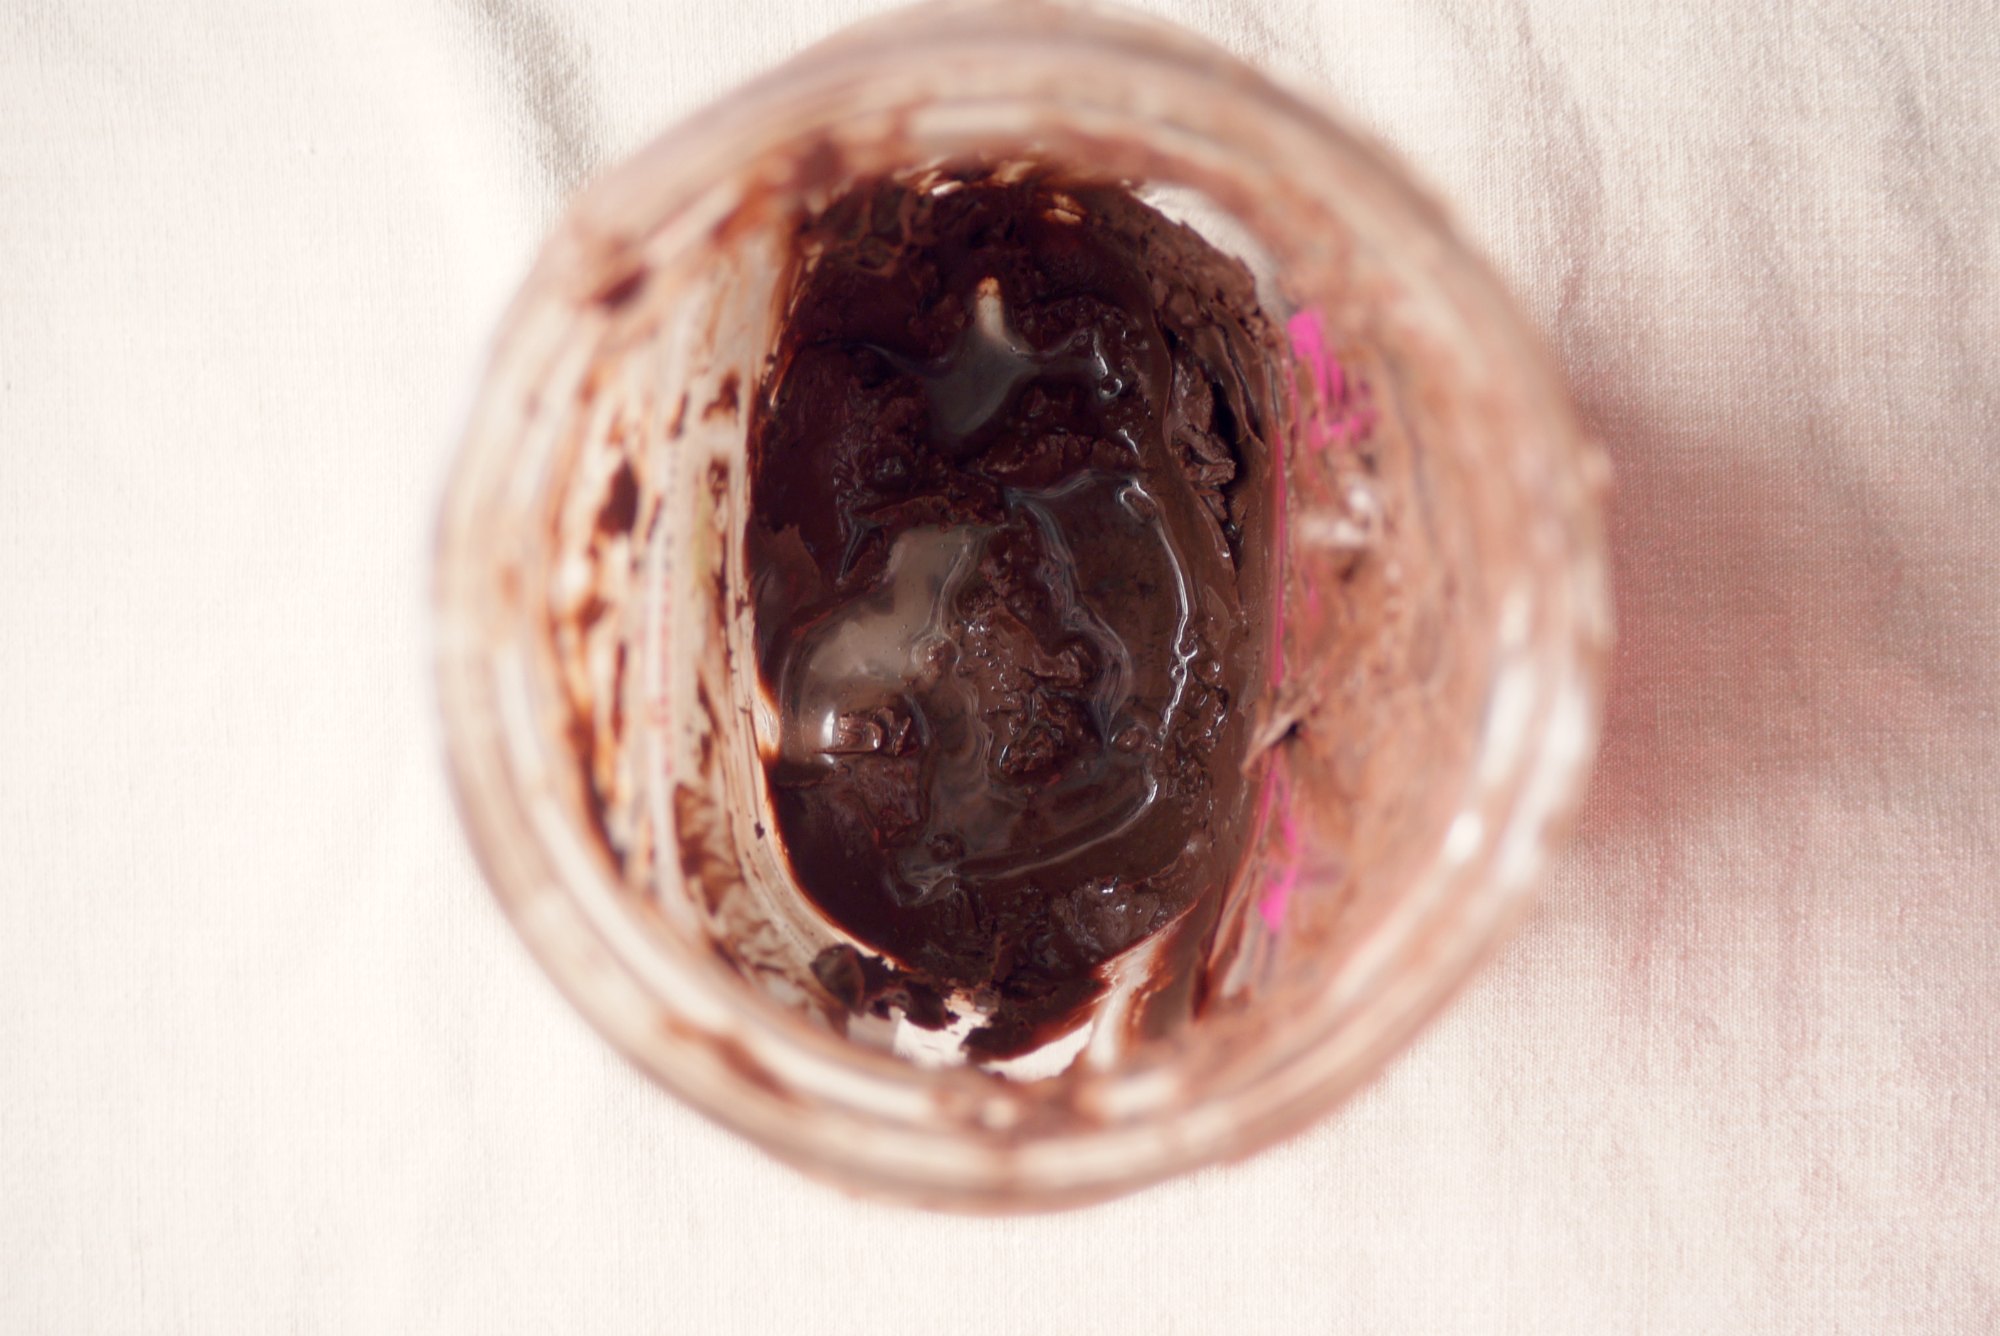
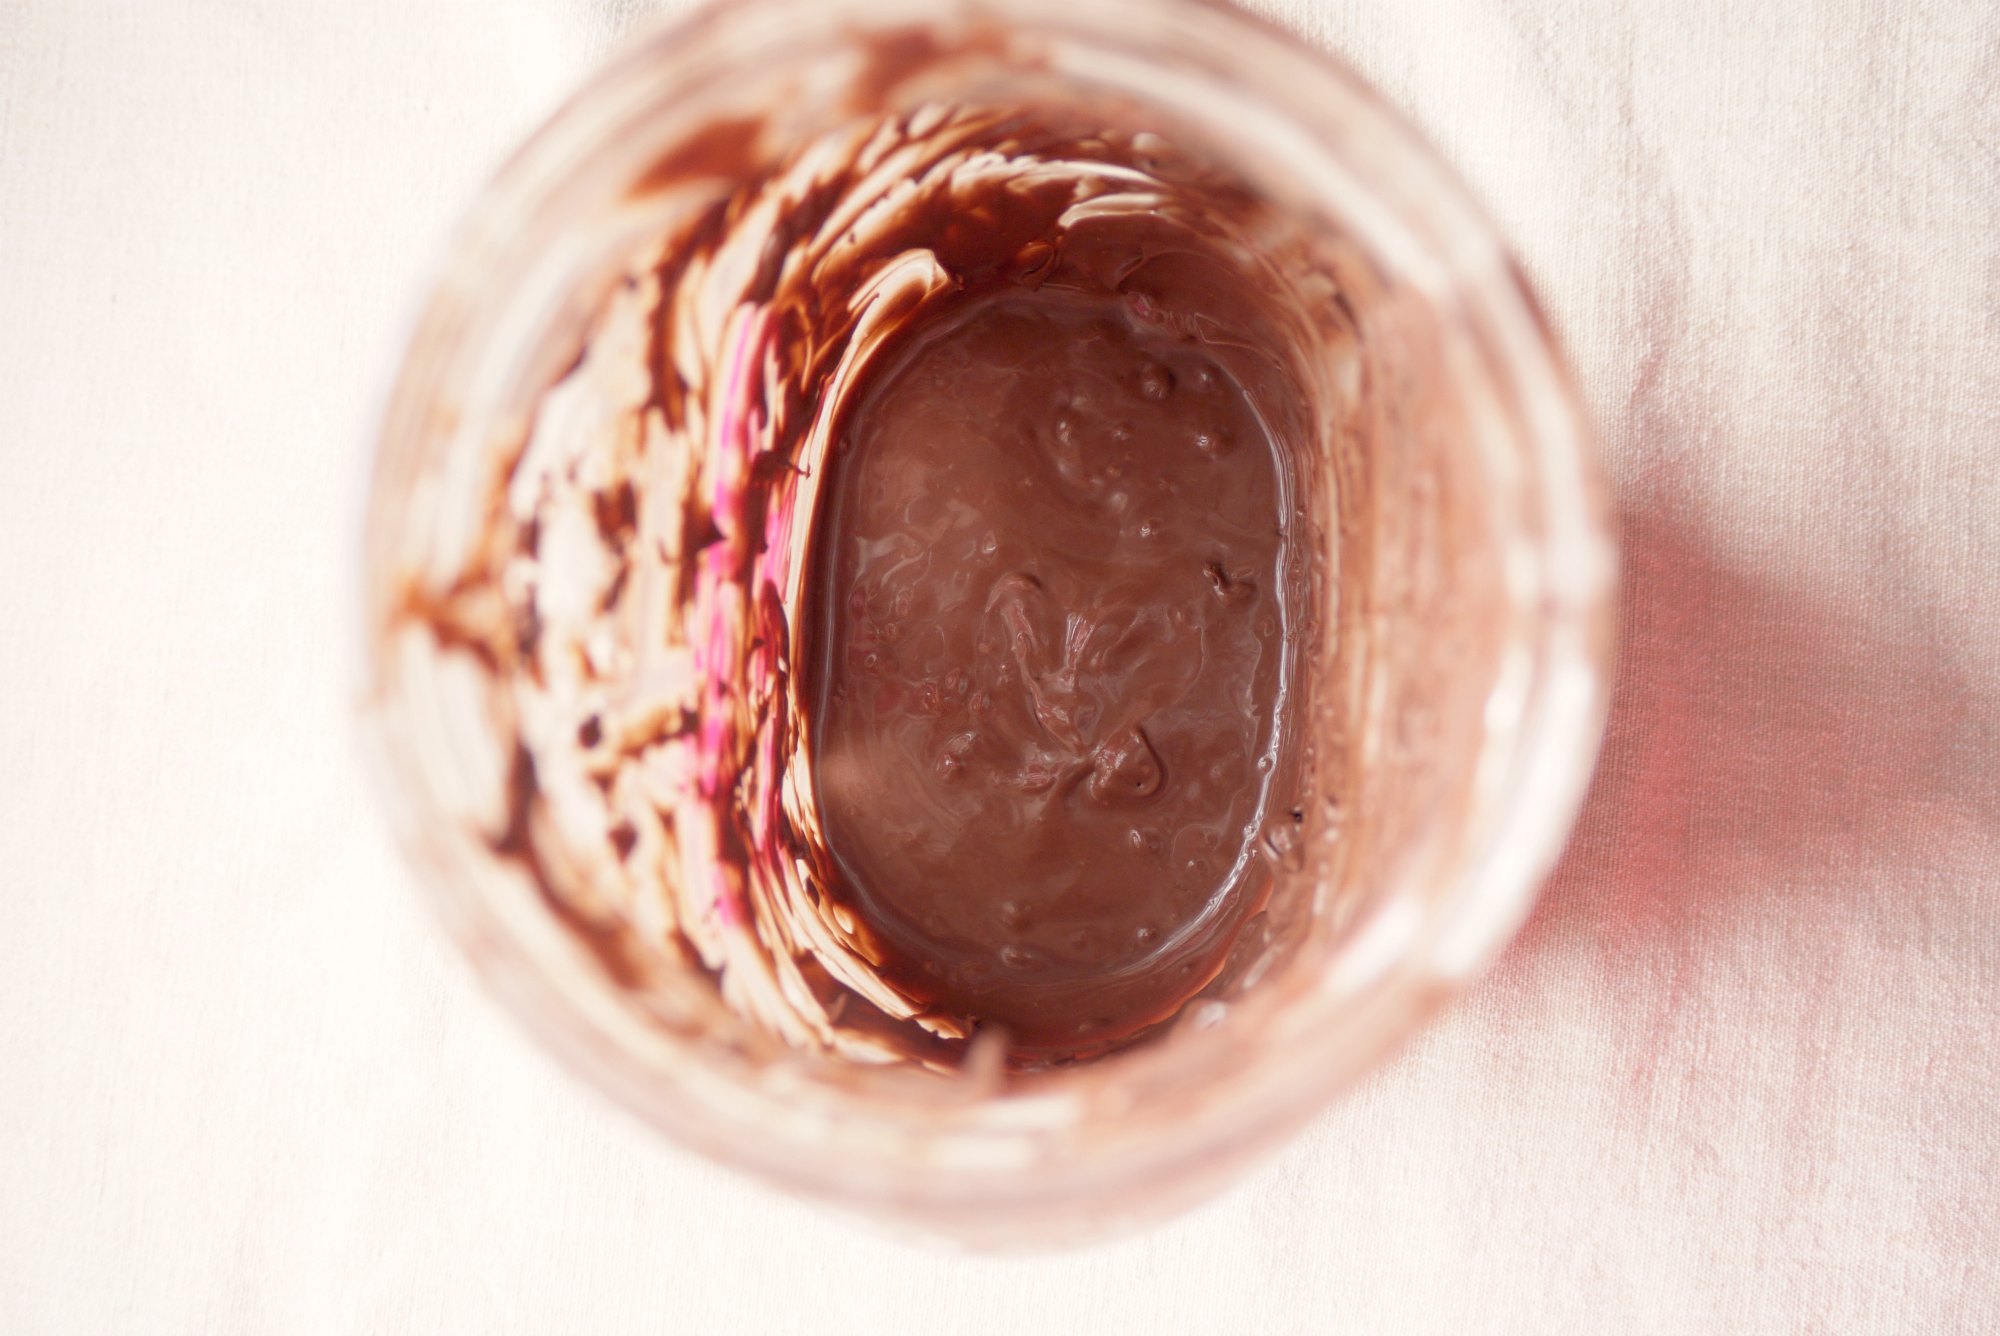
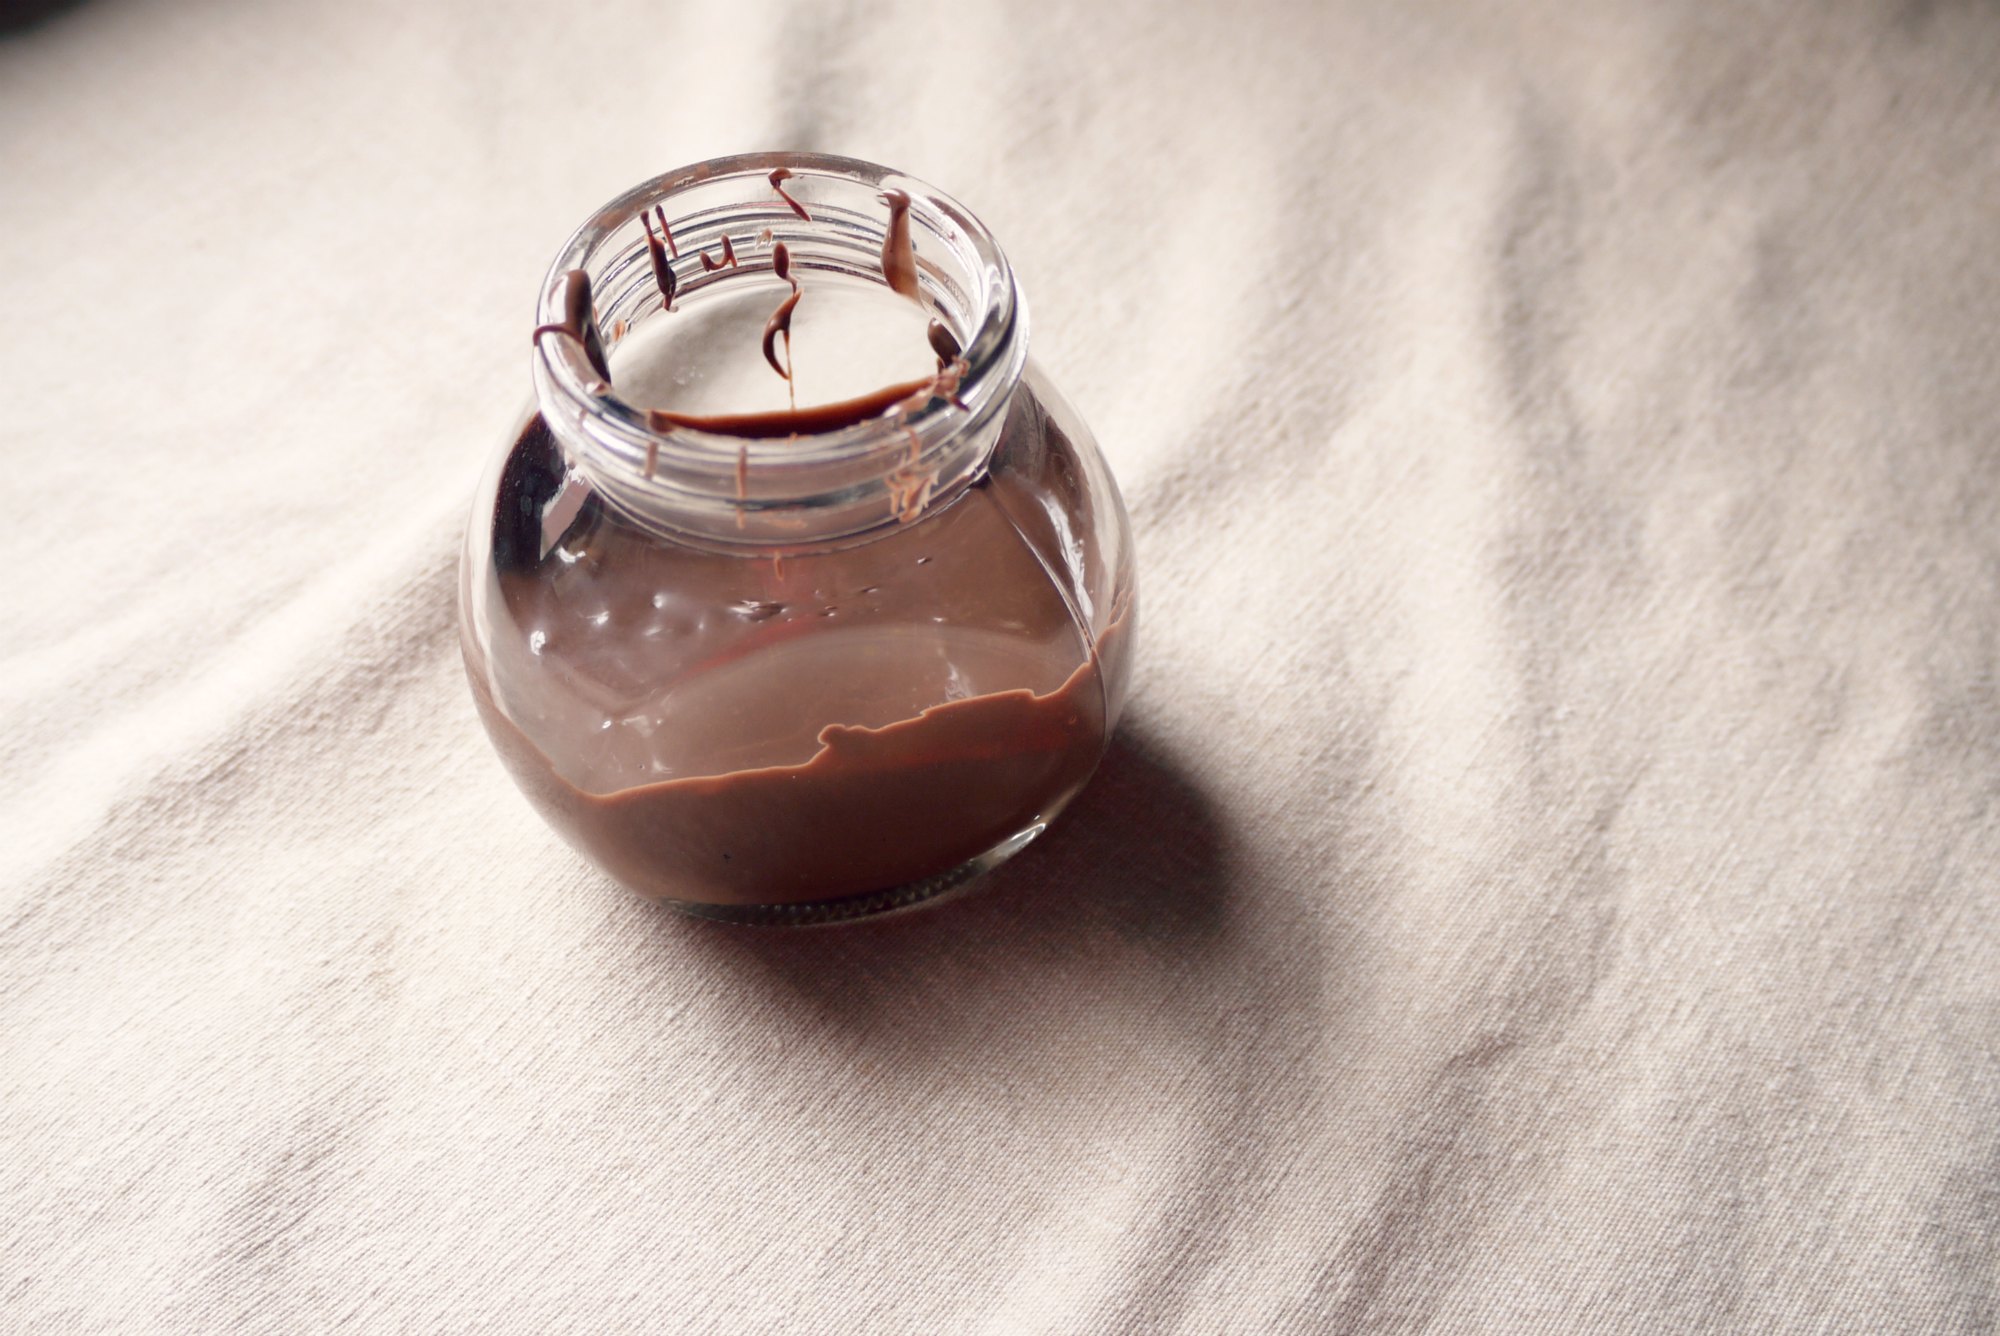
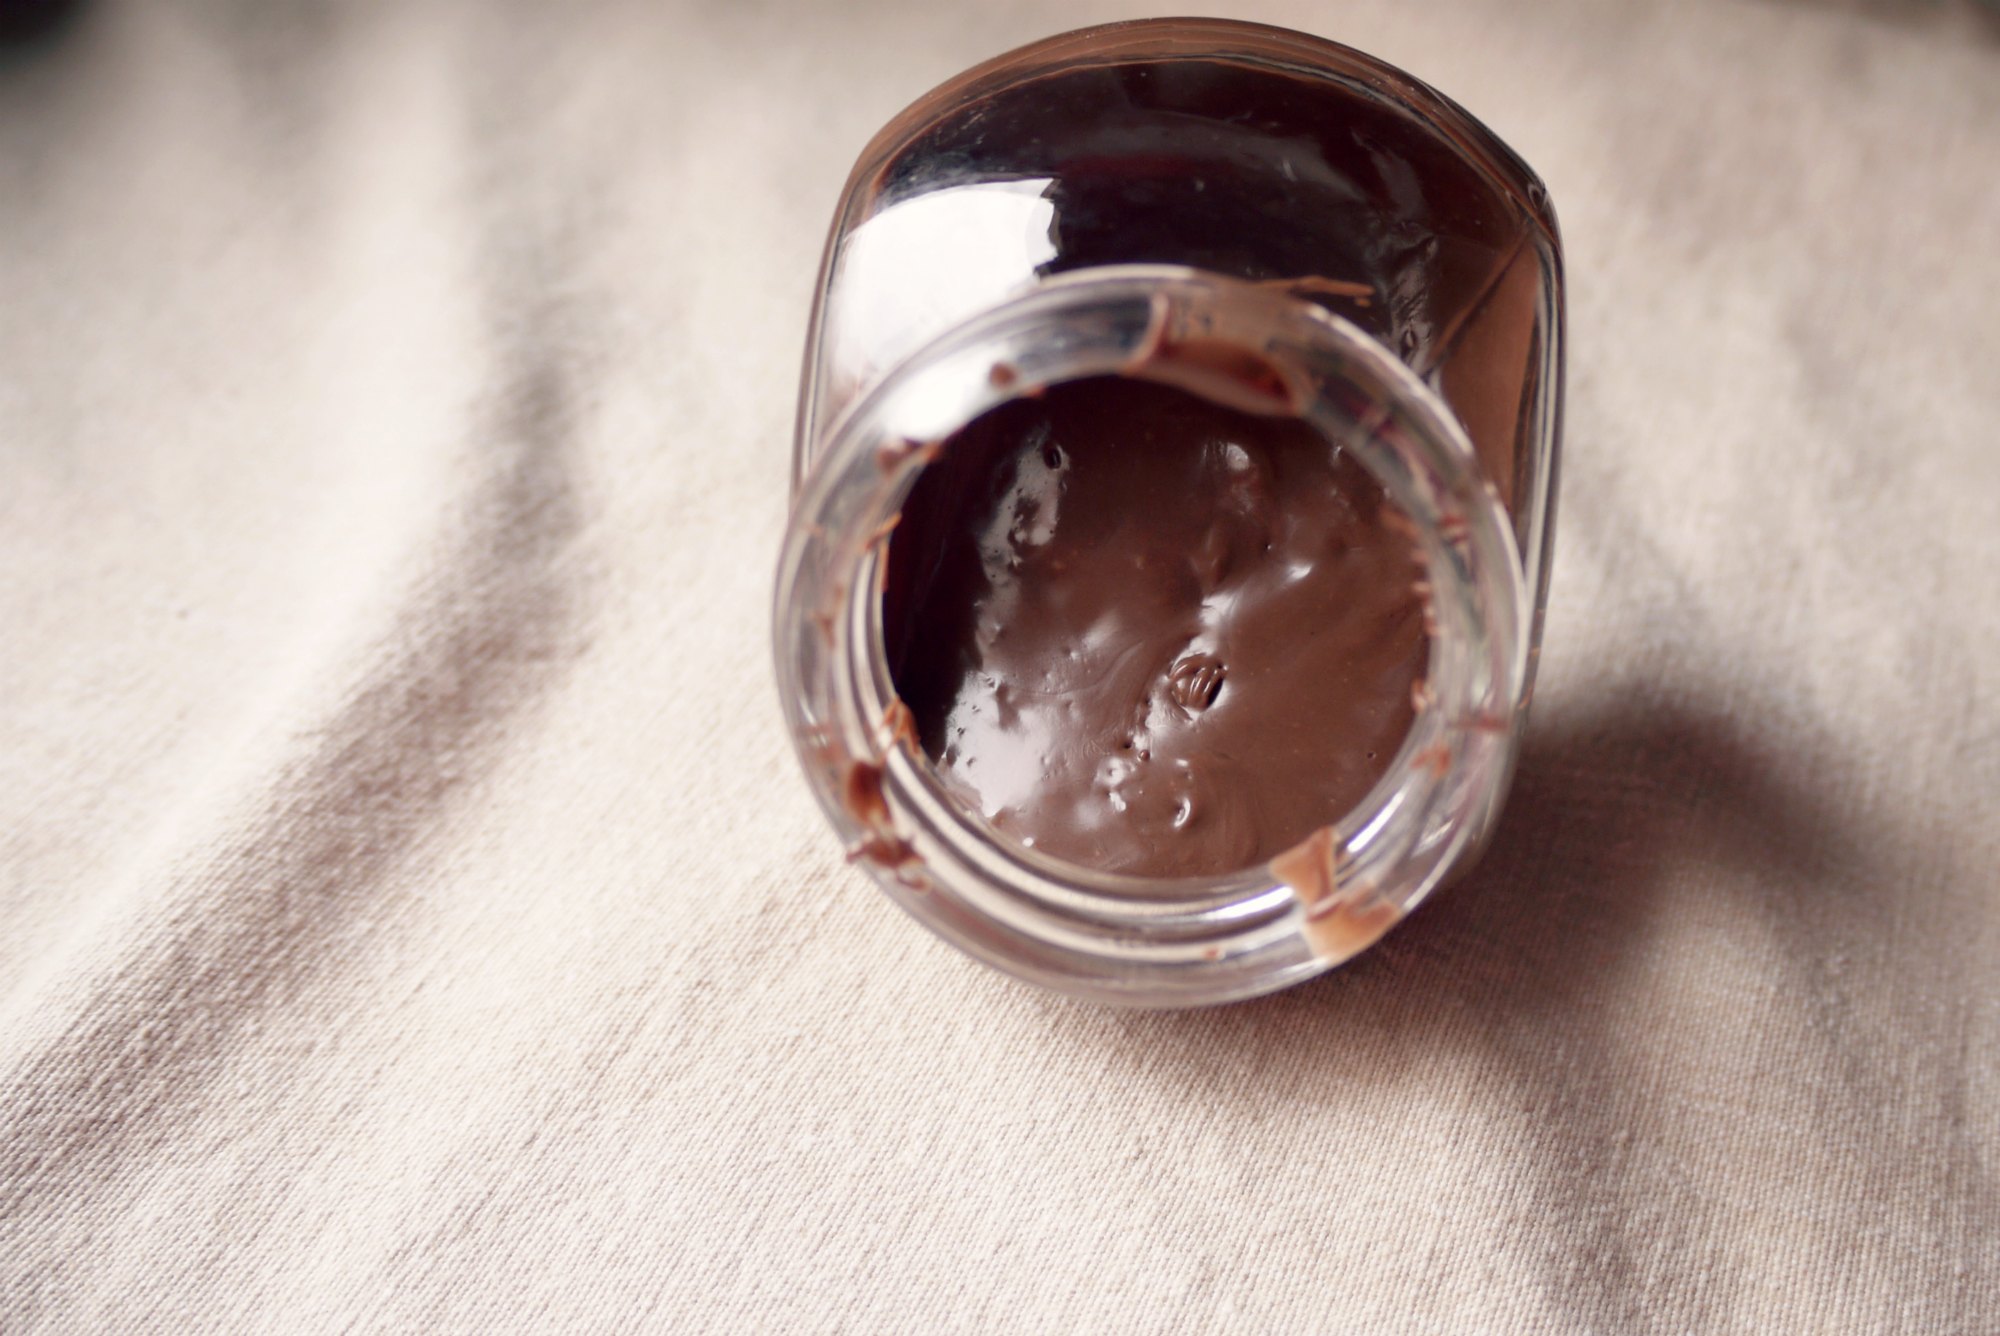
Another great tip I have on keeping a low pantry stock is to DIY.  Available on the retail shelves are bottles of ready made sauce to make cooking more convenient, but most can be prepared at home if you already have the basic condiments ready such as chili paste, vegetarian oyster sauce, sugar, soy sauce, sesame oil, vinegar etc.  Do a quick search on the internet, and there are thousands of recipe entries for teriyaki sauce, black pepper sauce, sesame mayonnaise dressing, etc and the beauty of these diy sauces is that you can season them exactly to the way you like it.  I have also recently found that icing sugar is simply adding corn starch to fine sugar after processing it in a blender, one less item on my shelf since I already have corn starch and sugar at home.

DIY Oat Flour // Mono+CoDIY Oat Flour // Mono+Co

And talking about blender, they are great for making diy flour too, especially the types that you don’t use that often and certainly won’t need to buy 1 kg for, like I make my own small batch oat flour to make breads like this and this.  As you can see from my photos, my homemade flour might not be as fine as the store-bought ones**, but it doesn’t have to be for my bread recipes.  Moreover, between getting a not-quite-up-to-miller-standard flour and turning good quality flour rancid due to infrequent use, I’ll settle with coarser flour in my breads and think of it as a better fiber source.

What are the must-haves in your pantry?


** I have read that the ultra high end blenders like Vitamix and Blendec can produce really fine diy flours.  Use them to make you own diy flour if you already own one.  Lucky you!


Save

Save

Save

Save

Save

Save

Printable Calendars + Planners 2016

calendars printable 2016 001calendars printable 2016 003calendars printable 2016 002

Calendars that are so pretty, I find myself using them as decor items around the house.

// this monthly one from The Anastasia Co (above, 1st pic)

// this minimalistic yearly calendar from Nordic Mojo (above 2nd pic)

// this lovely daily planner from Creators Couture (above, 3rd pic)

// this A5 planner inserts from Pengems

// this customisable monthly calendar from It’s Always Autumn

// this 3D calendar is available again from A Piece Of Rainbow

// this monthly planner from Landee See Landee Do

++ HAPPY 2016 & HAPPY PRINTING! ++

Turn Them Into Pretty Gifts : Recycled Glass Jars

messageinabottle005 messageinabottle004 messageinabottle002 messageinabottle006 messageinabottle007

Children’s Day is around the corner.  These “Message in a bottle” gift jars were made for Teachers’ Day last month.  I will be using the same idea to pack my Children’s Day gifts.

Simply gather some clean empty jars, thoroughly washed and air dried as you do not want strange mould growing inside them after a few days.  The only step left is to doll them up with labels, ribbons and the prettiest kind of message cards you can find.  Cover the lid with a squarish patterned paper or fabric and fasten with craft twine, this will complete the “handmade” look.

They will look real pretty as a set (photo 3 above) when bottles of a consistent size are used.  But this doesn’t really matter as they will be distributed to different recipients anyway.  The more important thing to note is that taller glasses are preferred, so that the message on the cards can be read easily without the lid wrapper obstructing.  The large 1kg Nutella bottles (photo 4 above) are the best for displaying messages with its wider body design.

You can gift the decorated jars as they are, like 3D greeting cards, or you can up the ante by filling them with goodies like sweets, chocolates or even small toys.  Just make sure that food items that are greasy or melt easily that could stain the message cards are packed in separate plastic bags.

Keeping Tabs On My Coupon/ Voucher Inventory

coupon inventory list printable

2014 vouchers status : fully redeemed, none left expired.  Hurray.

I have drawn up a fresh A4 template for 2015 -16, the vouchers details are sorted according to their expiry months.  This way, it will be even easier to track down those coupons with expiry dates nearing, and utilize them sooner.

Coupon Inventory Download Title

How I Clean Out My Nutella Bottle

howicleanoutmynutellabottle001 howicleanoutmynutellabottle004

I normally buy Nutella in smaller 350g jars.  The larger ones are slightly cheaper, but by the time you get to the bottom of the jar, the spread would have totally dried out; not so easy to spoon out, and not smooth enough to spread on breads or pancakes.

The smaller jars also make it easier to control our consumption level, as I usually give one or two months break in between to switch to other spreads like cheese, kaya and peanut butter.  I feel that with the amount of sugar it contains, it is still better off as an occasional treat than an everyday food.

Sometime last year, I got the 1kg Nutella that was available in a limited edition glass jar.  As expected, as the spread turned drier, consumption came to a halt, and the almost empty huge jar was left untouched for at least 2 weeks, with what’s remaining that was good for at least 5 more servings.

So here’s what Mama Scooge did to get the Nutella engine starting again:

Add some neutral tasting oil that would not clash with the hazelnut + chocolate taste of Nutella.

I add coconut oil as I have seen homemade nutella recipes using it as an ingredient.  It works for me.

Do not add too much at first.  Stir to mix and see if the right consistency is achieved, if not, add a little more, about a teaspoon at a time.  I added only 1 tablespoon to mine, but stir like crazy to avoid more oil being added.

And that’s it, back to its shiny spreadable stage!  I even transfer the coconut oil-reconstituted Nutella into a smaller bottle so that it won’t dry out any faster than being in a large almost empty bottle.

howicleanoutmynutellabottle002 howicleanoutmynutellabottle003 howicleanoutmynutellabottle005  howicleanoutmynutellabottle006