ABin5 : A Refresher

claypotbread // mono+co claypotbread // mono+coclaypotbread // mono+co claypotbread // mono+co

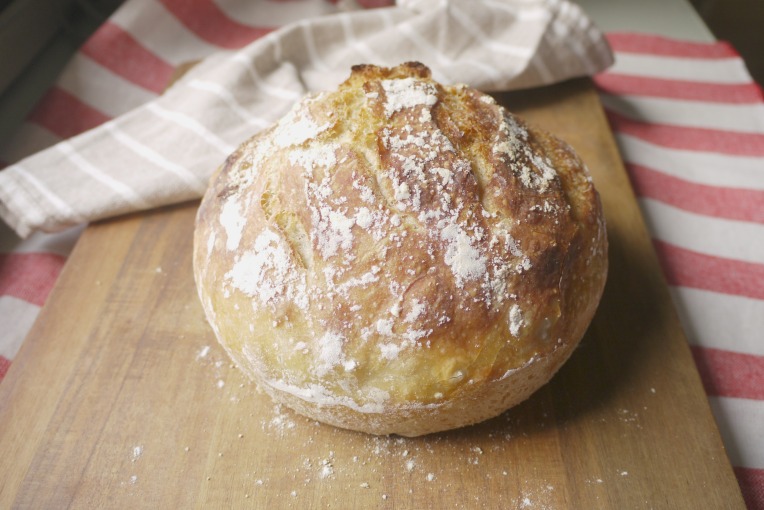
While drafting the previous pizza recipe post, where I used the ‘Artisan Bread in Five Minutes’ (ABin5) way for preparing the pizza dough, I realized that I have been making changes to this method since I adopted it two years ago.  A new edition of the book has also been released, so here’s a refresher post on baking bread this way.

First, the 3 major changes I have adopted:

____________

/ Earlier, I was weary of adding too much salt into the mixture for fear of, firstly, it will affect the level of rise in the dough (what if I put too much and kill the yeast?), and secondly, it will be more healthy to have lesser salt in the bread.  However, I have noticed that there is a difference in the taste when I added up to a full tablespoon of salt into my dough, depending on what salt is used.

/ I have been using ONLY the weighing method to get the amount of flour right, achieving a consistent level of hydration for the dough for every batch.  I have noticed with my earlier trials that the ABin5 master recipe is really a very forgiving recipe; no matter how wet the dough is, it still rises predictably, and the bread still come out pretty well.  Nowadays, I prefer the dough made with the weighing method, as it is a lot easier to handle, not too runny, allowing me to shape the bread better; most of the dough should go into the bread, not on my hands only to be washed away!

/  I have been using the steam trap method with a simple claypot, instead of the broiler in the oven method.  The authors of the book have also mentioned this method as a more convenient one.  I do not preheat my claypot though, as my claypot manufacturer’s instruction specifically states that the claypot should not be heated without any liquids in it.  So I proofed my bread dough in it (covered with clean, damp tea towel), and bake it in a preheated oven for 30 minutes with lid on, and then another 15-20 minutes without the lid.

____________

RECIPE FOR ARTISAN BREAD IN 5 MINUTES
/Source

____________

3 cups lukewarm water
1 tablespoon instant yeast
1 tablespoon salt
2lb or 910g of plain flour

____________

01. Place water, salt and yeast in a plastic container that is big enough for the dough.  This container preferably with lid (if not, cover with cling wrap will do too) will also be the storage container for the dough to be placed in the fridge.  Make sure your fridge has a space for it.  A 6-quart container is recommended in the book.

02. Add in the flour all at once.  Stir with a pair of long chopsticks until the dough comes together, it should be a wet and shapeless one.  If yours can be kneaded into a ball at this stage, you have probably used too much flour.  You can still save the dough by adding water slowly, till you get the dough to its rightful consistency.

03.  Cover the container loosely, saving a gap for the gases to escape as the dough proof.

04. Allow the dough to rise to double its bulk, anything from 2 hours to 4 hours, depending on the room temperature.

05. Once the dough has risen to its max, it will start to settle down, sink a little and form a flat top.  This dough is now ready to be used, or it can be stored in the fridge when you are ready to bake a bread or pizza.  I prefer keeping it in the chiller for a few hours so that the dough is easier to handle.

06. On baking day, take out the dough from the fridge, and dust the surface with some flour, so that it won’t stick to your hands when retrieving the dough.

07. Pull out a piece of dough and cut out about the size of a grapefruit , or weigh 1lb.  Return the rest of the dough into the fridge.

08. Form the dough into a ball, gluten coated.  Sprinkle flour on surface as you go for easier handling, but take care not to incorporate the flour into the dough.  Handle the dough gently at this stage, do not knead, press or squeeze out the air that has expanded inside the dough.

09. Rest the shaped dough by placing it in a claypot (lightly dusted with flour),  from 40 minutes (according to the book’s instructions) or 90 minutes.  I let it stand longer till the dough returns to room temperature.

10.  Preheat the oven to 230C (450F).  When the oven is ready, pour some flour on the bread surface, and slash the loaf with a clean knife or scissors (I have to admit that I find the scissors easier to manage! Just make 3 to 4 decisive fast snips…) so that it does not split at the bottom during baking.

11.  Cover the claypot, and quickly place it into the oven, bake for 30 minutes.

12. After 30 minutes, continue to bake at the same temperature for 15-20 minutes, without the cover.

13. When done, remove the claypot from the oven, and let it cool on a rack.

14. Allow the loaf to cool completely on a rack to room temperature before slicing it.  Otherwise, the bread will end up with a hard crust and a gummy interior.

Homemade Soft Bread Rolls

Homemade Soft Bread Rolls // MONO+COHomemade Soft Bread Rolls // MONO+CO Homemade Soft Bread Rolls // MONO+CO Homemade Soft Bread Rolls // MONO+CO

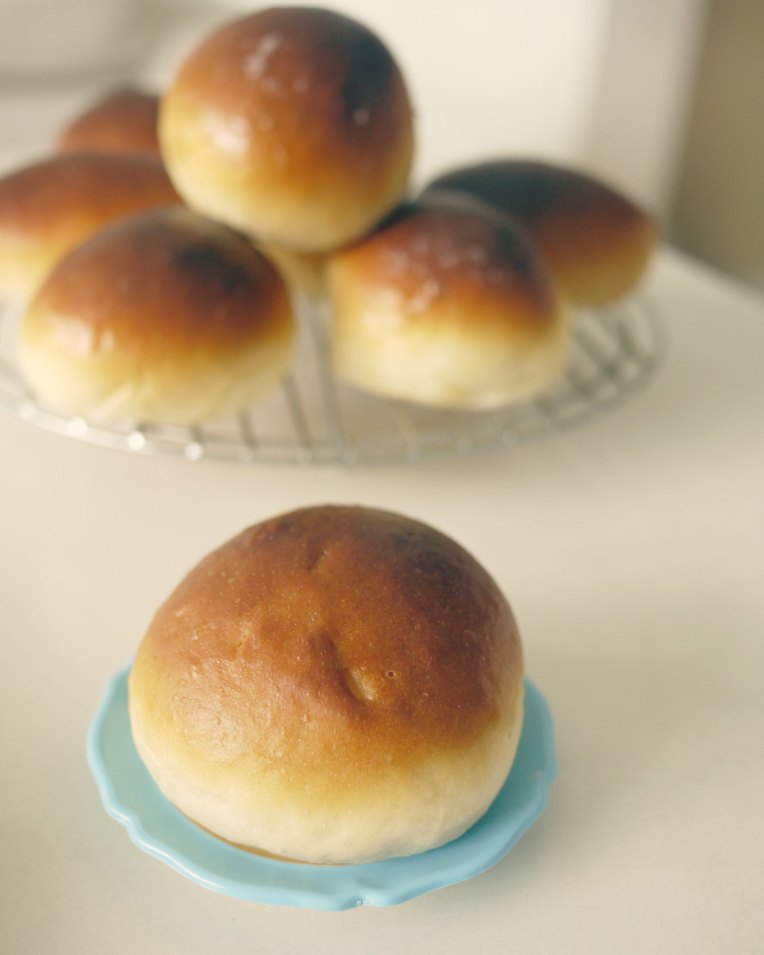
I always go back to this recipe when I want a really soft bun.  Nothing fanciful, just a straight dough recipe.  Made it “ko-song” without any fillings or toppings.

Told myself this as I was munching them away : “Always, always keep flour, yeast, sugar, salt, egg, and butter at home”, that’s all you need to bake a very fulfilling breakfast/ tea break/ supper item.

SOFT BREAD ROLLS
// Adapted from <<爆漿餐包>>
// Yields 10 small buns

INGREDIENTS

174g bread flour
43g plain flour
13g milk powder
7g instant yeast
39g white castor sugar
2g salt
22g beaten egg
100g water
22g unsalted butter

METHOD

Mix well both types of flour, yeast and milk powder in a large bowl. Set aside.

In a mixing bowl with a flat beater,  mix sugar, salt, egg and water, till well combined.

Add flour, yeast and milk powder mixture, and run the mixer on low speed till the ingredients form a ball.

Change to a dough hook, and knead for about 5 minutes.

Add in butter, and continue to knead till dough reach window pane stage.

Remove bowl from mixer, knead the dough with hand into a neat ball, cover it with a clean tea towel and proof it for 90 minutes, the dough should expand to twice its size.

Pour out the expanded dough on a clean kneading board/tabletop, and knead the dough again, pushing out gases inside.

Divide and shape the dough equally into 10 small balls (about 40g each).  Set aside to rest for 10 to 15 minutes.

Flatten each dough gently with palm, pushing out the air inside, and roll it  into a ball.

Arrange them on a baking tray.  Cover with towel and proof for another 45 minutes.

Bake in a preheated oven at 170C for 10 minutes or until the buns turn golden brown.

Remove from oven and brush melted butter on the bun’s top immediately.  This will to keep the crusts soft, even after cooling down.

Artisan Bread In 5 Minutes A Day – My First Attempt

ABin5 // mono+co ABin5 // mono+co ABin5 // mono+co ABin5 // mono+co ABin5 // mono+co

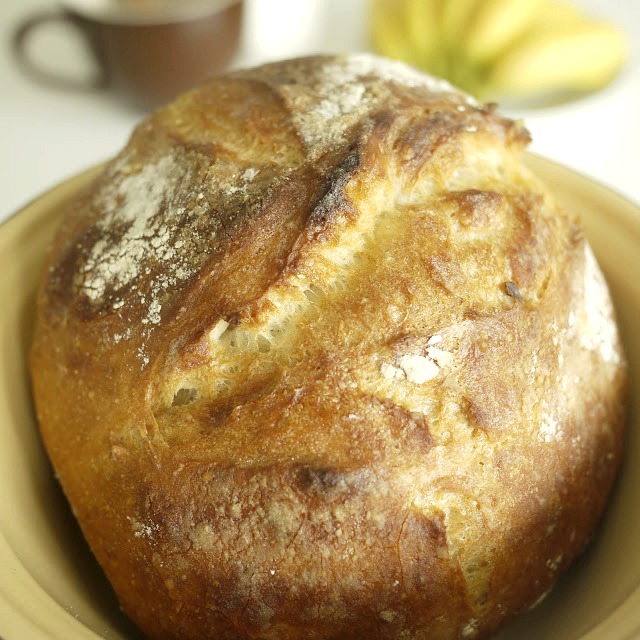
The book, Artisan Bread In 5 Minutes A Day(ABin5), that advocates the making of good quality artisan bread at home quickly and easily has been on the retail shelves for quite some time.  But I have been using another No-Knead Bread Recipe and Video Demonstration from NY Times – without a single success.  I attributed my result of dense loaves with thick -PLUS – hard crust to the fact that I do not own a dutch oven to bake the bread, a necessity tool for the No-Knead recipe.  But I kept on trying, using any oven-safe cookwares available at home that comes with a lid.  What was I thinking?  But I realized that my few failed attempts have actually taught me quite a few things when I tried the Basic Master Recipe in ABin5.

So what did I learn?  First of all, do not fear a wet dough.  By comparison, the ABin5 master recipe was not as wet as the NY Times one.  I even had the ‘courage’ the add another half a cup of water when my dough did not appear as wet as the ones I have seen on the web.

Secondly, patience in bread making.  Having waited up to 18 hours for the dough to be ready in the other recipe, the 5 hours wait for this one seemed manageable.  In fact, I left the chilled dough in the fridge for one more day before I used it to bake my first loaf.   Why?  Because the recipe says that the dough can be kept up to 14 days in the fridge, and the taste of the bread will get better with an aging dough, taking on a similar characteristic of a sourdough.  While my bake with a 2-days-old dough did not taste anything like a sourdough, I could still feel its huge potential in churning out batches after batches of delicious batard, brioche, or even pizza base (that’s covered in their latest recipe book, Artisan Pizza And Flat Bread In 5 Minutes A Day).  In the meantime, I will chuck another bin of newly prepared dough to the back of the fridge for 10 days.  Ready for sourdough?

I have bookmarked the book’s official website in my computer.  The FAQ section offers many useful tips to make sure this wonderful recipe works.  I also noted that the 2 authors respond very promptly to readers who post their bread making questions on the website, and new recipes are often tried out and updated.  How about using a slow cooker to bake your bread?


Recipe for Artisan Bread – adapted from “Artisan Bread In 5 Minutes A Day” recipe book, by Jeff Hertzberg and Zoë François (Thomas Dunne Books, 2007)

Yields 4 x 1lb loaf

- 3 cups lukewarm water
 - 1 tablespoon granulated yeast (I used instant)
 - 1 tablespoon salt
 - 6 1/2 cups (2 lbs) all purpose flour

Preparing The Master Dough:

Put water, yeast and salt, in a plastic container.

Dump all flour at once and stir till the ingredients are just mixed, do not knead. (*1)

Cover lid, but do not snap shut, so that gas can escape from the container. (*2)

Allow the dough to rise for 2 hours in room temperature.  By now, the dough could rise up twice its original volume,  Bubbles will appear popping on the surface. (*3)  Do not punch down the dough.

The dough can now be used for baking.  Or it can be stored in the fridge with its cover (again, not tightly shut to allow gas to escape) for up to 14 days.  Chilling the dough will make it easier to manage.

Baking:

Preheat oven to 450F/230C, with a baking tray on the middle rack, and a broiler below.

Take out the dough from the fridge, and dust the surface with some flour, so that it won’t stick to your hands when retrieving the dough.

Pull out a piece of dough and cut out about the size of a grapefruit , or weigh 1lb.  Return the rest of the dough into the fridge.

Form the dough into a ball, gluten coated.  Sprinkle flour on surface as you go for easier handling, but take care not to incorporate the flour into the dough.  Handle the dough gently at this stage, do not knead, press or squeeze out the air that has expanded inside the dough.

Rest the shaped dough on a piece of parchment paper for 40minutes (*4)

Slash the loaf so that it does not split at the bottom during baking.

Place the dough with the parchment paper on the heated baking tray in the oven.  Throw some ice cubes on the broiler to produce steam.

Bake for 30-35minutes.

Remove the parchment paper after 20minutes of baking, and continue to bake the bread on the tray to create a crispy bottom crust.

Allow the loaf to cool completely on a rack to room temperature before slicing it.  Otherwise, the bread will end up with a hard crust and a gummy interior.


My Notes:-

(*1) The end result should not be in the consistency of a ball dough, if it does, add some water.  I added 1/2 cup more for this first attempt.

(*2) My container did not have a lid, so I used a cling wrap to cover the container.

(*3) For some reason, mine took 5 or 6 hours to reach this stage, which is fine, as some readers have indicated on the website.  Something to do with the amount or types of yeast, I guess.

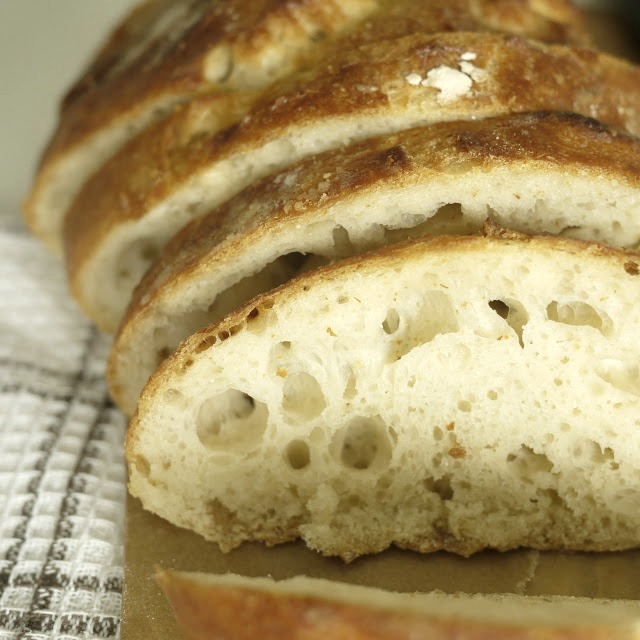
(*4) The longer it rest, (e.g. 60 to 90 minutes), the more open whole structure it creates.  Take your preference.  And delay the time needed to start preheating your oven.

This video is useful to show how to prepare the dough (3:00) and shape a basic loaf (4:20).