Green Monday: DIY Beeswax Food Wrap

Green Monday: DIY Beeswax Cloth Wrap // Mono + Co

I go by a simple rule that if something can be diy-ed relatively easily, then resist buying, unless leaving the ‘making’ to someone else saves me plenty of money.  Beeswax cloth food wraps definitely fall under the “can-do” category.

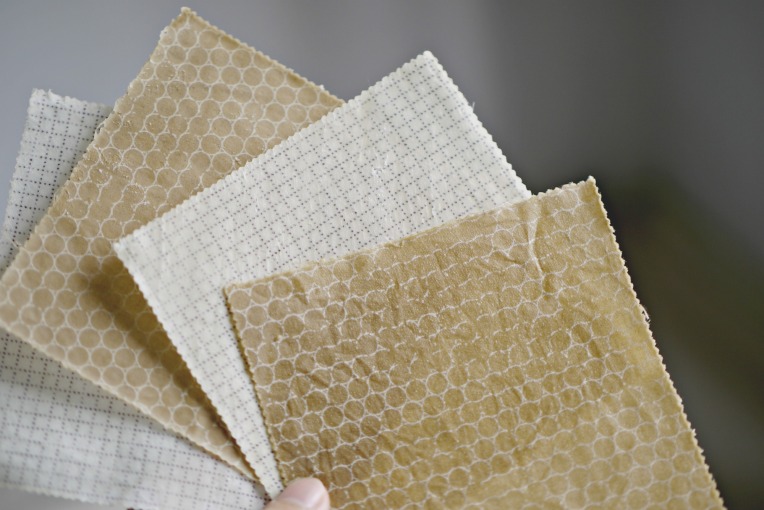
For the uninitiated, beeswax food wraps are the environmentally friendly solution to plastic cling wraps since it can be reused, unlike the disposable nature of the latter.  I have long given up on plastic food wraps as they never seem to “cling” once out of the dispenser.  I find old newspapers a better wrap for my leafy vegetables and see through food savers are my preferred storage containers for halved lemons, avocados and carrots.  But if you are still buying, using, and discarding rolls and rolls of plastic cling wraps, perhaps you might want to consider investing one of these reusable food wraps.  I have since made these wraps on 2 separate occasions and share some tips and thoughts on this DIY project below.

Green Monday: DIY Beeswax Cloth Wrap // Mono + Co Green Monday: DIY Beeswax Cloth Wrap // Mono + Co

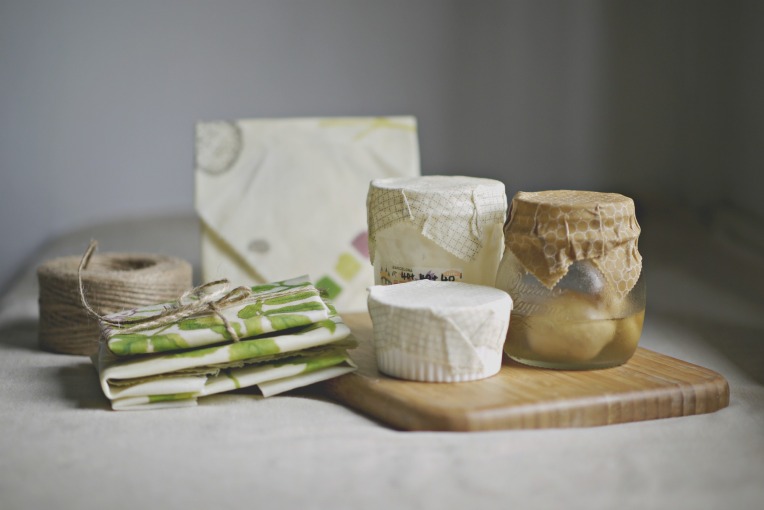
// 001.  Sizes: XS and XL

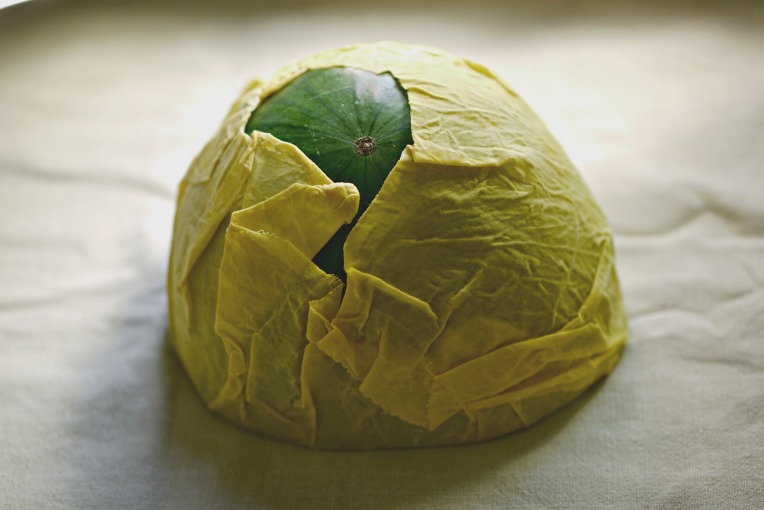
The best thing about making my own wrap is that I can decide how big or small I want the wrap to be.  As big as this one that I can easily use to wrap watermelon half, or
Green Monday: DIY Beeswax Cloth Wrap // Mono + Co Green Monday: DIY Beeswax Cloth Wrap // Mono + Co

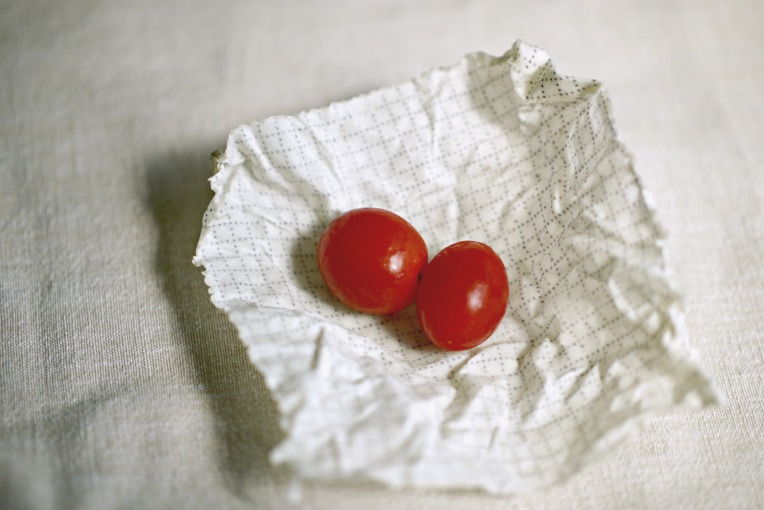
as tiny as this one for 2 cherry tomatoes,
Green Monday: DIY Beeswax Cloth Wrap // Mono + Co

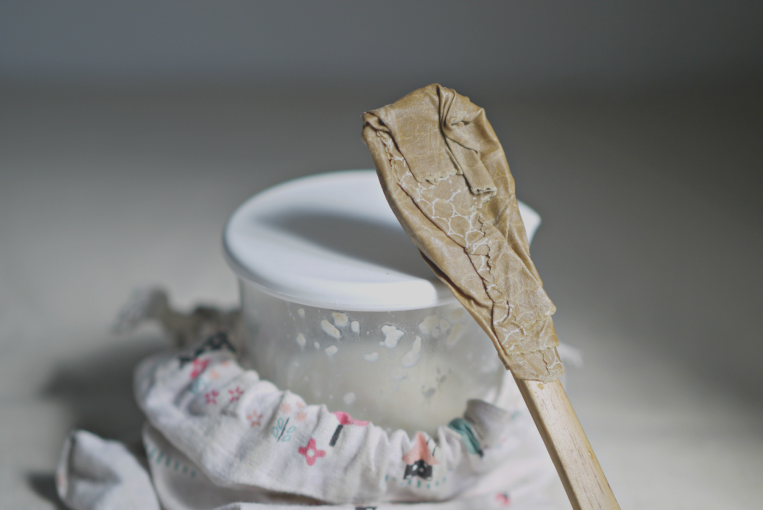
I even have one for wrapping a bamboo spoon for a packed meal.  Neat.
Green Monday: DIY Beeswax Cloth Wrap // Mono + Co

// 002. Methods: Oven or Iron?

These are the initial few sheets that I have made. Things went smoothly right from the very first piece, simply because the bake in the oven method is really easy.

I first line a baking tray with parchment paper, then place the cotton fabric on the paper, sprinkle beeswax pellets evenly on it and place it in a preheated oven at 150C.  It takes just 3 minutes for the beeswax pellets to melt.

Take the tray out, add 1/8 – 1/4 teaspoon of coconut oil (I learned that the addition of oil helps to make the wrap more pliable and cling better here) and use a clean large paintbrush with short bristles (so that the beeswax is not absorbed by the bristles) to spread the wax and oil evenly on every inch of the fabric.  Do this step swiftly before the wax starts to solidify at room temperature.  If the wax solidifies before you can even spread them, pop them back into the oven for another 30 sec to 1 minute this time to melt again, but watch closely and do not leave the oven unattended since beeswax and cotton are flammable.

Once the wax has been evenly spread, remove the fabric from the parchment paper and let it dry.  Once dry, wash it once with water and mild soap before its first use.

Green Monday: DIY Beeswax Cloth Wrap // Mono + Co

Green Monday: DIY Beeswax Cloth Wrap // Mono + Co

The only teething issue I have is how to keep the melted beeswax remaining on the cotton fabric, not on my baking tray.  Even after lining the tray with baking paper, I still ended up with beeswax staining my tray, which I have yet to clear. (Oops)

There is another iron-on method with instructions here.  But I decided not to try just in case the beeswax stains my iron and ironing board.

Green Monday: DIY Beeswax Cloth Wrap // Mono + Co

// 003.  Do they cling well?

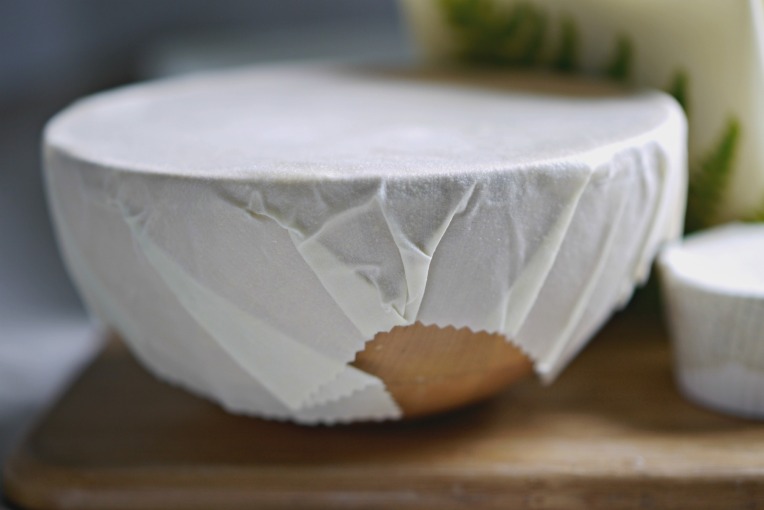
Yes.  Much better than plastic cling wraps.  Make these with the lightest cotton fabric, not the heavy kind for making curtains with.  The thin fabric will allow the food wrap to cling better.
Green Monday: DIY Beeswax Cloth Wrap // Mono + Co

I have since been testing these wraps vigorously, at home as well as on-the-go, washing, and drying in between just to see how well they can replace the plastic version.  They definitely work, and they “cling” so much better than the plastic ones.  As beeswax softens at the warmth of my hands, I managed to shape and mold the wrap closely to the contour of the food items or containers.  And once they are placed in the chiller, the shape is further set as the beeswax solidifies.

Green Monday: DIY Beeswax Cloth Wrap // Mono + Co

I am so happy with the result that I customize one as a lid for my baking pan so that it becomes my “bread storage tin”.
Green Monday: DIY Beeswax Cloth Wrap // Mono + Co

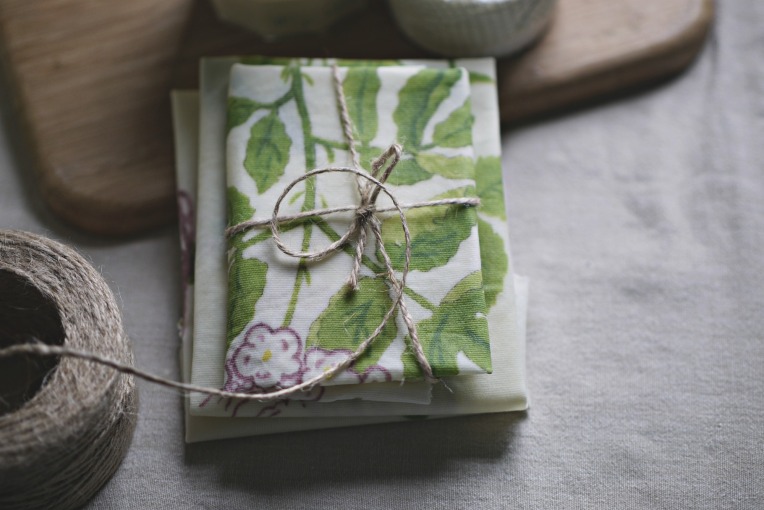
And made more with some fabric scraps from Ikea.
Green Monday: DIY Beeswax Cloth Wrap // Mono + Co

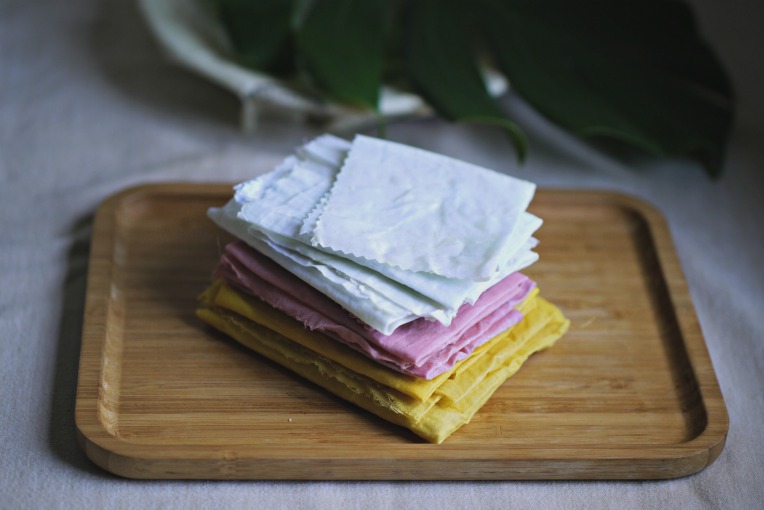
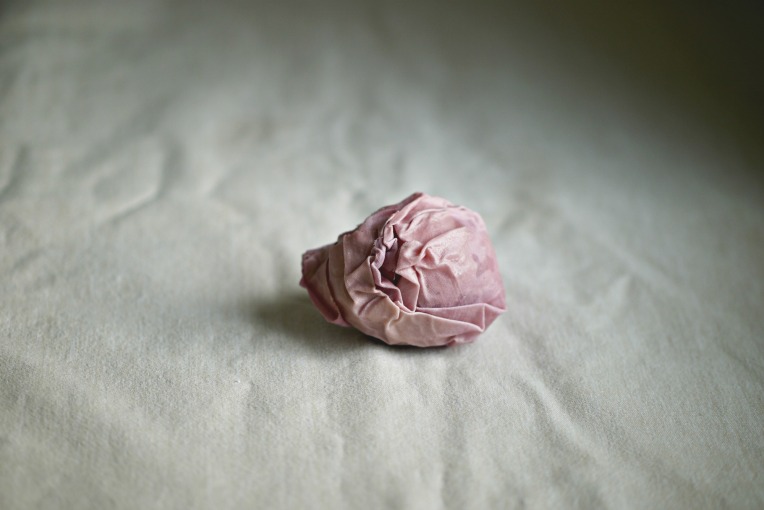
But I still prefer plain ones, so I made more with my plain fabric and dye them with pomegranate tea and turmeric tea for a colour variety.

Green Monday: DIY Beeswax Cloth Wrap // Mono + CoGreen Monday: DIY Beeswax Cloth Wrap // Mono + Co

// 004. How to care for them?

First thing first.  These wraps are not to be used for raw meat and dairy products since the wrap can only be washed with cold water and mild soap.  Keep the wrap away from heat sources as the beeswax will melt.  For the same reason, do not it use to wrap hot food.

To wash, simply run the wrap under cold water and wash with mild soap.  Wipe dry with a tea towel if reusing immediately.  Otherwise, hang to air dry, then fold the wraps and store in a drawer.  The wraps will retain the creases from the previous usage and will need a re-wax (same instructions a making a new one) when the wrap no longer clings as well as before.

Green Monday: DIY Beeswax Cloth Wrap // Mono + Co

// 005. Other tips?

++ A pair of pinking shears will help to earn extra design points.

++ Be careful if you are allergic to beeswax or pollen, you might want to get wrap made with plant based wax such as soy instead.

++ When passing food to friends wrapped in these wraps, make sure to inform them that these are reusable and non-disposable.  I am adding this tip because one ended up being trashed by an unaware friend.

Save

Save

Save

Save

Save

Save

Save

Save

Save

Save

Save

Save

Reuse And Repurpose : Glass Jars and Bottles

Reuse And Repurpose : Glass Jars and Bottles // Mono+Co

Although the Plastic-Free-July Challenge targets at single use disposable plastic, I am using this opportunity to mention something about my love for glass jars and bottles.  Glass is my most preferred material as food storage containers for my pantry.  You can see through them and know what’s exactly inside.  There is no worrying of toxins leaching into my food.  And they are such a breeze to sterilize, take your pick from six methods here.

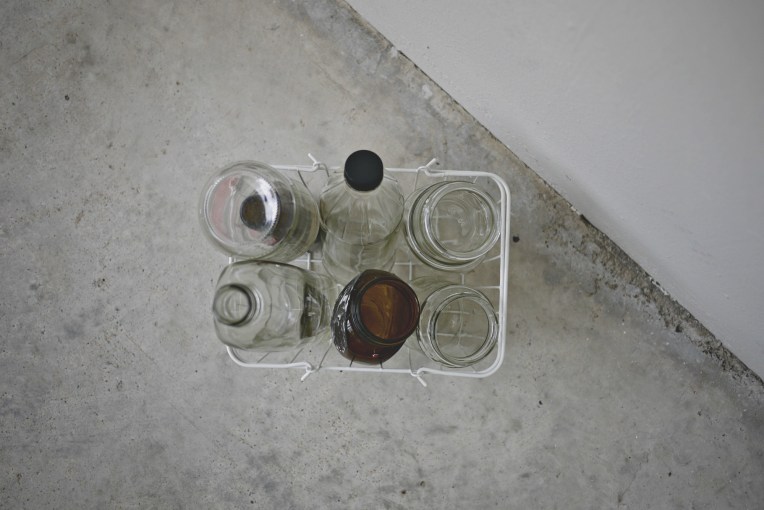
There are many food items that are already packaged in glass vessels, I always think that it’s such a waste to be buying glass containers (or plastic ones) yet discarding perfectly well pasta sauce jars into the recycling bins instead. Here are some of my favorite reused and repurposed glass jars and bottles,  I collect those that come in clean lines and once you remove the labels, they will look totally like the ones that you want to buy from the stores.

Reuse And Repurpose : Glass Jars and Bottles // Mono+Co

+ BEFORE:
Papa Alfredo pasta sauce jars.

+ AFTER:
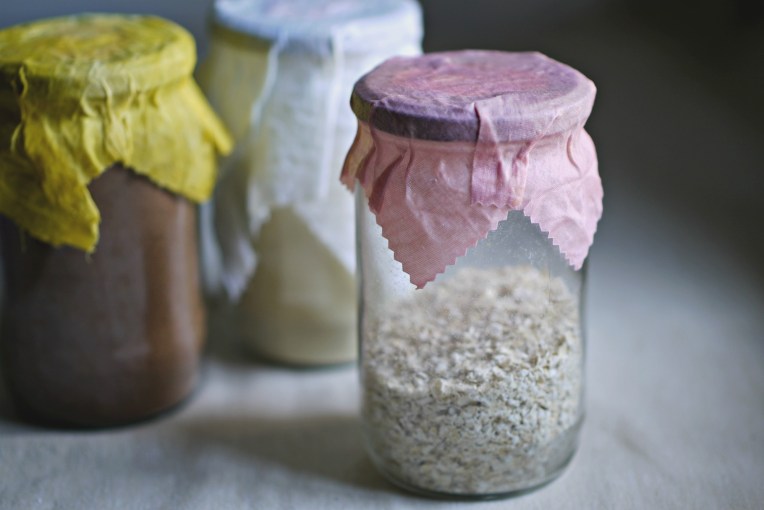
I love these 680ml pasta sauce wide mouth bottles that do not come with shoulders.  They are great for dispensing breakfast goodies such as Milo powder, oatmeal and granola.  Covering the lids are my diy beeswax wrap to test out how well them can wrap and mold.  I have since been using the wraps for food items instead.

Reuse And Repurpose : Glass Jars and Bottles // Mono+Co

+ BEFORE:
Prego pasta sauce jar.

+AFTER:
Bottle for my homemade cold brew coffee, perfect on a warm day.  I leave the coffee brewing inside the fridge for 1-2 days.

Reuse And Repurpose : Glass Jars and Bottles // Mono+Co

+ BEFORE:
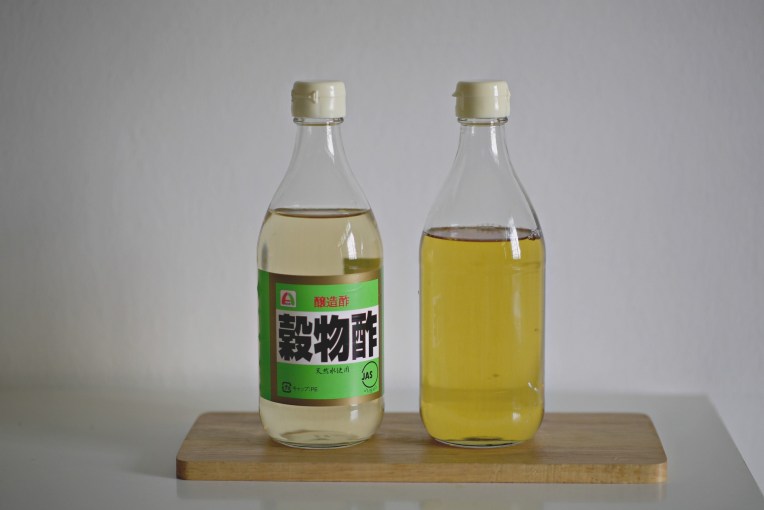
Daiso rice vinegar glass bottle.

+ AFTER:
Cooking oil dispenser.  I buy 2L bottles of cooking oil that are quite bulky to dispense during cooking.  This glass bottle with a flip cap is perfect.  The dispensing hole is also big enough for easy refilling.

Reuse And Repurpose : Glass Jars and Bottles // Mono+Co

+ BEFORE:
Japanese rice seasoning mix bottles.

+ AFTER:
Toasted sesame seeds dispenser.

Reuse And Repurpose : Glass Jars and Bottles // Mono+Co

+ BEFORE:
Bragg apple cider vinegar bottle (946ml) and preserved olive vegetable bottle.

+ AFTER:
Glass water bottle with drinking glass ‘set’.  Fill to the brim daily with drinking water and place on the table as a reminder to keep myself well-hydrated.

Reuse And Repurpose : Glass Jars and Bottles // Mono+Co

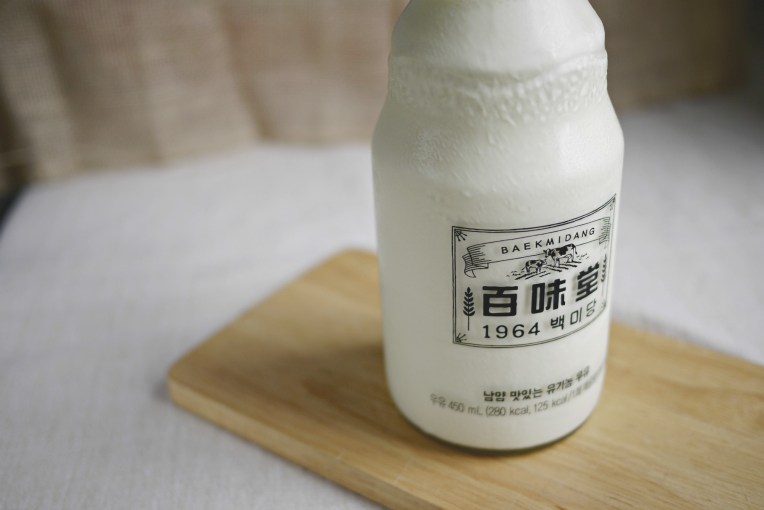
+ BEFORE:
Bottled organic milk bought and drank in Korea.

+ AFTER:
I brought it all the way home and currently using it to store balance whipping cream from an opened tetra pak carton.  I sterilize the glass bottle thoroughly every time before reusing it for storing dairy products.

Reuse And Repurpose : Glass Jars and Bottles // Mono+Co

+ BEFORE:
Honey bottles.

+ AFTER:
Condensed milk and evaporated milk containers.

Reuse And Repurpose : Glass Jars and Bottles // Mono+Co

+ BEFORE:
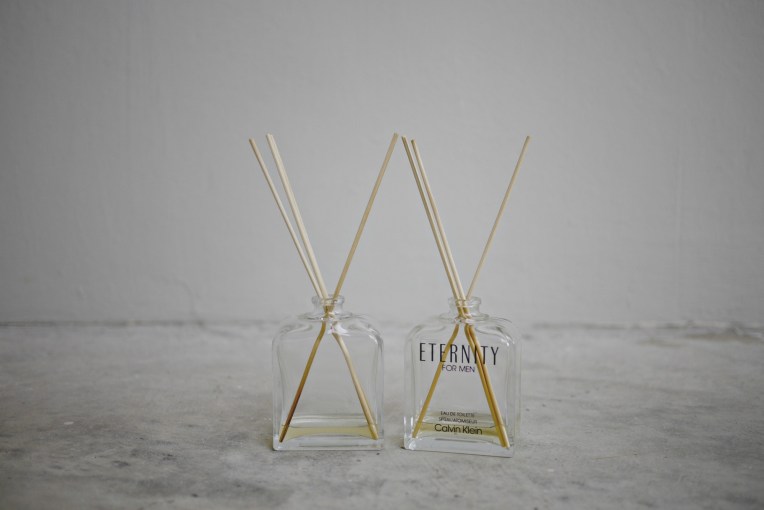
Eternity perfume bottles.

+ BEFORE:
Reed diffusers after removing the spray nozzles.

Reuse And Repurpose : Glass Jars and Bottles // Mono+Co

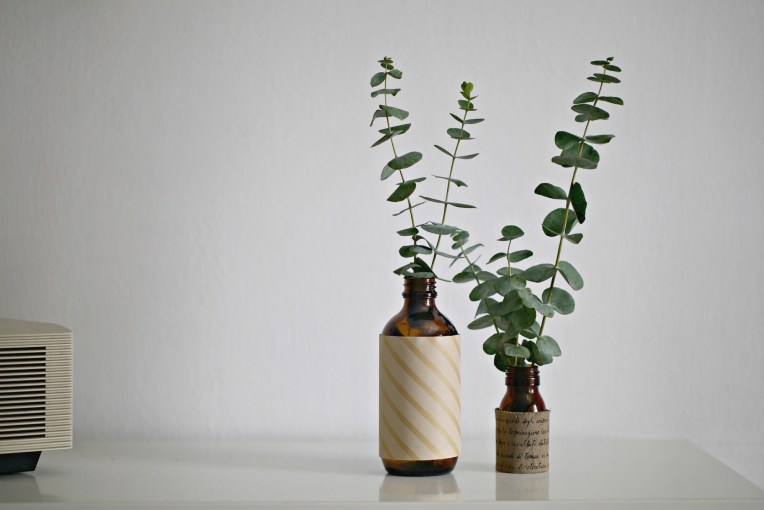
+ BEFORE:
(left-right) Cough medicine bottle and essential oil bottle.

+ AFTER:
Indoor green display.  Brown bottles go really well with fresh green cuttings like these.

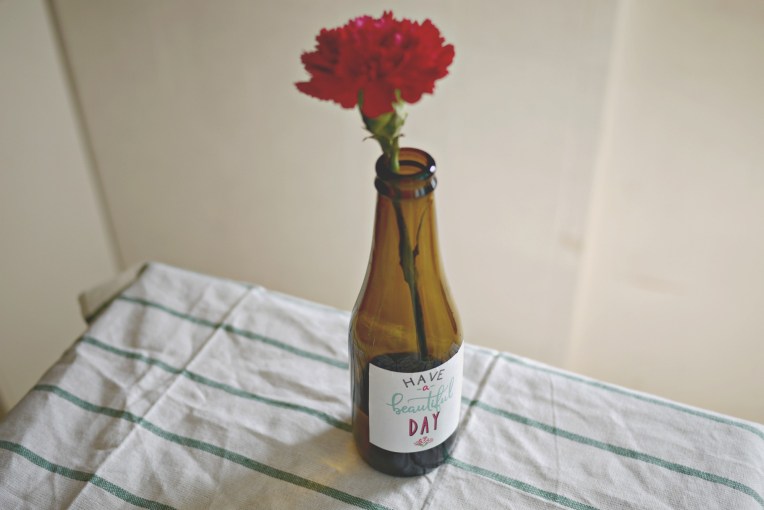
+ BEFORE:
Beer bottle.

+ AFTER:
Flower vase.

Reuse And Repurpose : Glass Jars and Bottles // Mono+Co

+ BEFORE:
Another bottled milk bought and drank during an overseas vacation.

+ AFTER:
For another stem cutting display.

Reuse And Repurpose : Glass Jars and Bottles // Mono+Co

+ BEFORE:
Bragg Apple Cider Vinegar bottle.

+ AFTER:
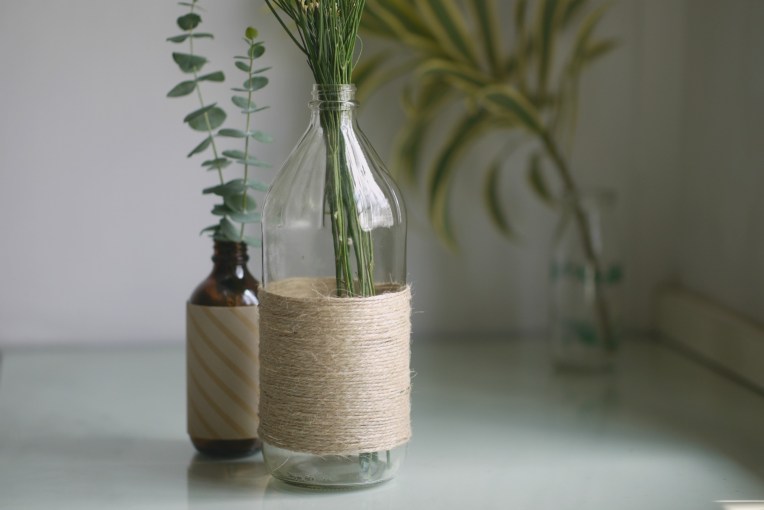
Wrap the bottle body with jute string and turn it into a rustic looking display vase.

Reuse And Repurpose : Glass Jars and Bottles // Mono+Co

+ BEFORE:
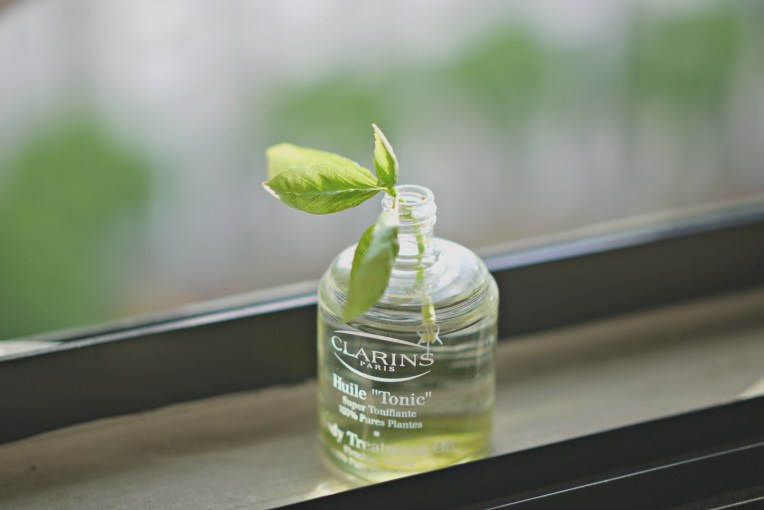
Clarins body oil bottle.

+ AFTER:
Bottle filled with water, placed by the warm window for growing new plants from cutting.

Reuse And Repurpose : Glass Jars and Bottles // Mono+Co

+ BEFORE:
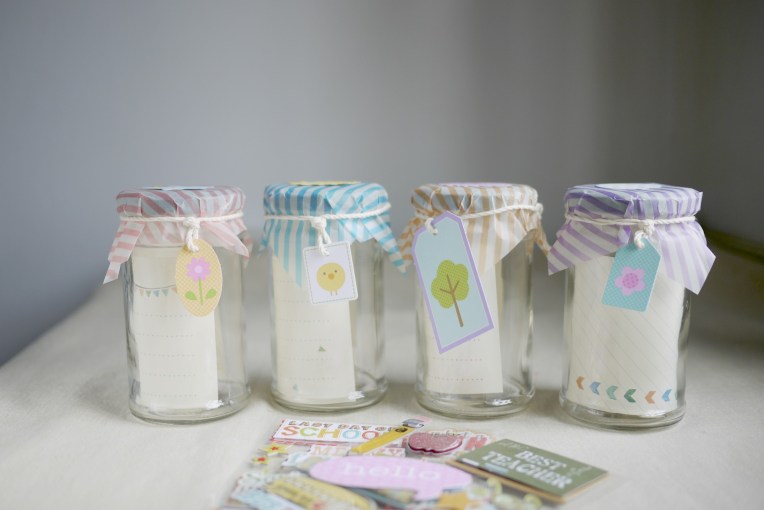
Jam jar bottles.

+ AFTER:
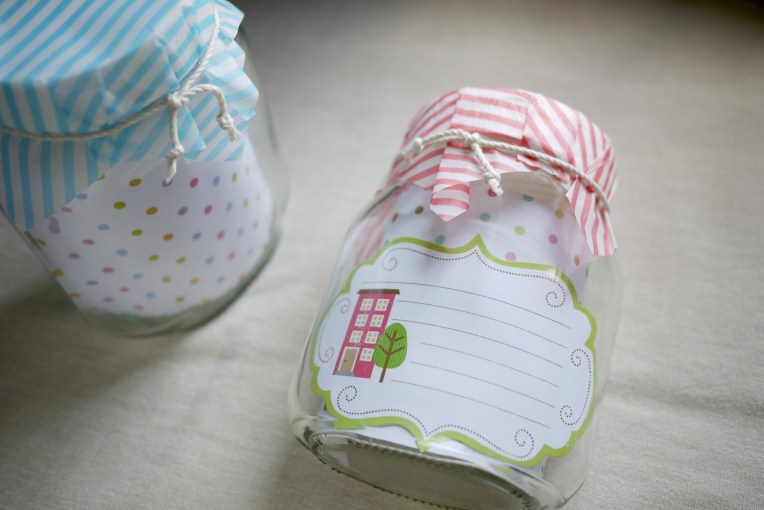
Pretty gift jars, with some crafting efforts.

Reuse And Repurpose : Glass Jars and Bottles // Mono+Co

+ BEFORE:
Nutella 850ml bottle.

+ AFTER:
Pretty greeting card-bottle.

Reuse And Repurpose : Glass Jars and Bottles // Mono+Co

+ BEFORE:
Nutella 1-kg glass bottle.

+ AFTER:
DIY piggy bank.

Save

Save

Save

Save

Save

Save

Save

Save

Save

23 Not-So-Plastic Items To Buy From Daiso

Time to bring out your reusable shopping bags, food savers and tumblers for the Plastic-Free July Challenge.

I digged out my not-so-plastic purchases from Daiso over the years to demonstrate how shopping in everyone’s favorite $2 haunt can be just as enjoyable, without going gaga over only the plastic containers, plastic organizing tools, melamine tablewares, and microfibre towels.  I never know I can find jute strings easily here until I saw them in Daiso!

23 Not-So-Plastic Items To Buy From Daiso // Mono + Co

#01 – cotton dish towels that are so soft that I turn them into handkerchieves to replace the use of tissue papers.

23 Not-So-Plastic Items To Buy From Daiso // Mono + Co

#02, #03, #04 – Three different designs of food savers in glass or enamel material, albeit with plastic lids.

23 Not-So-Plastic Items To Buy From Daiso // Mono + Co

#05 – Japanese Tenugui for anything that requires wrapping.

23 Not-So-Plastic Items To Buy From Daiso // Mono + Co

#06 – drinking mason jar with handle for a yummy smoothie.

23 Not-So-Plastic Items To Buy From Daiso // Mono + Co

#07 – wooden trivets for hot pots.

23 Not-So-Plastic Items To Buy From Daiso // Mono + Co

#08 – natural loofah for smooth skin. I found this without plastic wrappers.

23 Not-So-Plastic Items To Buy From Daiso // Mono + Co

#09, #10, #11, #12, #13 – wooden/bamboo kitchen tools : spoons, chopsticks, forks, spatula, rolling pin.

23 Not-So-Plastic Items To Buy From Daiso // Mono + Co

#14, #15, #16 – paper string (for bundling up newspapers for recycling), jute string (for crafting), butcher’s twine (for cooking).

23 Not-So-Plastic Items To Buy From Daiso // Mono + Co

#17 – these European thin glass drinkwares that I turned into toothbrush mugs.

23 Not-So-Plastic Items To Buy From Daiso // Mono + Co23 Not-So-Plastic Items To Buy From Daiso // Mono + Co

#18 – bakewares that are pretty enough for food to be served in them.

23 Not-So-Plastic Items To Buy From Daiso // Mono + Co

#19 – chawanmushi cups with lids for perfect steamed eggs.

23 Not-So-Plastic Items To Buy From Daiso // Mono + Co

#20 – tea cup for zen moments.

23 Not-So-Plastic Items To Buy From Daiso // Mono + Co

#21 – wooden pot lid holder.

23 Not-So-Plastic Items To Buy From Daiso // Mono + Co

#22 – ceramic plant pot.

23 Not-So-Plastic Items To Buy From Daiso // Mono + Co

#23 – ceramic oil burner for freshening up a room.

I enjoy discovering these non-plastic products as I feel that they give me more value for money since they also tend last longer too, with most in mint condition (except the loofah, of course) when I take good care of them.  What about you? Do you have your favorite non-plastic purchases from your local 100-yen shop too?

Save

Save

Save

Save

Save

Save

Save

Save

Save