Simple Pleasures

Simple Pleasures // Mono + Co

// back to regular bread baking schedule.

Simple Pleasures // Mono + Co

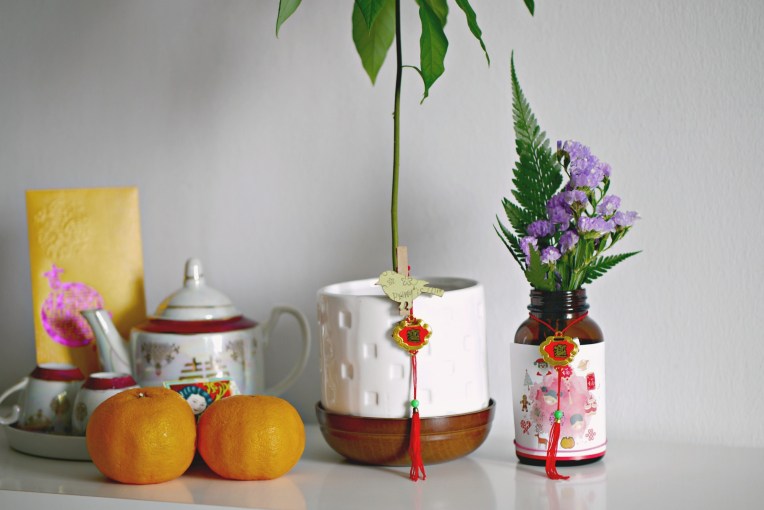
// a very festive looking but zero plastic waste lunar new year decoration. newspaper + rubber band + red colour paper + leek + metal s-hook.

Simple Pleasures // Mono + Co

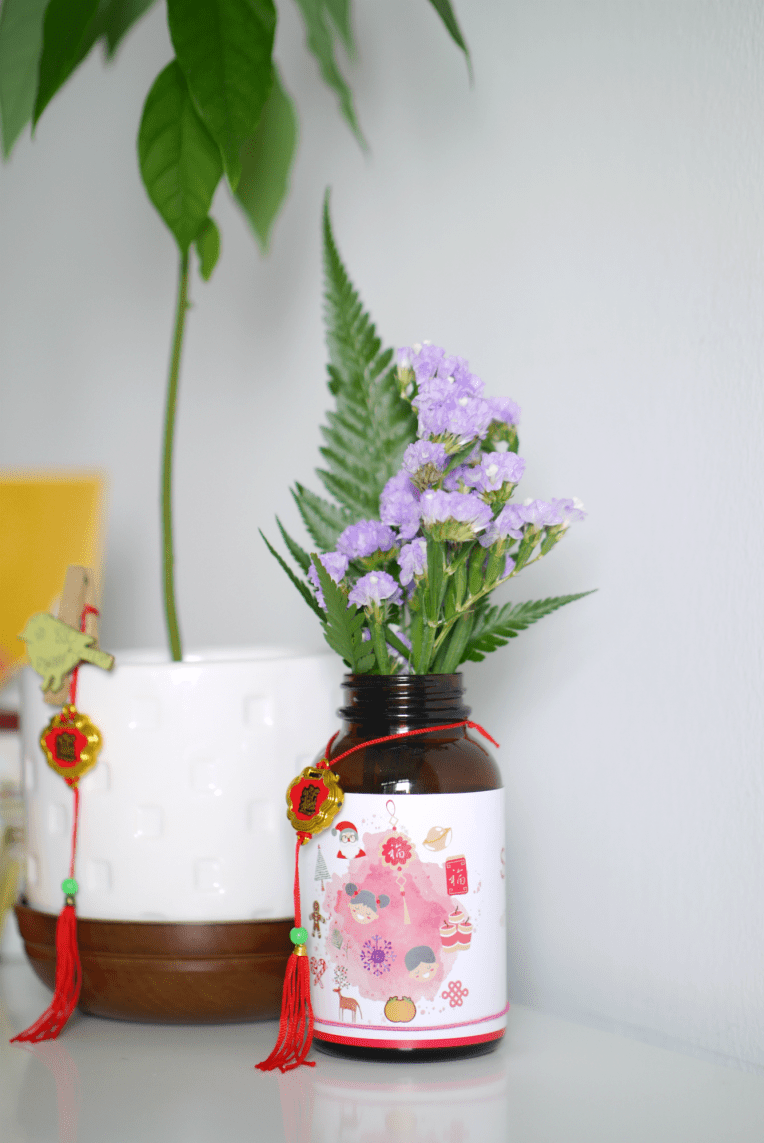
// pared down from a larger table bouquet.

Simple Pleasures // Mono + Co

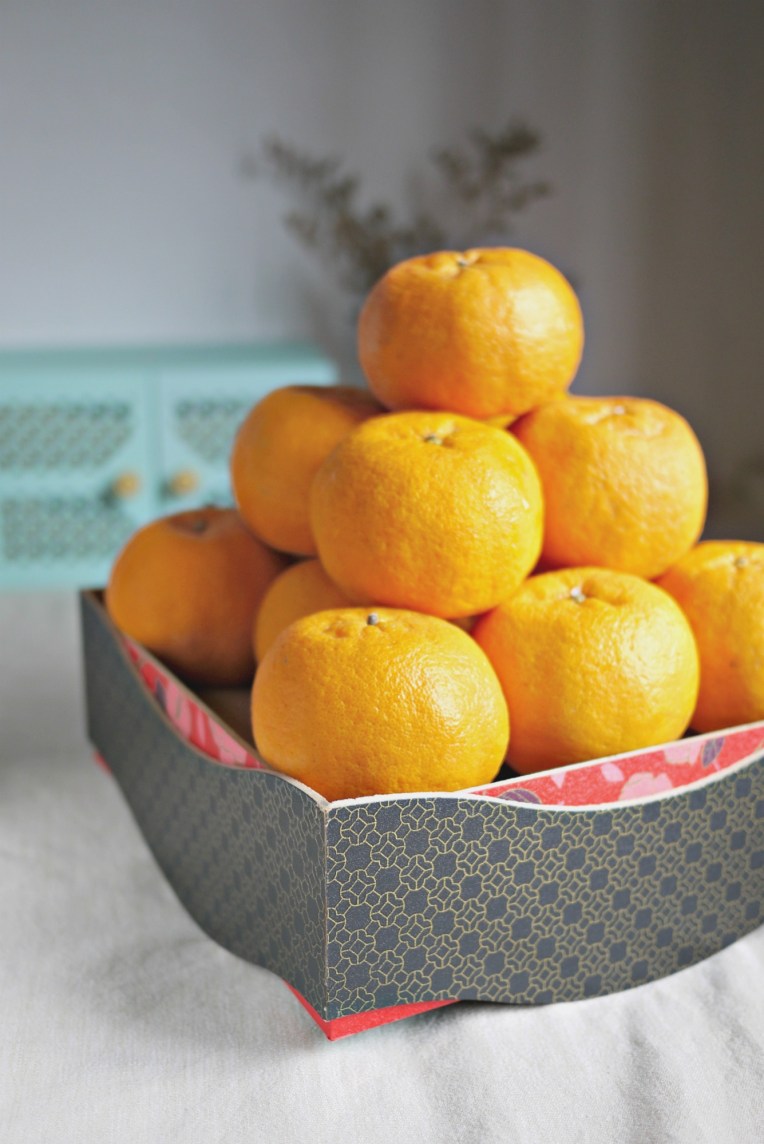
// and whatever that can be salvaged.

Simple Pleasures // Mono + Co

// blessed.

Save

Save

Save

Ultra Soft Haiji White Buns 海蒂白面包

Ultra Soft Haiji White Buns // Mono + Co Ultra Soft Haiji White Buns // Mono + Co

{Update: after some changes to the oven temperature, these buns have turned ultra soft.}

It’s amazing how baking these buns using almost similar honey milk rolls recipe at 20C lower turned them even softer, though not as white as I wanted them to be.  I preheated the oven at 190C, then baked at 150C for 15 minutes.  Some bakers bake these in preheated oven at 150C, not 190C, and produced beautiful white buns.  I am going to use this oven setting for my next bake.

In fact going by how soft these have turned out, I am going to be baking all my bun recipes at 150C from now on.

Once again, I dust the buns with rice flour before sending them into the oven for baking, totally optional.

Ultra Soft Haiji White Buns // Mono + Co Ultra Soft Haiji White Buns // Mono + Co  Ultra Soft Haiji White Buns // Mono + Co


Ultra Soft Haiji Buns

190g unbleached plain flour
30g wholemeal flour
1 teaspoon instant yeast
1/4 teaspoon sea salt
100g mashed taro
2 tablespoons raw honey
 80g fresh milk
25g cold butter, cubed
optional : rice flour for dusting

In a mixer bowl, place the dry ingredients: white flour, wholemeal flour, instant yeast, and sea salt, mix these dry ingredients well with a hand whisk.  Next, add cooled mashed taro, raw honey, and half of the fresh milk to the dry ingredients, and knead with a dough hook attachment on the lowest speed (KA 1).  Slowly add the remaining of the fresh milk with the mixer running, you may need more or less of the milk stated in the recipe.  Watch the dough, when the ingredients come into a ball,  stop adding milk and turn off the mixer.  Let the dough rest for 15 minutes.

Start the mixer running on its lowest speed again to knead the dough for 1 minute, before adding cubed butter, one by one.  Knead until the dough reaches window pane stage, this is when the dough becomes very smooth and elastic, and starts to pull away from the sides of the bowl.  Remove the bowl from mixer, cover with tea towel, and bulk rise for 1 hour.

After an hour, the dough should rise to double its volume, punch it down to release the gas, and transfer to a clean work top.  My dough was still sticky, so I sprinkle plain flour on the work top and dough to make shaping more manageable.  Flatten the dough to push out gas trapped inside the dough.  Divide dough into 9 equal portions, I weigh out each dough at about 55g each.  Shape each portion into a ball and place it in a greased tray, seam side facing downwards.  Using a chopstick (I used this for this bake) or rolling pin (I am going to use this for next bake, as I noticed that the fine line between the dough disappear after the final proof) and make a straight line dent in the middle of the bun, dent should bedeep enough without cutting the bun into half.

Let the buns sit in a draft free place to rise for another 50-60 minutes.   I topped my bread dough with rice flour before baking, purely for decorative purpose, totally optional.

Preheated oven at 190C, place the buns in and set the oven at 150C and bake for 15 minutes.  Remove the bread from the pan immediately after baking, and let it cool on a rack completely serving.

Store in an airtight container if not consumed immediately, to keep the buns soft and the crumbs from drying out.

Save

Save

Save

Save

Soft Taro Milk Honey Rolls

Soft Taro Milk Honey Rolls // Mono + Co

{Update: after some changes to the oven temperature, these buns have turned ultra soft.}

After an entire week of not baking bread, I bought my taro from the market today to make these fluffy soft buns.

These sweet buns with fresh milk and raw honey are good enough to be eaten on their own.  Warm them up slightly in a toaster before serving.  These already fluffy buns will turn even softer.

I have decided to bake this recipe into Haiji white rolls tomorrow with the remaining taro.


Soft Taro Milk Honey Rolls

200g unbleached plain flour
20g wholemeal flour
1 teaspoon instant yeast
1/4 teaspoon sea salt
100g mashed taro
2 tablespoon raw honey
 80g fresh milk
35g cold butter, cubed

In a mixer bowl, place the dry ingredients: white flour, wholemeal flour, instant yeast, and sea salt, mix these dry ingredients well with a hand whisk.  Next, add cooled mashed taro, raw honey, and half of the fresh milk to the dry ingredients, and knead with a dough hook attachment on the lowest speed (KA 1).  Slowly add the remaining of the fresh milk, with the mixer running, until the ingredients come into a ball.  Stop the mixer and let the dough stand aside for 15 minutes.

Start the mixer running on its lowest speed again, and knead the dough for 1 minute, before adding cubed butter, one by one.  Knead until the dough reaches window pane stage, this is when the dough becomes very smooth and elastic, and starts to pull away from the sides of the bowl.  Remove the bowl from mixer, cover with tea towel, and bulk rise for 1 hour.

After an hour, the dough should rise to double its volume, punch it down to release the gas, and transfer to a clean work top.  Flatten the dough to push out gas trapped inside the dough.  Divide dough into 10 equal portions.  Shape each portion into a ball and place it in a greased tray, seam side facing downwards.  Let this sit in a draft free place to rise for another 50-60 minutes.   I topped my bread dough with rice flour before baking, purely for decorative purpose, totally optional.

Bake in a preheated oven at 190C for 15 minutes.  Remove the bread from the pan immediately after baking, and let it cool on a rack completely serving.

Store in an airtight container if not consumed immediately, to keep the buns soft and the crumbs from drying out.

Save

Save

Save

Behind the Scenes : Origami Diamonds

Origami Paper Diamonds // Mono + Co

Origami diamonds that get to stay on as cute decor even after Chinese New Year.


Origami Diamond

Instructions adapted from design and form, I changed it slightly at my step #10 and #11.

// you’ll need 2 pieces of origami paper, scissors and glue dots.  I tried using a glue stick, but they did not work.

Origami Paper Diamonds // Mono + Co

// step 1 : fold the paper from one corner to the other.  unfold and repeat with the other remaining corners.

Origami Paper Diamonds // Mono + Co

// unfold, and you’ll see the first set of folds is completed.

Origami Paper Diamonds // Mono + Co

// step 2 : half the square lengthwise. unfold and repeat with the other side.

Origami Paper Diamonds // Mono + Co

// unfold and you’ll see the second set of folds appearing on the paper.

Origami Paper Diamonds // Mono + Co

// step 3 : fold the paper into a triangle again, and pinch the right corner to pry open the paper and press it down to form a square.

Origami Paper Diamonds // Mono + Co

Origami Paper Diamonds // Mono + Co

Origami Paper Diamonds // Mono + Co

// step 4 : flip the paper over, and repeat for the other side.

Origami Paper Diamonds // Mono + Co

// step 5 : fold the right and left sides towards the center fold line.

Origami Paper Diamonds // Mono + Co

Origami Paper Diamonds // Mono + Co

step 7 : flip over and repeat for the other side of the paper.

Origami Paper Diamonds // Mono + Co

step 8 : trim off the top part.

Origami Paper Diamonds // Mono + Co

Origami Paper Diamonds // Mono + Co

// step 9 : fold bottom left and right corners towards the center.

Origami Paper Diamonds // Mono + Co

// step 10 : flip over the paper and repeat on the other side.

Origami Paper Diamonds // Mono + Co

// step 11 : unfold everything.

Origami Paper Diamonds // Mono + Co

//step 12 : fold the marked corners inwards,

Origami Paper Diamonds // Mono + Co

// to get this.

Origami Paper Diamonds // Mono + Co

// step 12 : repeat the steps with the 2nd piece of paper.

Origami Paper Diamonds // Mono + Co

// step 13 : to assemble, join the two pieces at the corners that are folded inwards, apply glue dots and join the corners one by one.

Origami Paper Diamonds // Mono + Co

// done!

Save

Save

Save

Save

Save

Save

Save

Save

Save

Save

Behind The Scenes : From Christmas To CNY

This idea is perfect as I get to display the wreath longer.  Simply cover with ribbons and fasten suitable accessories with craft strings or metal threads.  I salvaged these from Christmas log cakes. Chinese New Year hampers and floral arrangements.

// before

Xmas - CNY Wreath // Mono + Co

// after

Xmas - CNY Wreath // Mono + Co

// before

Xmas - CNY Wreath // Mono + Co

// after

Xmas - CNY Wreath // Mono + Co

Save

Save

Save

Behind The Scenes : Bottle Planters

Upcycled Bottle Planter // Mono + Co

Love collecting glass containers.  This brown one was upcycled into a tiny indoor planter and to add some CNY cheer to it, I attached a voucher with a design using an elastic band.  The dimension was perfect for the bottle, plus the voucher stays intact should someone wants to use it, it’s valid until March 2017!

Upcycled Bottle Planter // Mono + Co

My box of dainty new year themed tassels also comes in handy, just hang one over the bottle neck.

Upcycled Bottle Planter // Mono + Co

Save

Save

Behind The Scenes : Mandarin Orange Tray

Upcycled Mooncake Box // Mono + Co

For this upcycling project, let’s go back to the Mid-Autumn Festival.

Mooncake boxes come with motifs and designs that are pretty close to Chinese New Year’s theme.  I have kept this box made out of chip wood for a few years in my craft drawer for embellishments and tools.  Very sturdy and still look brand new.

Upcycled Mooncake Box // Mono + Co

I remove the label on the cover and flip the base over.

Upcycled Mooncake Box // Mono + Co

Slip the cover underneath the base and found that it fits perfectly. I do this so that I need not find another place to store the cover.  However, on hindsight, I believe that this was designed on purpose so that the cover does not take up extra space on the table when serving the mooncakes. Brilliant!

Flip the box over again and fill it with mandarin oranges.

Of course, not every mooncake box is designed to be reused the same way.  Play around with it, flip over, deconstruct if you need to,  you might just find a new purpose for that mooncake box that is too pretty to be thrown away.

Upcycled Mooncake Box // Mono + Co

Save

Save

Save

Zero Waste Decor for Chinese New Year

Zero Waste Decor for CNY // Mono + Co

So the year of the Rooster is arriving this weekend.  I usually leave much of the festive home decor to the final week and force myself to work with what I already have, as oppose to the easier way out, which is to buy new ones that end up cumulating with the rest in the storage room for the next 12 months when the celebration is over.

Here are some waste free ideas that I have managed to squeeze out of my limited, but ample supply of festive accessories, which I reuse year after year.  Best of all, they all fit inside a lunch box when the holiday is over.

Zero Waste Decor for CNY // Mono + Co

// homebaked goodies are stored in air-tight glass jars, instead of plastic ones, and embellish with simple decorative features like this tassel (a big favorite around my house).  The jars go back to the pantry for storing ingredients or snacks after we are done with the new year goodies.

Zero Waste Decor for CNY // Mono + Co

// Even the standard glass containers for nuts are updated to fit the theme.  Just look out for red/pink/floral accessories around the house.

Zero Waste Decor for CNY // Mono + Co

// an old mooncake box made out of chip wood is upcycled into a unique display tray for mandarin oranges.  After the new year, they go back to my craft drawer as a storage box.

Zero Waste Decor for CNY // Mono + Co

// update indoor planters/vase with dainty tassels.

Zero Waste Decor for CNY // Mono + Co

// another Chinese knot tassel, this one salvaged from a torn cushion is used to update my tiny vase with dried flowers.

Zero Waste Decor for CNY // Mono + Co

// instead of stowing away the Christmas wreath, I swap the neutrals for red color embellishments and display for another month.

Zero Waste Decor for CNY // Mono + Co

// these paper diamonds are so easy to make, and best of all, look contemporary enough as daily decoration, so there is no hurry to put them away even after celebrations are all over.

Save

Save

Save

Save

Save

Save

Save

Save

Save

Save

Save

Natural Starter Potato Boule

Natural Starter Potato Boule // Mono + Co Natural Starter Potato Boule // Mono + Co Natural Starter Potato Boule // Mono + Co

No recipe here, as I am still trying to figure out the best timing for every step in baking a bread with a natural starter:  what time to start, when is the starter most active, how long to wait, and when to bake.  They say every starter is unique, so watch the dough and judge with your eyes, see how the starter rises and falls, how the dough doubles in size, and not be fixated by the clock or recipe instructions.

I tried a few times to “bake by feel” and began to feel confident to use the natural starter for my root vegetable bread recipes.  A few tweaks are still required before I get the amount just right for my pullman loaf.  Until then,  I will just shape them into simple boules if they rise too much or too little to fit into my pan.  This one happens to use 100g of starter, 350g of bread flour and 100g of mashed potatoes, and took me about 15 hours from start to finish.

Save