No Bake Nutella Bars

nutellabars001 nutellabars004 nutellabars005 nutellabars003 nutellabars002 nutellabars006

The girl came back from school and passed me a recipe for Nutella Bars.  “Can we make this? I’ve been drooling throughout the Math class today …”

Apparently, the teacher used this recipe ingredients to illustrate the concept of ratio, how sweet (literally)!

It’s pretty kid-friendly, both the making (It’s a no bake recipe!) and eating part, so you might like to include this as an activity for you and your children during the school holidays, or this weekend if you can’t wait!

Save me the hassle of signing up for a holiday baking class. 🙂


NO BAKE NUTELLA BARS
INGREDIENTS :
- 120g butter, unsalted
- 2 cups caster sugar*
- 2 tablespoons cocoa powder
- 1/2 cup fresh milk
- 1/2 cup Nutella
- 1 tablespoon vanilla extract
- 2 & 1/2 cups rolled oats
- Optional : Rice bubbles, Sprinkles, Chocolate Chips, Chocolate Rice

INSTRUCTIONS :

01. Line a baking pan** with baking paper and set aside.
02. In a large saucepan, melt the butter over medium heat.
03. Add sugar, cocoa powder and milk, let mixture boil for one minute.  Remove for heat.
04. Add Nutella, vanilla extract, rolled oats, rice bubbles (optional) to the pan and mix well to combine all ingredients.
05. Pour the batter into the lined baking pan, level and smooth surface with the back of a metal spoon.
06. Decorate with sprinkles of your choice.
07. Refrigerate till mixture is set, about 3 hours.
08.  Cut into desired serving size with a clean sharp knife.
09.  Keep well by storing in containers, place inside fridge.


++ Notes To Self ++
///
*I reduced the sugar amount to 1 & 1/4 cups.
///
**I used a 8×8 inch baking pan.
///

Champion’s Milk Toast | 吴宝春金牌牛奶吐司

wpcmilkbreadloaf001 wpcmilkbreadloafsq wpcmilkbreadloaf002 wpcmilkbreadloaf003 wpcmilkbreadloaf004 wpcmilkbreadloaf005 wpcmilkbreadloaf006 wpcmilkbreadloaf007 wpcmilkbreadloaf008

I have been very very lucky to be able to get my hands on 吳寶春麥方店’s World Champion Rose-Lychee bread (荔枝玫瑰麵包) before, but not his Japanese style breads.  Looking at the whole array of items available at his bakery, I am not sure if I will settle with a plain looking milk loaf from the Master Baker.  But back at home, kids love white, soft and fluffy breads, and it’s going to be an impressive story to tell my husband that I baked a milk toast with this recipe supposedly from 吳寶春.

I did a very fast browse around the bakery website to see how the end result should look like, but could not find the item ‘金牌牛奶吐司’.  However, from the ingredients, I reckoned that it should be looking like this 皇冠吐司, or like another all milk version called 極制瑞穗鮮乳土司.  Despite doing my homework, I still ended up baking the loaf with my bread tin covered, even though the pictures online clearly show otherwise.

I have since found a few other 吳寶春‘s bread recipes videos online, with the master himself demonstrating the steps.  This is one generous Master Baker.


RECIPE : CHAMPION’S MILK TOAST | 吴宝春金牌牛奶吐司
Source
INGREDIENTS :
- 300g plain flour or bread flour
- 24g fine sugar
- 1/2 teaspoon sea salt
- 135g water
- 69g fresh milk
- 3/4 teaspoon instant yeast
- 15g unsalted butter, cubed
INSTRUCTIONS

01. Put all ingredients, EXCEPT BUTTER, in the  mixing bowl.
02. With a flat beater attachment, mix all ingredients at low speed (1 on my kitchenaid)
03. Change to a dough hook, and continue to knead the dough, adding cubed butter gradually.  Keep kneading till dough reached window pane stage.  You may increase the speed of the mixer to level 2 halfway when the dough starts to look stretchy and pulls away from the sides of the bowl.
04. Remove the bowl from the mixer, grease working hand slightly with butter so that the dough won’t stick to fingers, loosely shape the dough into a ball*.
05. Cover the bowl with a clean damp tea towel, and let it proof for at least 60 minutes (or until it double in size).
06. After the dough has double in size, punch the dough down, and move it to a clean work top.
07. Divide the dough into 2 equal portions, roll each into a neat ball, leave it on the counter covered with towel for 15 minutes.
08. After 15 minutes, the dough rise again.  With a rolling pin, flatten the dough, pushing out trapped air inside, then loosely roll up, swiss roll style.
09. Cover with towel, and proof for another 15 minutes.
10. Repeat step 8, place dough inside the bread tin, covered with towel, and let it have a final rise.
11. For square loaf : Once dough has risen to fill up about 90% of the bread tin, cover bread tin, wait for another 15 minutes (to let dough rise all the way to the top), and bake for 40 minutes in a preheated oven at 210C / 410F.
12. If bake without cover, bake for 30minutes at 170C / 240F.


++ NOTES TO SELF ++
///
this dough will be sticky, almost impossible not to stick to fingers when touched, so I had to use the tucking method (using greased fingers to tuck/fold the sides of the dough to its base)  to roughly shape it into a neat ball for its first proof. See photo 3,  it’s not all smooth and perfect, but good enough.
///
my bread tin measures 20x10x10 inches.

Jasmine White Rice : Stove Top Method

stovetoprice001 stovetoprice003 stovetoprice004stovetoprice002

If the rice cooker breaks down one day, at least I know the stove top method.  It is so easy, I hardly even take out my electric cooker to cook rice anymore.

JASMINE WHITE RICE – STOVE TOP METHOD
- 2 cups raw jasmine white rice
- 2 cups water

INSTRUCTIONS :

01. Wash rice thoroughly and drain.  I rinse it in the small saucepan that I using to cook the rice, with at least 3 changes of water. Rinse till water is almost clear.
02. Add in equal portion of water.
03. Soaking is optional, I like to soak mine for 30 minutes.  The raw rice will turn white after absorbing the water.
04. Cover the saucepan and bring it to boil over medium heat.  Turn to lower heat, and let it cook over a gentle simmer until all the water are absorbed by the rice.  My 2 cups of rice take about 8 minutes.
05. Turn off heat, and leave it to sit, pot covered and undisturbed, for at least 10 minutes.  This step is very important to achieve fluffy rice, as the rice continues to cook through steaming in the pot.
06. After 10 minutes, remove lid and fluff the rice with a fork, especially the portion at the bottom of the pot.  Serve immediately.

Easy Roast Chicken Thigh

Simple Roasted Chicken Thigh // mono+corosemarychicken002

Who doesn’t like minimal recipes?

Basic everyday pantry items PLUS simple cooking method, like roasting chicken thighs with just rosemary, garlic, olive oil, salt and black pepper.  Delicious, yet not time consuming.  Here’s the bonus : even lesser time spent on cleaning up after cooking.


RECIPE : EASY ROAST CHICKEN THIGH
Cooking method vaguely adapted from this Source

- 2 chicken thighs
- 2 garlic cloves, sliced
- 2-3 sprigs of fresh rosemary
- 1 tablespoon of olive oil
- Ground black pepper
- Sea salt

INSTRUCTIONS :

01. Wash chicken thighs thoroughly and pat dry with clean towel.

02. Rub seasoning (olive oil, black pepper ground and salt) over the chicken thighs.

03. Carefully separate the skin from the meat to create a pocket, place some slices of garlic and rosemary sprigs between the skin and the meat. **

04. Place chicken thighs in a french oven, covered.

05. In a preheated oven at 205C(400F),  bake the thighs for 30 minutes, with the lid on.

06. After 30 minutes, turn down the temperature to 190C (375F), remove the cover, and bake for another 25 minutes, or until the thighs are thoroughly cooked through.

07. Once it is ready, take out the pot from the oven, and transfer the thighs to a serving plate.

08.  If not serving immediately, keep the roasted chicken thighs warm in the heated french oven, covered, till ready to eat.


++ Notes To Self ++
///
** to achieve the most flavorful and crispy chicken skin out of a bake/roast recipe, be sure to loosen the skin from the meat, place garlic slices and rosemary sprigs under the skin, rub seasoning all over, bake with skin side up till cooked.
///

Mushroom Bulgogi

mushroom bulgogi

These oyster mushrooms make a very satisfying meatless version of Dak (Chicken) Bulgogi.  The sauce recipe is a keeper, use it to team with firm tofu, or use it to stir fry an assortment of mushrooms like shitake, enoki etc.

Unlike the chicken, the fresh king oyster mushrooms will soak up the sauce like sponges when they are still uncooked.  So I skipped the marinating step, and stir fried the mushrooms with the sauce instead.


 RECIPE : MUSHROOM BULGOGI
Adapted from HERE
INGREDIENTS :
- 1 packet of big oyster mushrooms, sliced
- 3 tablespoons soy sauce
- 1 tablespoon lemon juice
- 1 tablespoon brown sugar
- 1 tablespoon honey
- 1 tablespoon rice wine or mirin
- 1 tablespoon minced garlic
- 1 teaspoon grated ginger
- 1 tablespoon sesame oil
- dash of black pepper
- 1 teaspoon sesame seeds

 INSTRUCTIONS :

01. Combine all the items except the mushroom together in a medium bowl, whisk till brown sugar dissolves.

02. Preheat skillet over medium heat.

03. Add a tablespoon of cooking oil, and mushrooms into the skillet.  Stir the mushrooms around the skillet to cook them till fragrant.

04. When the mushrooms are cooked, pour in the sauce in step 1, and stir quickly around to coat them with the sauce.  Add 1 -2 tablespoons of hot water if it is too dry.

05.  Garnish with more sesame seeds. Serve immediately.

Dak Bulgogi (Korean BBQ Chicken)

korean bbq chicken korean bbq chicken 002 korean bbq chicken 003

Meat dishes that are on the sweet side are always a hit with the kids.   Here’s something fast and easy to make, Korean Dak Bulgogi, (BBQ chicken).


DAK BULGOGI
Source
INGREDIENTS :
- 1 pound boneless skinless chicken breast/thigh, sliced
- 3 tablespoons soy sauce
- 1 tablespoon lemon juice
- 1 tablespoon brown sugar
- 1 tablespoon honey
- 1 tablespoon rice wine or mirin
- 1 tablespoon minced garlic
- 1 teaspoon grated ginger
- 1 tablespoon sesame oil
- dash of black pepper
- 1 teaspoon sesame seeds


INSTRUCTIONS :

01. Combine all the items except the chicken slices together in a medium bowl, whisk till brown sugar dissolves.

02. Add chicken slices, making sure they are well coated with the sauce, marinate for about 30 minutes.

03. When ready to cook, preheat skillet over medium heat.

04. Add chicken into the skillet, save the marinating sauce aside.

05. When the chicken meat turns white/opaque and cooks through, pour in the reserved sauce, and stir quickly around to coat the meat with the sauce.

06.  Serve immediately.

ABin5 : A Refresher

claypotbread // mono+co claypotbread // mono+coclaypotbread // mono+co claypotbread // mono+co

While drafting the previous pizza recipe post, where I used the ‘Artisan Bread in Five Minutes’ (ABin5) way for preparing the pizza dough, I realized that I have been making changes to this method since I adopted it two years ago.  A new edition of the book has also been released, so here’s a refresher post on baking bread this way.

First, the 3 major changes I have adopted:

____________

/ Earlier, I was weary of adding too much salt into the mixture for fear of, firstly, it will affect the level of rise in the dough (what if I put too much and kill the yeast?), and secondly, it will be more healthy to have lesser salt in the bread.  However, I have noticed that there is a difference in the taste when I added up to a full tablespoon of salt into my dough, depending on what salt is used.

/ I have been using ONLY the weighing method to get the amount of flour right, achieving a consistent level of hydration for the dough for every batch.  I have noticed with my earlier trials that the ABin5 master recipe is really a very forgiving recipe; no matter how wet the dough is, it still rises predictably, and the bread still come out pretty well.  Nowadays, I prefer the dough made with the weighing method, as it is a lot easier to handle, not too runny, allowing me to shape the bread better; most of the dough should go into the bread, not on my hands only to be washed away!

/  I have been using the steam trap method with a simple claypot, instead of the broiler in the oven method.  The authors of the book have also mentioned this method as a more convenient one.  I do not preheat my claypot though, as my claypot manufacturer’s instruction specifically states that the claypot should not be heated without any liquids in it.  So I proofed my bread dough in it (covered with clean, damp tea towel), and bake it in a preheated oven for 30 minutes with lid on, and then another 15-20 minutes without the lid.

____________

RECIPE FOR ARTISAN BREAD IN 5 MINUTES
/Source

____________

3 cups lukewarm water
1 tablespoon instant yeast
1 tablespoon salt
2lb or 910g of plain flour

____________

01. Place water, salt and yeast in a plastic container that is big enough for the dough.  This container preferably with lid (if not, cover with cling wrap will do too) will also be the storage container for the dough to be placed in the fridge.  Make sure your fridge has a space for it.  A 6-quart container is recommended in the book.

02. Add in the flour all at once.  Stir with a pair of long chopsticks until the dough comes together, it should be a wet and shapeless one.  If yours can be kneaded into a ball at this stage, you have probably used too much flour.  You can still save the dough by adding water slowly, till you get the dough to its rightful consistency.

03.  Cover the container loosely, saving a gap for the gases to escape as the dough proof.

04. Allow the dough to rise to double its bulk, anything from 2 hours to 4 hours, depending on the room temperature.

05. Once the dough has risen to its max, it will start to settle down, sink a little and form a flat top.  This dough is now ready to be used, or it can be stored in the fridge when you are ready to bake a bread or pizza.  I prefer keeping it in the chiller for a few hours so that the dough is easier to handle.

06. On baking day, take out the dough from the fridge, and dust the surface with some flour, so that it won’t stick to your hands when retrieving the dough.

07. Pull out a piece of dough and cut out about the size of a grapefruit , or weigh 1lb.  Return the rest of the dough into the fridge.

08. Form the dough into a ball, gluten coated.  Sprinkle flour on surface as you go for easier handling, but take care not to incorporate the flour into the dough.  Handle the dough gently at this stage, do not knead, press or squeeze out the air that has expanded inside the dough.

09. Rest the shaped dough by placing it in a claypot (lightly dusted with flour),  from 40 minutes (according to the book’s instructions) or 90 minutes.  I let it stand longer till the dough returns to room temperature.

10.  Preheat the oven to 230C (450F).  When the oven is ready, pour some flour on the bread surface, and slash the loaf with a clean knife or scissors (I have to admit that I find the scissors easier to manage! Just make 3 to 4 decisive fast snips…) so that it does not split at the bottom during baking.

11.  Cover the claypot, and quickly place it into the oven, bake for 30 minutes.

12. After 30 minutes, continue to bake at the same temperature for 15-20 minutes, without the cover.

13. When done, remove the claypot from the oven, and let it cool on a rack.

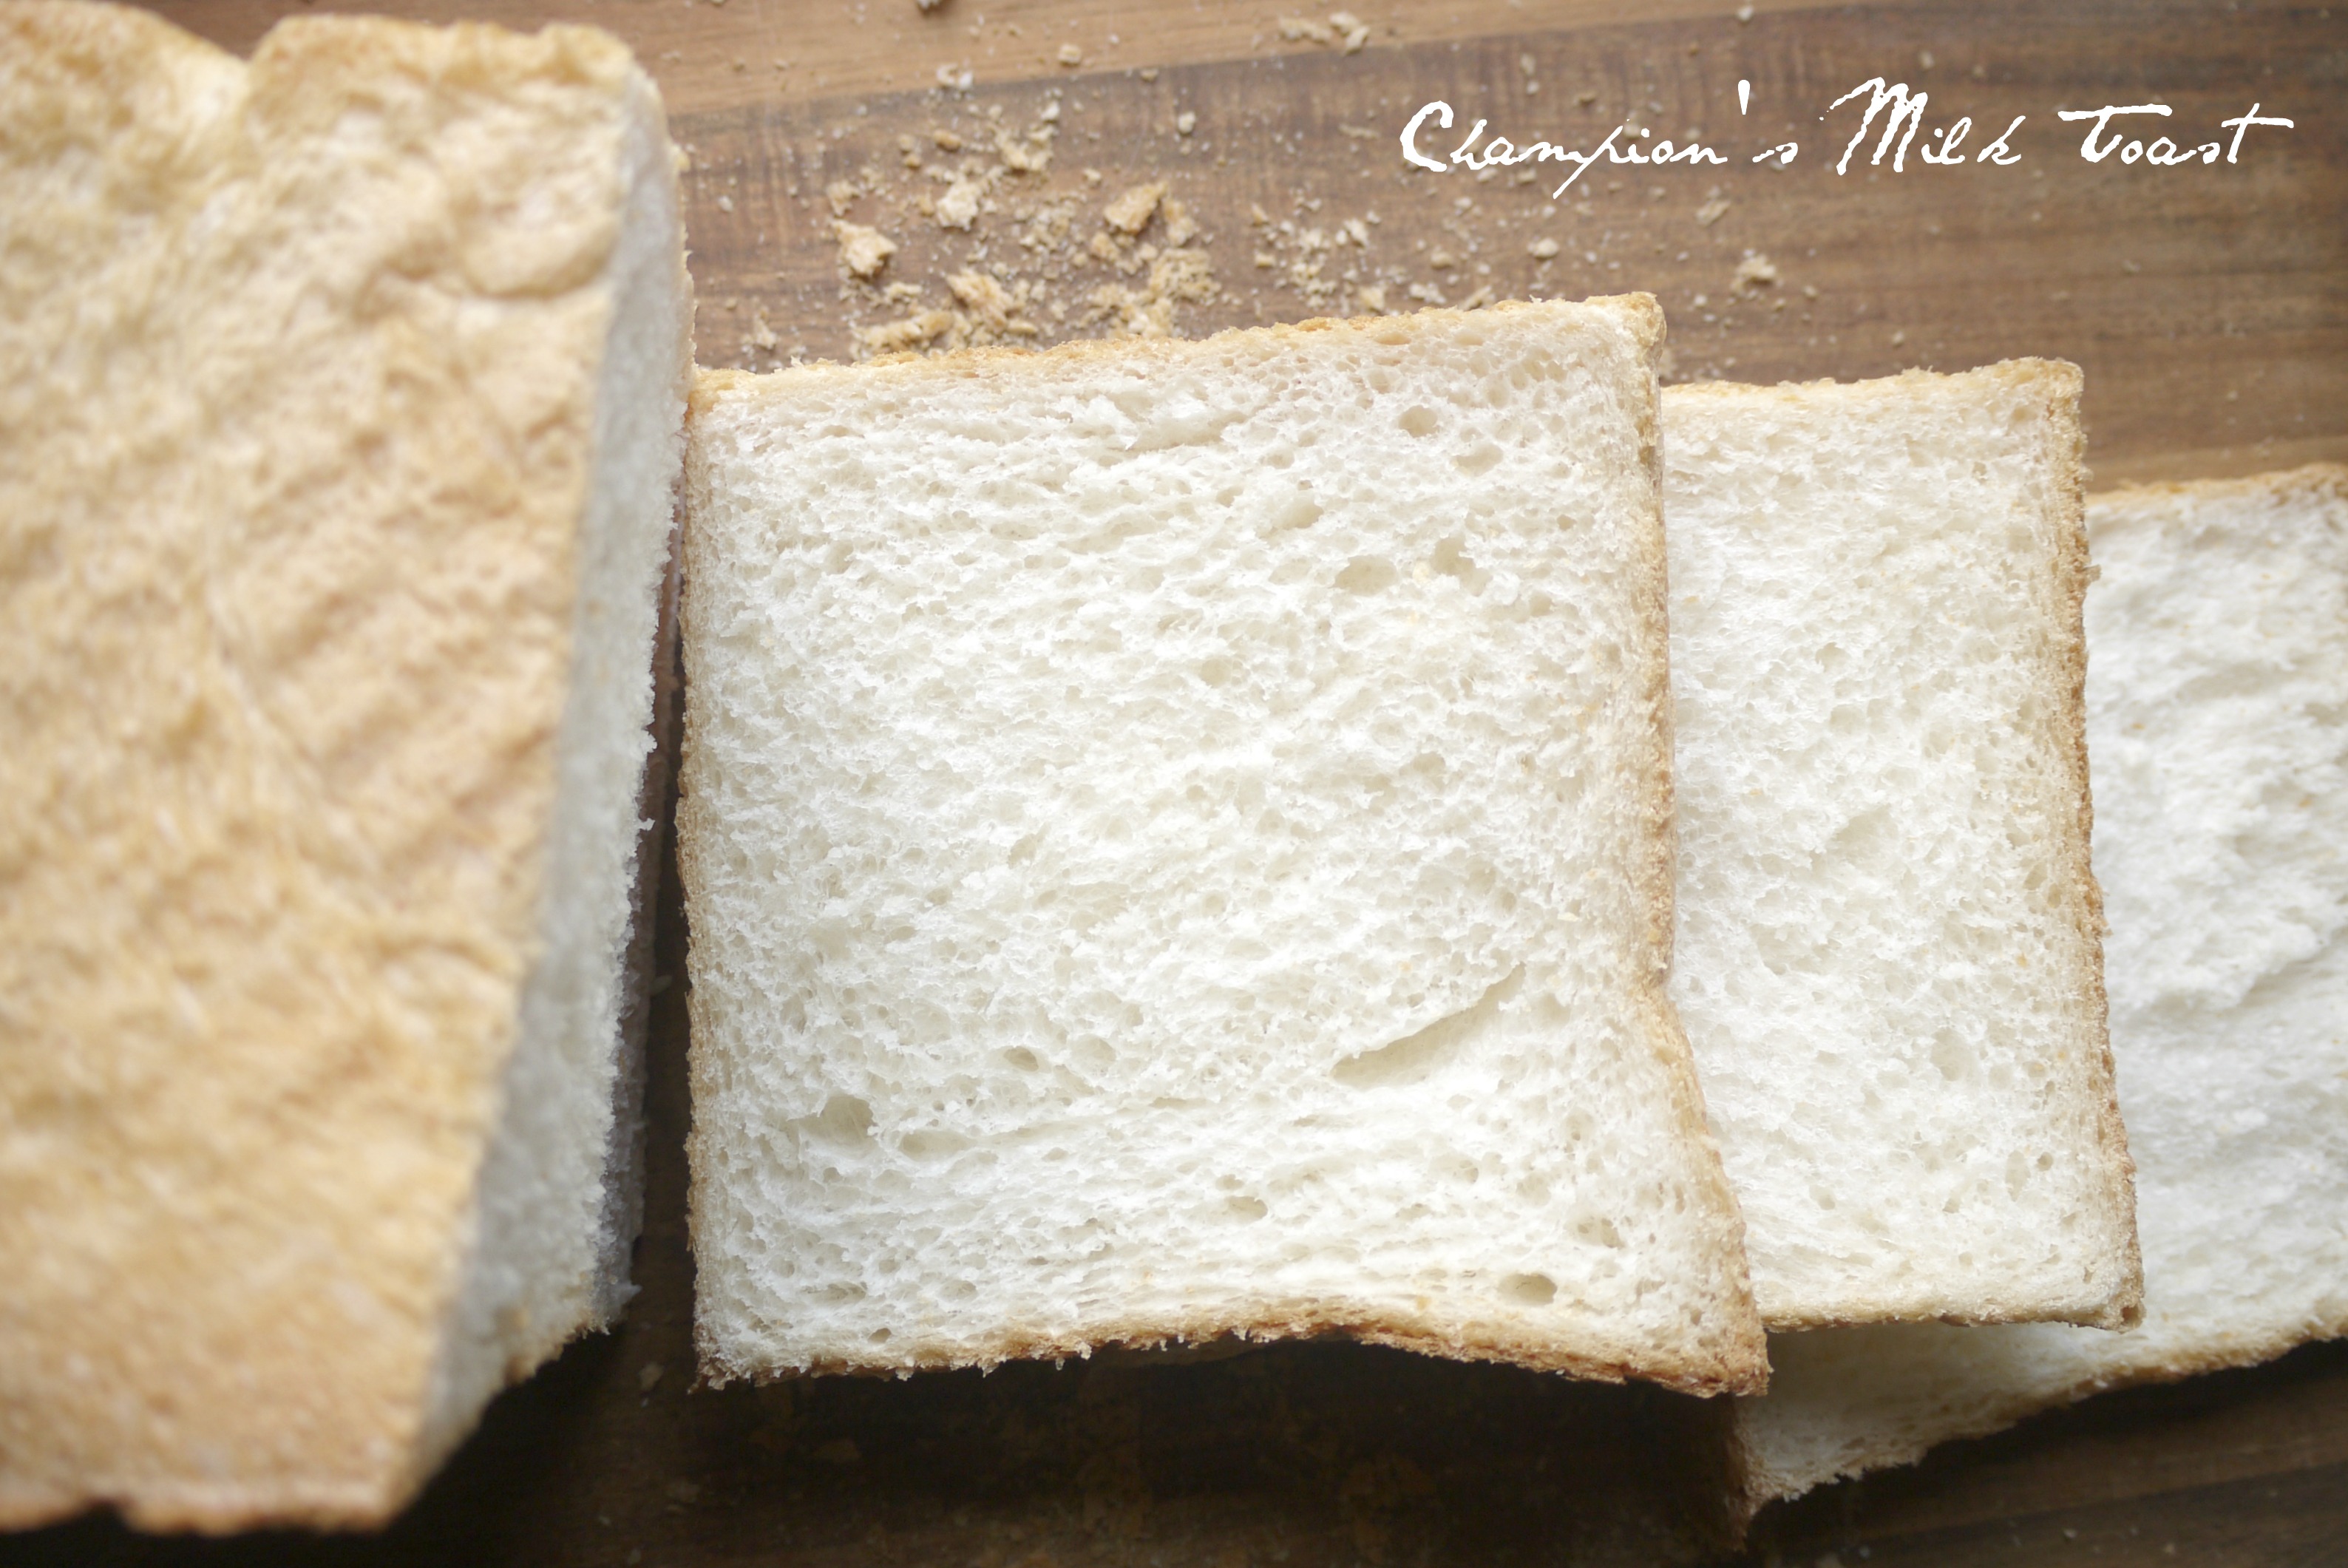
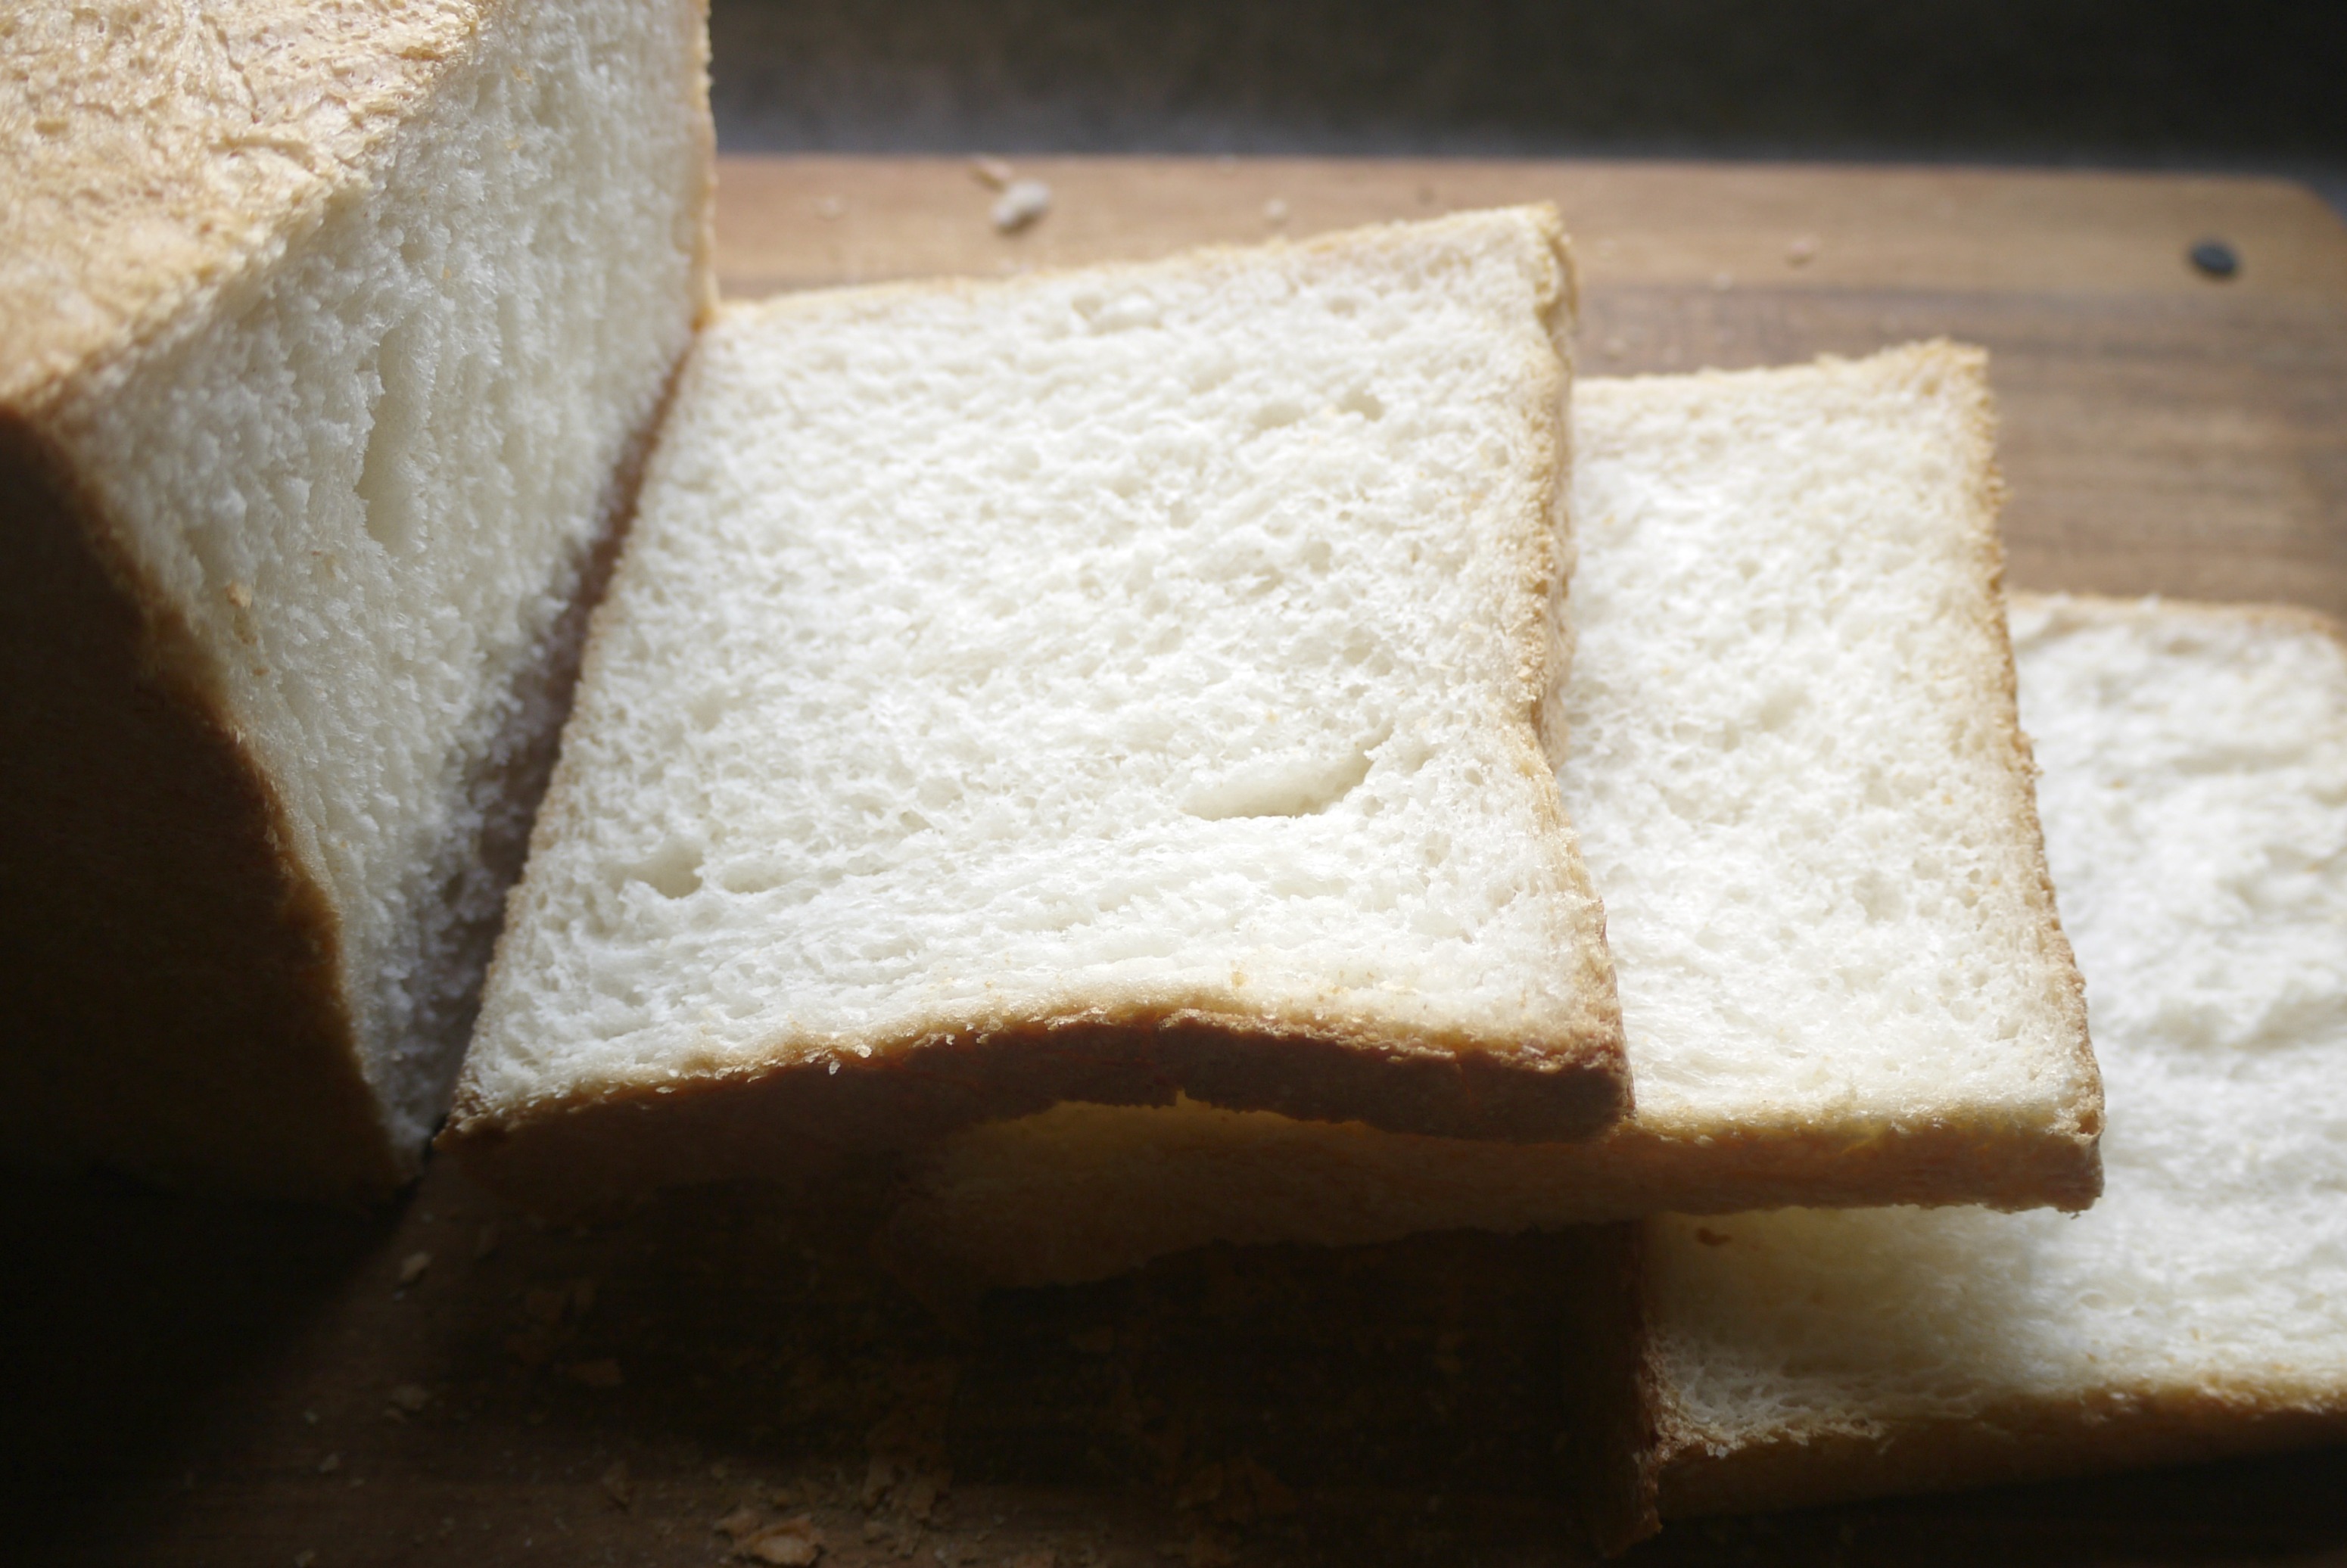
14. Allow the loaf to cool completely on a rack to room temperature before slicing it.  Otherwise, the bread will end up with a hard crust and a gummy interior.

Easy Handmade Pizza with ABin5 dough

abin5 dough pizza // mono+co abin5 dough pizza // mono+coabin5 dough pizza // mono+coabin5 dough pizza // mono+co

The hunger pang came after watching a pizza ad, showing a pair of pretty hands kneading the floured pizza dough, sprinkling herbs and toppings, before presenting 5 rectangular pizzas, each with a different flavor.

Not too difficult, if you ask me, once you have this bread dough and this tomato pasta sauce ready.  I had to settle with frozen beef meatballs, canned button mushrooms and cheddar cheese as toppings as I do not have much items in my pantry, being a Friday, aka empty fridge day; I make it a point to clear out my groceries by Fridays, and start afresh on Saturdays.  But you can easily “upgrade” with a simple switch of toppings to fresh ingredients such as mozzarella cheese and basil.

*Hint*  Those delivery menus from pizza shops have lotsa great ideas!

RECIPE FOR PIZZA DOUGH
Source


- 3 cups lukewarm water
- 1 tablespoon instant yeast
- 1 tablespoon salt
- 2lb or 910g of plain flour*

/ To Make Dough

01. Place water, salt and yeast in a plastic container that is big enough for the dough.  This container preferably with lid (if not, cover with cling wrap will do too) will also be the storage container for the dough to be placed in the fridge.  Make sure your fridge has a space for it.  A 6-quart container is recommended in the book.

02. Add in the flour all at once.  Stir until the dough comes together, it should be a wet and shapeless one.  If yours can be kneaded into a ball, you have probably used too much flour.  You can still save the dough by adding water slowly, till you get the dough to its rightful consistency.

03.  Cover the container loosely, saving a gap for the gases to escape as the dough proof.

04. Allow the dough to rise to double its bulk, anything from 2 hours to 4 hours, depending on the room temperature.

05. Once the dough has risen to its max, it will start to settle down, sink a little and form a flat top.  This dough is now ready to be used, or it can be stored in the fridge when you are ready to bake a bread or pizza.  I prefer keeping it in the chiller for a few hours so that the dough is easier to handle.

____________

/ To Bake Pizza (Get your choice of topping ready, I used sliced button mushrooms, sliced ikea beef meatballs, and cheddar cheese)

01. When you are ready to make pizza, take out the dough from the fridge, sprinkle some plain flour on top of the dough and grab a handful of it and cut it out with a pair of scissors.

02. Roughly shape it into a ball with floured hands, and press it down on a baking parchment paper placed on a baking tray.  Stretch out the dough to create a really thin crust (the pizza crust will still rise through the baking process, so I am not worried about the dough being too thin).

03. Spread some garlic butter, or this tomato paste over the dough.

04.  Place sliced button mushrooms and meatballs on top of the butter or tomato sauce.  Drizzle with some olive oil.

05.  In a preheated oven 240C (460F), bake for 8 -10 minutes.  When pizza is cooked, placed sliced cheddar cheese on top, and leave it in the warm oven for another 1 minute to melt the cheese.  If you are using mozzarella cheese, you may add it before baking the pizza.  I ran out of mozzarella and didn’t want my cheddar cheese to brown during baking.

06.  Serve immediately.


++ NOTES TO SELF ++
///
* I have since drop the “scoop-and-level method” as I am really terrible at scooping consistently! But if you are, feel free to use 6 1/2 cup of plain flour for this recipe.
///

Baked Salty Crispy Chicken 盐酥鸡

Baked Salty Crispy Chicken Baked Salty Crispy Chicken 盐酥鸡 Baked Salty Crispy Chicken

The Taiwan street food culture is constantly evolving, with new menu items popping up all the time at the night markets.  But this snack is really evergreen : 盐酥鸡 , salted cripy chicken.  This baked version is healthier and cleaning up after cooking is easier with only the baking tray to wash.

RECIPE : BAKED SALTY CRIPSY CHICKEN
/ Source

____________

chicken meat, diced to bite-sized
1 teaspoon garlic, minced
1 teaspoon five-spice powder
1 teaspoon pepper
1 tablespoon salt
1 tablespoon sugar
tapioca starch, to coat

____________

01. Mix diced chicken meat with garlic, five-spice powder, pepper, salt and sugar.
02. Chill in fridge to marinate for at least 1 hour.
03. Coat chicken meat lightly with tapioca starch.  Arrange them on a baking tray, do not overlap.
04. Bake in preheated oven at 220C (425F) for 15 minutes, or till golden brown.