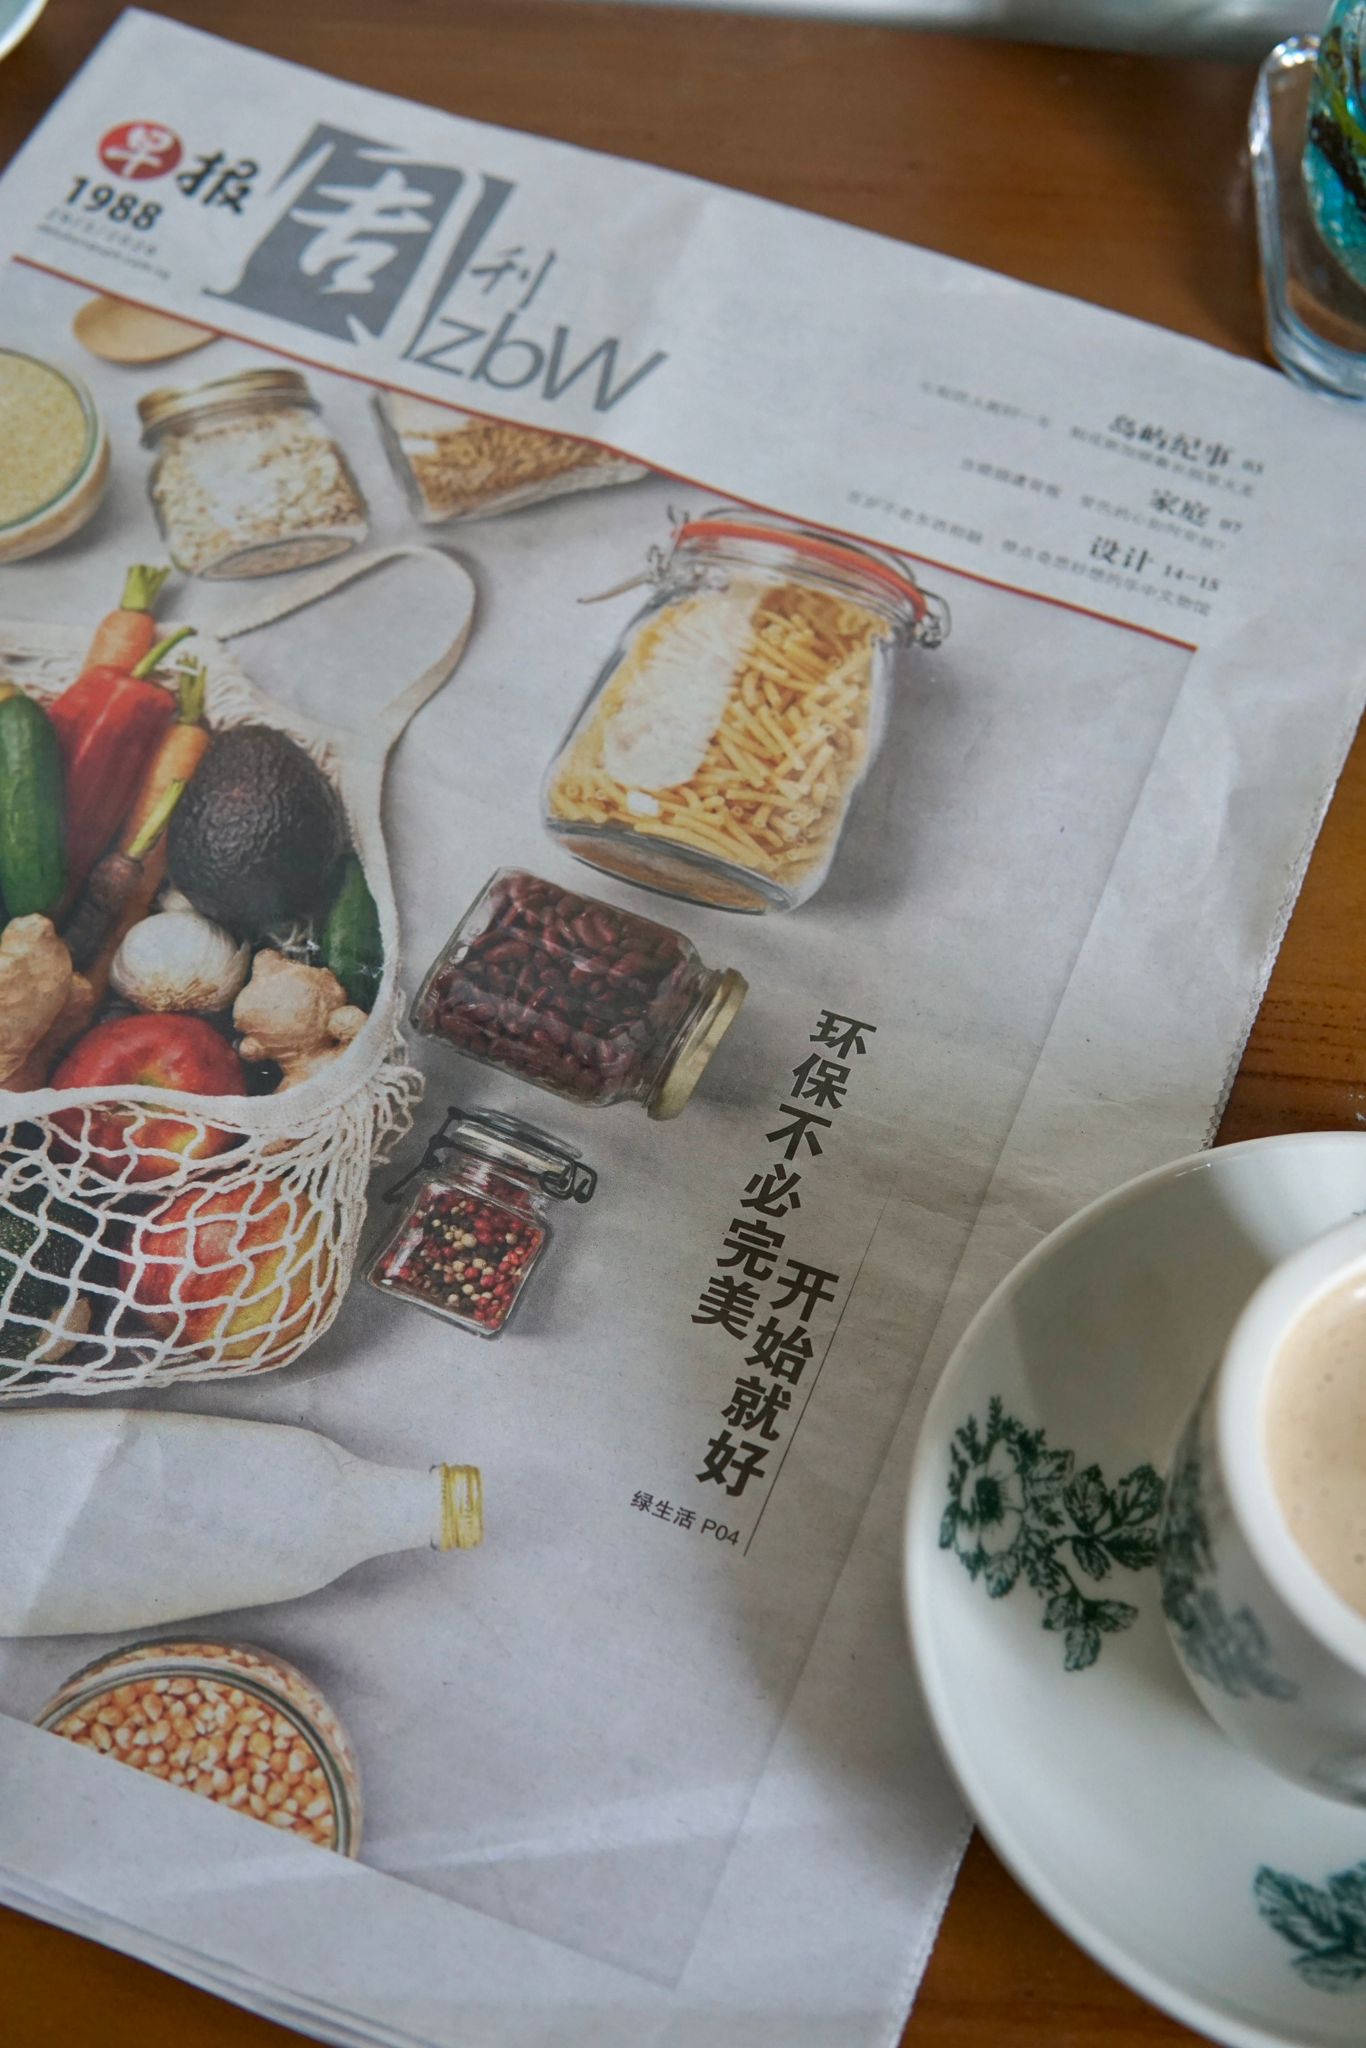
My zero-waste (零废生活) column in Zaobao in April (link to article) is about why recycling should be our last resort — and what reducing and reusing actually looks like in my HDB home.
Have you ever dropped questionable items into the recycling bin, hoping that they would be recycled? Yup, that’s wishcycling, and it is one of the reasons why our recycling contamination rate is at 40%.
“There’s no markings – you’ll never know if this is recyclable.”
“Leaving it in the recycling bins feels better than sending it to landfills.”
“Someone will sort it out at the recycling centre.”
Sounds familiar?
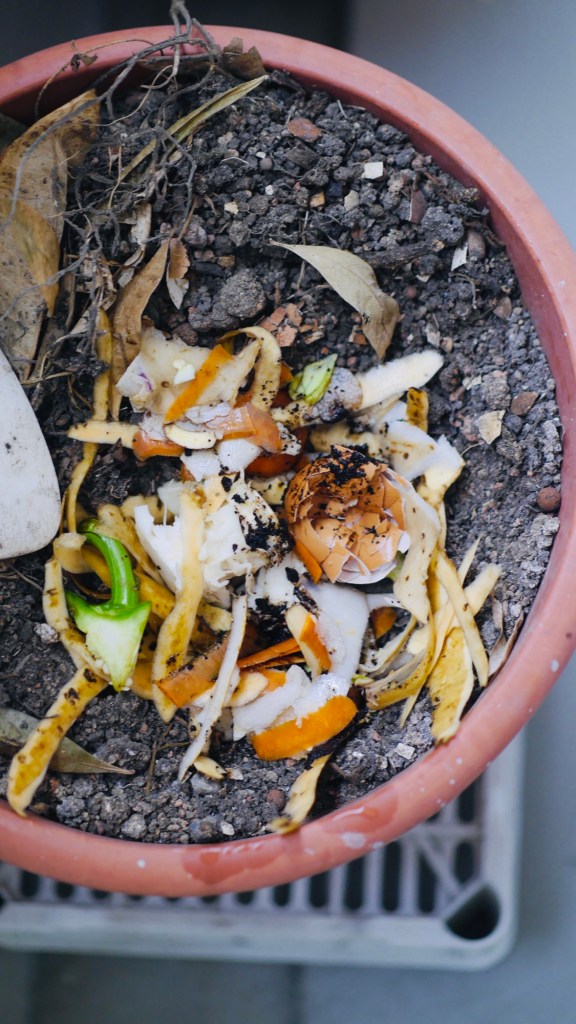
I used to recycle everything in the blue bin downstairs because it was so convenient. Rinse, dry, drop it in, and walk away feeling like I’d done my part. Then I learnt something that undid that feeling. A contaminated bin – one with food residue, liquids, or items that don’t belong -means the entire batch gets sent for incineration. Not recycled. Incinerated. All that rinsing and sorting for nothing.
Deflated but still hopeful, I started looking at recyclables in different ways.
++ もったいない – MOTTAINAI ++
Not “can this be recycled?” but “can this still be used in another way?”
This sounds small. But they shifted something in how things move through my home – no longer straight to the recycling corner.

The Japanese have a word for this. もったいない – mottainai. Roughly translated, it means: what a waste it would be to discard something that still has life in it. It’s not a recycling philosophy but something closer to the grief of letting go of something too soon.
I first learned about mottainai in Japan, and I keep coming back to it because it captures something that the conventional 3R framework doesn’t quite reach. Reduce, Reuse, Recycle is a hierarchy, but most of us live it in reverse — we buy, we use once, we recycle, and we feel we have closed the loop. The mottainai concept teaches us to pause and look again before that last step. Here are some ways I am practising mottainai.

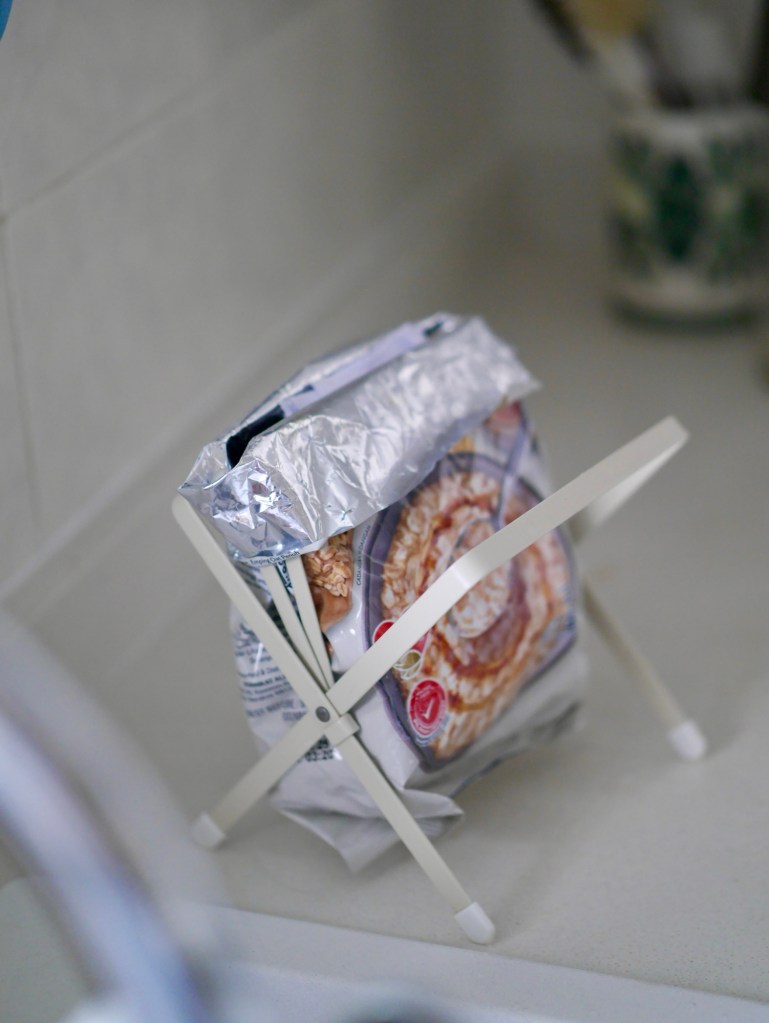
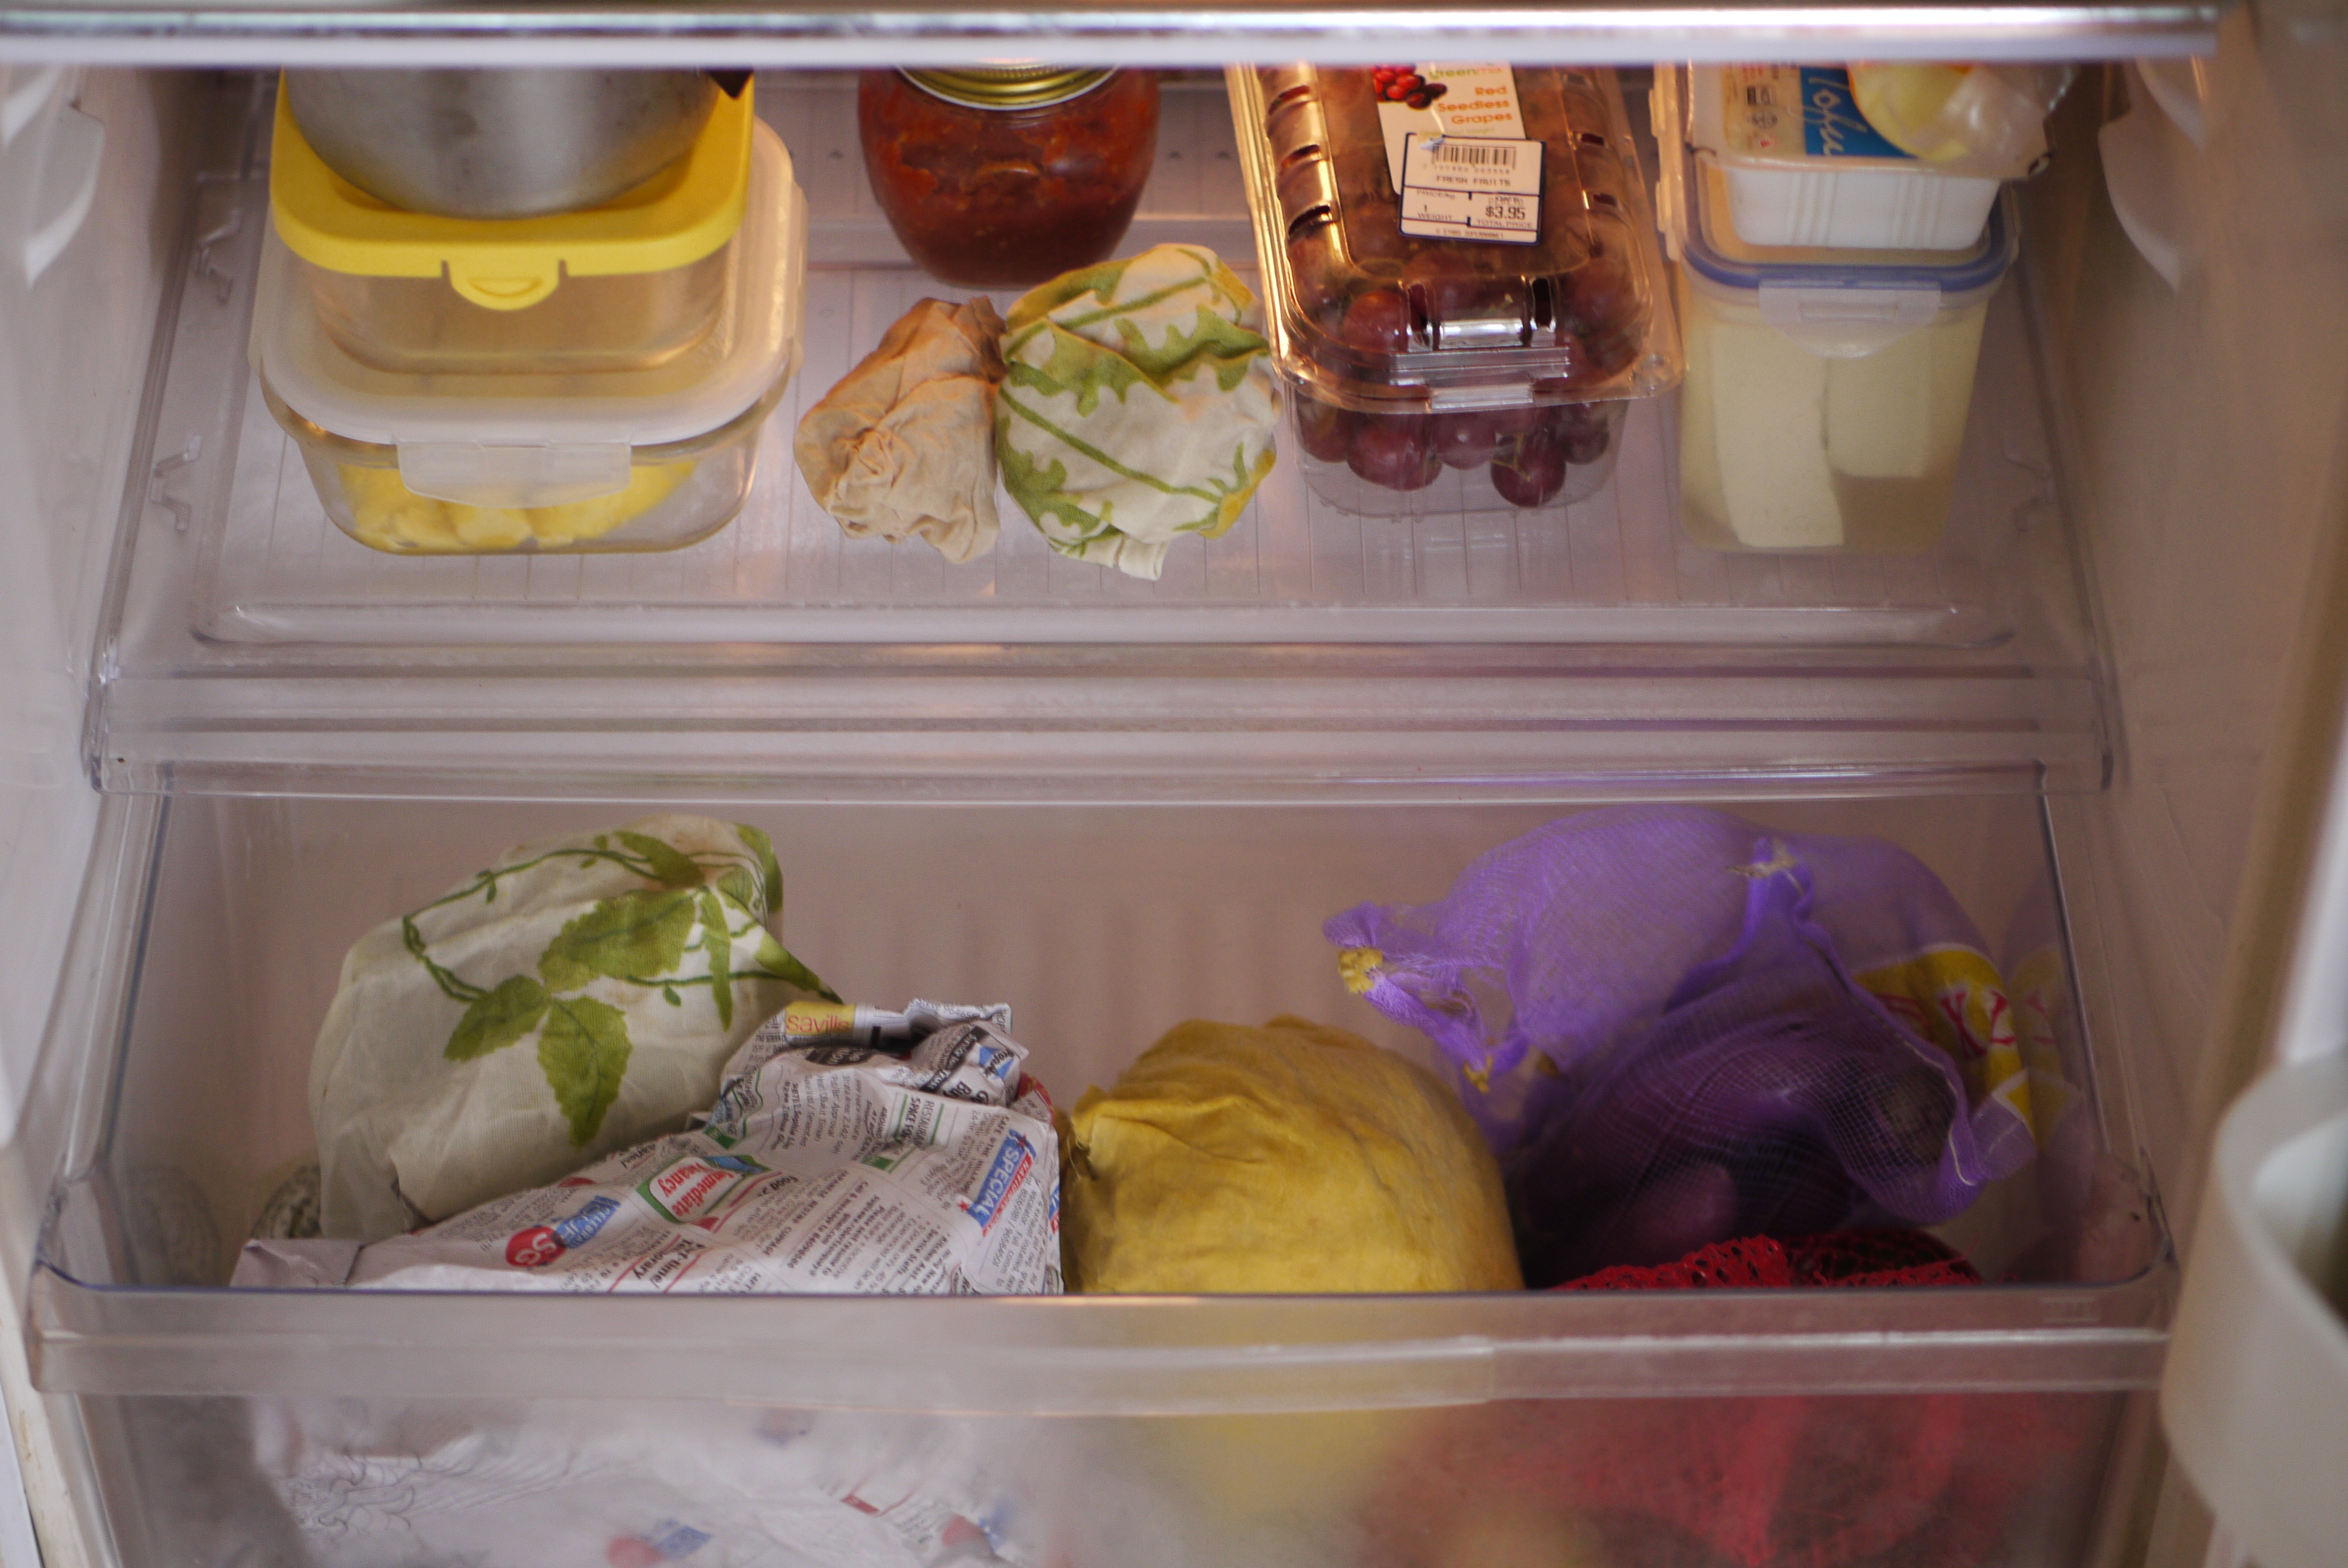
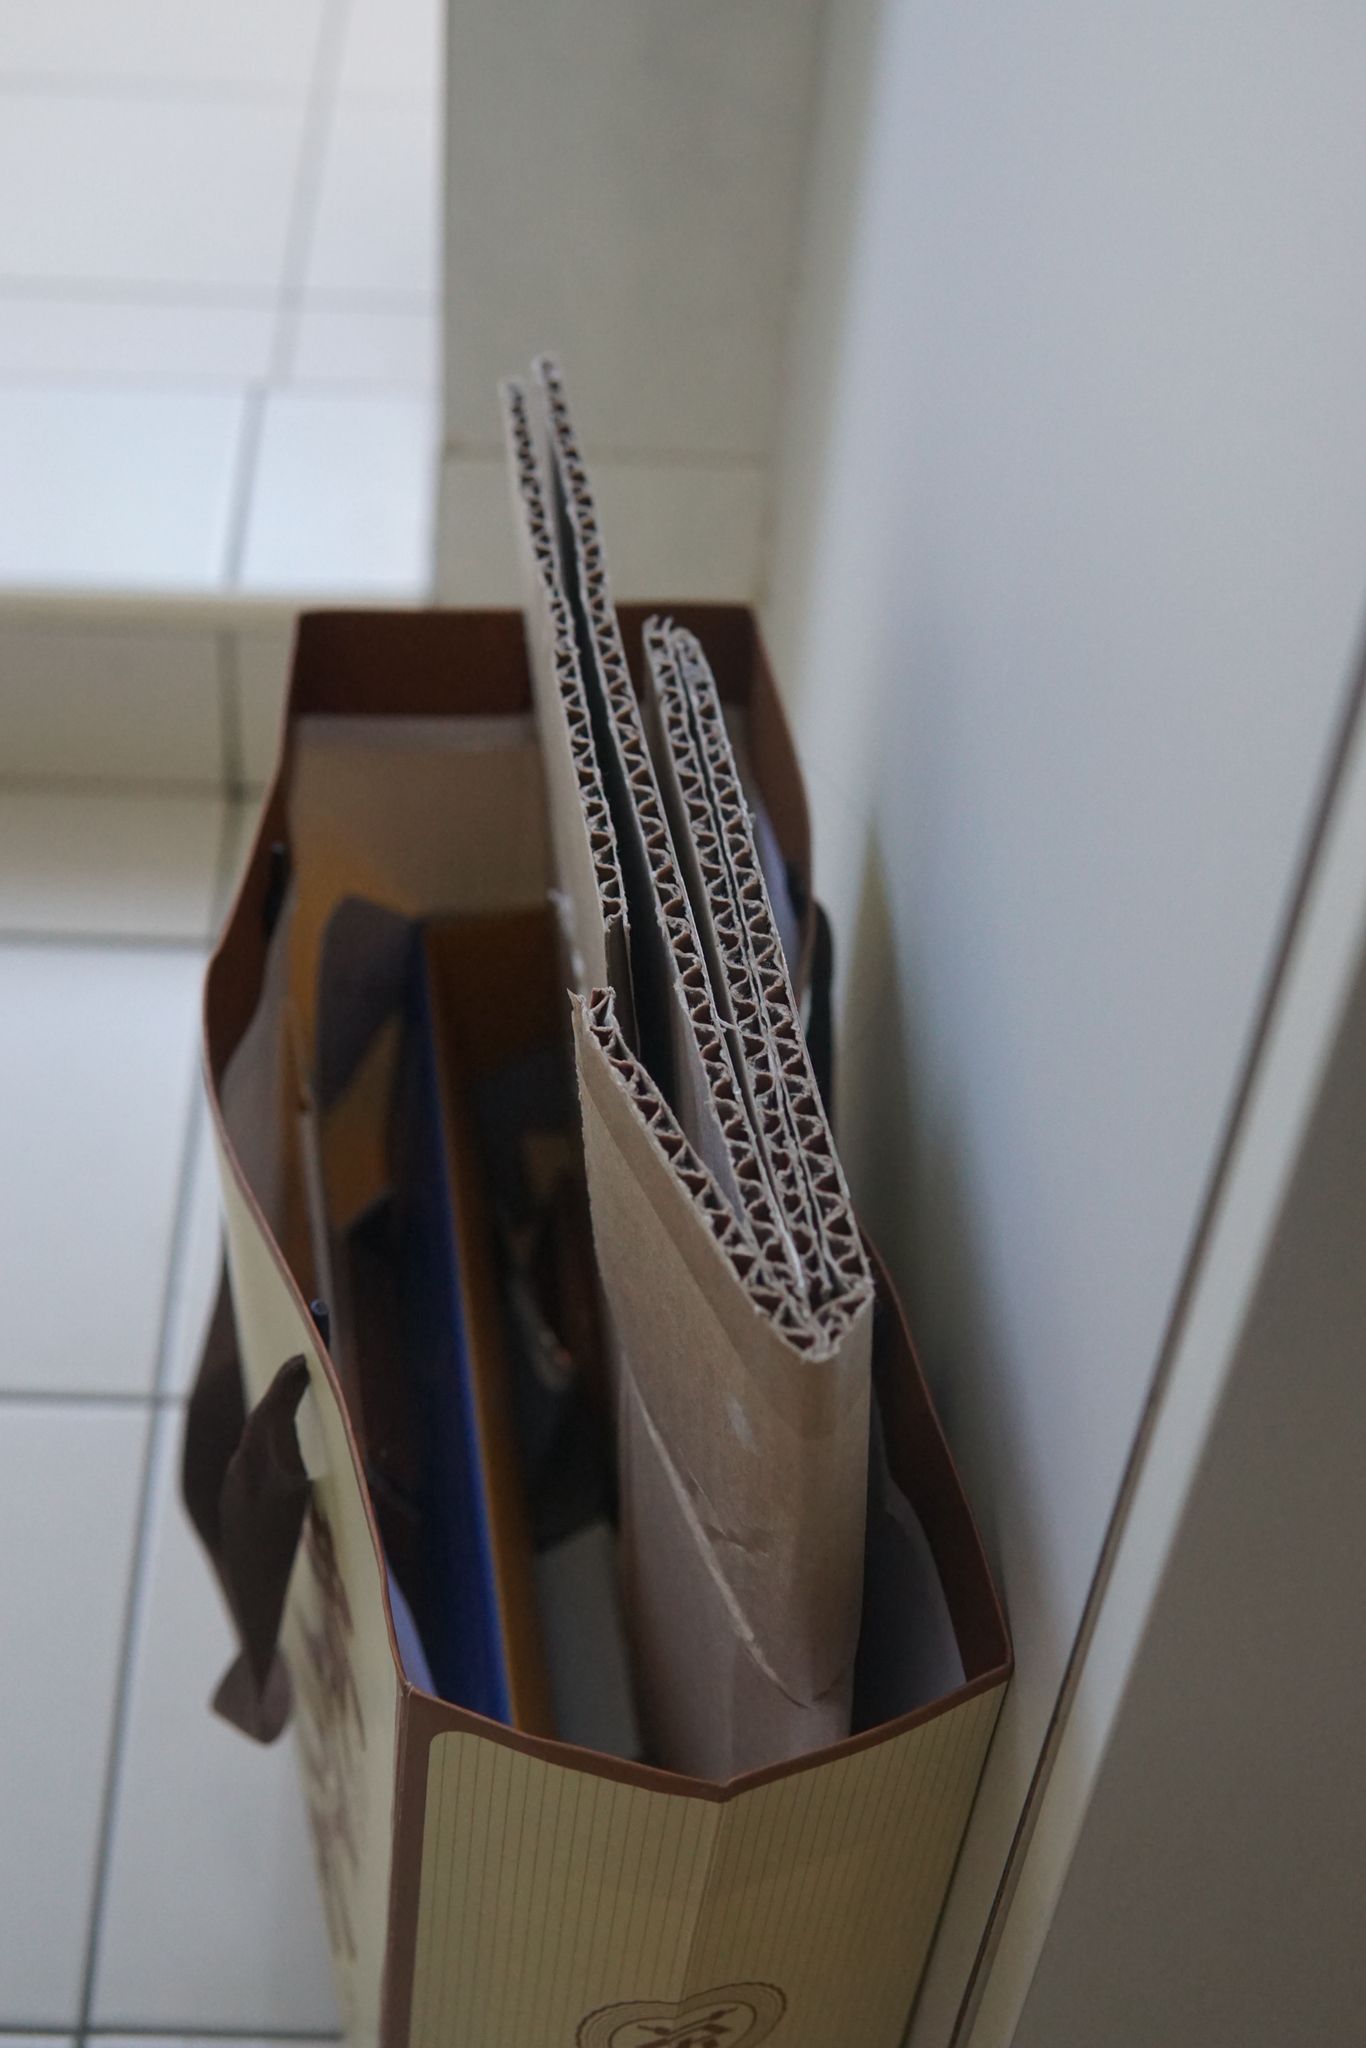
The brown paper stuffed into my online order — most people scrunch it up and toss it. I smoothed it out and made book cover sleeves for my paperbacks. Took two minutes. No tape, no skills required.
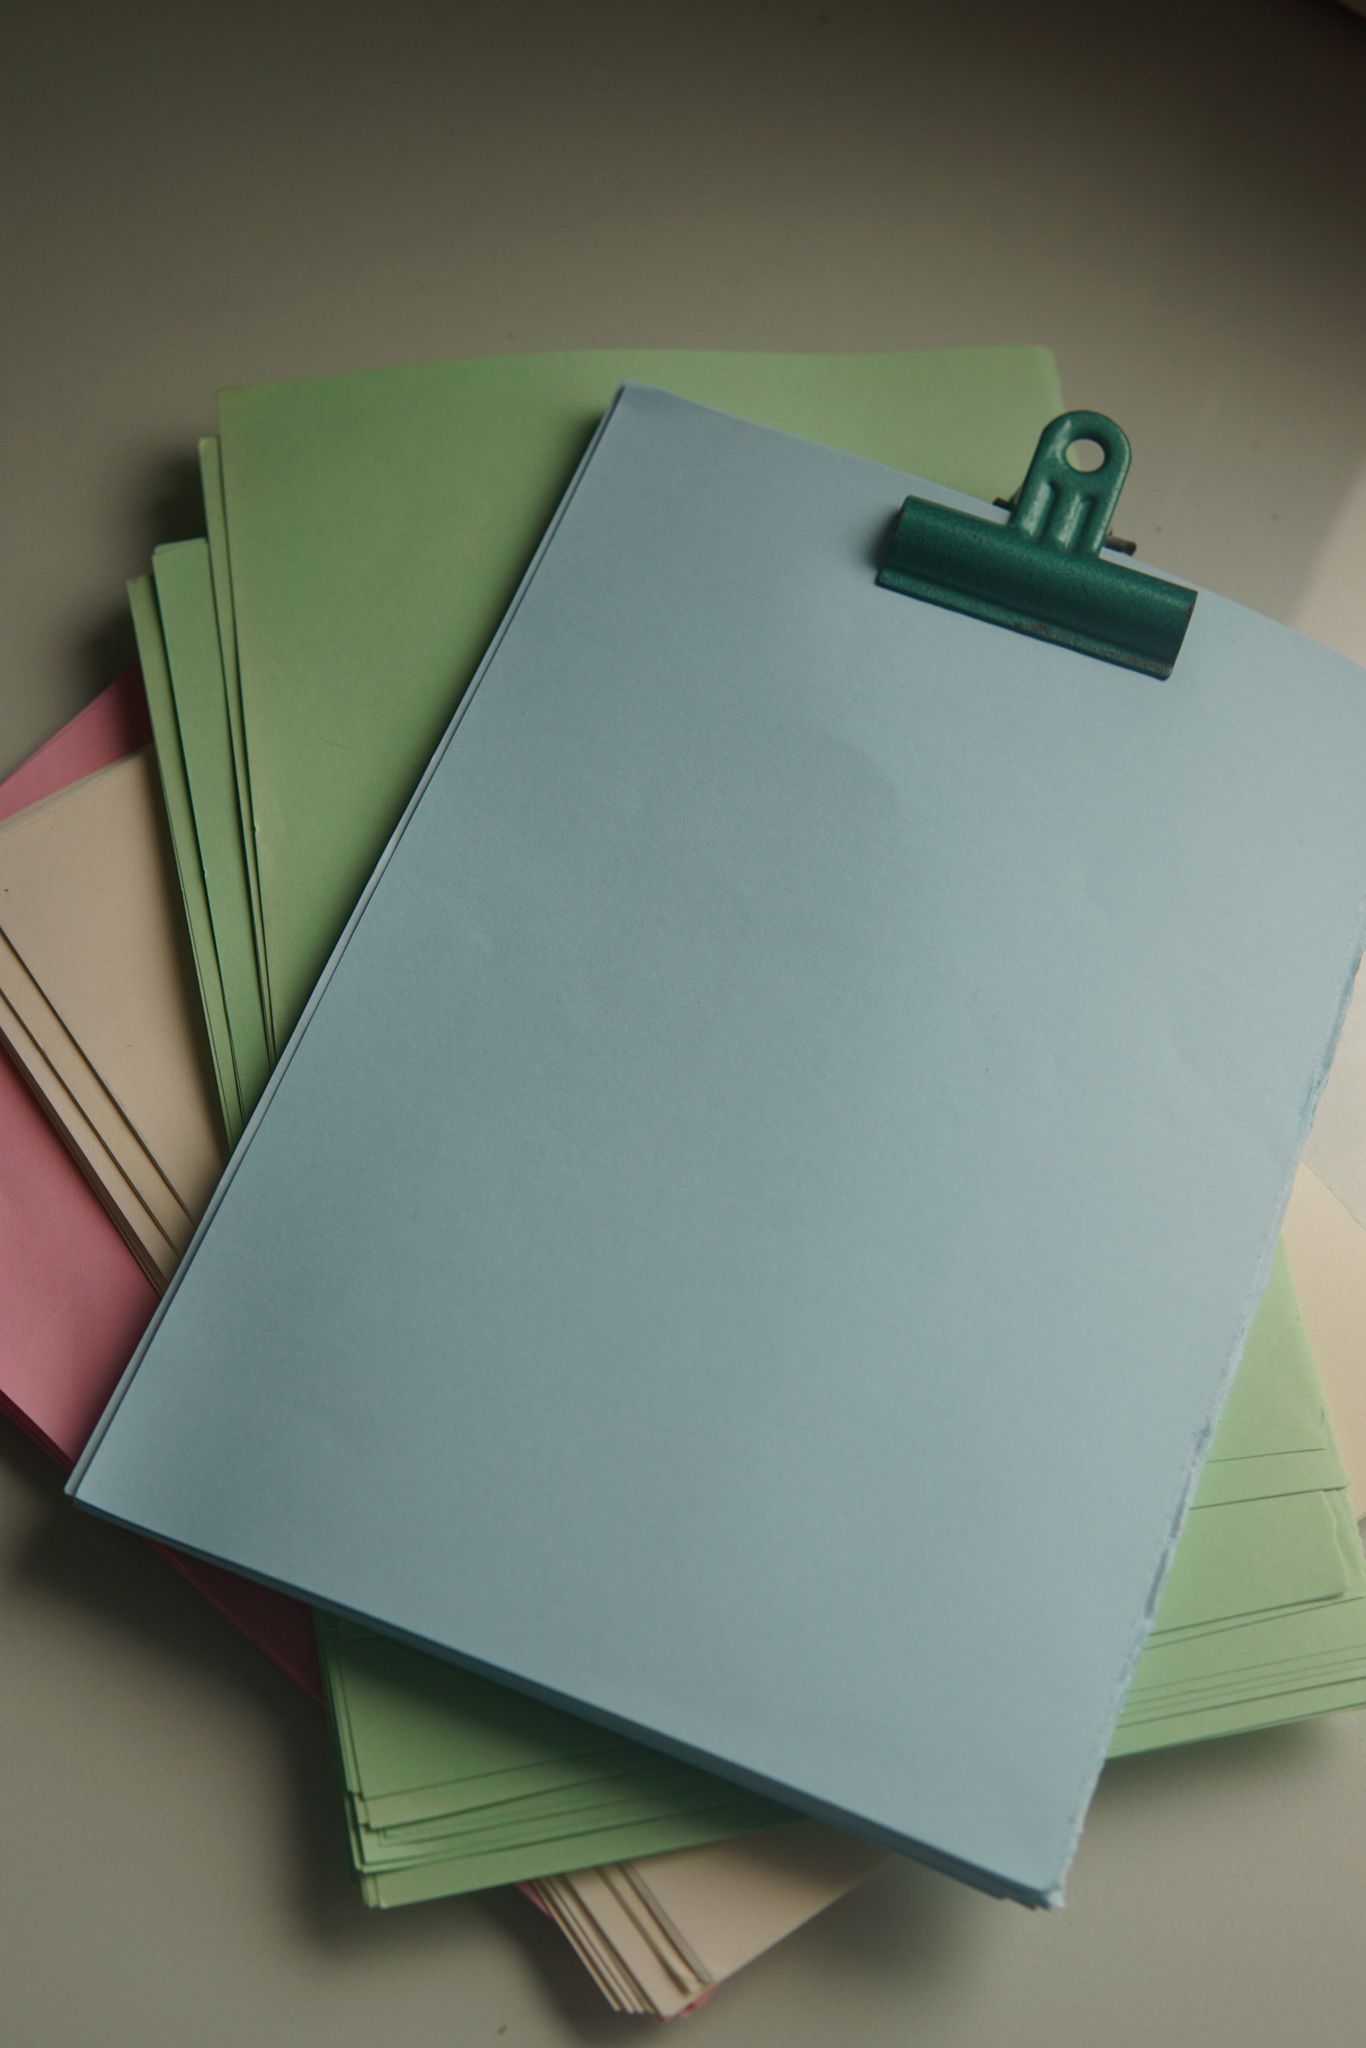
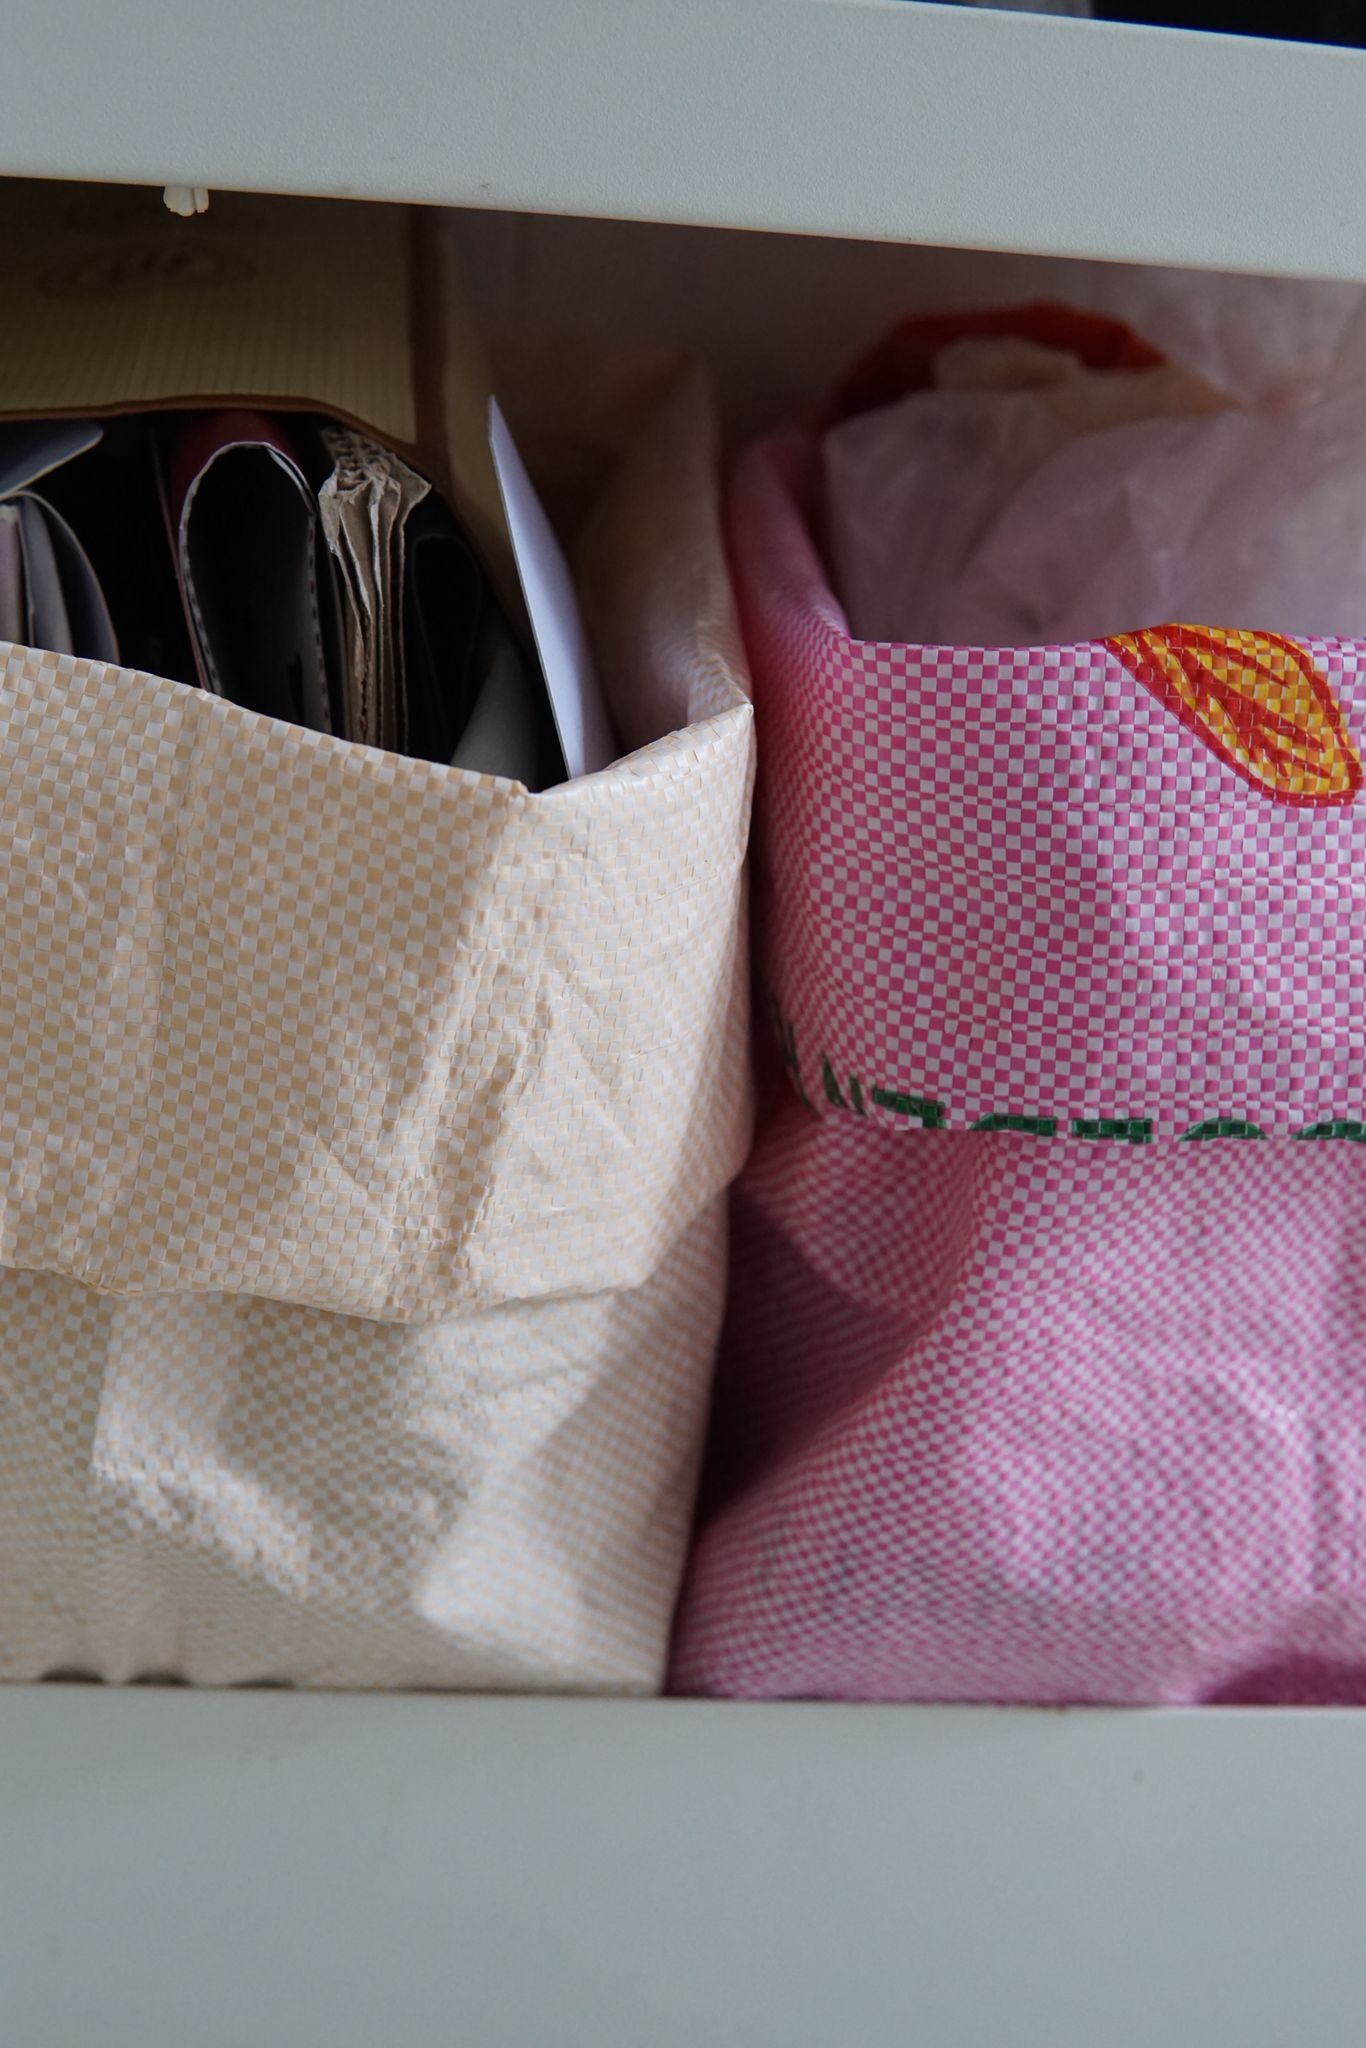
Leftover coloured paper from a finished project, fastened with a bulldog clip — instant notepad. Flyers and brochures with print on one side can also be reused this way. The kind of thing everyone recycles without a second thought.
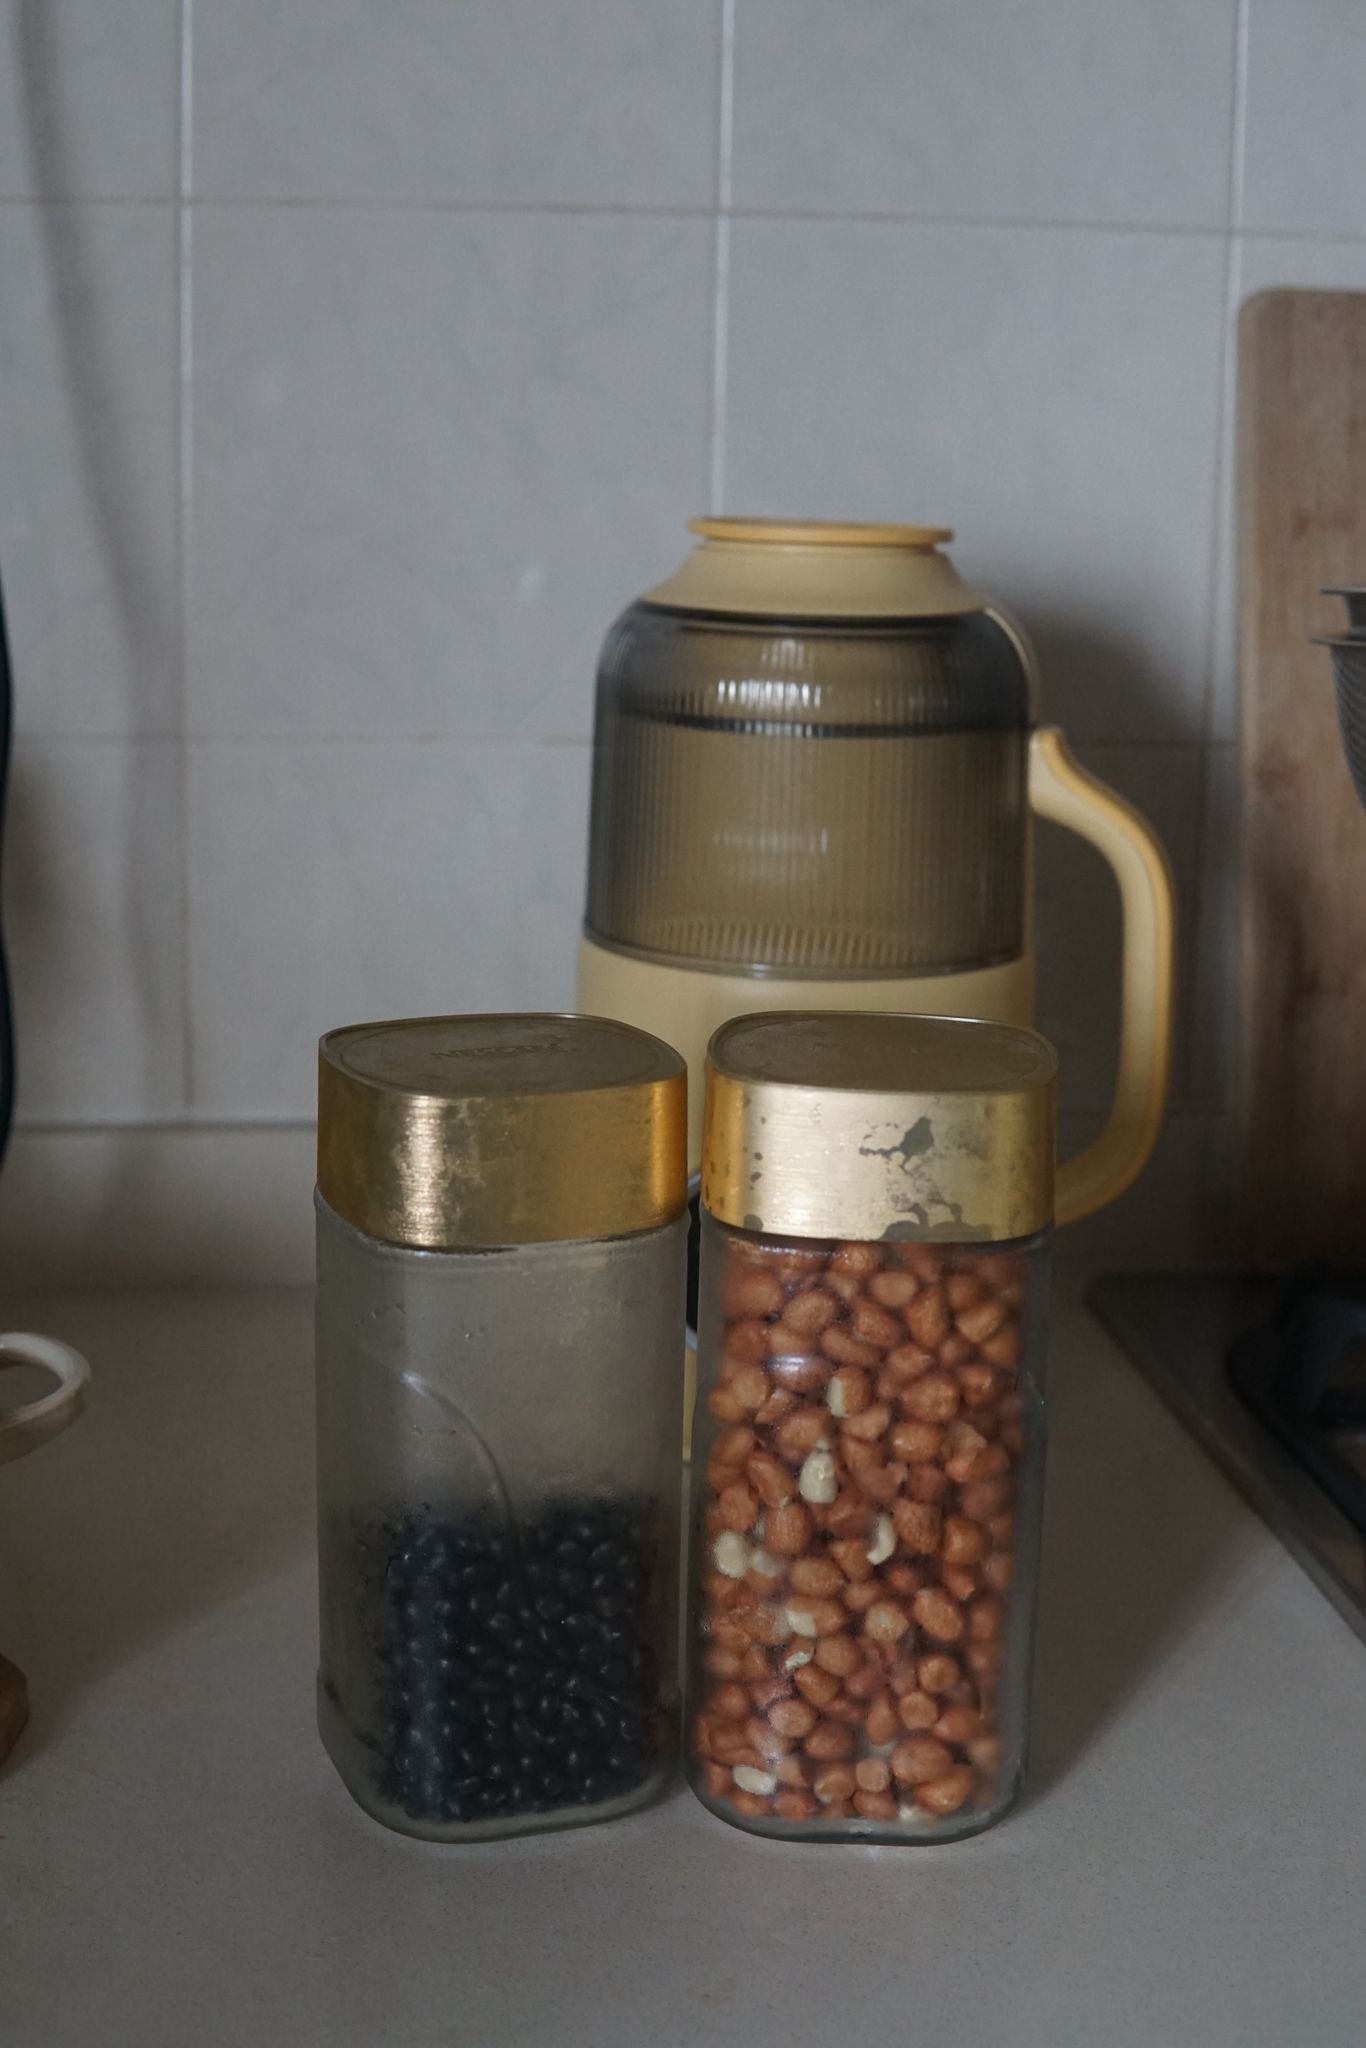
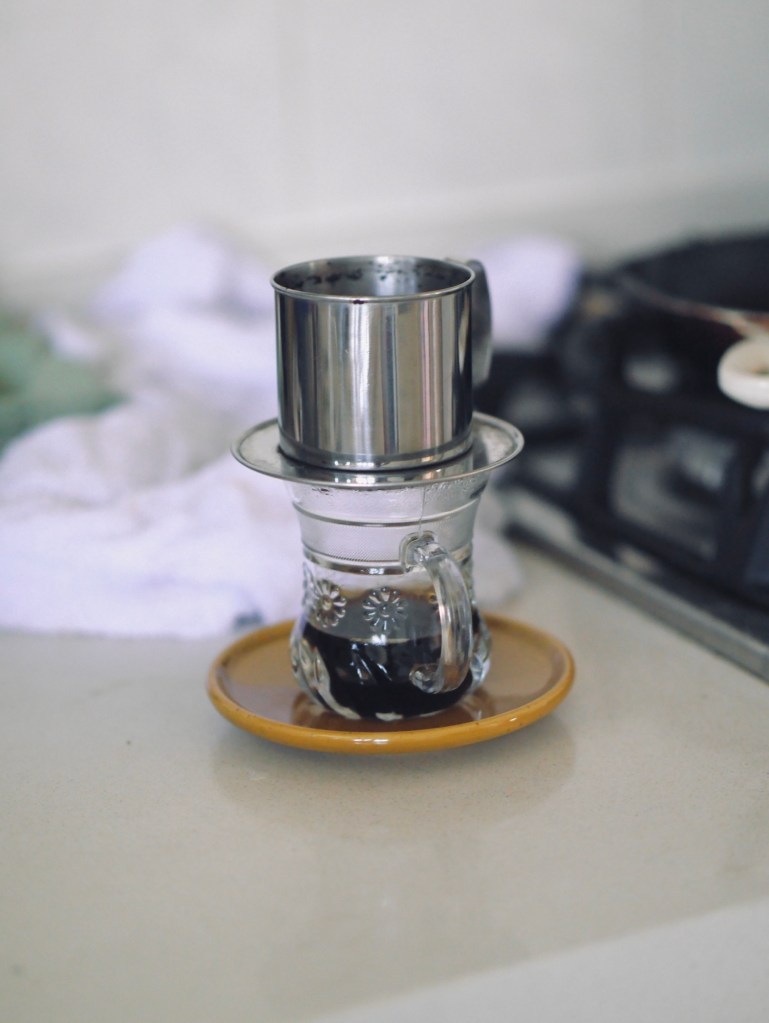
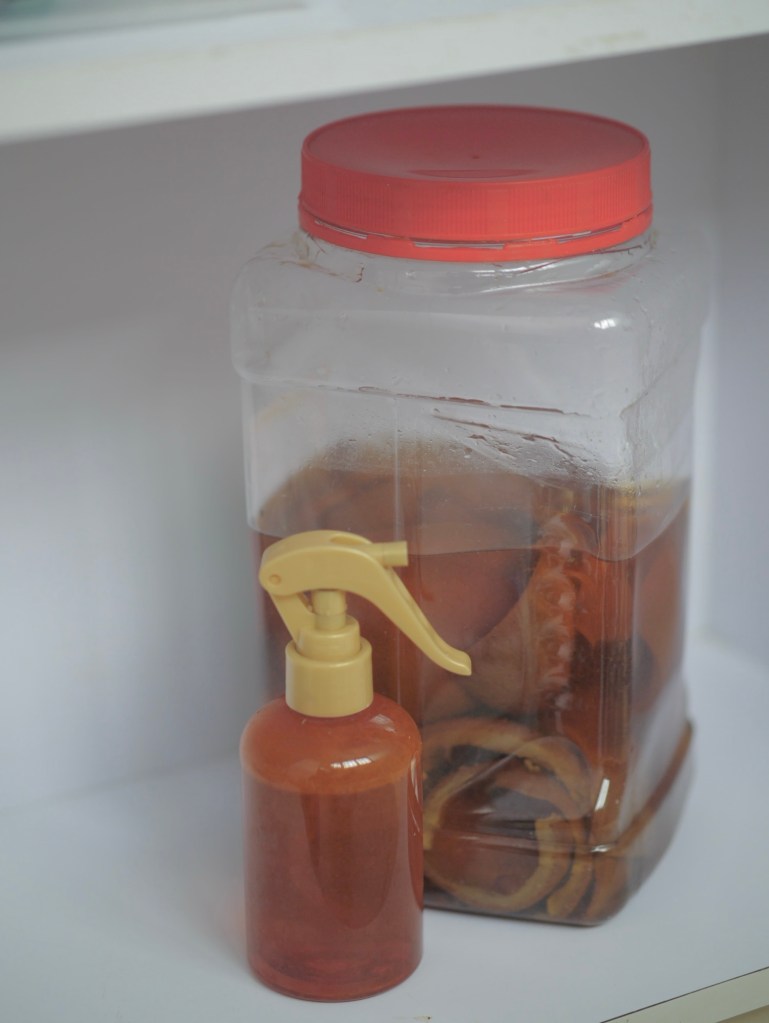
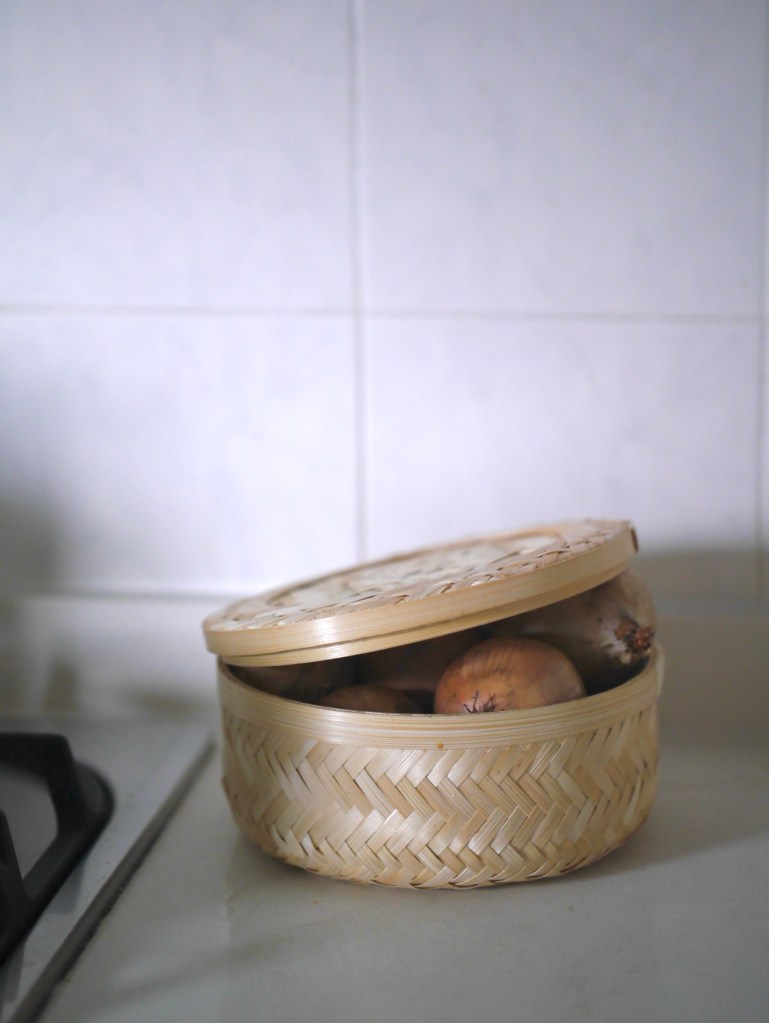
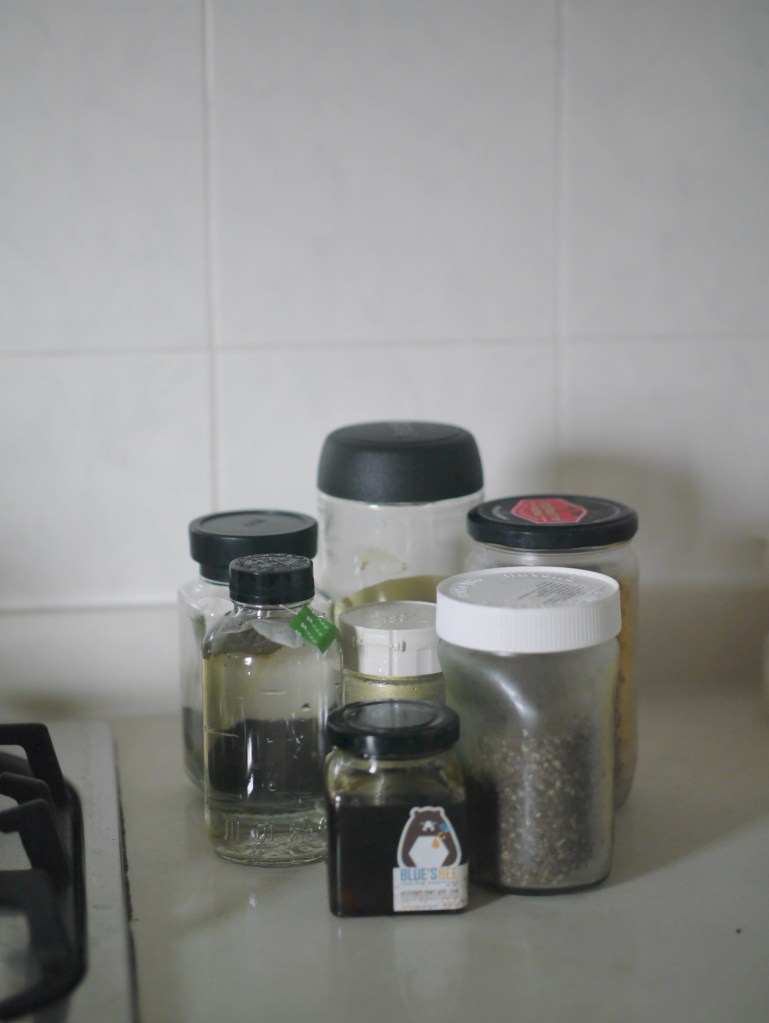
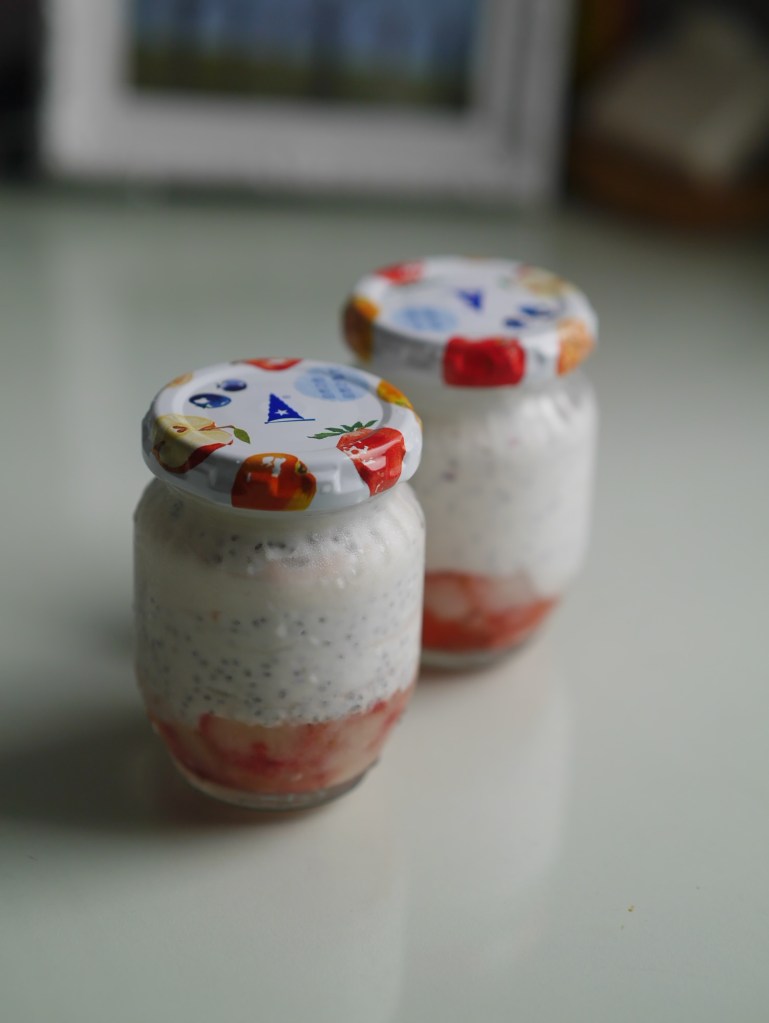
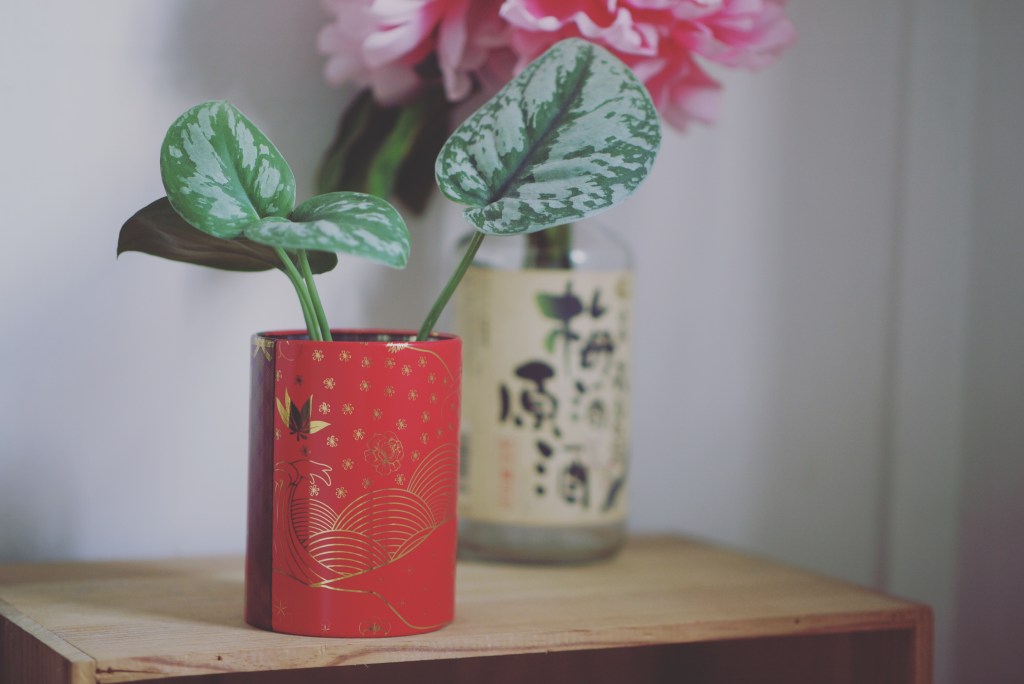
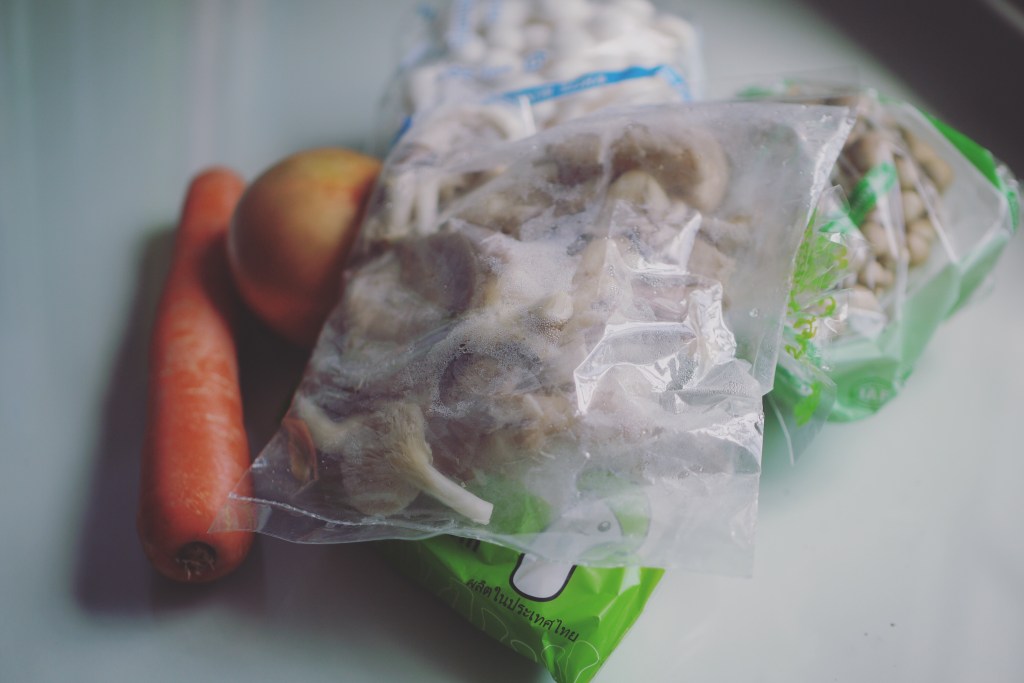
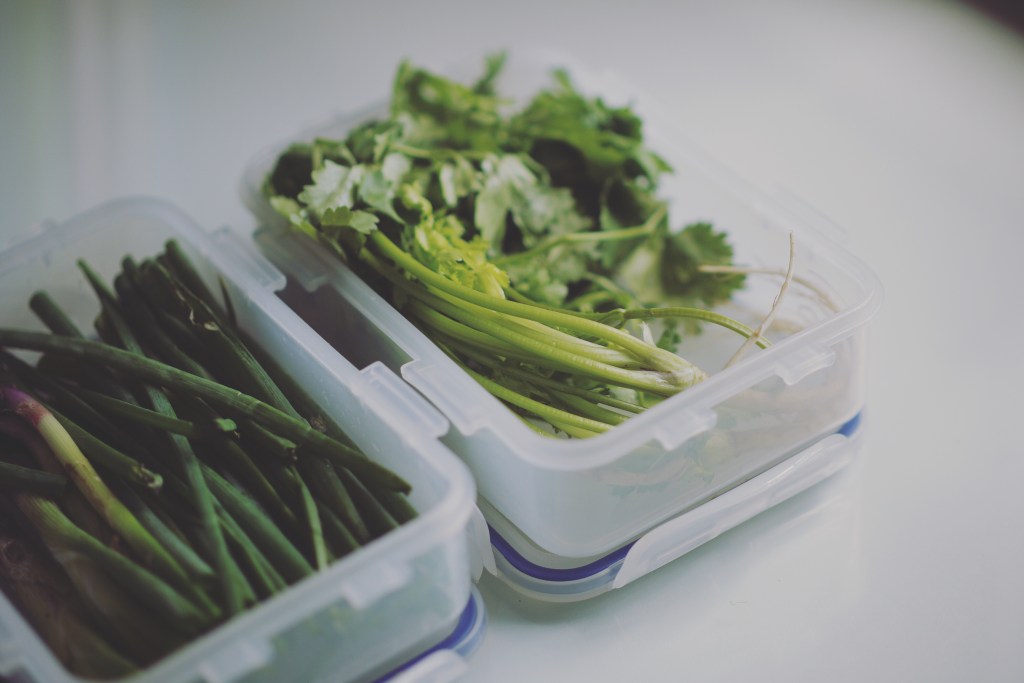
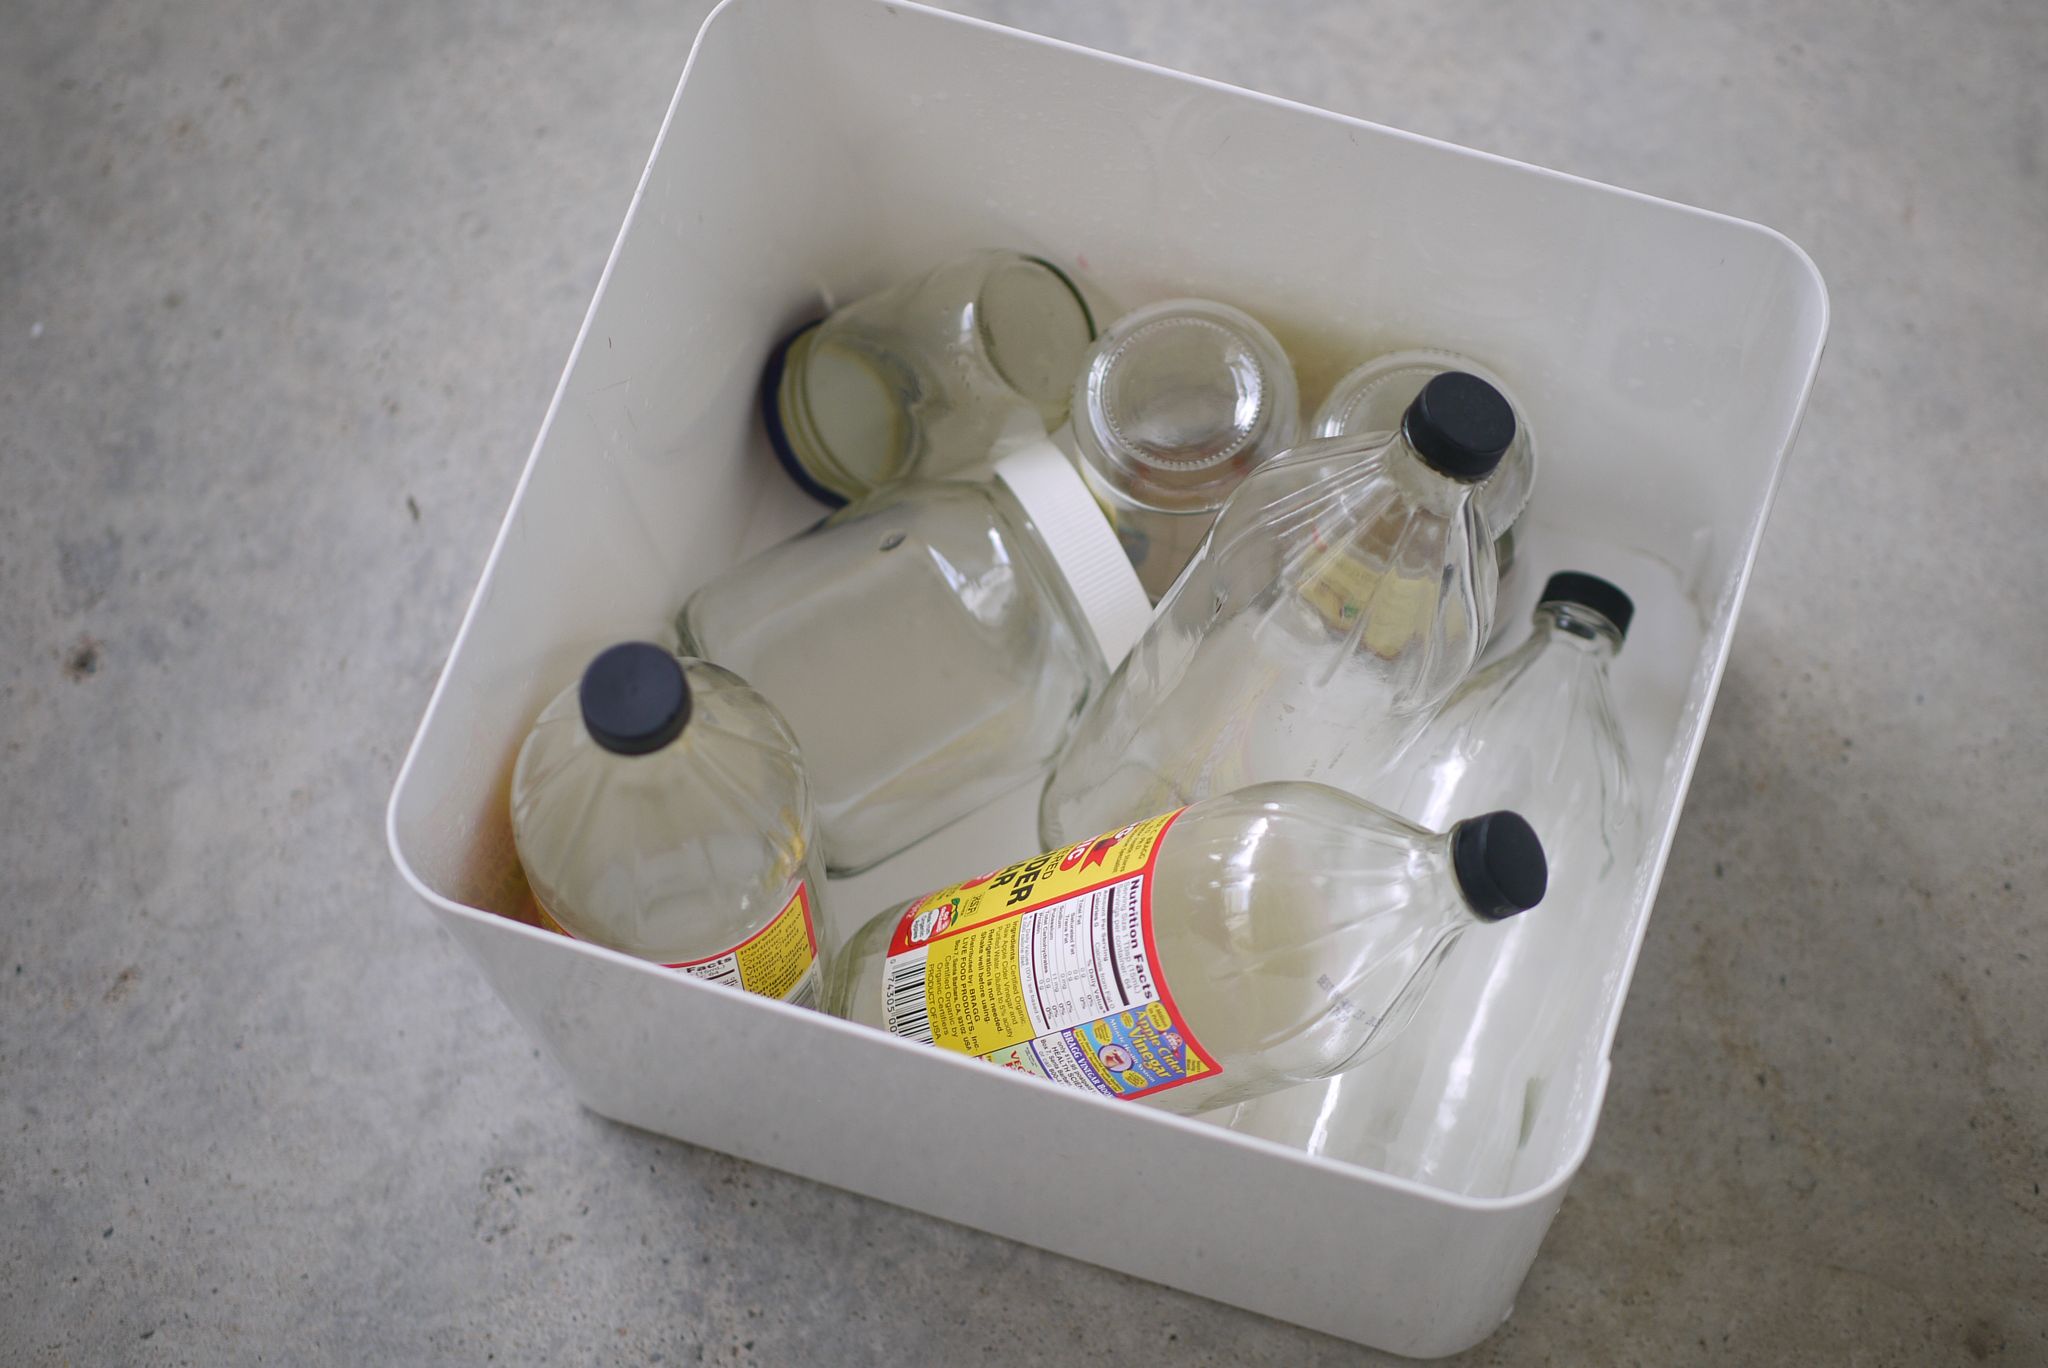
Nescafé jars on my kitchen counter, used to store black beans and peanuts. They do exactly what a store-bought glass jar would do and make my pantry look organised.
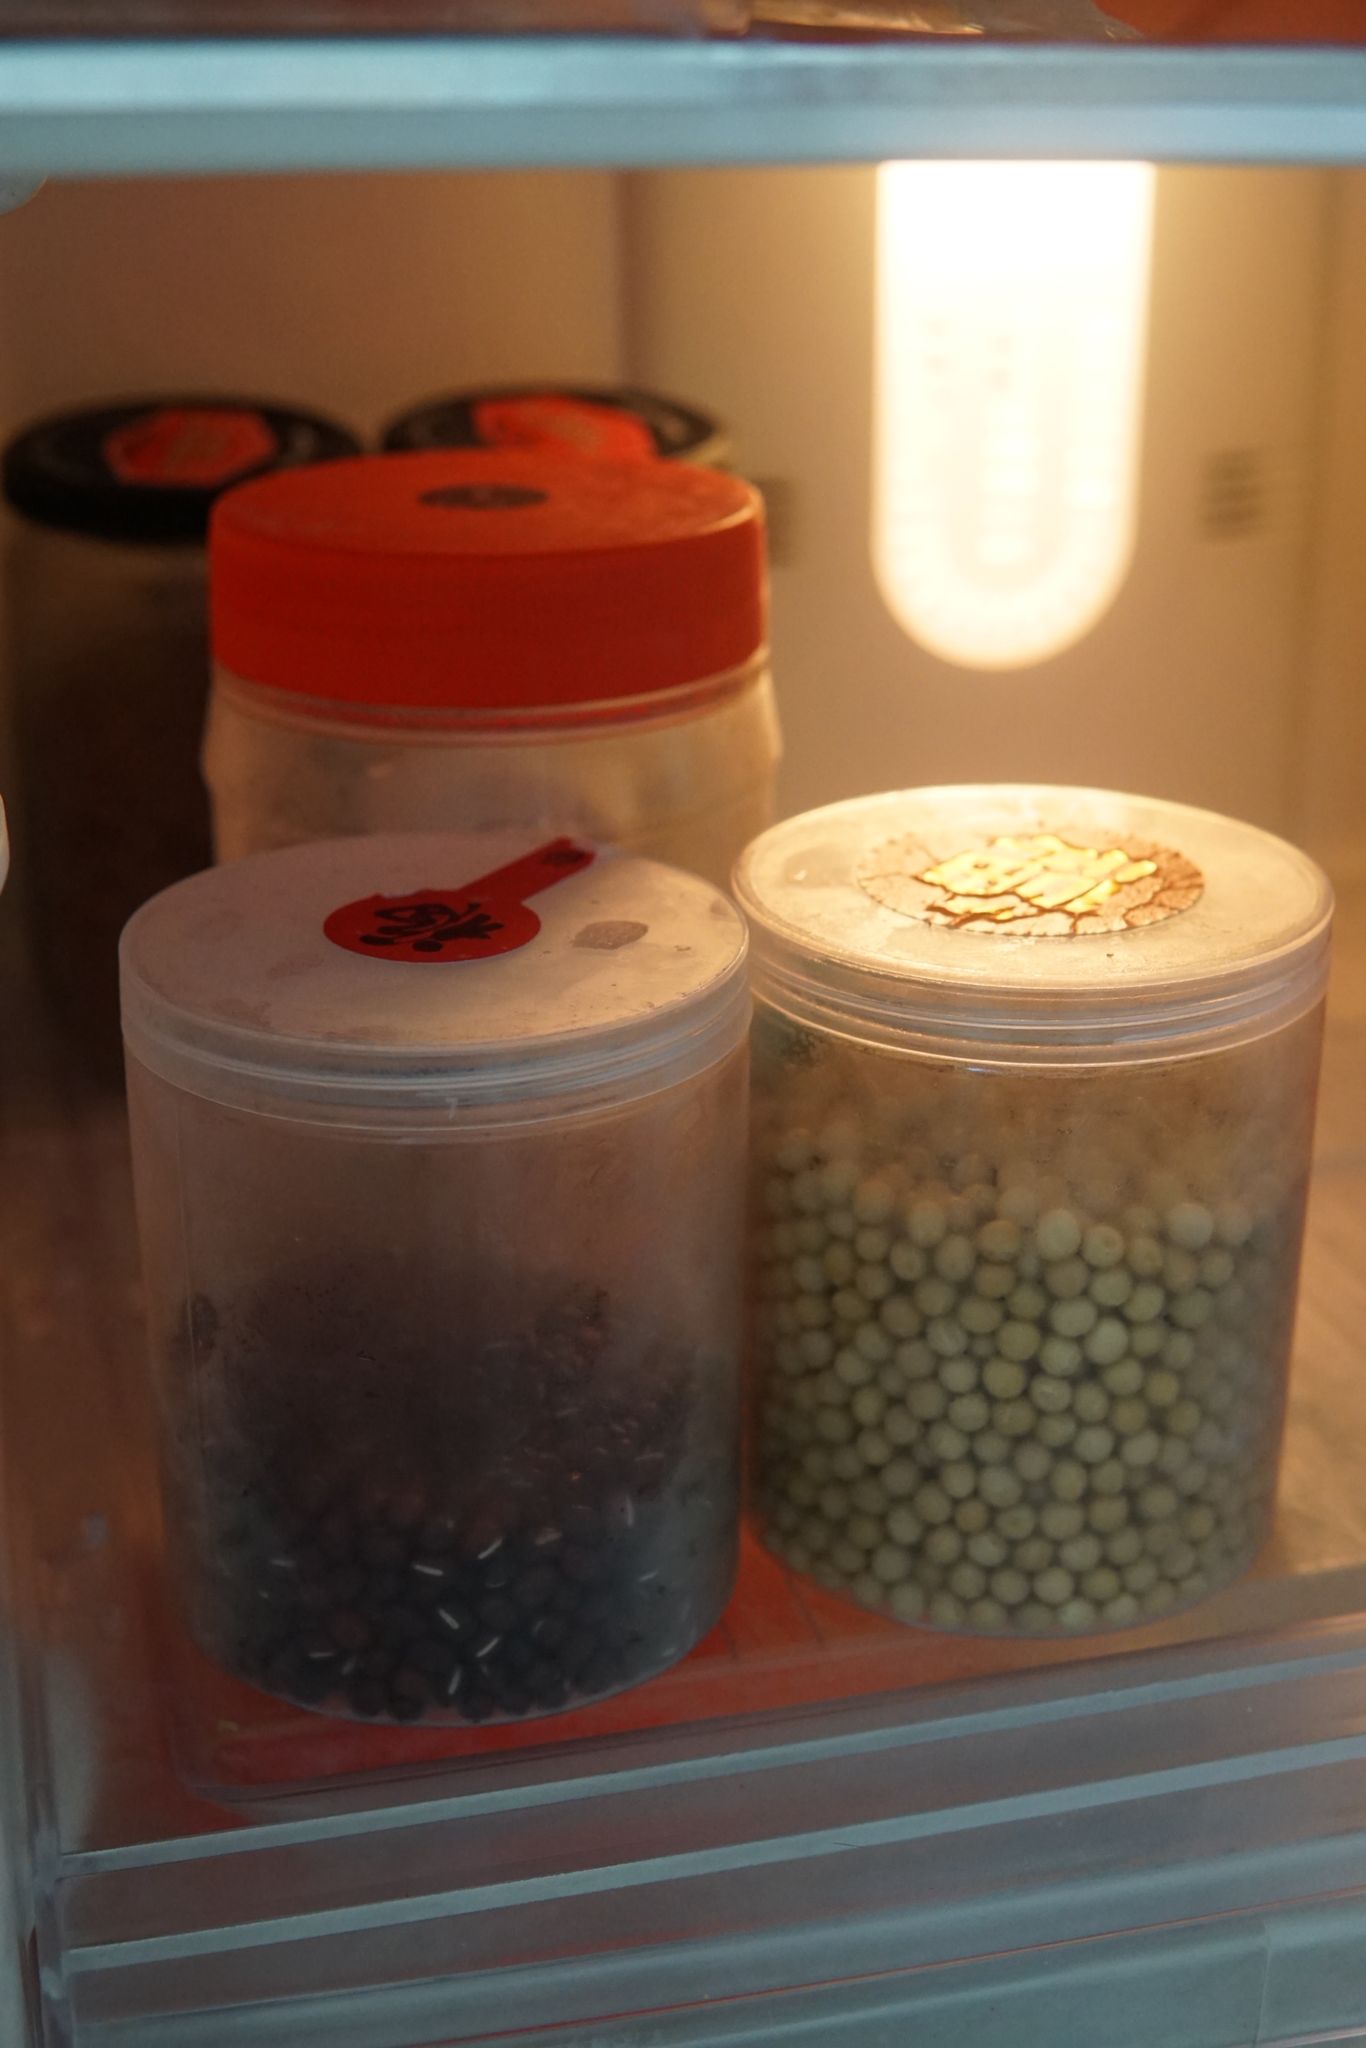
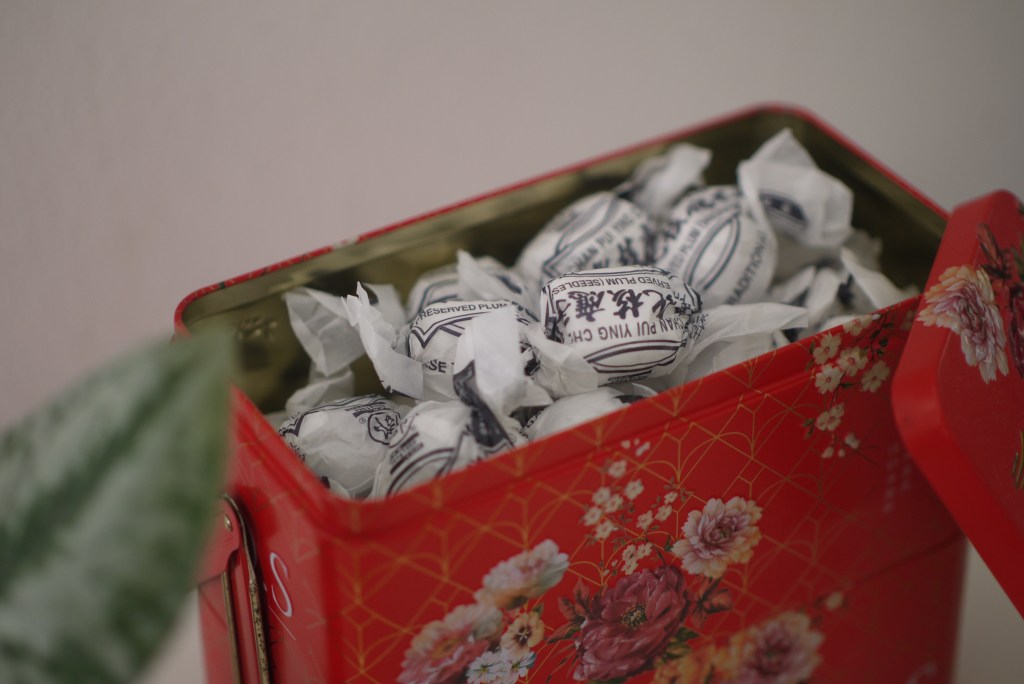
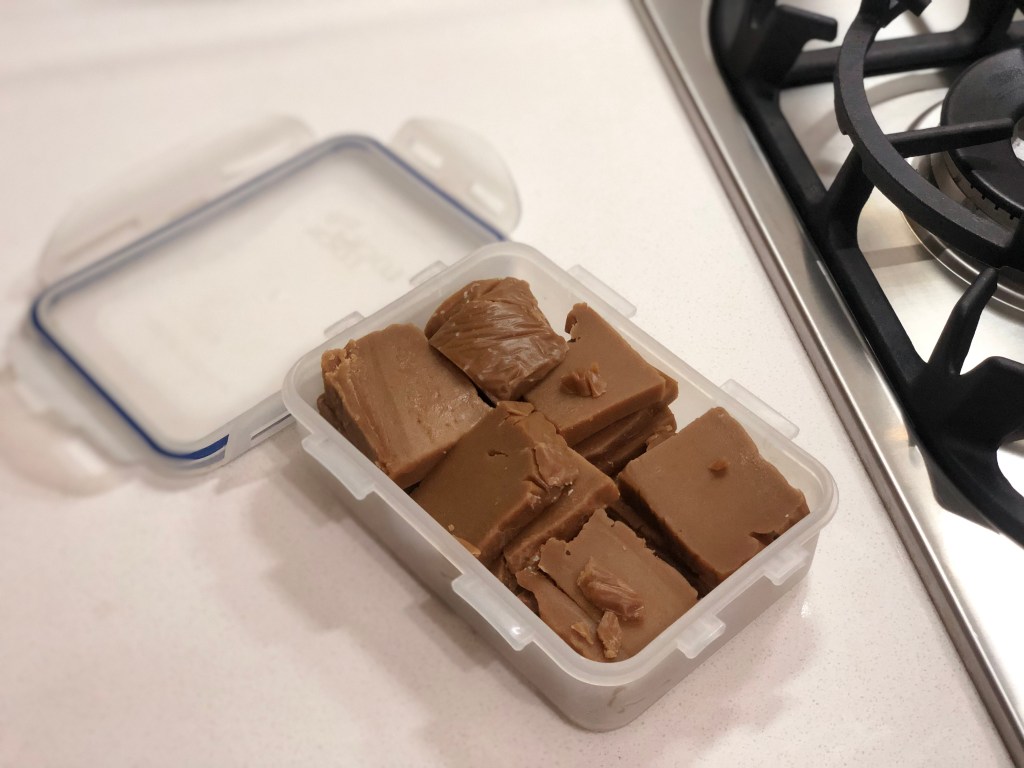
Plastic CNY cookie containers storing more dried foods. Yes, I’ve seen online community groups that collect these for reuse which is a good thing. But before bagging them up, I’ll ask myself: could they earn another round at home instead?
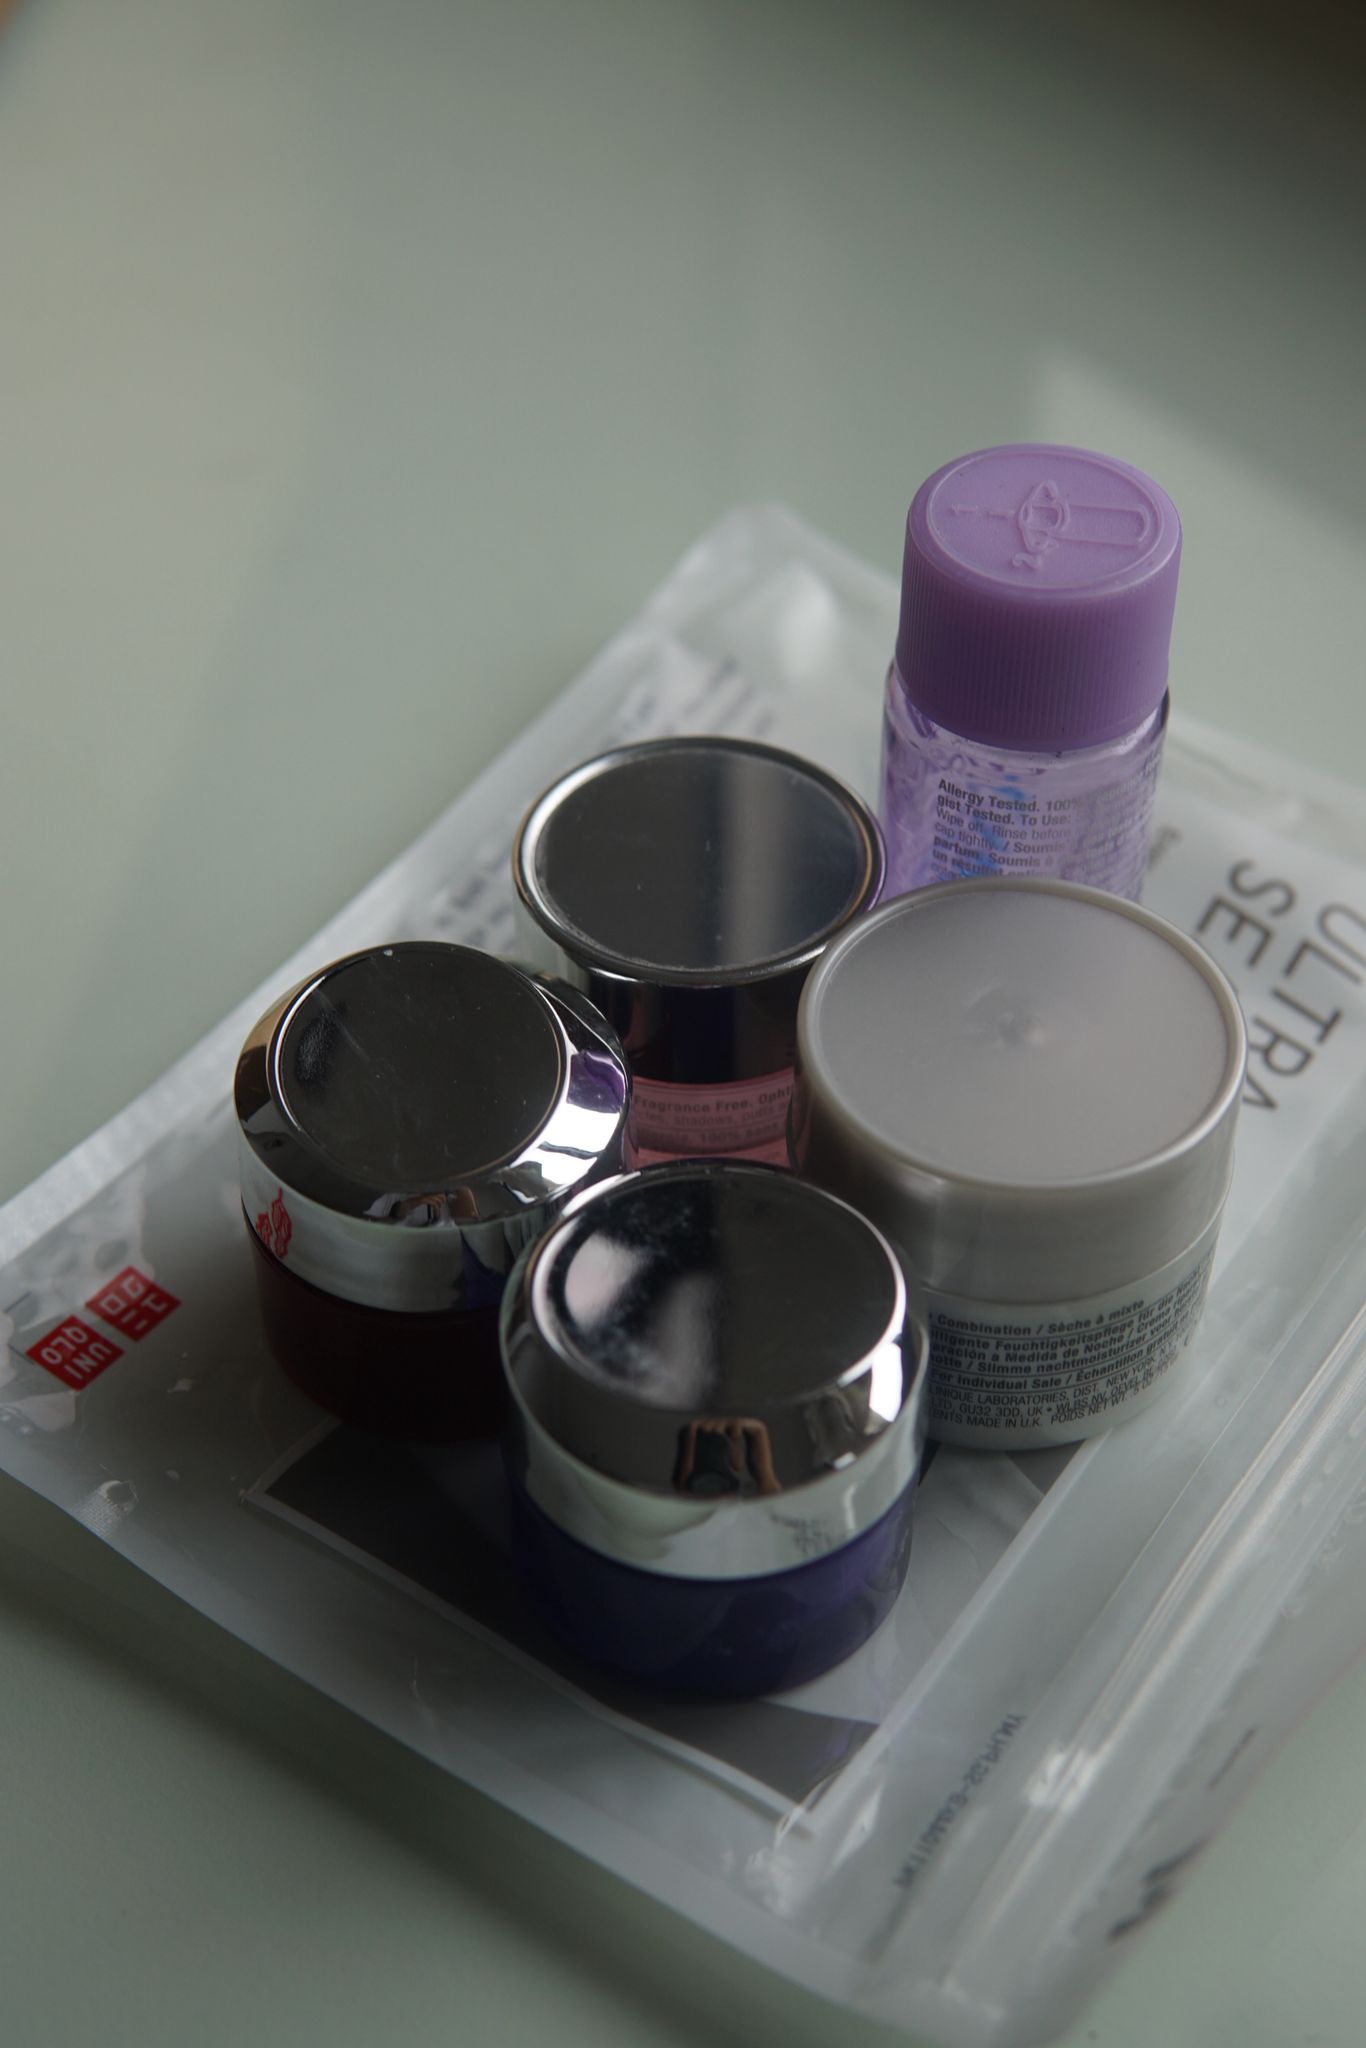
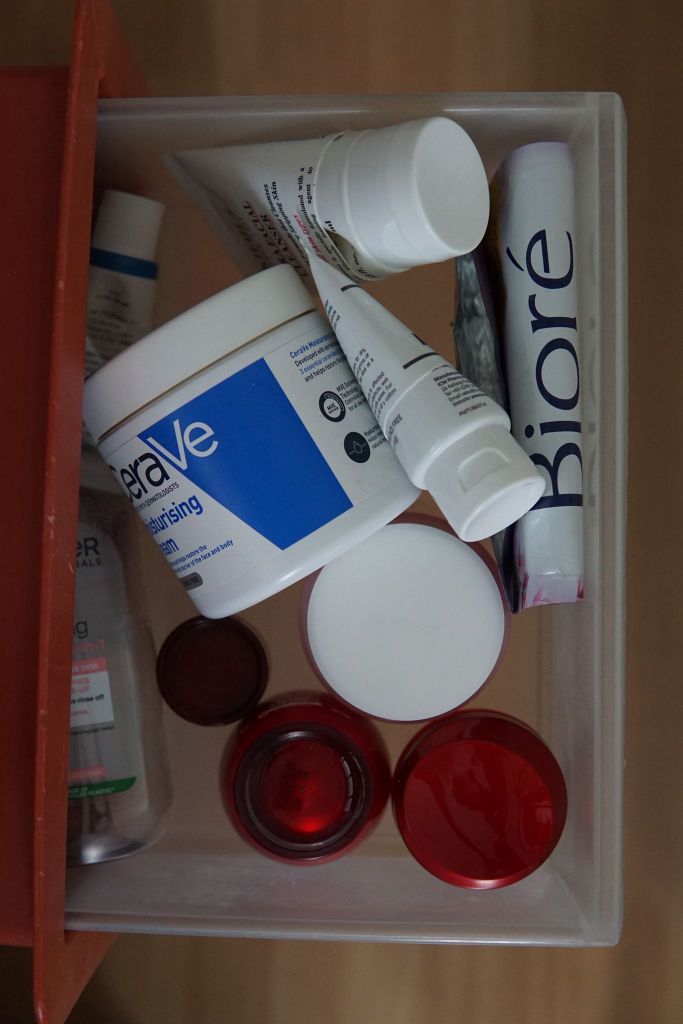
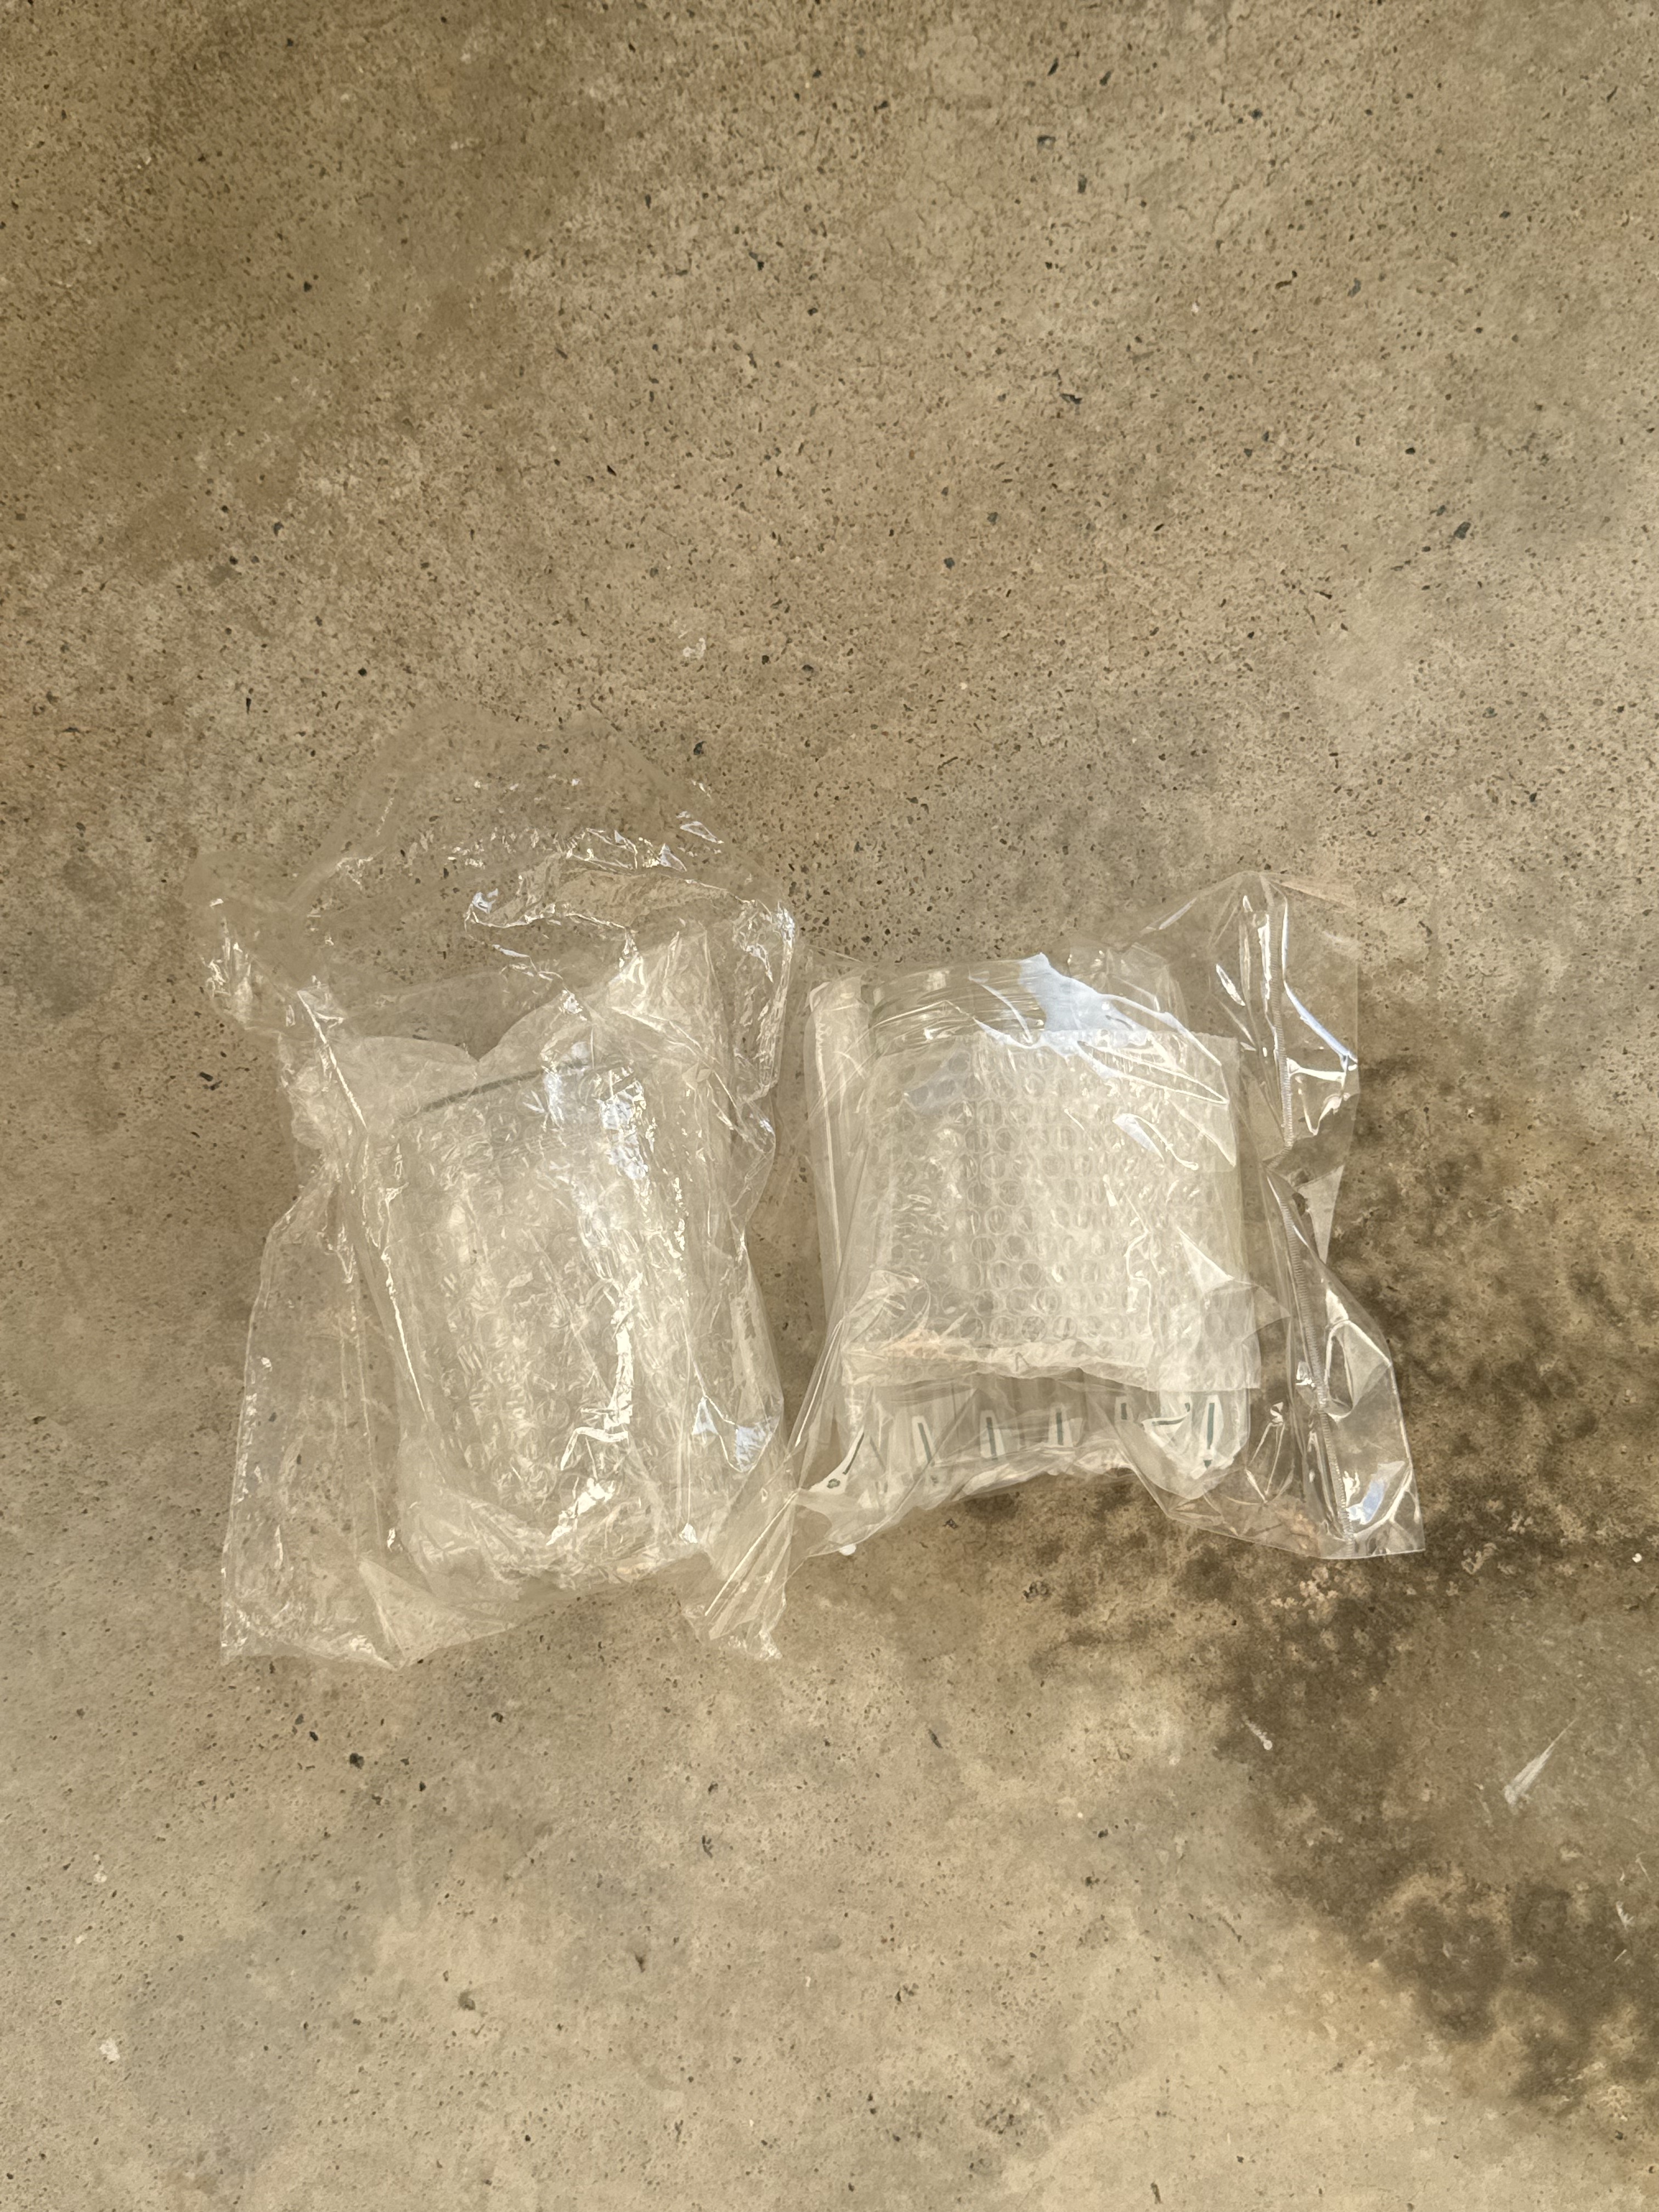
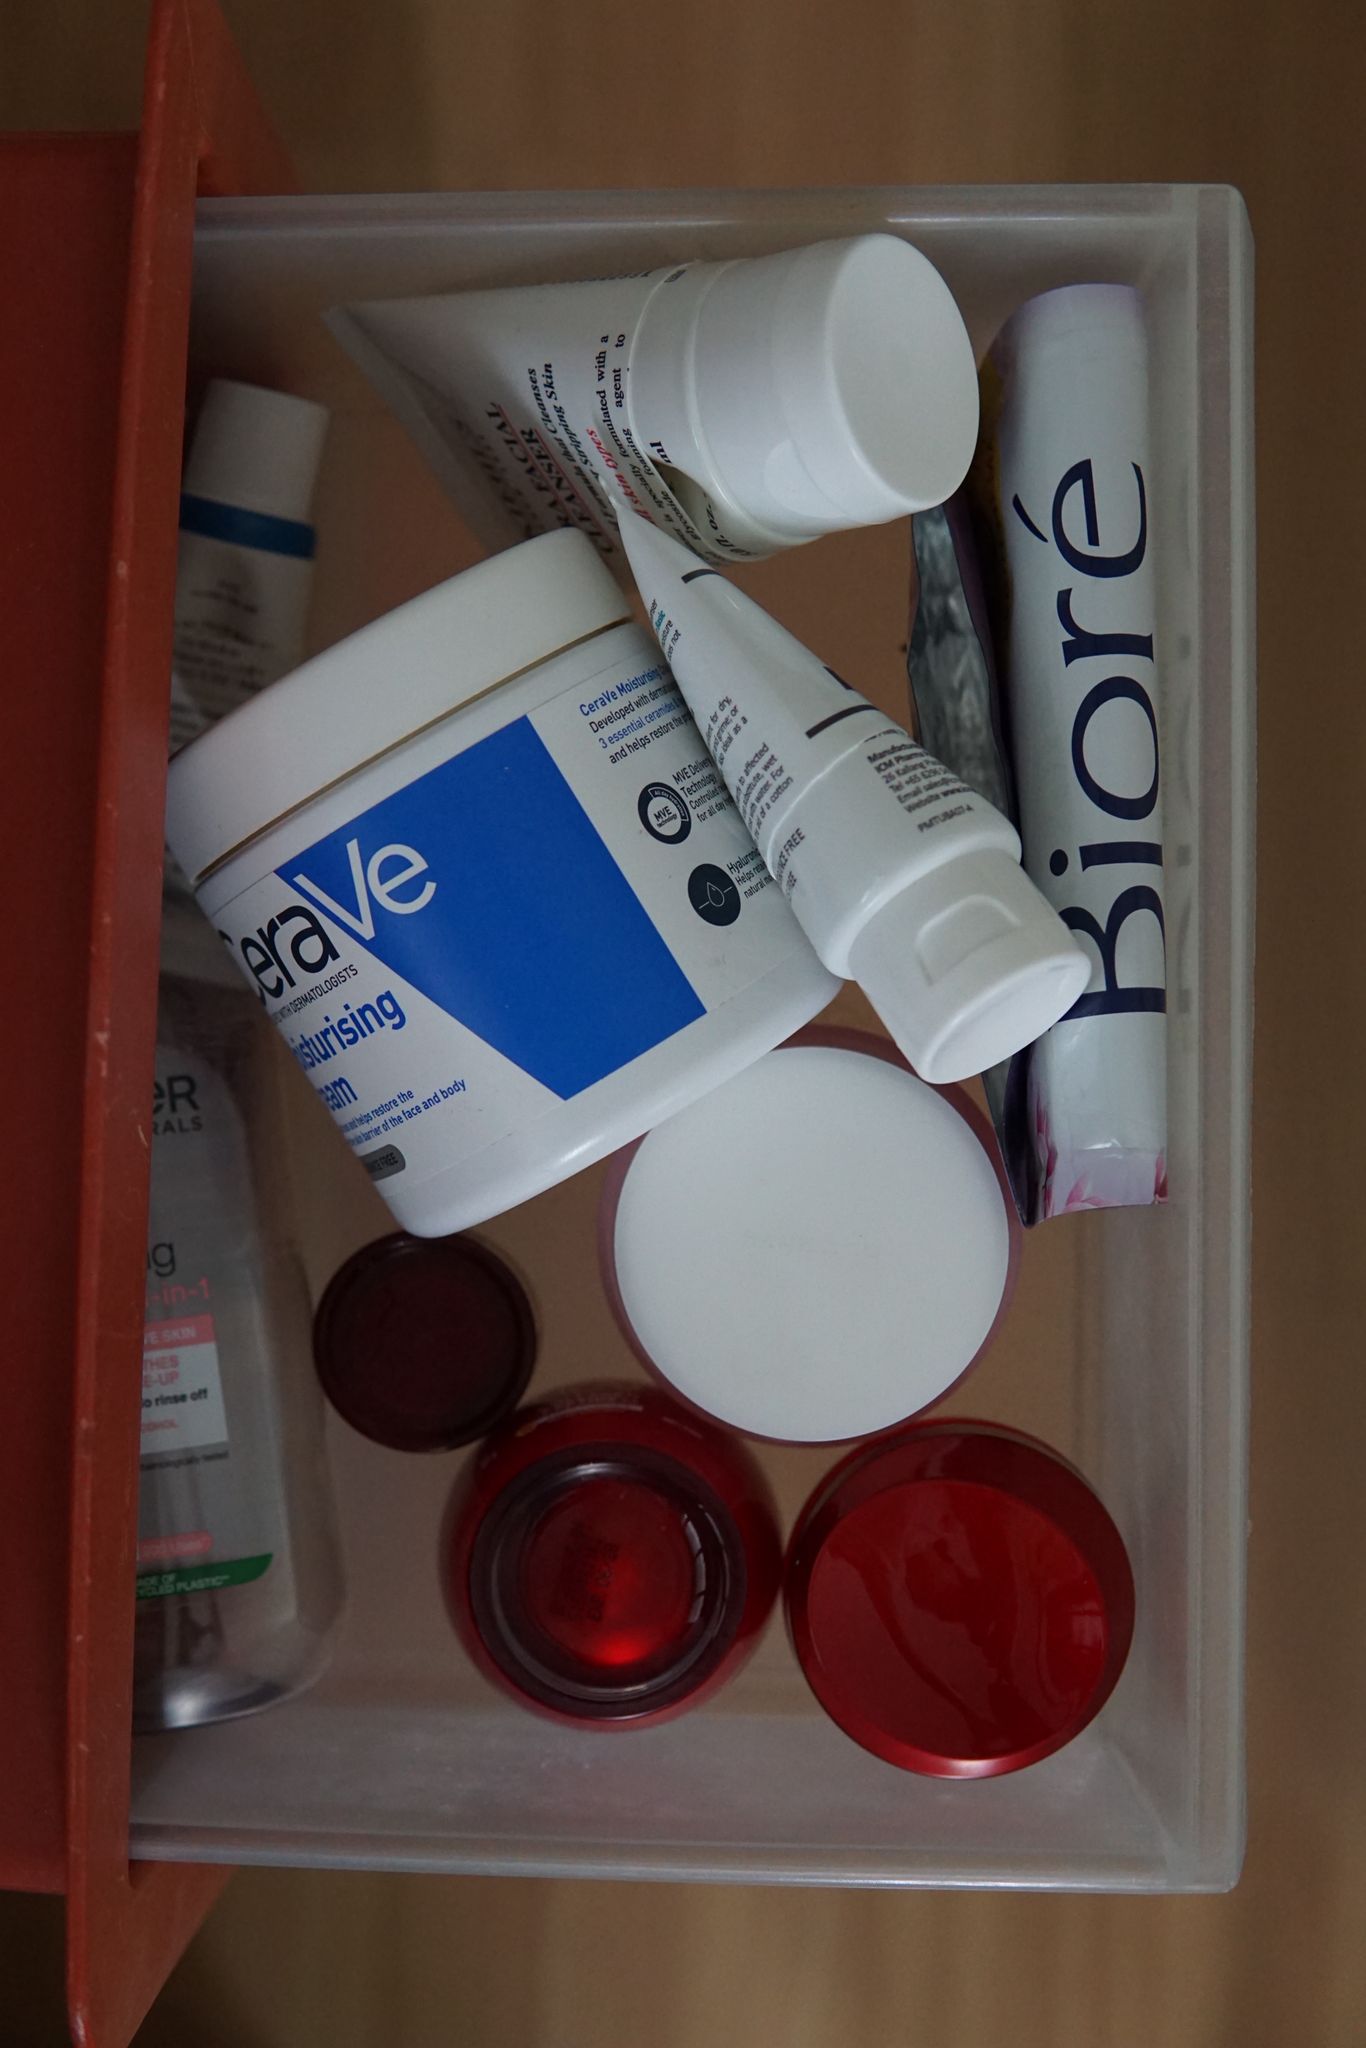
Old beauty empties in the right size and shape, tucked into a Uniqlo ziplock bag that would have been tossed anyway. My entire travel toiletries kit, assembled from things I almost recycled.
A LESS CONVENIENT WAY TO RECYCLE?
Recently, residents of Tiong Bahru initiated a three-month trial to remove blue bins from their estate, impacting 1,200 households. The idea was to push residents toward more deliberate recycling habits – using dedicated collection points where sorting is more controlled, and contamination is less likely.
Inconvenient? Yes, recycling is no longer something you can easily do below your flat at any time of the day. But if it works, it means more waste actually makes it back into the loop rather than ending up incinerated alongside a greasy takeaway container someone dropped in the wrong bin.
I am not a Tiong Bahru resident. While waiting for such an initiative to reach my estate, here are some of my “not-so-convenient” ways to recycle common items:
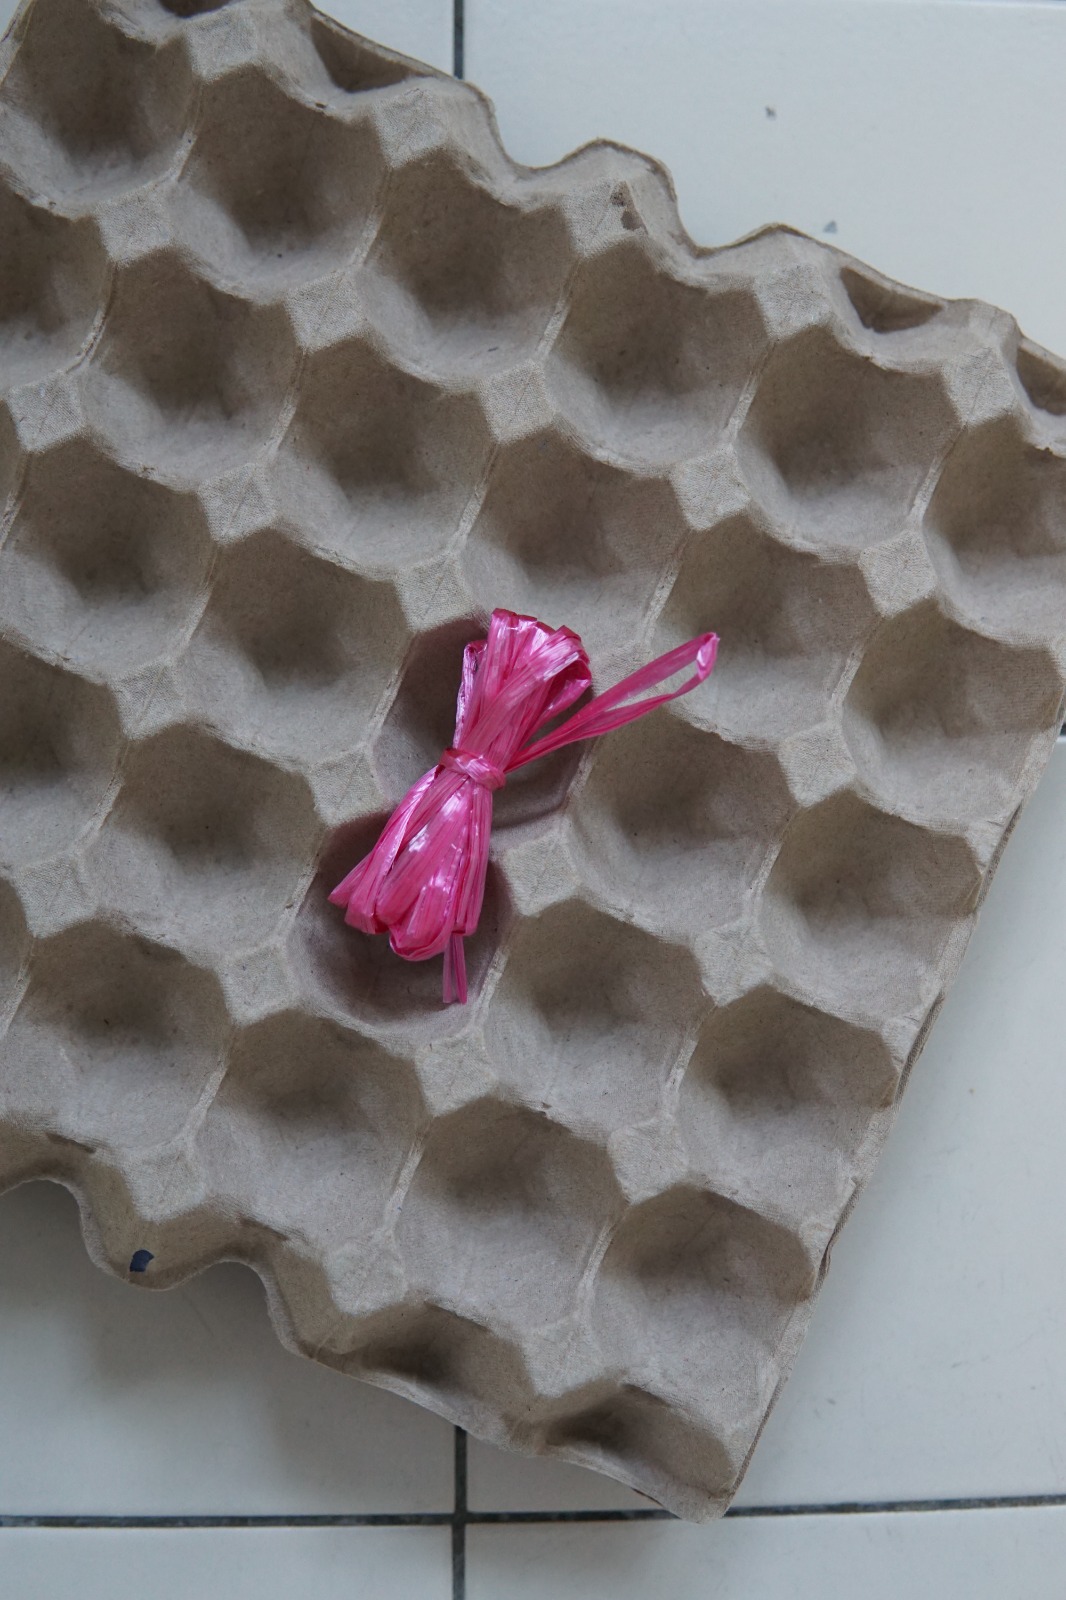
Returning egg cartons to the seller at the wet market. They reuse it as-is. No pulping, no reprocessing, no energy spent turning it back into something else.
Every third Sunday of the month is Tzu Chi Environmental Sustainability Day. The public is welcome to drop off recyclables from 9am to noon at their “Eco Points” set up in various neighbourhood estates.
Acceptable items include:
Paper: waste paper, envelope, book, newspaper, magazine, cardboard, carton box
Aluminium: aluminium can
Metals: metal can
Hardware: copper, bronze, stainless steel, metal parts
Electrical appliances (Non-regulated items): electrical fan, rice cooker, DVD player, microwave, camera, vacuum cleaner, soundbar, blender
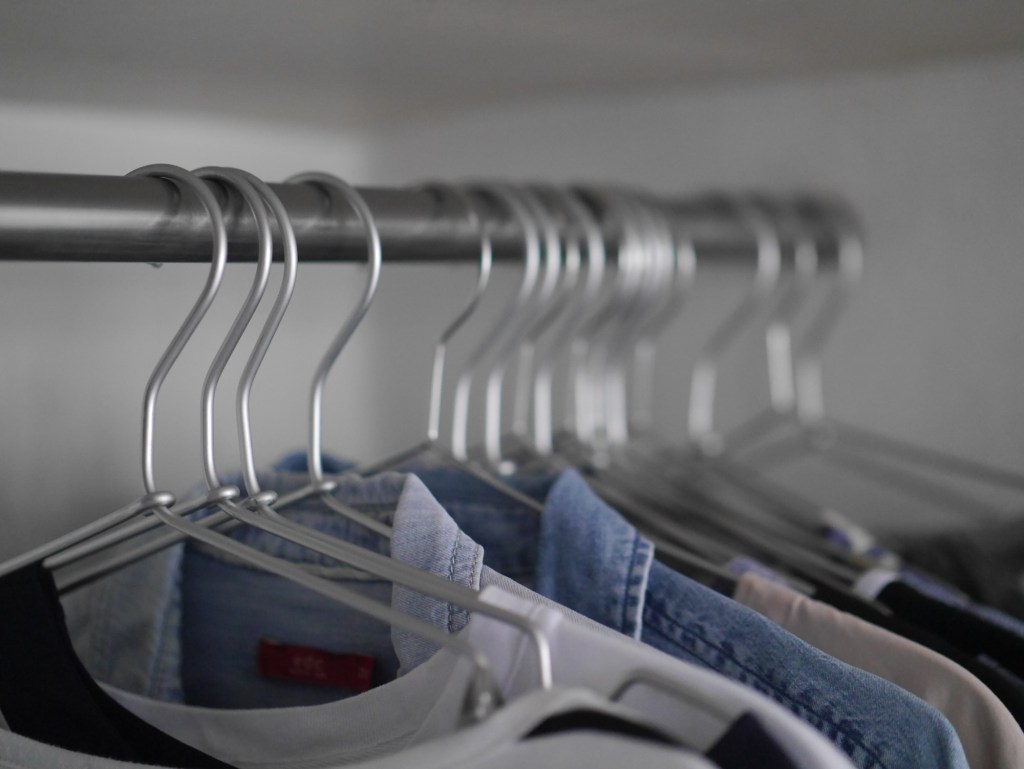
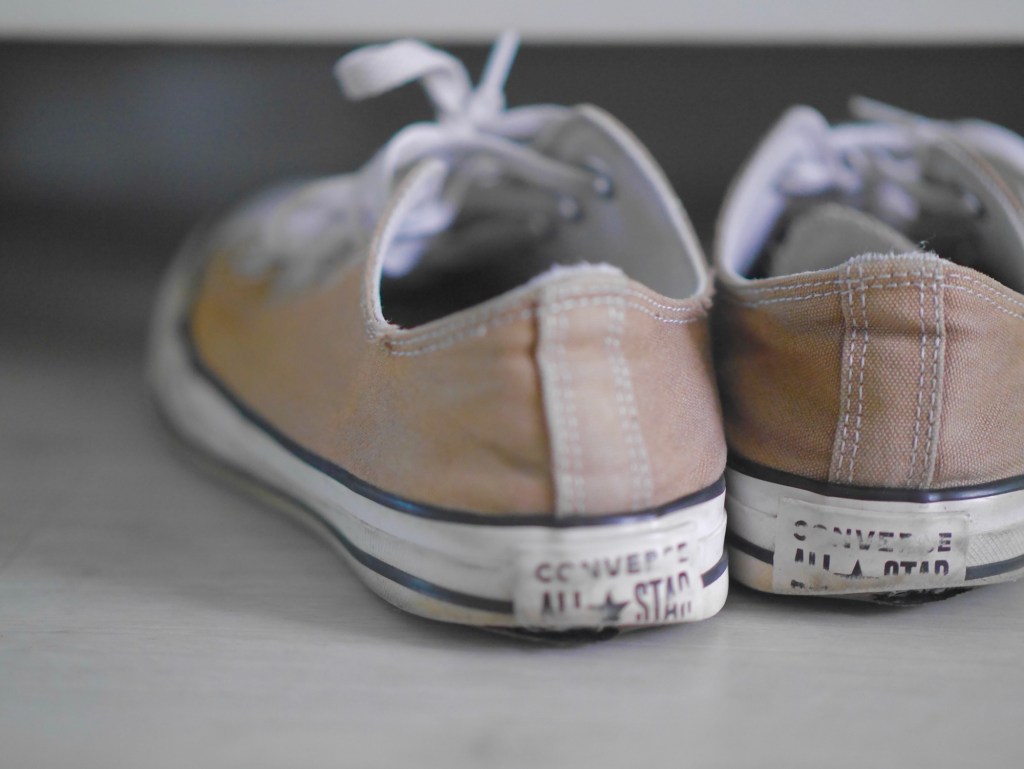
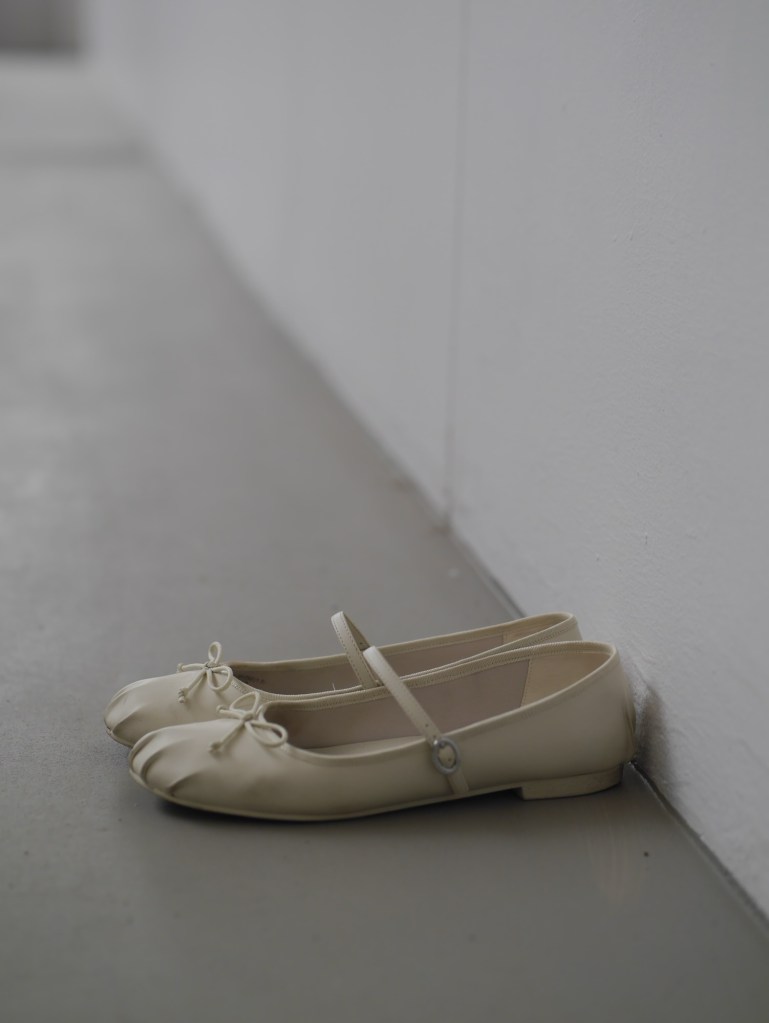
Clothing: shirt, pants, belt, handbag, shoes, backpack
Glass: glass bottle, container
Funds raised from selling these recyclables are channelled into running Tzu Chi’s programmes, which makes this truly a way to turn “trash” into gold.
Recycling my beauty empties with L’OCCITANE’s Big Little Things programme. I like that they impose strict rules on accepting only clean and dry containers – that’s how recycling should be carried out! Check out their list of acceptable recyclables – they accept any brands and would provide their travel-size products as rewards for recycling efforts.
Most of our recyclables are sent overseas for processing, so I was surprised to discover Refind in Singapore, founded by a glass artist B. Jane Cowie, that tackles a growing glass waste problem through workshops and collaborations. They currently accept brown, green and clear glasses at their studio located at The Yard, 406 Joo Chiat Pl #01-22 S428084.
Package Pals gives used bubble wrap, polymailers, and padded envelopes a second life by reselling them to businesses that support circular packaging. They have a 24/7 drop-off rack at Our Tampines Hub. Find out more about their donation guidelines.
Recycling should always be the last resort. Reducing waste and reusing what we already have are more effective. Bring your own containers for takeaway. Carry a reusable shopping bag. None of these closes a recycling loop – they avoid creating one in the first place.
Before the bin, there’s always another question to ask. Can this still be used in another way? There’s a lot more life in the things we own than we think, and that’s how we leave a little less behind for the next generation to inherit.