Roasted Cherry Tomatoes

roasted cherry tomatoes001Roast Cherry Tomatoes 002 Roast Cherry Tomatoes 003 Roast Cherry Tomatoes 004

These cherry tomatoes are roasted in my humble toaster oven.  For small serving recipes that don’t require much precision in the temperature, my toaster oven is more than adequate to do the job.   It takes a shorter time to heat up, and if it gets too hot before the timer goes off, I simply be my own “manual temperature control” and turn off the main switch to cool things down a bit.

But for ingredients as juicy as these tomatoes, there’s really no need to worry about them getting burnt even when I turn the timer dial to 20 minutes at one go.

Usually I will use these roasted tomatoes for my pasta dishes.  On this particular day, I made bruschetta to clear out some old bread.


ROASTED CHERRY TOMATOES
INGREDIENTS :
- 1 small bag of cherry tomatoes
- olive oil
- salt
- black pepper
- 1 sprig of fresh rosemary
- 4 cloves of garlic, bruised with skin intact
- 2 cloves of garlic, minced

INSTRUCTIONS :

01. Toss all the ingredients in an oven-proof dish or toaster pan.
02. Spread the tomatoes out on the dish.
03. Pop the dish into the toaster oven
04. Set the timer dial to 20 minutes, or cook until the tomatoes turn soft.


++ NOTES TO SELF ++
///
Drizzle just enough olive oil to coat the tomatoes.
///
The small amount of garlic + herb infused olive oil that settles at the bottom of the dish after cooking is great for drizzling on single serve salads or pasta too.
///

Chinese Chicken Potato Stew

basicchickenstew001 basicchickenstew002

My version of chicken stew has more vegetables than meat.  Actually, it is more of a potato stew.  The kids love their potatoes.  If preparing for serious carnivores, top up more meat.  I honestly think that the amount of meat here is pathetic, but I also hate to have leftovers.

Stews are particularly great to make for Friday dinners; using whatever is left in the fridge, empty it out and start a brand new week with fresh stock of groceries.  The base ingredients are carrots, potatoes and chicken meat.  I have also tried clearing celery, firm tofu, zucchini and lotus roots with this dish, they tweak the taste of the finished product slightly, but all in a nice way.

On this particular day, I happened to have some shitake mushrooms.  So into the stew they go.


BASIC CHICKEN STEW
INGREDIENTS :
- 1 chicken breast, chopped into bite size
- 4 medium potatoes, peel + cut into cubes
- 1/2 small carrot, peel + cut into cubes
- 4 shitake mushrooms, wash + chop into quarters
- 3 cloves garlic, chopped finely
- 2 tablespoons cooking oil
- 2 cup hot water
- 1.5 tablespoon light soy sauce
- 2 tablespoon oyster sauce
- dash of pepper + sesame oil, to taste
- for garnish: green portion of spring onion, chopped

INSTRUCTIONS

01. Heat up a french oven over medium fire, pour in the oil and fry chopped garlic until fragrant.
02. Add in the chicken breast meat, and cook until they turn white and opaque.
03. Add in chopped potatoes and carrots, stir fry for about 1 minute.
04. Pour in the soy sauce and oyster sauce, and mix the sauce with the ingredients well with a large spoon.
05. Add in the hot water, and bring to a rolling boil.
06. Reduce heat to low, cover the french oven and let simmer for about 30 minutes, or until the water is reduced to a thick gravy.
07. 5 minutes before turning off the fire, sprinkle the shitake mushrooms on top and let the steam cook the mushroom.*
08. Turn off heat, add a dash of pepper and sesame oil, garnish with chopped spring onions, serve immediately.


++ NOTES TO SELF ++
///

Fresh shitake mushrooms shrink to an impossible size during simmering. So I only add them towards the end of cooking, usually 5 minutes before the stew is done.
///

Simple Tossed E-Fu Noodles

simpletossednoodles001 simpletossednoodles002 simpletossednoodles003

The pantry drawer is getting a little crowded with 4 different types of noodles.  And so my little noodle project started, just to clear them all before getting new stocks.

This is another one of my favorite “almost-instant” noodle.  Takes me less than 20 minutes to get everything ready.

I braised these E-Fu noodles with sliced canned button mushrooms in the pot, but sauteed the the asparagus and carrots separately.  The vegetables are then topped on the noodles upon serving.  Final step : just toss and eat.


SIMPLE TOSSED E-FU NOODLES
INGREDIENTS :
- 2 balls of dried E-Fu noodles, about 50g each
- 4 button mushrooms (canned type), sliced thinly
- 1 tablespoon oyster sauce
- 200ml water
- 15-20 stalks of thin asparagus, wash + trim off end
- 1/2 carrot, julienned
- 1 tablespoon of cooking oil
- pepper, to taste
- sesame oil, to taste
- For garnish : chopped spring onions

INSTRUCTIONS :

01. Mix oyster sauce with water in a small pot and bring to boil.
02. Add in the noodles, and stir occasionally to loosen it up.  The water level should just cover the noodles.
03. Add in the sliced mushrooms, turn down the fire and simmer.
04. Stir occasionally to prevent the noodles from burning at the bottom of the pot.
05. Turn off the fire when almost all the liquid is absorbed by the noodles.
06. In a skillet, heat up half a tablespoon of oil over medium fire.  Add asparagus and cook for about 30 seconds.  Add 1 teaspoon of water into the skillet and give it a stir.*
05. Transfer the cooked asparagus onto a plate, set aside.
06. Wipe off any remaining gravy/liquid from the skillet with a clean dry rag / paper towel.  Repeat cooking with the julienned carrots.
07. Arrange the asparagus and carrots on the noodles.
08. Add a dash of pepper and sesame oil, garnish with chopped spring onions.
09. Serve immediately.


++ NOTES TO SELF ++
///

* The steam from the water will cook through the asparagus nicely leaving a crunchy bite, instead of turning soggy from over cooking.
I use this method all the time to prevent my vegetables from over cooking, while retaining their bright colors.

///
The brand of E-fu noodles i used is salty enough for my taste, so I did not add any salt or soy sauce.
Adjust to taste with soy sauce if other brands are more bland.

///

Blueberry Semifreddo Ice Cream

semifreddoberryicecream002semifreddoberryicecream003

These were made about 2 months back on the spur of the moment, when I found all the ingredients ready in my kitchen.  Once done, I made no efforts whatsoever to note the recipe source, except that it was a cooking blog that I follow.  Big mistake, I follow like 1000+ cooking blogs plus mine.

Within a week, the webpage link to the recipe on my internet browser was taken over many times by other delicious links.  I finally realized that I had lost the source, when the “back” button on my browser never landed me correctly on the recipe page.  I am suspecting that the browser had probably crashed during one of the days, and the link disappeared, along with many others that I never had the chance to try out.

I vaguely remembered that I made it with banana, coconut and blueberries.  Turned out the original recipe called for strawberries.  No wonder google could not help.

The hero this time? My Pinterest account.  Unknowingly, I had saved the page all along; the surf and pin action has become so natural that I am unaware of it.  This episode of the information/recipe overload is bound to repeat itself.  And as I am typing this, I have 9 other tabs opened : wondering what to cook for dinner tonight and next week, where to visit over the coming long weekend, which chocolate cake look more enticing : this or this?

In the meantime, I am just glad that I have started this little digital journal for my projects and recipes.  Now if only I spend more time typing them out.  I still have some photos of a simple roast potato dish and a DIY staycation idea in my SD card.  The potato recipe is still somewhere to be dug out, while long weekends that would have suited the staycation article I have in mind, have come and gone.  Maybe I should make a note on these 2 first, before I start surfing for more inspirations.

And here’s the ice cream recipe that was lost and found.


RECIPE : BLUEBERRY SEMIFREDDO ICE CREAM
Adapted from here
INGREDIENTS  :
- 1/2 cup frozen blueberries
- 1 large banana, ripe
- 1 - 2 tablespoon honey, depending on the sweetness of the banana
- 1 tablespoon lemon juice
- 1 can coconut cream (13oz/384ml), chilled overnight
- 1 teaspoon vanilla extract

INSTRUCTIONS :

01. Puree the blueberries, banana, honey and lemon juice in a blender till smooth.
02. Scoop out chilled coconut cream into a large bowl, and whisk till fluffy.
03. Mix in vanilla extract.
04. Fold in the fruit puree.  It doesn’t need to be well mixed.
05. Pour into a container, cover with foil, and freeze till set.

Walnut Wholemeal Bread

walnutwholewheatbread001 walnutwholewheatbread006 walnutwholewheatbread007 walnutwholewheatbread008 walnutwholewheatbread005

Unlike most home bread makers I know, my bread making routine did not take off well with a bread making machine.  The model I bought produced bread with a synthetic aroma that I couldn’t quite figure out what it was even till now.  As it was a discontinued model that went for a song, I had no after sales service to rely on.

For a while, I thought my recipes were wrong.  Yeast was not a familiar ingredient then.  I figured I had probably put in too much yeast, cos I could not pinpoint what other ingredient could attribute to that strange smell the whole time when the bread was in the machine.  After throwing about 5 loaves away, I gave up troubleshooting the recipe, and decided that yeast was just not my kind of ingredient. And along the way, concluded that bread making machines make strange smelling bread.

It was not until I got a mixer which came with the dough hook, that eventually turn me into an avid bread maker.  The breads I kneaded with the mixer and baked in the oven no longer emit that strange smell, so I could safely conclude that there was indeed something wrong with my bread machine.  Although I wished I could handle a dough from start to finish like this, the mixer made the task too easy, plus my hands are too warm to handle the dough.  A half machine homemade bread is still better than a factory produced one anyway.  No E-some-number ingredients. No Preservatives.  Just flour, salt, water and yeast.  Plus any ingredients that I like.

I am beginning to get too comfortable with this Champion’s Milk Toast recipe, so I started adapting it to bake a healthier wholemeal version.  My first not-so-successful attempt, to replace the bread flour completely with wholemeal flour, ended up with a super dense loaf.  So this time I tried with a plain flour and wholemeal flour mixture.

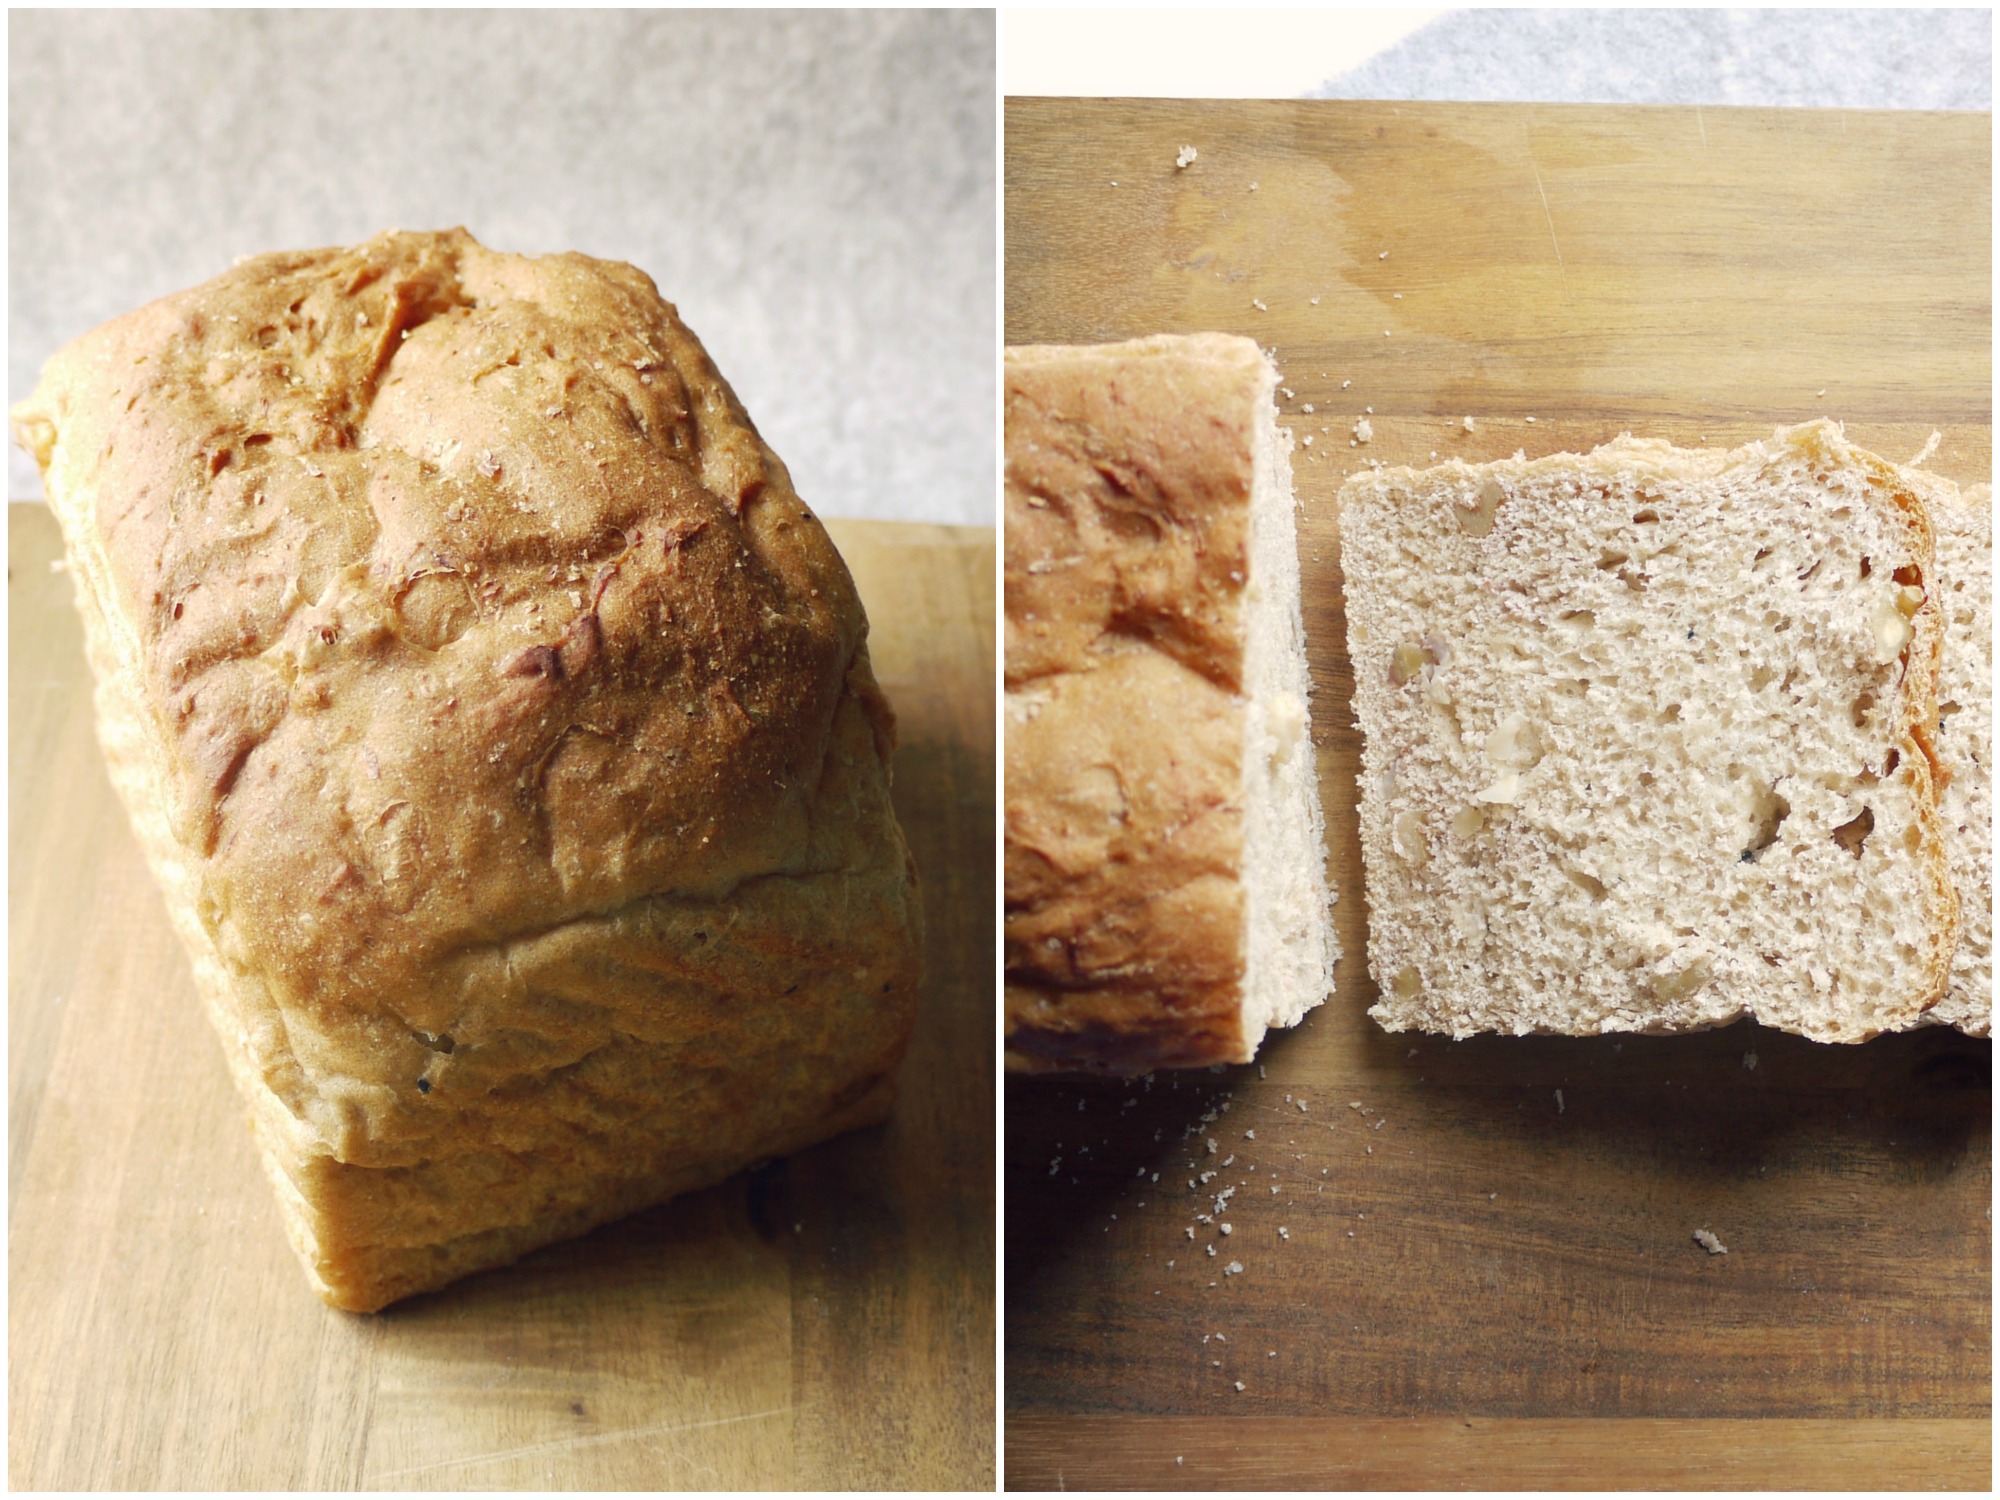
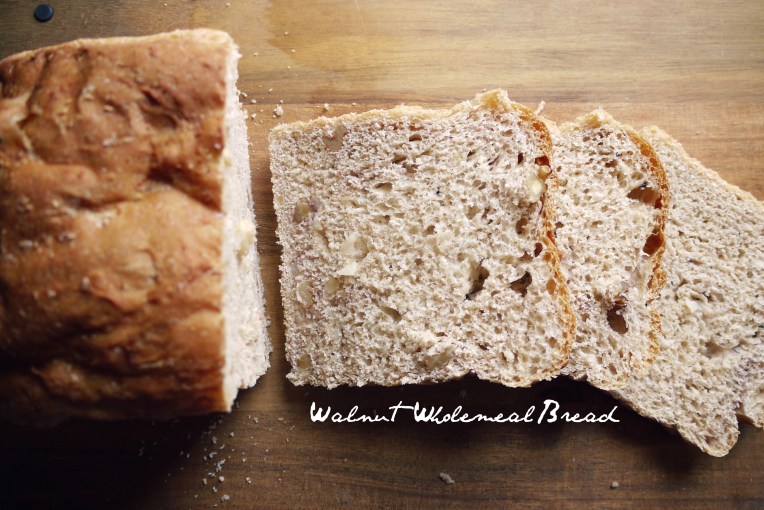
The first proof went well enough to encourage me to added some chopped walnuts into the dough during final shaping stage.  I decided not to use my usual “swiss roll” shaping method to create a neat looking loaf, but with this folding and sealing method instead.  The end result is a pretty rustic looking loaf of bread, that still maintains the fluffy texture of the original Champion’s Milk Toast.


WALNUT WHOLEMEAL BREAD
Adapted from here
INGREDIENTS :
- 150g plain flour or bread flour
- 150g wholemeal flour
- 24g fine sugar
- 1/2 teaspoon sea salt
- 135g water
- 69g fresh milk
- 3/4 teaspoon instant yeast
- 15g unsalted butter, cubed
- 30g walnut, roughly chopped

INSTRUCTIONS :

01. Put all ingredients, EXCEPT BUTTER & WALNUTS, in the  mixing bowl.
02. With a flat beater attachment, mix all ingredients at low speed (1 on my kitchenaid)
03. Change to a dough hook, and continue to knead the dough, adding cubed butter gradually.  Keep kneading till dough reached window pane stage.  You may increase the speed of the mixer to level 2 halfway when the dough starts to look stretchy and pulls away from the sides of the bowl.
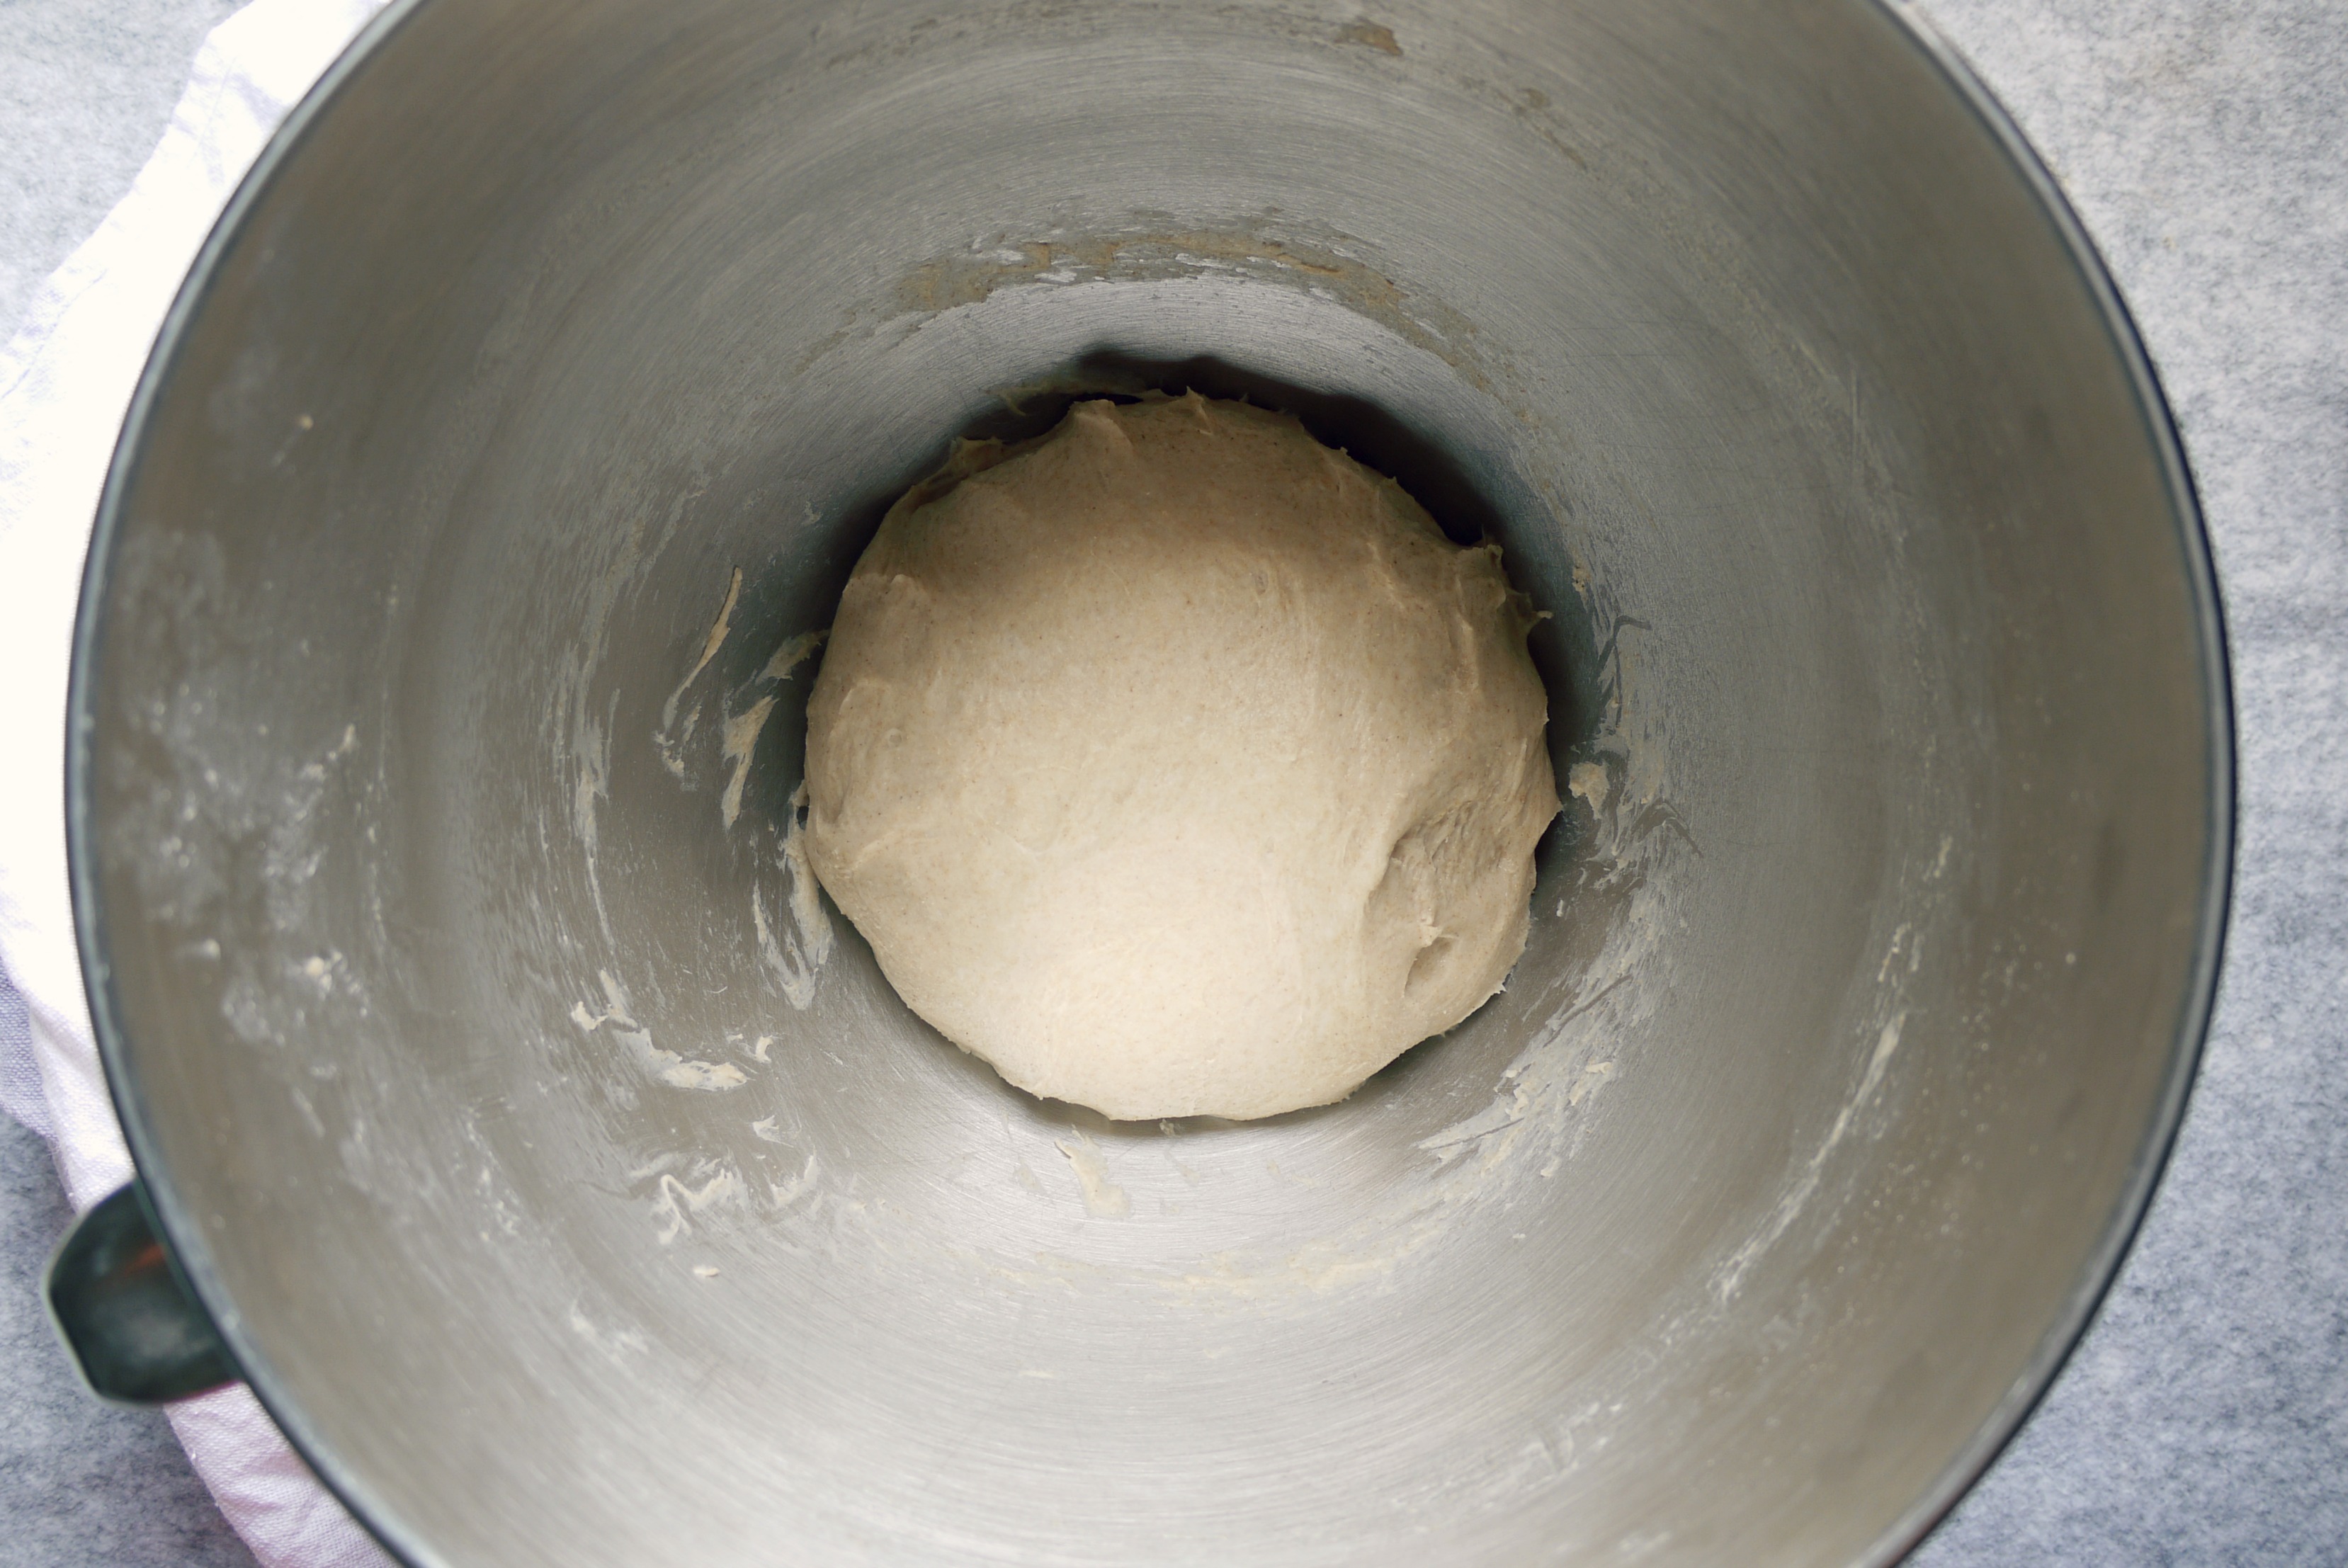
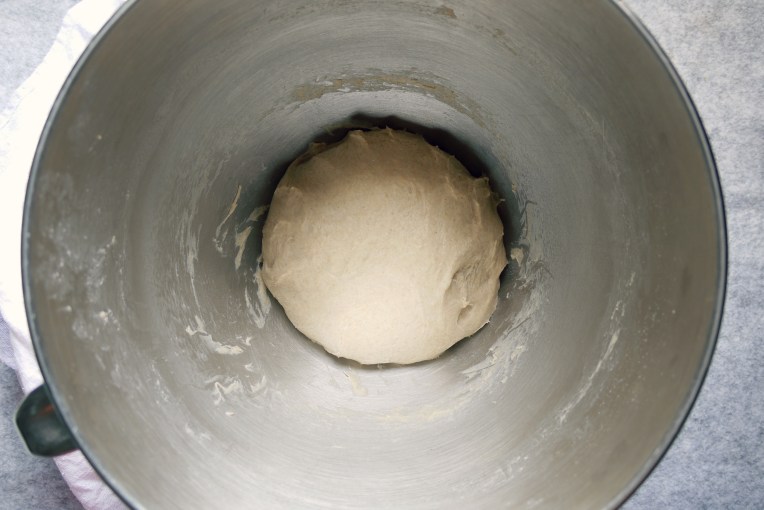
04. Remove the bowl from the mixer, grease working hand slightly with butter so that the dough won’t stick to fingers, loosely shape the dough into a ball*.
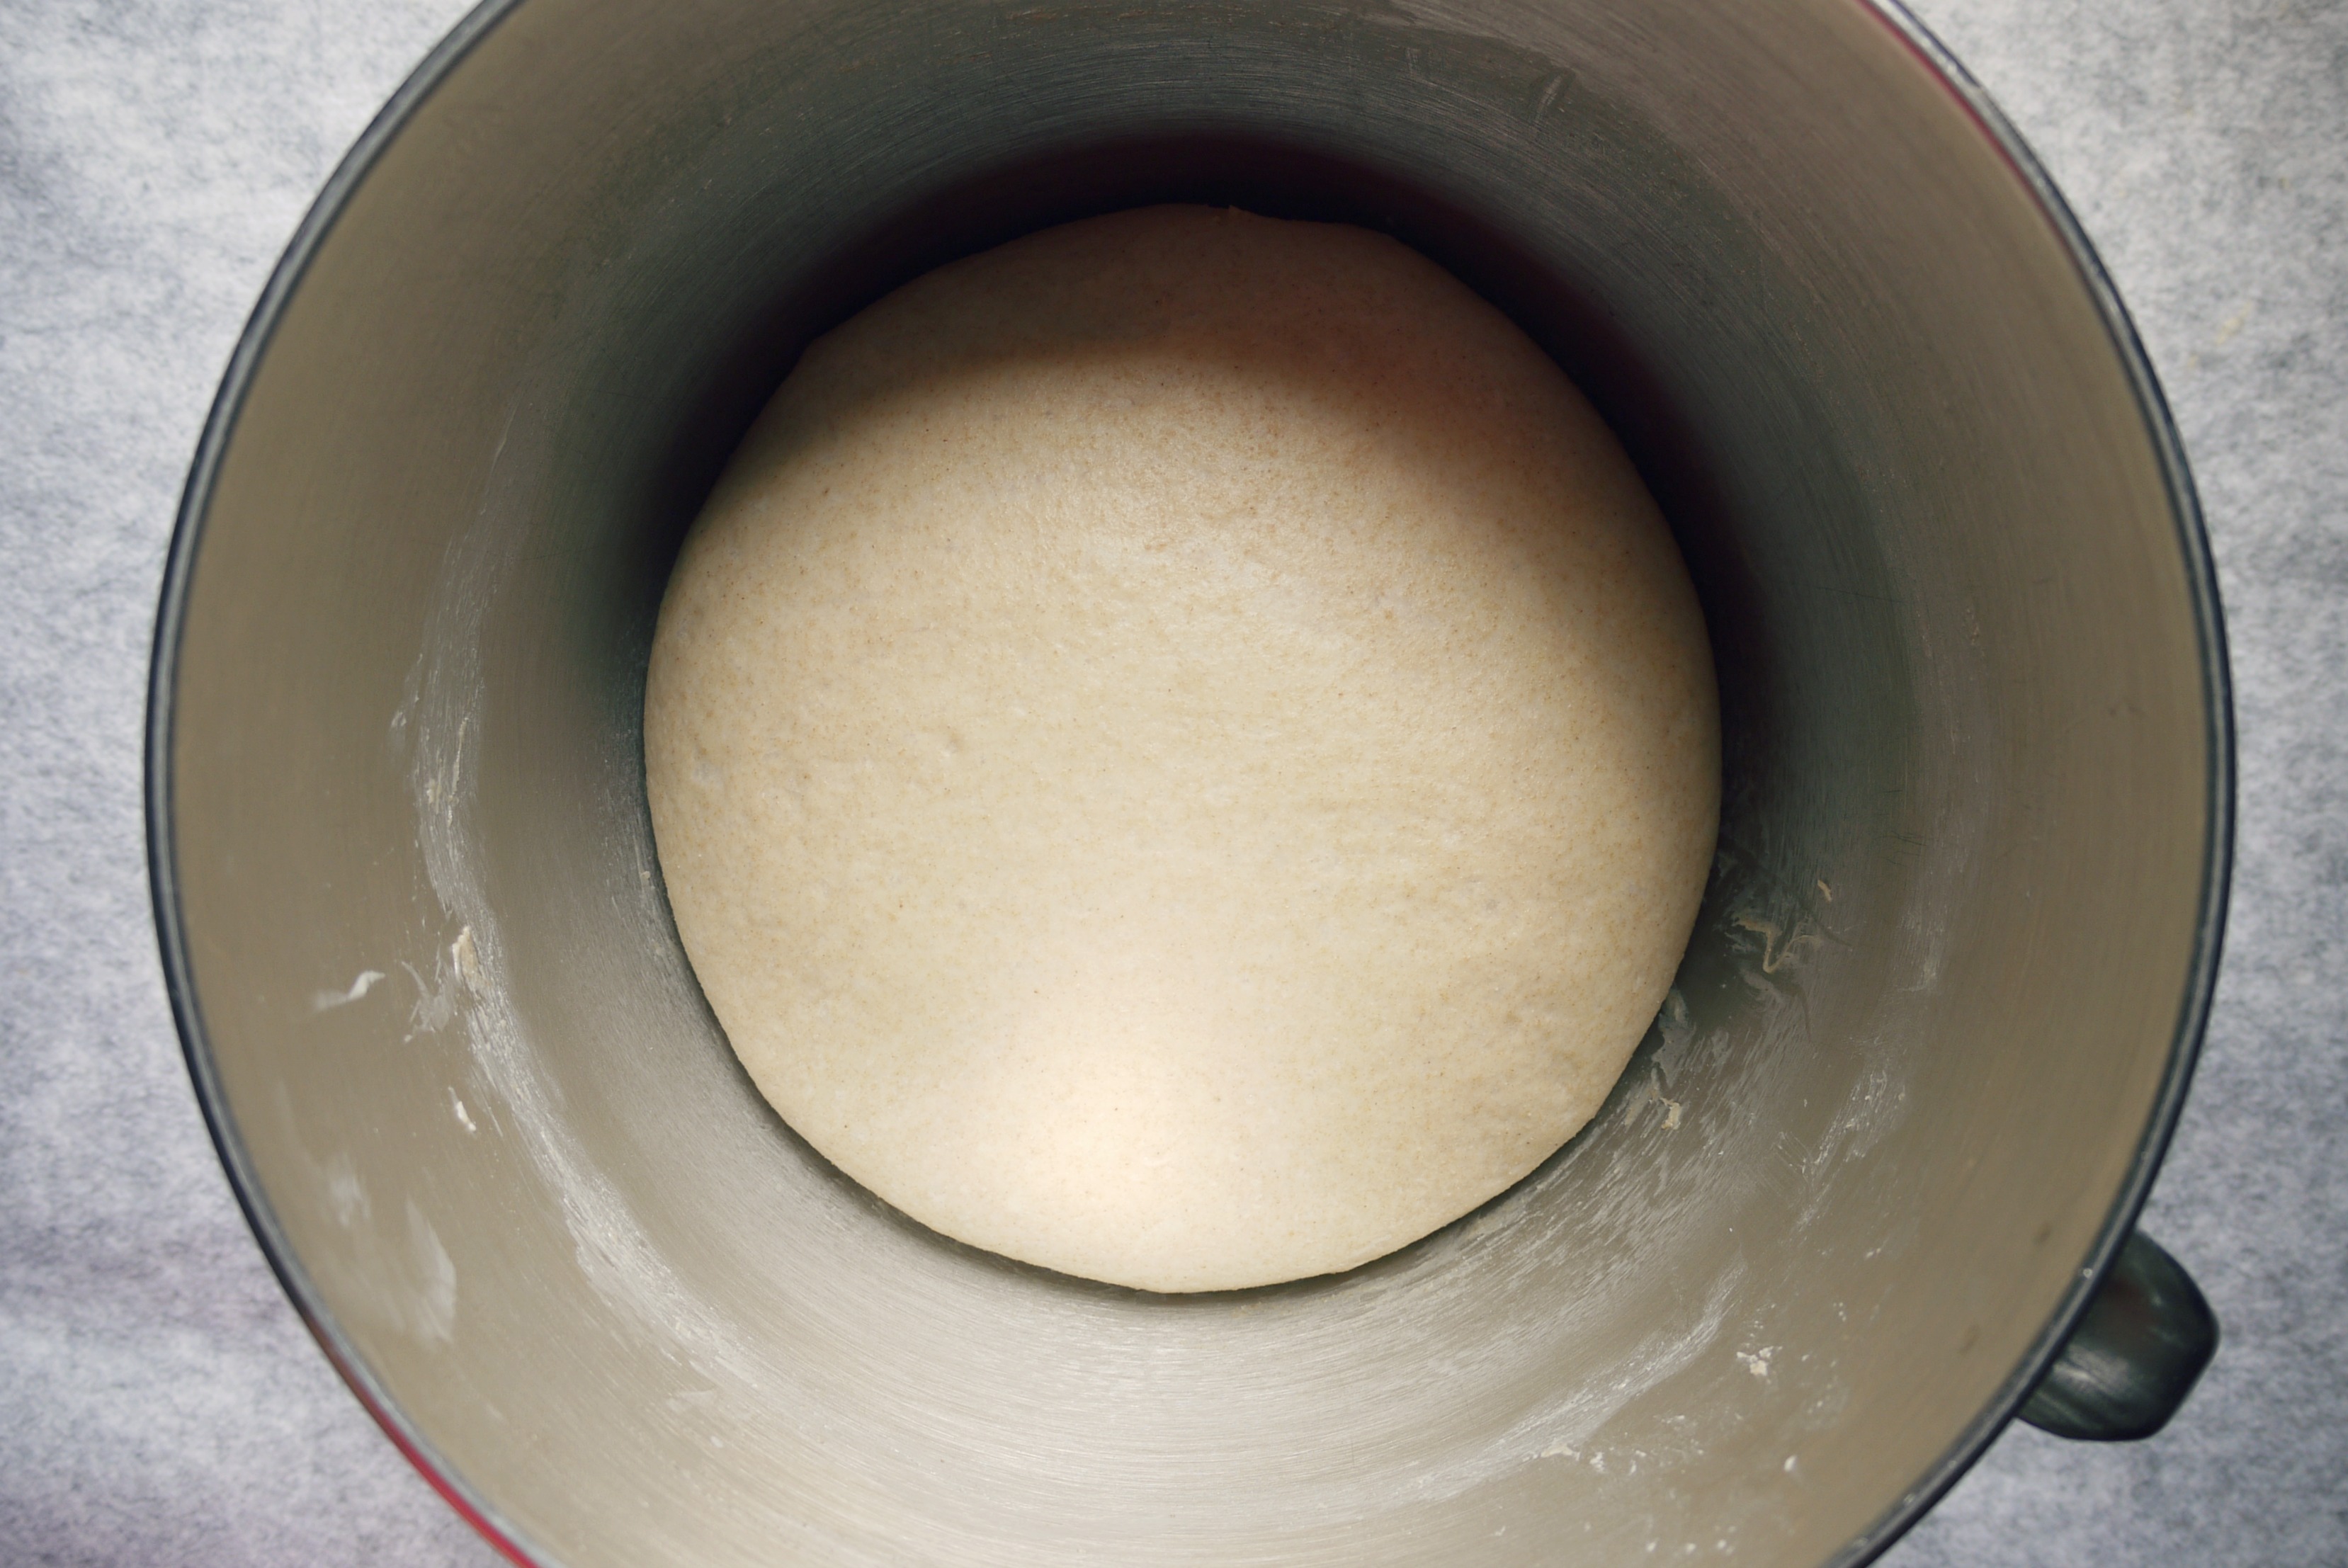
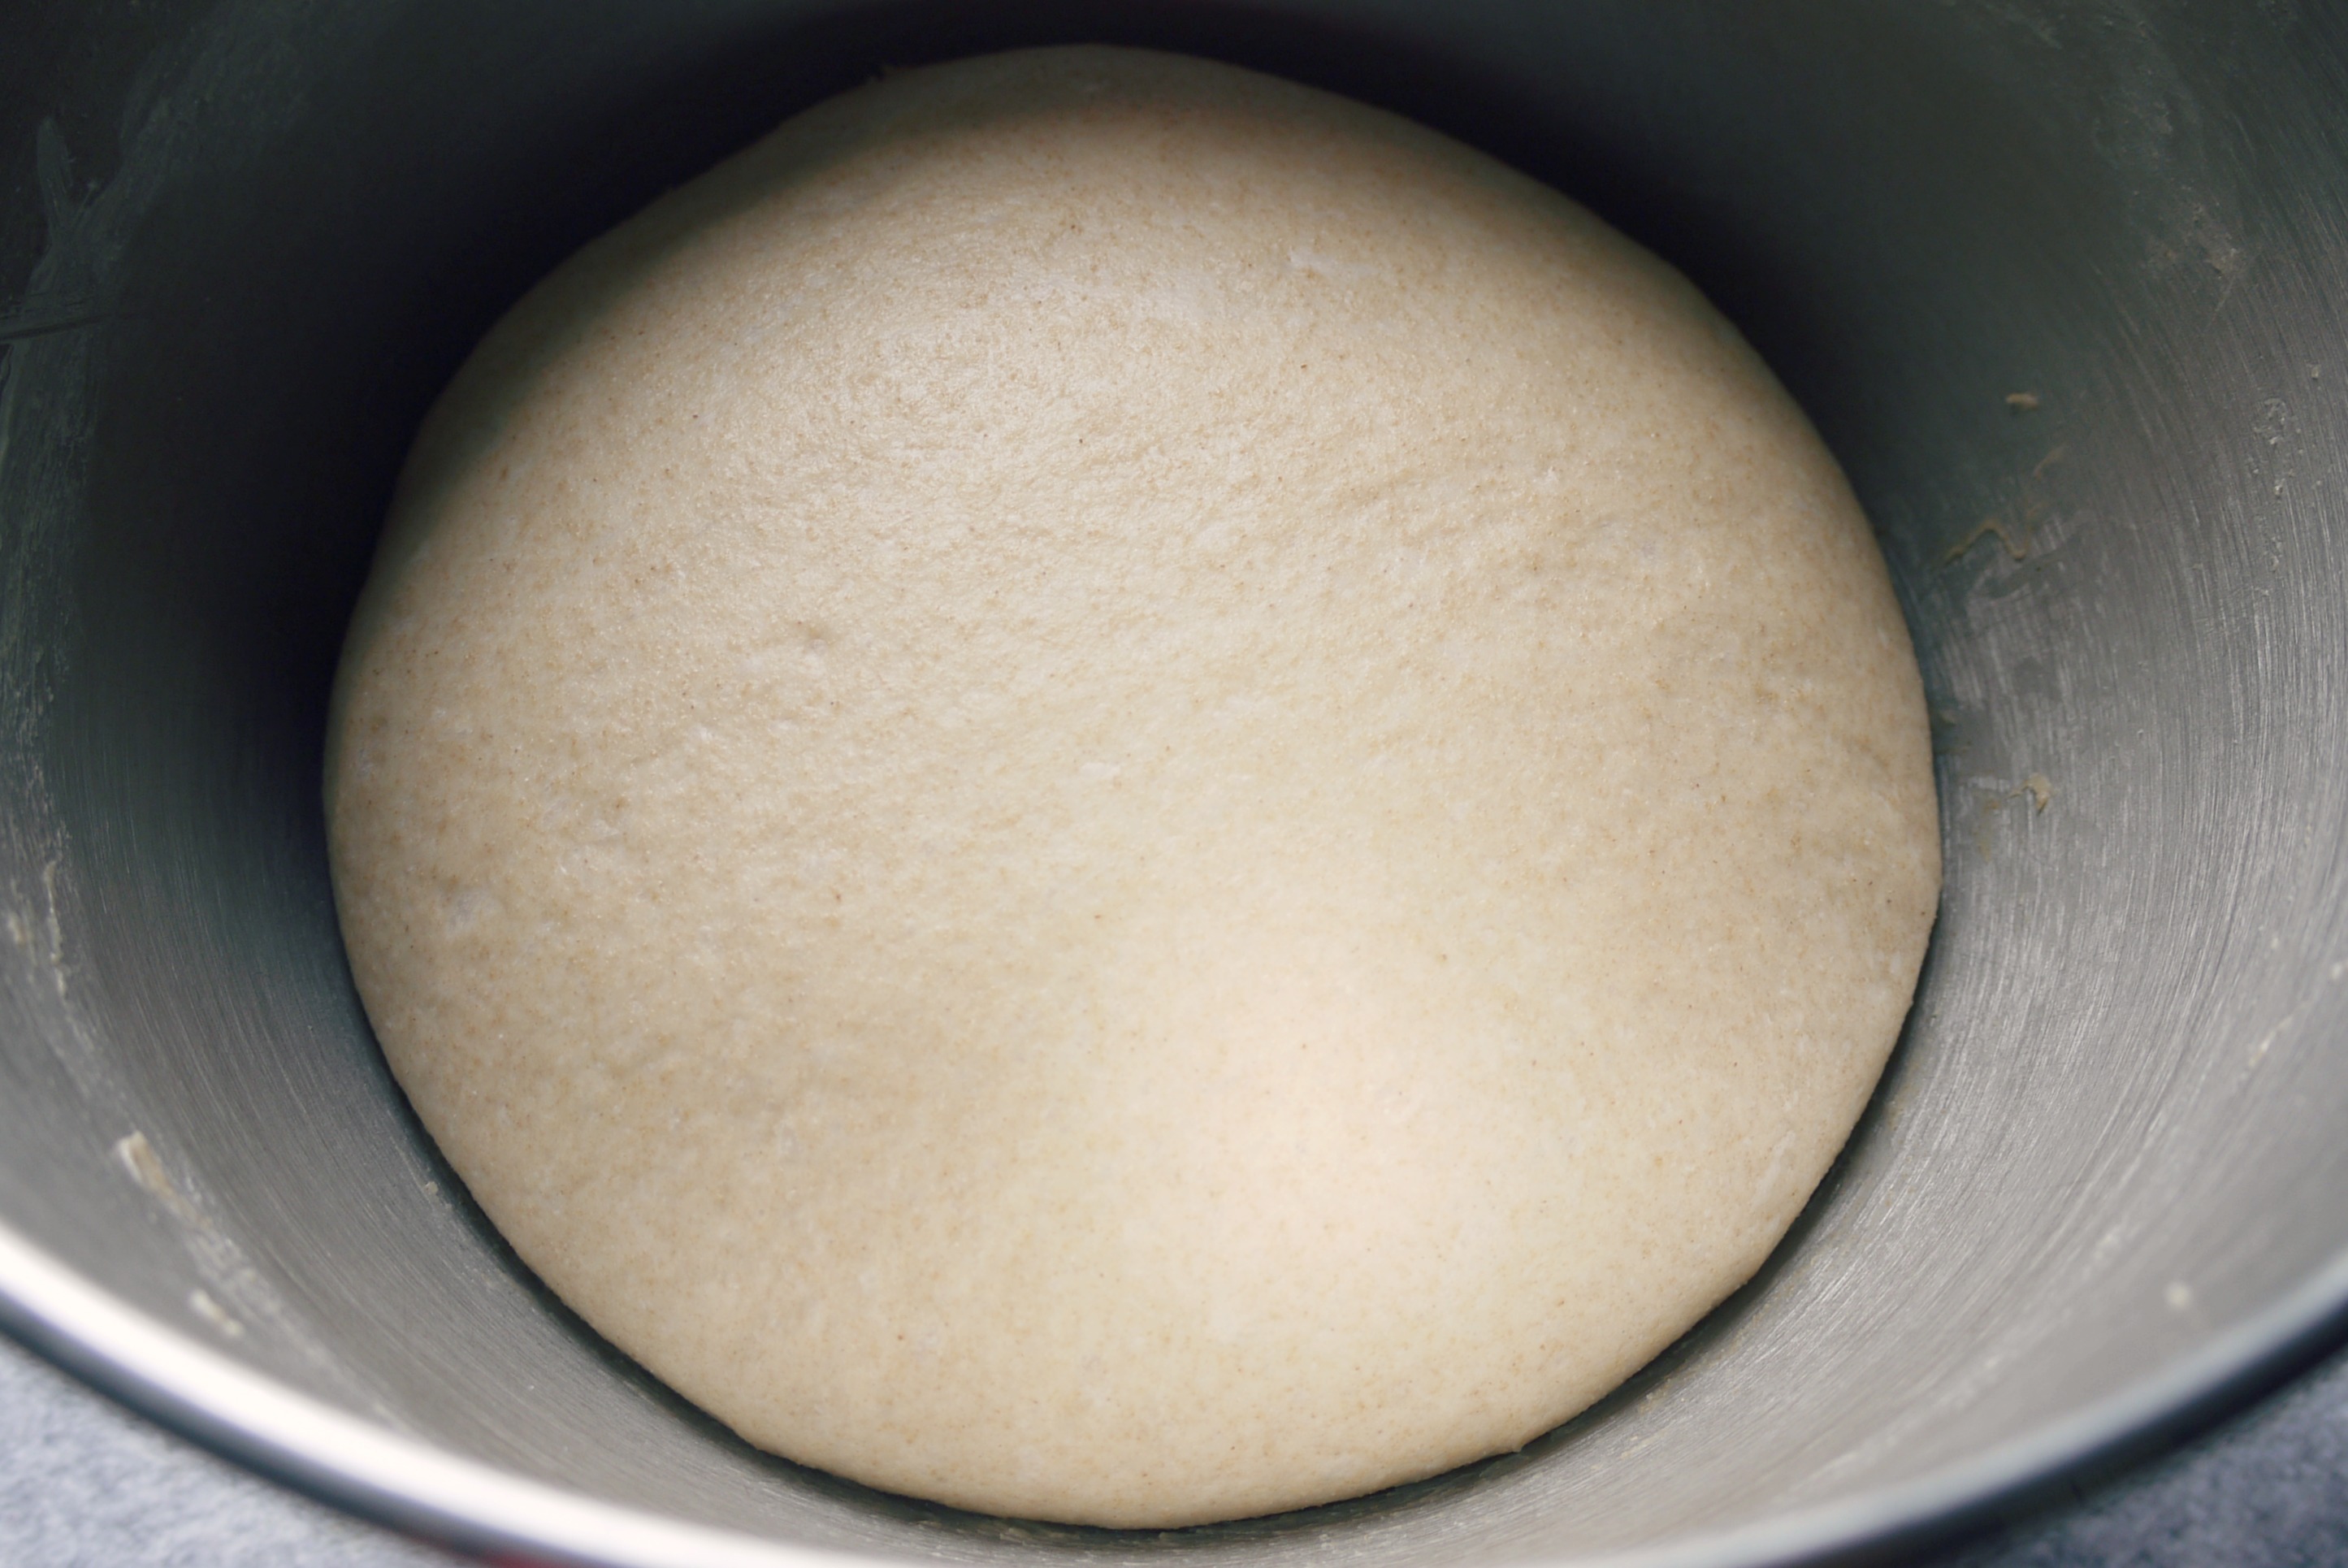
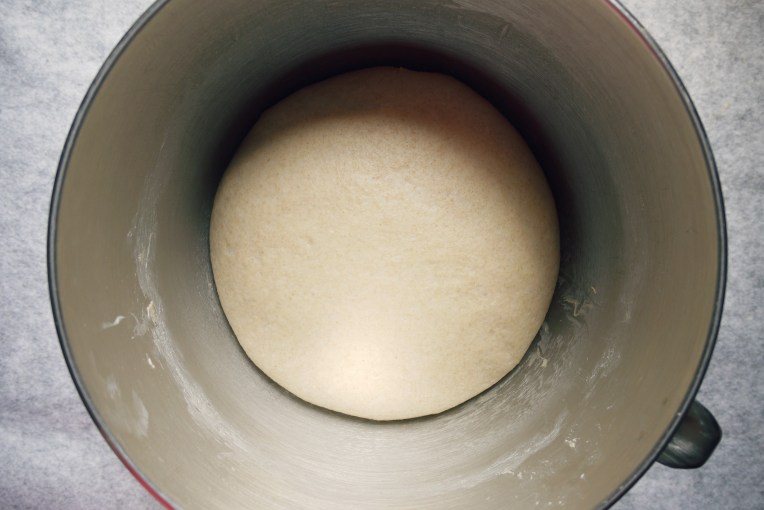
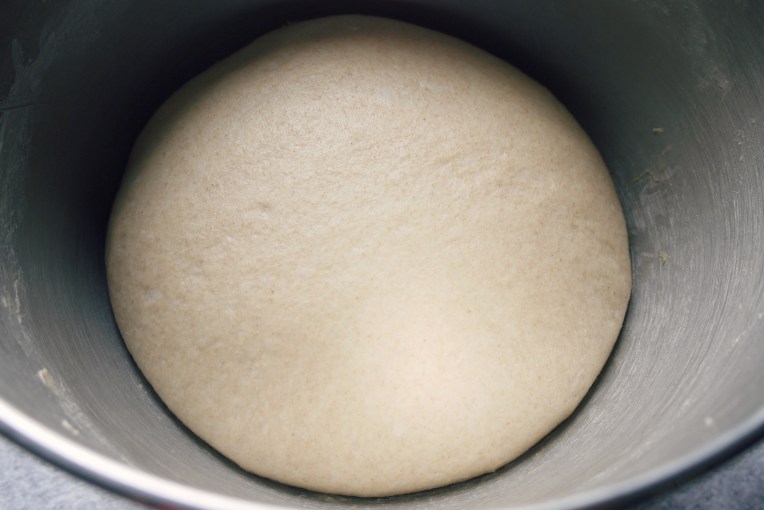
05. Cover the bowl with a clean damp tea towel, and let it proof for at least 60 minutes (or until it double in size).
06. After the dough has double in size, punch the dough down, and move it to a clean work top.
07. Roll loosely into a ball, leave it on the counter covered with towel for 15 minutes.
08. After 15 minutes, the dough will rise again.  Flatten the dough and add chopped walnuts to the dough.  Knead to mix the walnut well into the dough.
09. Shape the dough into a loaf shape and place it in the bread tin.
10. Covered the bread tin with towel, and let it have a final rise.
11. Once dough has risen to fill up the bread tin, bake it for 30minutes in a preheated oven at 170C / 240F.
12. When the baking time is over, remove the bread from the bread tin immediately, and let it cool down completely on a rack.


++ NOTES TO SELF ++
///
this dough will be sticky, almost impossible not to stick to fingers when touched, so I had to use the tucking method (using greased fingers to tuck/fold the sides of the dough to its base)  to roughly shape it into a neat ball for its first proof. See second photo,  it’s not all smooth and perfect, but good enough.
///
my bread tin measures 20x10x10 inches.

Chocolate Ganache Frosting

chocolateganachefrosting chocolateganachefrosting002

I do not own a cake stand, and as if that is going to stop me from picking up frosting skills?

I can always remove the glass tray from my microwave oven, balance it over a large rim bowl to elevate it, and tah-dah: my makeshift frosting station is set up! That’s how much I like to make my stuff “multitasks”.

I have been using this Chocolate Ganache recipe to make my cakes look every inch fancier.  No matter how I spread it, the frosting never appears messy, just pretty and glossy, no piping skills required!


CHOCOLATE GANACHE FROSTING
Source
INGREDIENTS :
- 10 ounces bittersweet or semisweet chocolate, coarsely chopped
- 1/2 cup water (or cream, if you prefer it richer)
- 1 and 1/2 sticks or 170g unsalted butter, cut into small cubes

 INSTRUCTIONS :

01. Place water/cream and the chocolate in a small metal pot, melt the chocolate by placing the pot over pan filled with barely simmering water.  Stir occasionally and remove the pot from the simmering water once all the chocolate has melted.
02. Whisk cubed butter into the chocolate mixture until they have completely melted.  The frosting should look smooth and glossy.
03. Set aside at room temperature let it cool down to a spreadable consistency.


++ Notes To Self ++
///
this recipe is enough to generously frost a 2 tier 9 inch cake, with about 1/2 cup leftover.
///
the frosting appears to be runny but i still manage to use it to frost my cake, sides and all, at room temperature.  However, the slippery frosting between a 2-tier cake makes cutting difficult, the layers appear to be sliding off each other with every slicing motion.  My solution is to chill the cake slightly in the fridge to set the frosting before cutting it.
///

A Very Small Batch Cherry Compote

cherrycompote

The way I eat ice cream in a shop is very different from how I serve it at home.
I’ll order a single scoop or two, and just enjoy the cold treat without buying any additional toppings.  No crunchy nuts, no gooey syrup, not even chocolate chips.

But when I have ice cream at home, I will search for some goodies as toppings, or make some on my own.  Cherry compote happens to be one of those toppings that  can be easily homemade,  and instantly upgrade my plain vanilla ice cream to a sundae level dessert.

I usually use about 12 pitted cherries to make just enough to top 4 small bowls of ice cream.   After they are served, I don’t have to worry about storage containers or how long before I have to finish it up, that’s the best thing I love about small batch recipes.

I loosely follow David Lebovitz’s recipe here.  For my small batch, I took out the almond extract and liqueur (Kirsch/Cherry Brandy),  but add I them back when I make them in larger quantity for cake toppings.


VERY SMALL BATCH CHERRY COMPOTE
Source
INGREDIENTS :
- 12-15 fresh cherries, wash, stemmed, halved and pitted
- 2 tablespoons sugar

 INSTRUCTIONS :

01. In a non-reactive small saucepan (one that does not react/get stained with acidic ingredients), put in the cherries and sugar to cook over a small fire for about 10 minutes, stirring with a spoon frequently.
02. Because I am cooking such a small batch of cherries, I usually encourage faster juicing from the cherries by pressing them with the back of the spoon against the pan once they turn soft.  This will also prevent the sugar from getting burnt without having enough liquid in the pan.
03. When the mixture starts to look thickened, and the cherries have completely cooked, remove the pan from the fire and let cool.  It will thicken up further.

Tea Tree Mushroom + Tofu

teatreemushroomtofu001 teatreemushroomtofu005 teatreemushroomtofu006
I am not sure what these 茶树菇/柳松茸 are called in English, but “velvet pioppini” popped up under wiki.  They look like shimeji mushrooms with longer stems and flatter caps.  I usually get the dried ones for stews and soups because of the rich umami flavor.

These fresh ones were found at a Taiwan produce fair.  Since the mushrooms are already full of flavor, I simply stir fry them with oyster sauce, and top them on silken tofu to make a dish for pairing with my staple white rice.


TEA TREE MUSHROOMS TOFU
INGREDIENTS :
- 1 small handful of tea tree mushrooms, about 100g
- 1 clove of garlic, chopped finely
- 1 package of silken tofu
- 1 tablespoon cooking oil
- 1.5 tablespoon oyster sauce
- 1/2 cup of water
- white pepper, to taste
- few drops of sesame oil
- 1/2 teaspoon of corn flour, mixed with 2 tablespoon of water.
- for garnish: chopped spring onion

INSTRUCTIONS :

01. Trim off the ends of the mushrooms, and wash them thoroughly.  Drain, set aside.
02. Heat up the tofu by steaming it for 10 minutes, drain water released from the steamed tofu and place it on a serving dish.
03. Mix oyster sauce and water in a bowl.
04. Add a tablespoon of cooking oil in a heated wok, once it smoke, add in chopped garlic and cook till soft, but not brown.
05. Add in tea tree mushrooms, stir fry for about 30 seconds with medium heat.
06. Pour in oyster sauce and water mixture, continue to stir, till the sauce starts to boil and bubble, about 2-3 minutes, for the mushrooms to be cooked.
07. Add a dash of pepper and sesame oil.  Turn down the fire to low, taste, and adjust to preference.
08. Mix the corn flour solution well, before adding it to the mushrooms to thicken the sauce, stirring to cook all the while.
09. Simmer till the sauce thickens, then pour it over the steamed tofu.
10. Garnish with chopped spring onions. Serve immediately.

Baked Chicken Katsu

bakedchickenkatsu001 bakedchickenkatsu002 bakedchickenkatsu003

I hardly deep fry anything at home.  The grease, the mess, the calories…… Nah, forget about it.  But I’ll gladly prepare the baked versions, like chicken nuggets, french fries and this Chicken Katsu from Just One Cookbook.

The concept is simple : toast the panko with olive oil first, then coat over chicken meat and bake.  The end result remains crispy minus the cleaning up work (Yay!).  I used the tonkatsu sauce recipe from the same blog this time, but it would go easily with other condiments like black pepper, onion mushroom, or cheese sauce.  Just treat it as a fried chicken cutlet.


RECIPE : BAKED CHICKEN KATSU
Source
Ingredients :
- 1 large skinless, boneless chicken breast
- Salt
- Black Pepper
- 1 cup panko
- 1 tablespoon olive oil
- 1/4 cup plain flour
- 1/2 large egg, beaten
- 1/2 tablespoon water

INSTRUCTIONS :

01. Clean and pat dry chicken breast.  Slice the chicken into desired size.  Season with salt and pepper. Set aside.
02. Heat up a frying pan.  Pour in panko and olive oil.  Toast over medium heat till it turns golden brown.
03. Prepare 3 shallow dishes.  In one, place the toasted panko.  In the second one, put in the flour.  And in the last one, mix the egg and water.
04. Preheat oven to 200C (400F).
05. Line a baking sheet with parchment paper.
06. Pick up a piece of chicken, dredge it in flour to coat , tap to remove any excess.
07. Next, coat the surface with egg mixture, before dipping it into the panko to coat.
08. Arrange the meat on the lined baking sheet.
09. Repeat till all chicken meat are coated completely.
10. Baked for about 25 – 30 minutes (depending on how thick you have sliced your meat) till it is thoroughly cooked.
11. Serve immediately.