Vegetarian Chinese Braised Mushroom Buns

veg braised pork bun 001 veg braised pork bun 002

Fungus and soy, what would I do without them?

When it comes to substituting the meat ingredient in a dish, mushrooms and firm bean curds are my best bets.  Take this braised dish that originally calls for pork belly for example, an important key to the flavor of the dish to me comes from chinese dried mushrooms and spices like cinnamon sticks and star anise pods.  I will then alternate the rest of the ingredients mostly with soy products such as bean curd sheets and firm bean curds, sometimes with hard boiled egg and even bok choy, depending on my pantry stock, but never without the mushroom and spices.

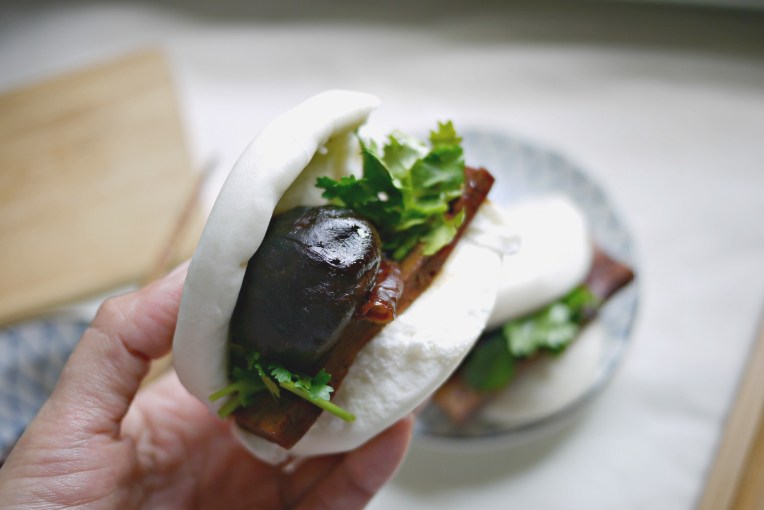
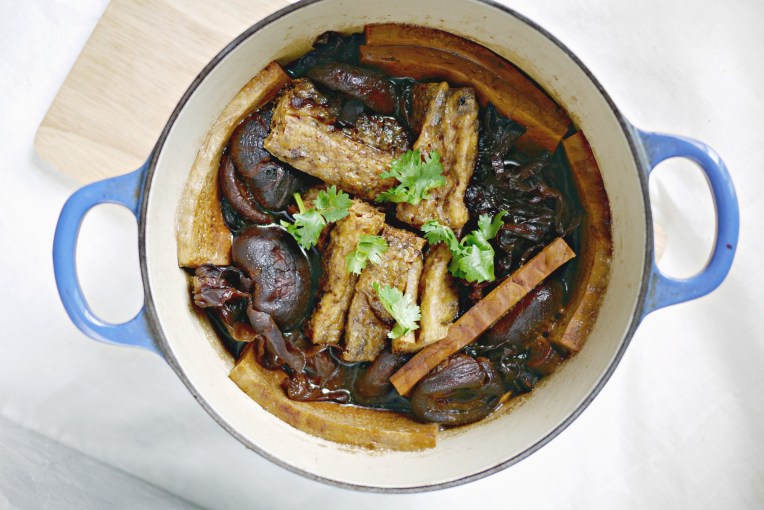
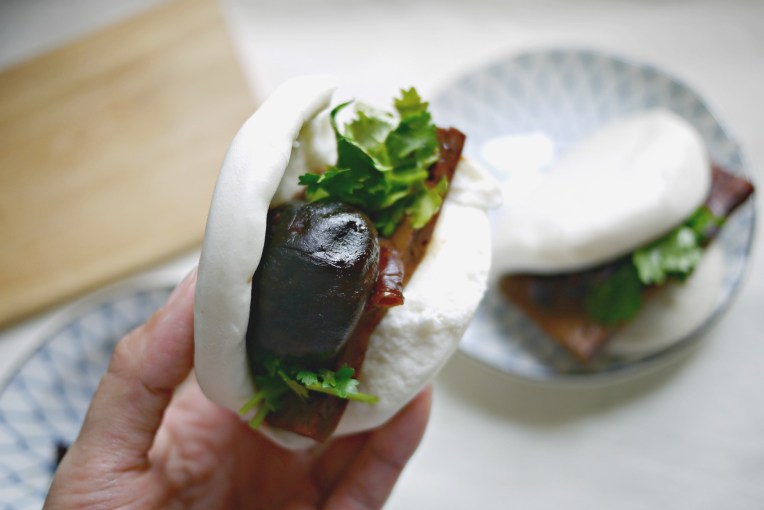
The pork belly slices in this braised dish were meant eaten sandwiched in a special steamed bun known as 刈包 Gua Bao.  So for my meatless version, I prepare this dish with a thicker gravy by adding black fungus, that will thicken up the dish when cooked over a long period.  The white ones have a better thickening effect, but I prefer the black ones in this dish.  This helps to mimic the soft texture of the pork fats in the braised dish that has been cooked over a long period.  I also simmer the dish till the liquid has almost dried up to ensure that the ingredients fully absorb the aroma of the dark caramel soy sauce and spices.
veg braised pork bun 005

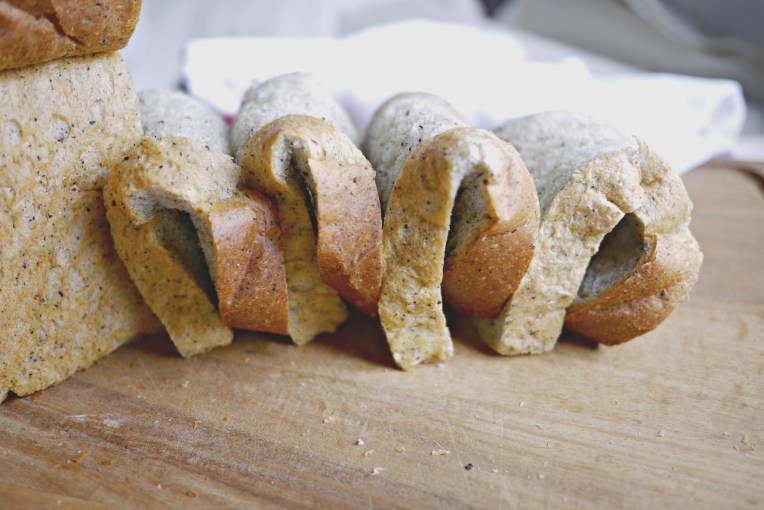
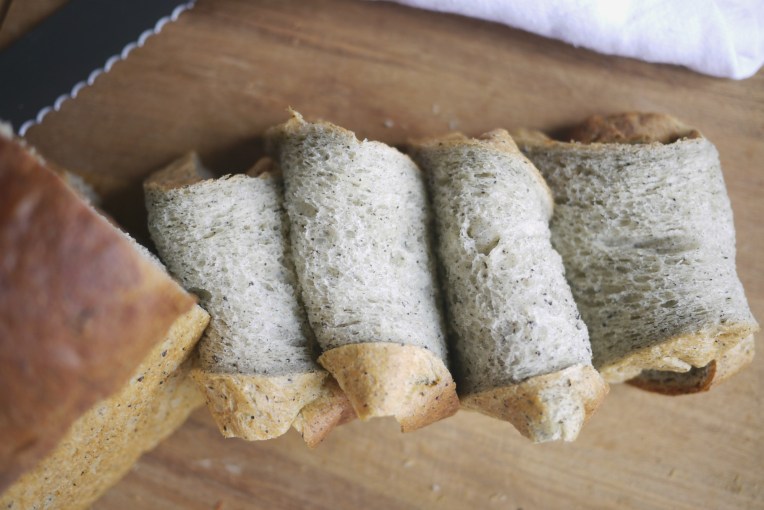
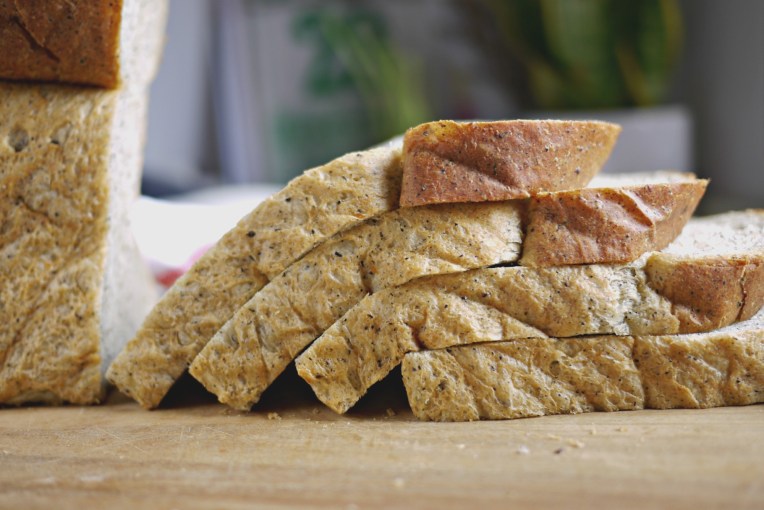
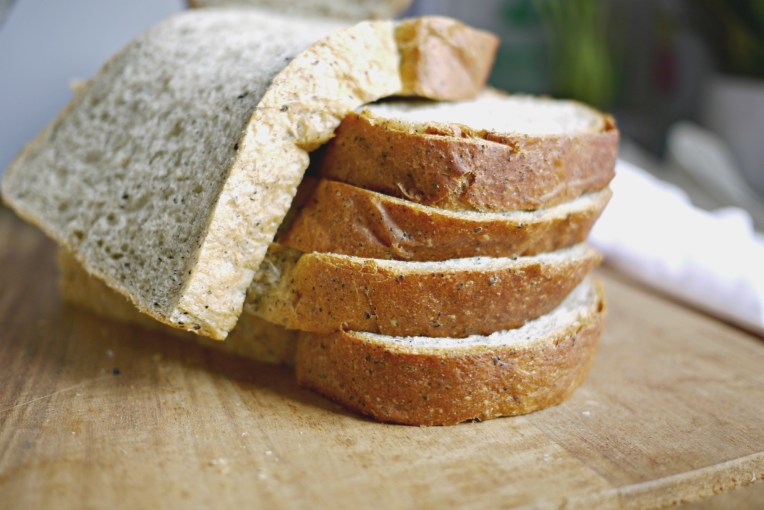
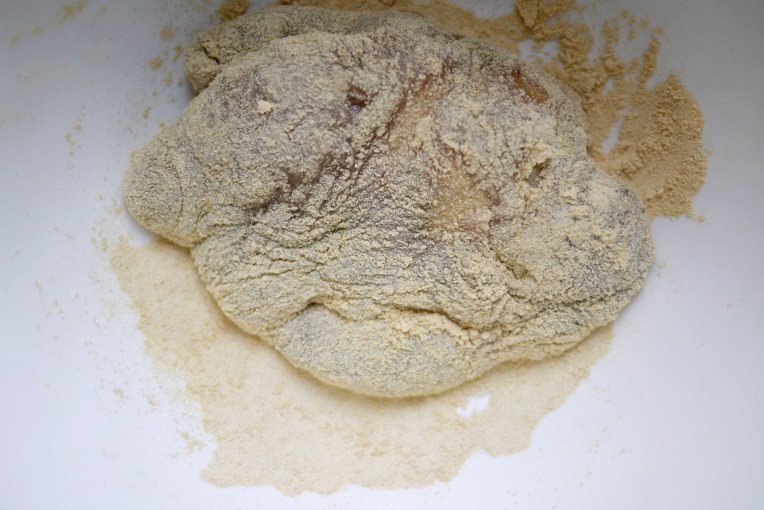
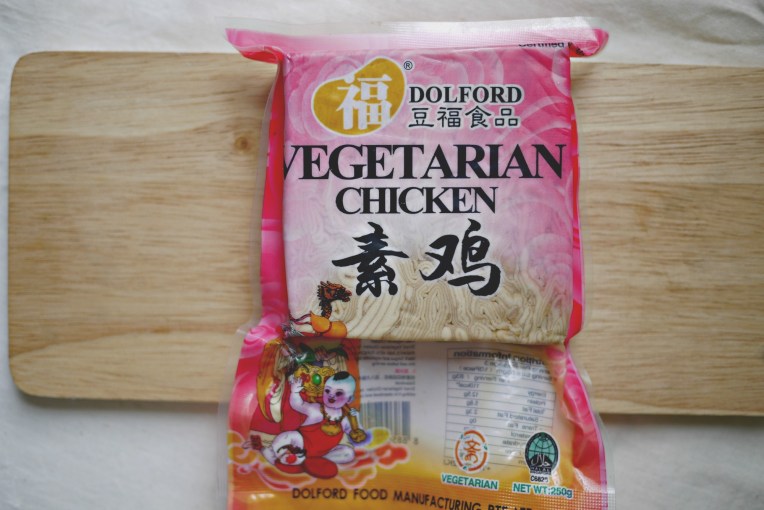
I try out a different ingredient this time with this vegetarian chicken made of soybean.  This looks like the ‘hundred layer tofu’ 百頁豆腐, another great soy product, that has an even firmer texture than firm tofu.  I usually use this for stir fries.

veg braised pork bun 008veg braised pork bun 009veg braised pork bun 007veg braised pork bun 006

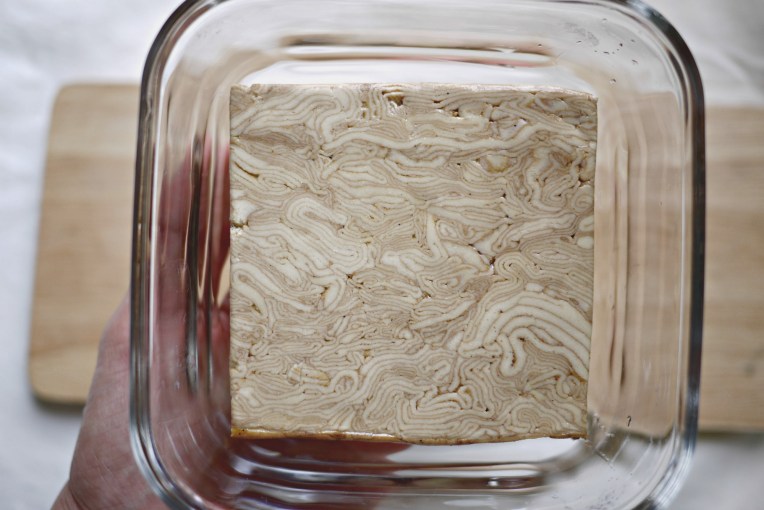
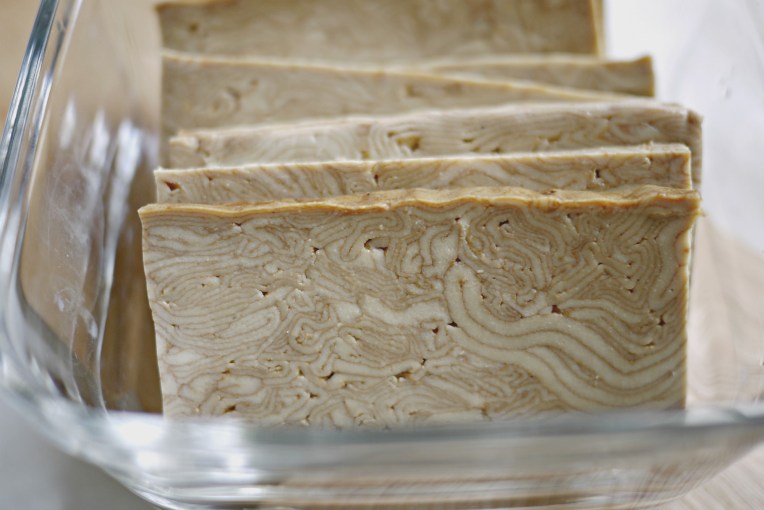
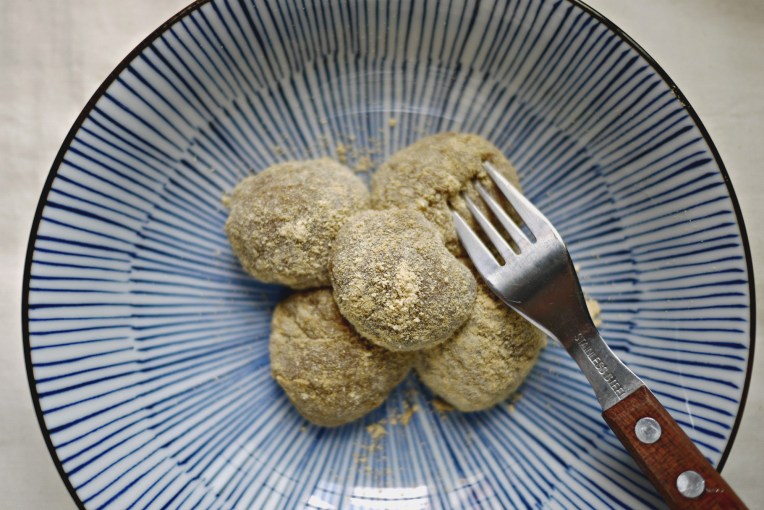
I cut this hundred layer tofu into 8 slices, and after braising to coat them with the caramelized sauce, they looks pretty much like the real thing when wedged between the buns.  However, I have to add that this tofu is too soft to produce any meaty bite compared to the braised mushrooms.  So if you can’t find this item in your market, you can choose not to have it or simply use firm tofu slices instead.  I always add tofu here to include plant protein in my diet.

veg braised pork bun 004 veg braised pork bun 003


VEGETARIAN CHINESE BRAISED MUSHROOM BUNS

8 small chinese dried mushrooms
3 large pieces of fried black fungus
3 slices of ginger
3 tablespoons sesame oil
1 tablespoon chinese cooking wine
3 tablespoons dark soy sauce
1 tablespoon light soy sauce
handful of small lump sugar**
1/2 cinnamon stick
3 star anise pods
3 taupok
1 pack hundred layer tofu
few stalks cilantro leaves
8 steamed 刈包 Gua Bao***

** I use this small pastille-sized lump sugar, not those in jagged larger rocks.  You can also use white sugar instead, about 2 teaspoons, add to taste.veg braised pork bun 011

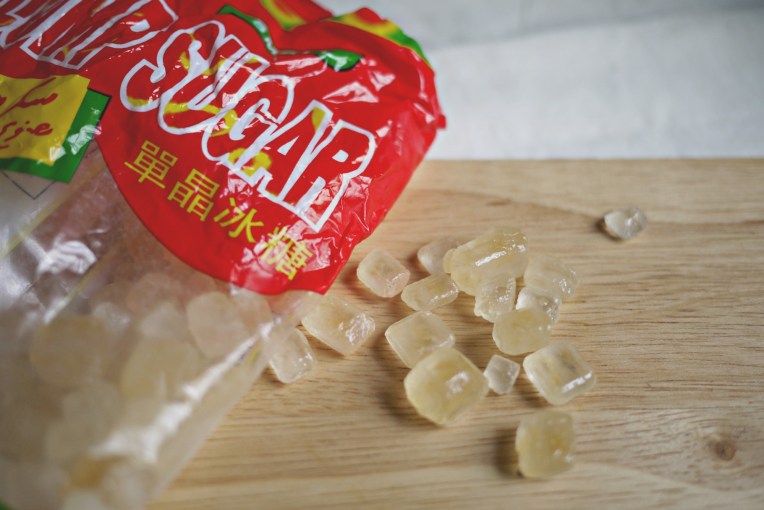
*** I bought ready ones from market, but someday, I want to make them from scratch like this.

Soak dried mushrooms in water till they soft.  Squeezed them dry to remove as much water as possible and separate the stems from the caps.  Reserve the water that the mushrooms have been soaked in, it is packed full of umami and I always use it in the dish that I am cooking the mushrooms with.

Soak black fungus till they are soft, wash to remove dirt and cut them into pieces about the size of the mushrooms caps.  The water used to soak the fungus can be discarded.

Cut hundred layer tofu in 8 uniform slices.

In a heated pot, add sesame oil and fry the ginger slices till aromatic.  Pour in the mushrooms, caps and stems, and stir fry till aromatic.  Next, pour in the black fungus, stir around to cook.

Pour in wine, continue to stir fry till alcohol evaporates.  Add dark soy sauce, light soy sauce, sugar lumps and the reserved water from soaking mushrooms with.  Add cinnamon and star anise next and allow the mixture to boil before adding the hundred layer tofu slices and tau pok, Pour just enough boiling hot water to top up the liquid to barely cover the ingredients and stir to mix.

Reduce heat to simmer till the liquid is reduced to a thicken gravy.

To assemble : Place a slice of hundred layer tofu, a mushroom cap, some black fungus and a generous topping of cilantro between the fold of the bun and eat immediately.

Save

Save

Save

Save

Banana Cashew Soymilk Smoothie

Banana Cashew Soy Milk Smoothie // Mono+Co

I didn’t become a smoothie person until I got an immersion blender. The tabletop blender with separate jar is too cumbersome for me to bring out from the storeroom. And to find an area on my limited counter top space to air dry the huge jar after washing is a real bother, as I often find myself transferring it a few times around the kitchen and dining area throughout the day when I need more worktop area during the meal preparation times. So when the immersion blender finally arrived at my home, I find myself making smoothies (and milk shake, and cream soup, and sauces, and …. I simply love my immersion blender!) more often. I make it a point to stow away the wired stick control immediately after using, and that leaves me with just the blade attachment to wash and leave to dry on my dish rack.

Banana Cashew Soy Milk Smoothie // Mono+Co

The smoothies I prepare are more for providing nutrition than for satisfying a craving for sweet food or cold drink.  I make it a point to use ingredients with good fats and proteins, and natural sweeteners or spices as much as possible.  This vegan recipe is inspired by a Japanese soy milk smoothie recipe book.  I like the way they name their smoothies as “精力湯”, which loosely translates into “genki soup”, meaning energy providing liquid.  It would be much better to make a smoothie that revitalize than to drink a cup full of sweeteners that makes me feel sluggish afterwards.

After going through all the 121 soy smoothie recipes with beautiful photos, I realized that there are so many ways that I can alter the recipes depending on what I have in my fridge.  I start to imagine starting my day with a smoothie filled with lotus roots, pumpkin, cherries, spinach, figs, tomatoes, basil, celery ………

I have a penchant for banana that really thicken up my smoothie.  What’s your favorite ingredient in your smoothie?

Banana Cashew Soy Milk Smoothie // Mono+Co


BANANA CASHEW SOYMILK SMOOTHIE

1 cup soymilk
1 banana
1/2 cup roasted cashew nuts

** If you prefer your smoothies cold, use chilled soy milk and frozen banana.  I prefer my morning drink at room temperature.

Put all ingredients in a blender and blend till smooth.  Serve immediately.

Passion fruit pulp popsicle

Passion Fruit Pulp Popsicle // Mono+Co

This is hardly a recipe when all I did was transferring the fruit pulp of a few passion fruits into my popsicle molds and adding a few kiwi slices to win extra artistic points.

In fact, most of my popsicles are done this way; decide if it is going to be a creamy (yogurt/cream) or icy (fruit juice/pulp) , sour (lemon juice) or sweet (honey), choose one or more fruit.

Blend.  Pour.  And freeze.

I am repeating these steps next week, creamy one this time.

Seaweed Salad Mix & something about my empty fridge habit

Seaweed Salad // Mono+Co Seaweed Salad // Mono+Co Seaweed Salad // Mono+Co Seaweed Salad // Mono+Co

I have limited space in my fridge, so I try not to store it with too many unnecessary items such as leftovers, that only means I have cooked or bought too much.  Some simple planning is all I need to keep the fridge neat and tidy, filled with the likes of fresh ingredients, just enough till my next marketing trip.  Do you know that you are suppose to keep the chiller section of the fridge as ’empty’ as possible for keeping good air circulation within.  Therefore our fridge is not a storeroom to hoard ingredients that we use only once a year.

Seaweed is one of the most convenient item I use to add nourishment to a meatless meal.  Although dried seaweeds can be kept at room temperature, given my humid environment, I occasionally find them turning soft after a few weeks in the pantry, so I prefer to get them in small amount that I can finish up with a meal or two. Same goes for dried mushrooms and fungus.

Here are some simple single serving dishes that I have cooked with the 10g dried seaweed mix from Daiso.  To prep seaweed, simply reconstitute them by soaking in a bowl of water for 5 minutes, drain and squeeze out excess water with hands.  Proceed to cook them in various dishes.

Seaweed Salad // Mono+Co


Somen miso soup

1 serving of somen**
1 tablespoon vegetarian miso
1 slice of ginger
1 shitake mushroom
1 hardboil egg
wakame seaweed***
1 large sheet nori seaweed

** Udon or soba can also be used.

*** I picked out only the wakame seaweed from the assorted pack.

Cook somen according to package instructions, set aside and prepare miso broth.

Boil a small pot of water, enough to yield a bowl of soup for the somen, once the water starts to boil, add fresh shitake mushroom to cook.  Fresh shitake mushrooms cook very fast, once cooked, turn the heat down to low , and stir in the miso paste, ginger and wakame seaweed.  Taste to see if more miso paste is required since saltiness level of miso paste differs from brand to brand.

To assemble, place a large sheet of nori seaweed inside the serving bowl, leaving a corner of it jutting out of the brim of the bowl for ornamental purpose.  Add the cooked somen.  Transfer the miso broth to the serving bowl, and top with hardboil egg sliced into half.  Serve immediately.


Seaweed Salad // Mono+Co


Seaweed Salad

1 tomato, cut into wedges
1/2 Japanese cucumber, sliced
assorted seaweed
1 teaspoon honey
1 tablespoon sesame oil
1 tablespoon rice vinegar
white sesame seeds

To make salad dressing, combine rice vinegar, sesame oil and honey in a small bowl.

To assemble, arrange cucumber slices and tomato wedges in a serving bowl, top with reconstituted assorted seaweed, sesame seeds and drizzle dressing over the ingredients.  Toss to mix well before eating.


Seaweed Salad // Mono+Co


Cold Somen

1 serving somen
2 tablespoon soy sauce
1 tablespoons honey or date syrup
juice from 1 teaspoon grated ginger
5 ice cubes**
scallions and kelp powder, optional

** Instead of waiting for the dipping sauce to cool, I omitted water during cooking and cool it down faster with ice cubes instead.

Cook somen according to packaging instructions.  Drain and rinse in a bowl of filtered water to wash away excess starch.  In a another bowl fill with ice water, put in the somen and leave to stand.

To make dipping sauce, put soy sauce, syrup, ginger juice in a small pot and boil.  Once the mixture starts to boil, remove from heat, add in the ice cubes to cool down and dilute the sauce.  Taste test the sauce, if it is too salty, add more ice cubes or water.

To assemble, drain somen thoroughly and place on serving plate, top with reconstituted seaweeds.  Transfer sauce to a dipping bowl, add chopped scallions and sea lettuce/kelp powder if using.  Serve immediately.

Black Sesame Potato Loaf

Black Sesame Potato Bread Loaf // MonoandCoBlack Sesame Potato Bread Loaf // MonoandCo

Bread yoga time!

I like doing such strange things to my bread when they turn out this soft.  A reminder to myself that this proportion of ingredients works very well.  The crust also browned nicely, largely due to the higher amount of butter.

I have read from somewhere that black sesame seeds are better eaten grounded than as seeds, just like the flaxseeds.  So a white bread recipe incorporating black sesame powder sounds like a good idea given its medicinal benefits.

Although toasting and grounding the seeds wouldn’t take up much time given that this recipe only needs 3 tablespoons of it, I had some ready black sesame powder that I like to eat with my muah chee, so I used that instead.

Black Sesame Potato Bread Loaf // MonoandCoBlack Sesame Potato Bread Loaf // MonoandCo Black Sesame Potato Bread Loaf // MonoandCoBlack Sesame Potato Bread Loaf // MonoandCoBlack Sesame Potato Bread Loaf // MonoandCo Black Sesame Potato Bread Loaf // MonoandCoBlack Sesame Potato Bread Loaf // MonoandCoBlack Sesame Potato Bread Loaf // MonoandCoBlack Sesame Potato Bread Loaf // MonoandCo


BLACK SESAME POTATO BREAD LOAF

200g bread flour
20g top flour
100g potatoes, cooked + mashed
2 tablespoons raw sugar
3 tablespoons ground black sesame seeds
1/4 teaspoon salt
1 teaspoon instant yeast
40g unsweetened soy milk
1 small egg (50g)
40g cold butter, cubed

Combine all dry ingredients : bread flour, top flour, sugar, ground black sesame seeds, salt and yeast in a mixer bowl, stir with hand whisk to mix them evenly.  Add cooled mashed potatoes, beaten egg, and soy milk and knead the ingredients with a dough hook into a ball dough on the lowest speed (KA 1).  Stop the mixture and let the dough rest for 15 minutes to let flour absorb the liquid well.

After the dough has rested, turn the mixer on low speed for about 1 minute.  Add the butter cubes one by one with the mixer running.  Knead the dough till window pane stage, then let the dough rest covered in the bowl for 1 hour to expand to twice its size.

After an hour, punch the dough down to deflate it and transfer the slightly sticky dough to a clean and slightly floured worktop.  Flatten dough to push out air bubbles inside the dough. Shape dough and place it inside the bread tin, seam side downwards. Let it proof for another 45 minutes to 1 hour, covered and placed in a draft free place.

Once the dough has rise over and above the brim, bake the bread in a preheated oven at 170C for 30 minutes.  After baking, remove the bread from the tin immediately and allow it to cool completely on a rack before slicing or serving.

Save

Save

Sesame Mayonnaise Buckwheat Noodles

sesame mayo buckwheat noodles 006 sesame mayo buckwheat noodles 005sesame mayo buckwheat noodles 003   sesame mayo buckwheat noodles 002sesame mayo buckwheat noodles 004

The sesame mayonnaise dressing I made earlier went into this buckwheat noodle as tossing sauce.  This pan fried tofu coated with potato starch before cooking was equally nice, so I made the tofu cubes even smaller and added them to the vegetables for this fast one pot meal.


Sesame Mayonnaise Buckwheat Noodles

1/2 carrot julienne
1/3 zucchini, cubed
1 firm tofu, cubed
1 serving buckwheat nooodles
Japanese sesame dressing, here
kelp powder, optional

Cook the buckwheat noodles according to package instructions.  When the noodles are cooked, place them in a sieve and rinse them under cool running water to wash away the excess starch so that the noodles will have a springy bite.  Leave the noodles in the sieve to let excess water drain, if you like the noodles cold, run a final rinse with ice water, and set this aside and the rest of the ingredients.

Cooked the firm tofu this way, minus the kelp powder and Japanese Shichimi Togarashi.  We will use the kelp powder later as a seasoning and garnish for the noodles.

To assemble, place the drained noodles and julienne carrots in a big mixing bowl/salad bowl.  Toss with the sesame sauce to your taste liking.  Top noodles with zucchini, fried tofu cubes and garnish with kelp powder.  Serve immediately.

Gruyere Cheese Chia Seed Loaf

greyure cheese bread 001 greyure cheese bread 002 greyure cheese bread 003 greyure cheese bread 005greyure cheese bread 004

This super soft bread loaf filled with Gruyere cheese cubes are really fluffy, I almost tore the dome top apart from the bread when I was removing the very fragile, steaming hot bread from the tin for cooling. Some part of the cheese melted and got stuck to the sides of the tin.  But luckily, even with a slight tear, exposing the interior of the steaming bread while cooling down did not do too much damage to the texture of the bread.  So the next time when I am adding cheese into the bread dough, I’ll make sure that the cheese are placed towards the center of the bread, where there are ample “cushioning” areas, so that after proofing, the cheese will not end up anywhere near the inner sides of the cake tin.

You might have also noticed that I have used a smaller cake tin instead of the usual bread tin that are taller.  I was thinking of a popover bread design, where the bread has a disproportionately huge crown, hoping that it might look interesting.  Before it went into the oven for baking, I made sure that the bread had risen above the brim, by at least half the height of the cake tin.  After a light misting with water and 30 minutes in the 170C oven, the bread rose further quickly.  As  you can see from the first photo, the crown was indeed bigger than the bread’s lower body.  But alas, the bread was too soft to stand upright for a nice shot.  Even when placed back into its baking tin, the whole loaf simply sank in, not that great a sight on photo too.

But all these doesn’t matter, because the bread was delicious.  The vegetarian Gruyere cheese I added really gave the bread a lovely savory flavor, I am so glad that I cut down on sugar to let the saltiness of the cheese gets through nicely.  I wish I had put in more, not every bite is cheesy though, but not before I figure out how to shape the bread with cheese inside without giving me a ‘meltdown’ incident like this loaf again.


GRUYERE CHEESE CHIA SEED LOAF


200g bread flour
30g oat flour
100g potato, cooked and mashed
1 teaspoon instant yeast
1/4 teaspoon salt
1 tablespoon raw sugar
1 small egg 50g
40g water
40g cold butter, cubed
2 tablespoons chia seeds
30g Gruyere Cheese**, cubed

** I got my vegetarian Gruyere cheese cultured with non animal rennet from the brand Mainland. I am always looking for yummy vegetarian hard cheese, if you have come across any nice ones, let me know!

In a mixer bowl, combine bread flour, oat flour, yeast, salt and sugar and mix the dry ingredients evenly with a hand whisk.  Add cooled mashed potatoes, beaten egg, and water into the mixture and start the mixer on low speed (KA 1) with a dough hook to start kneading.  Once the ingredients come into a ball dough, stop the mixer and let the dough rest for 15 minutes.

After the dough has rested and the flour has absorb the liquid properly, turn the mixer on again on low speed for about 1 minute, before adding the butter cubes one by one with the mixer running. Knead the dough till window pane stage.  To incorporate chia seeds into the dough using the electric mixer, pour in the chia seeds in a steady stream from a spoon, alternating between speed 1 and 2 till the chia seeds are being mixed uniformly into the dough.  Alternatively, kneading the chia seeds into the dough manually on a clean worktop.  When done, let the dough rest covered in the bowl for 1 hour to expand twice its size.

After an hour, punch the dough down to deflate it and transfer dough to a clean slightly floured worktop.  The dough will be sticky, do not add too much, just enough to prevent hands from sticking to it, deflate dough to squeeze out air bubbles trapped inside.  Roll dough into a ball and flatten it to an oblong dough, arrange chopped cheese on the dough towards the center and roll up the dough to wrap the cheese within and place the rugby shaped dough inside the bread tin, seam side downwards. Let it proof for another 45 minutes to 1 hour, covered and placed in a draft free place.

I baked this in a 8″ x 3.5″ x 3″ rectangular cake tin to create a popover /muffin top proportion bread.  Grease the inner surface well with butter.  The dough rose to the brim within 35 minutes, and higher by 1 hour. Baked at 170C for 30 minutes.  If this is baked in a regular pull man pan, it will take 45 minutes to reach the brim and can be baked in the oven by 1 hour too.  After baking, remove the bread from the tin immediately and allow it to cool completely on a rack before slicing or serving.

Save

Easy Mochi With Kinako

mochi 001  mochi 004vegan chia seed loaf soy flour mochi 005 mochi 006mochi 002

How easy is easy?

Mixing flour, sugar and water takes a minute.

Cooking? 15 minutes of steaming.

Cool down.  Coat with kinako, chop up into bite size with pastry scraper and serve . Done.

Easy right?

I like this recipe that uses brown sugar instead of white sugar.  The amount of sugar used in making mochi is quite a lot,  this recipe doesn’t yield much.  My family of 4 can chow down the entire bowl under 5 minutes.  That is 4 tablespoons of sugar consumed in total.  I had to resist the temptation to make more after we are done with one batch.

And resisting the urge to make more is the hardest part when this recipe is so easy.


EASY MOCHI WITH KINAKO

adapted from here

100g glutinous rice flour
60g dark brown sugar **
180g water
2 tablespoons kinako ***

** I use the kind of brown sugar (actually it is black sugar 黑糖 in mandarin, but the label never says black in English, always brown) that I always use for making ginger tea (黑糖姜母茶) , not those for coffee or cakes.  Get those in granulated form, not the rock version.

*** If kinako is not available, potato starch can also be used as mochi coating.

In a bowl, mix flour, sugar and water with a small hand whisk till sugar complete melted.

Place in a steamer with boiling water and steam for 15 minutes.  Cover the bowl with a clean cloth to prevent condensation forming on the top of the cover from dripping down on the mochi.

While the mochi is cooking, sieve the kinako, spread them over a large plate or tray.  Once the mochi is cooked, remove it from the steamer, and let it cool slightly.  When the mochi has cooled down enough for you to handle, scrap out the sticky mochi as one big piece onto the tray of sieved kinako.  Dusting the top of mochi with kinako will make the mochi now manageable with bare hands since they won’t stick anymore.  You can shape the mochi into balls, or keep things simple like me, just flatten them up a bit, and chop them into bite sized pieces with a pastry scraper.  Move them around to coat with more kinako, before transferring them to a serving dish.

Best eaten fresh, though I have read that they keep well in fridge, covered, to prevent drying out.

Vegan Chia Seed Loaf

vegan chia seed loaf // MonoandCovegan chia seed loaf // MonoandCovegan chia seed loaf // MonoandCo    vegan chia seed loaf vegan chia seed loaf // MonoandCo

Here’s another adaption of the potato bread recipe that I have been baking and modifying along the way.  This time I made it vegan without the usual butter, milk or eggs.  Olive oil and soy milk were used instead.

I also added a tablespoon of kinako, a kind Japanese roasted soy bean flour that you see on their mochi desserts.  I wanted to see if they add soy flavor to the bread since I am using soy milk, which I am sure is too bland to be tasted in breads.  However, the roasted bean smell was only apparent in the initial mixing stage, after proofing and baking, it was all gone.  So add it if you have it in your pantry.  If not available, omit it completely.

I am using this one from Daiso.

vegan chia seed loaf // MonoandCo


VEGAN CHIA SEED LOAF

210g bread flour
1 tablespoon kinako, optional
2 tablespoon raw sugar
1/4 teaspoon salt
1/2 tablespoon instant yeast
80g potato, cooked+mashed
80g unsweentened soy milk
15g olive oil
2 tablespoons chia seeds

Place flour, soy bean flour, sugar, salt and yeast in a large mixing bowl, stir with a hand whisk to mix well these dry ingredients together.

Add soy milk, olive oil, and mashed potato, turn on the electric mixer on lowest speed (KA 1) and knead till the ingredients comes together into a dough ball.  If it is too dry to come together, add more soy milk, teaspoon by teaspoon, till the consistency is right.  Switch of the electric mixer and let the dough rest for 15 minutes.

After the dough has rested, knead till the dough reach window pane stage.  To incorporate chia seeds into the dough using the electric mixer, pour in the chia seeds in a steady stream from a spoon while the mixer is running, alternating between speed 1 and 2 till you see the chia seeds being mixed uniformly into the dough.  Alternatively, you can also do it the manual way, kneading the chia seeds into the dough on a clean worktop.  After adding the chia seeds, let the dough sit covered with a clean towel to expand double its size for an hour.

Punch dough down to deflate the expanded dough and transfer to a clean worktop.  With a rolling pin, or bare hands, deflate dough to squeeze out air bubbles trapped inside the dough.  Roll dough into a rugby ball shape to fit your bread tin. Let it proof for another 45 minutes to 1 hour, covered and placed in a draft free place.

After its final proof, mist the top of the bread slight with water, bake bread in a preheated oven at 170C for 30 minutes, till golden brown.

Remove bread from its tin immediately after baking and let it cool completely on a rack before slicing/ serving it.  Store in airtight container.