Milk Bread Loaf

milkbread2 milkbread1milkbread3milkbread4
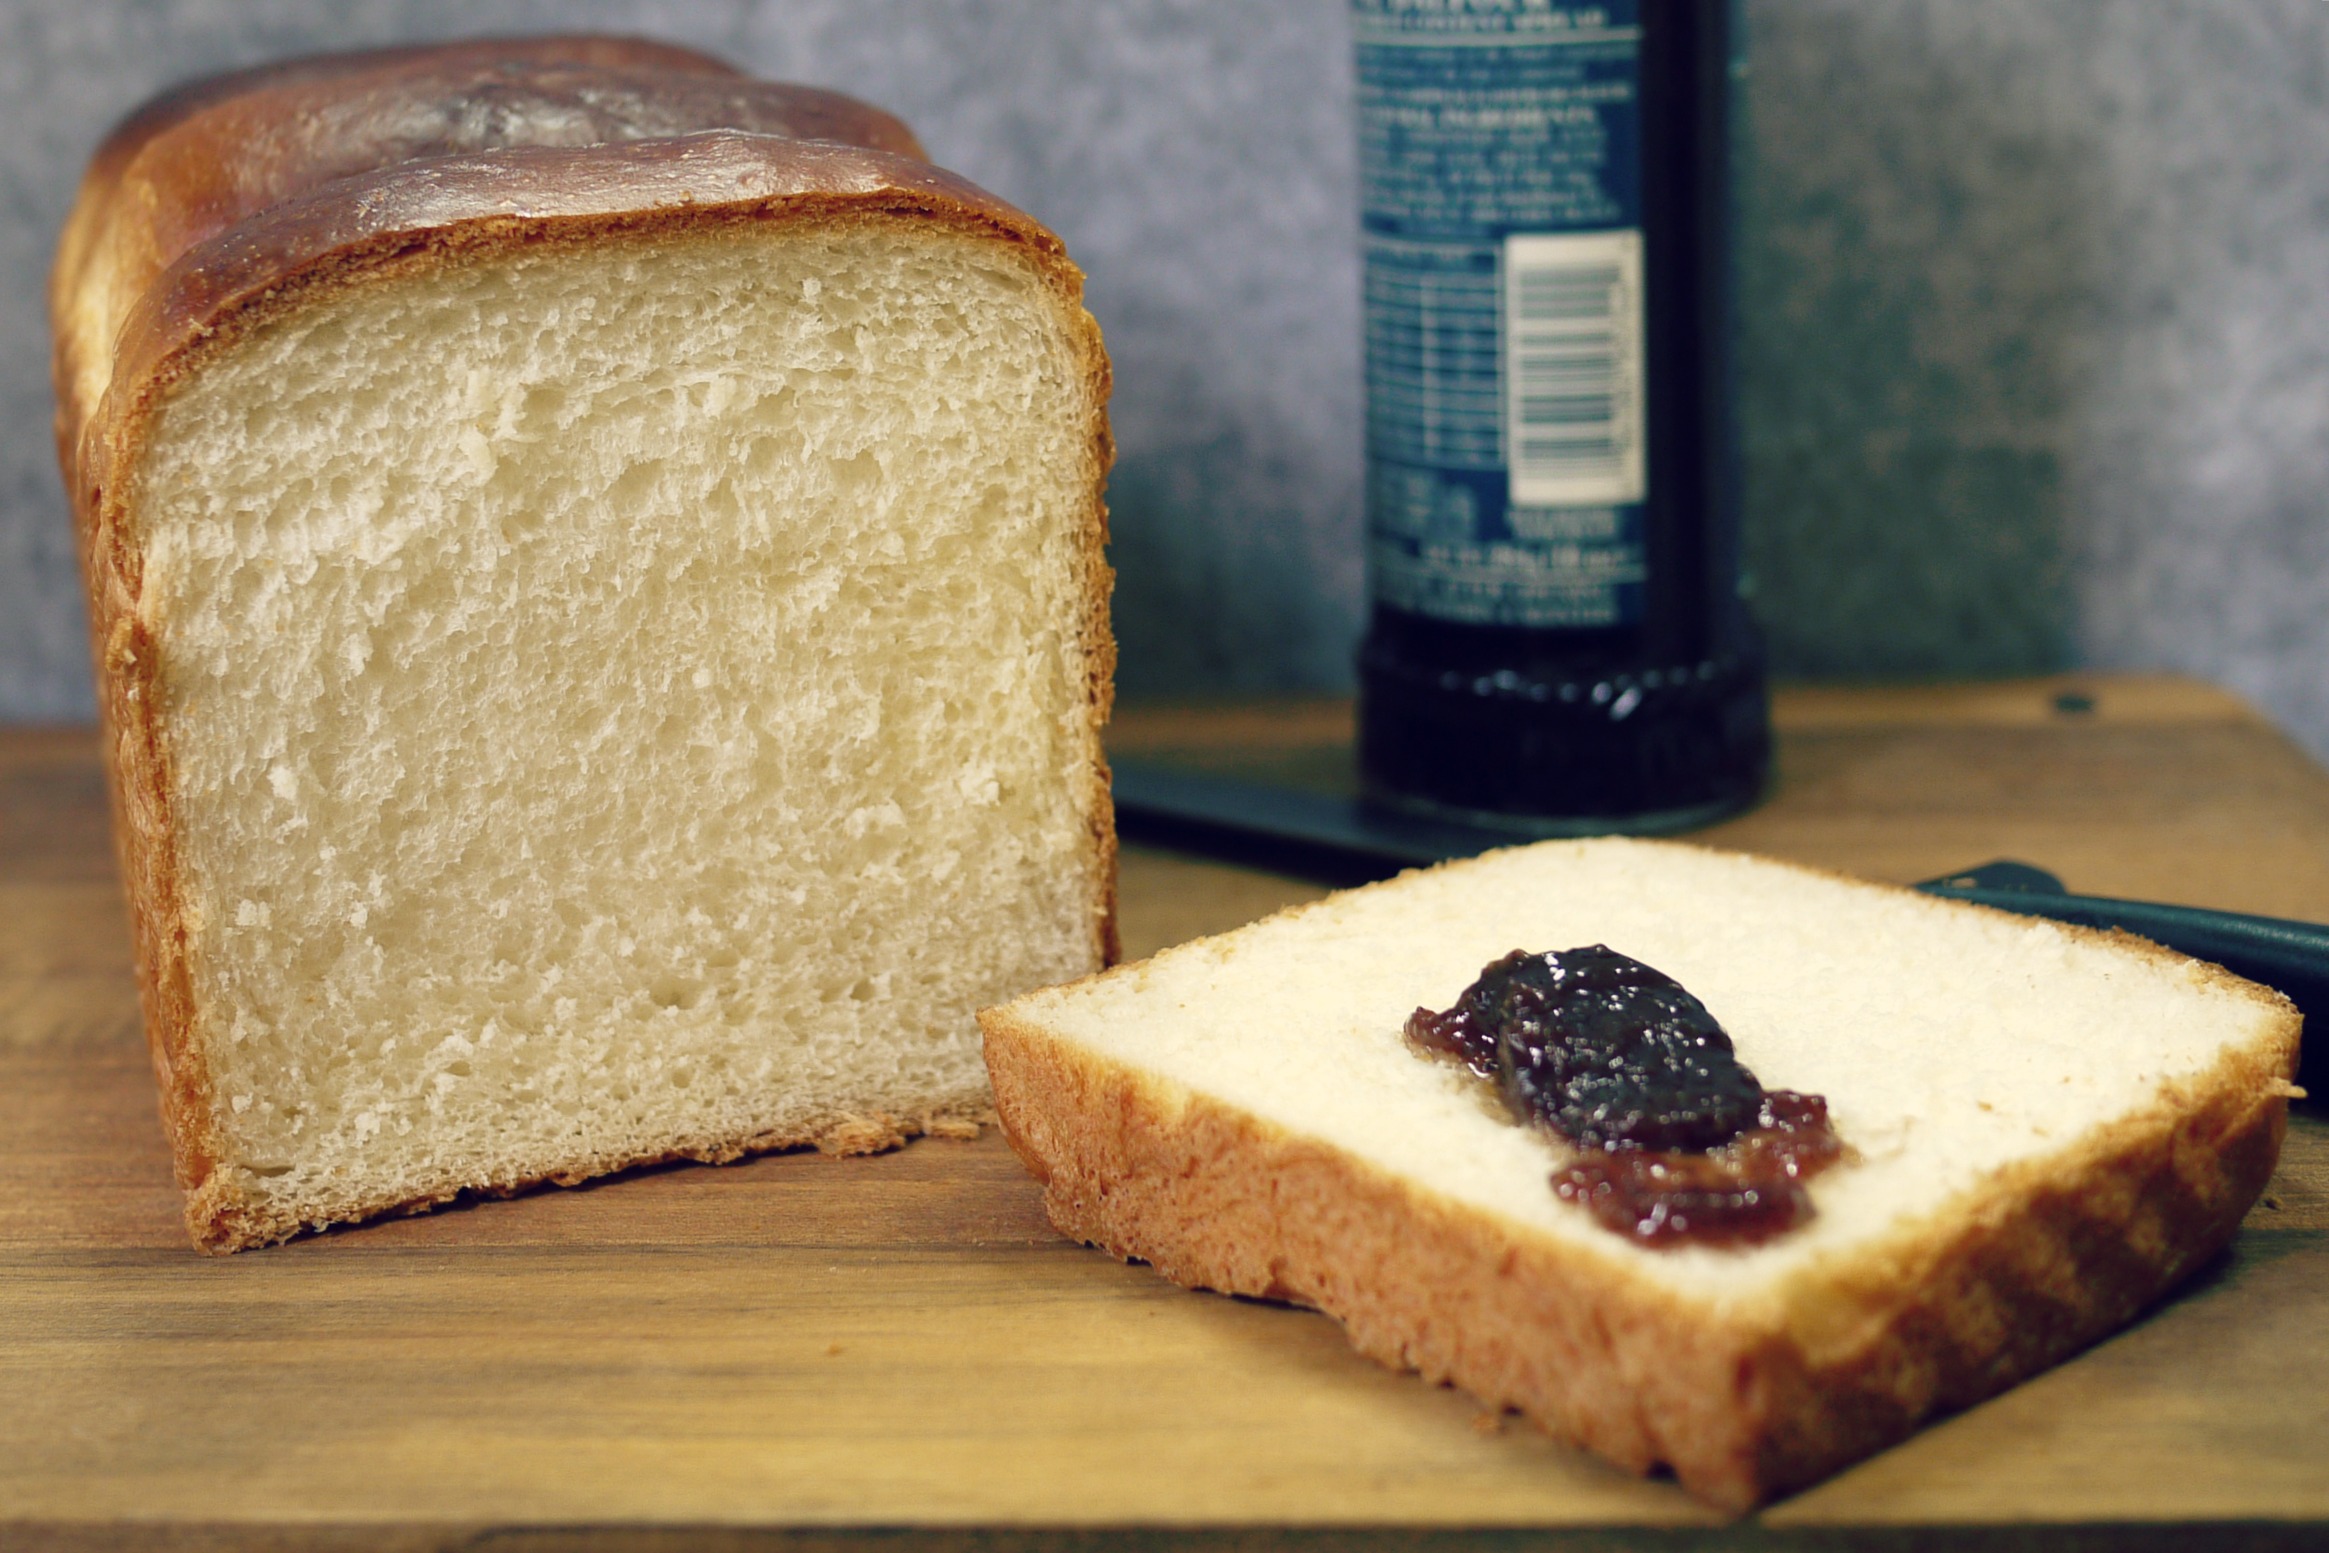
This Sweet Milk Bread recipe is a keeper.  Original 元子’s recipe had plain water and whole egg.  After 2 bloggers’ modifications (1st here, then here), the recipe now uses fresh milk and egg whites instead.  My final proof took almost 4 hours for the dough to rise and fill 80% of the loaf pan, but I think the overall texture was worth the wait.

As with all fresh homemade bread (no additives, bread improver, blah, blah), finish it up within 2 days.  On day 3, bread sort of dried out, and turned crummy, even though I only slice it before eating

Made notes below next to the ingredients to remind myself what I have used or tweaked.  So far, all my 3 attempts have been very successful.

The Big Man asks for consistent taste in his daily bread, commented that I have attempted far too many different milk/sweet bread recipes.  I think this is his way of saying that I should stick to this recipe.

MILK BREAD
//Adapted from Eileenの记事本

INGREDIENTS:
250g bread flour (I used Prima) / plain flour (I used Sheng Siong house brand, Happy Family)
50g fine sugar
65g egg white
100ml fresh milk (I used Meiji full cream)
8g milk powder (I used Fernleaf)
1/2 teaspoon instant yeast
1/4 teaspoon salt
25g unsalted butter (I used SCS and Anchor)

Oven Temp : 170C
Bakeware : Bread Loaf Pan

1. In a mixer with paddle attachment, mix well all ingredients except butter at low speed.
2. Change to a dough hook attachment, add in butter, and continue mixing till window pane stage, about 20 minutes.
3. Remove mixing bowl from mixer, cover with a clean tea towel, and leave it aside for 1 hour, The dough will rise to approximately twice its original size.
4. Punch down the inflated dough, and pour it out onto a clean worktop.
5. Evenly divide the dough into 3 portions (approx 160g each), roughly work them into balls and leave it covered for 15 minutes with the tea towel.
6. Flatten and roll out with a pin and roll up dough like a swiss roll from the shorter end.  Leave dough aside for another 15 minutes.
7. Repeat step 6, this time pinching the seams to seal tightly.  Arrange the 3 rolled up dough with seam facing down into the loaf pan.  Final proof till dough rise up to fill 80% of the pan.
8. In a preheated oven at 170C, bake for 35 minutes.
9. Remove the bread from the baking tin immediately after the baking is done.  Leave the bread on a cooling rack to cool completely before slicing.

For a better understanding of Step 6-7, See Photos Here.

Pandan Chiffon Cake

pandan1 pandan2 pandan4

This Pandan Chiffon Cake recipe was from a corporate desktop calendar.  No celebrity chefs or food bloggers (the recipes compiled were contributed by the staff of the company) , no fancy ingredients, no hype and just one simple photo of the cake.

PANDAN CHIFFON CAKE
Adapted from : Ascendas 2013 Calendar, November Recipe

INGREDIENTS A:

  • 100g cake flour, sifted
  • 6 egg yolks
  • 20g castor sugar
  • 50g olive oil
  • 50g fresh milk
  • 50g coconut cream
  • 50g condensed milk
  • 1 teaspoon pandan leaf juice

INGREDIENTS B:

  • 100g castor sugar
  • 12g corn flour
  • 6 egg whites

Oven Temp : 180C
Duration : 35 minutes of baking, 15 minutes of cooling
Bakeware : 16cm chiffon pan ( I used a 26cm bundt pan without problem)

01. In an electric mixer with paddle attachment, combine egg yolks and castor sugar well at medium speed.
02. Add olive oil, fresh milk, coconut cream, condensed milk, pandan juice, and mix till well combined.
03. Fold in sifted cake flour.  Let batter mixture stand for 10 minutes.
04. In a separate mixing bowl, with a whisk attachment, beat ingredients B (egg whites, cornflour, castor sugar) till stiff peak stage.
05. Fold in egg white mixture gently into the batter mixture in 3 additions, just until blended, without deflating the batter.
06. Pour batter into chiffon cake pan.  Run a butter knife across the batter to remove air pockets.
07. Bake at 180C for 35 minutes or until skewer inserted comes out clean.
08. Invert pan on a rack to cool for 15 minutes before removing to serve.

DIY Envelope Liners

envelopeinserts // mono+co envelopeinserts // mono+co

Followed these instructions to make DIY envelope liners: a simple and low cost way to decorate my otherwise cheap and plain “$1-for-20” white envelopes.  Had extra pattern papers for lining the smaller brown ones too!

And because I used budget envelopes (paper is of the thinnest quality, not Conqueror type) for this project, I could not disassemble the envelopes without tearing them up.  I overcome this problem by simply outlining the envelope with its flap up on the pattern paper, cut this out, and then trim 1cm away only around the flap border.  After that, Insert the liner into the envelope and apply glue on the underside of the pattern paper to secure.  It might not be as neat as if you were to following the original instructions, but hey, no one is going to disassemble the envelopes just to check either!

I find simple monotone pattern papers work best for this project.  You can print your own envelope patterns like these, or browse around here and here to download free paper patterns for personal use.

DIY Honey Peanut Butter

honeypeanutbutter1 honeypeanutbutter2 honeypeanutbutter3

Do you know that by running roasted peanuts in a food processor for several minutes, you’ll get peanut butter?

No lengthy list of ingredients or instructions.  It is interesting to see the peanuts being transformed into a smooth paste within 5 minutes.  I make just enough to be consumed within 2 days using a handful of peanuts.  It will take slightly more time to process for larger servings.  I stopped short of letting them becoming too runny as it is more difficult to use as a bread spread.  As a drizzle for waffles or pancakes, I will process them longer.

I do not add salt or oil, like most recipes online, as I use ready roasted salted peanuts.  Make sure you get the skinless ones.  Honey is added towards the end of the blending process to make it tastier for the kids.   After reading this, I might even consider adding chocolate chips for my next batch.

Brown Bag Makeover

brownbag1 brownbag2 brownbag3 brownbag4 brownbag5 brownbag6

The brown bag is one of my favorite gift packaging material for food and goodie bags.  Using simple decorating embellishments such as a pretty ribbon or a gift tag, the bag can look too pretty to be opened up.

Sometimes, the content that you are putting inside the bag can make an interesting decoration as well, such as these nostalgic biscuits from biscuit king.  I showed them off by adding a see through window on the brown bag.

Simply put a small cutting mat inside the bag, and cut out “window” with an X-Acto knife.  I think the round “window” makes the best looking one.  After that, decorate to desire with embellishments.  I used really minimalistic looking ones like round buttons, and neutral color washi tapes, so that the packaging would not look to “busy”.

Rojak Salad

rojak salad // mono+co

rojak salad // mono+co

The 油条/fried dough fritters stall near my place is really popular on weekends.  People buy them to dip in black coffee, pork porridge, mung bean dessert, or simply eat the fritters on their own.  Since the waiting time was almost 1 hour, I bought extra for homemade rojak salad, to make the wait more worthwhile.

It’s really easy if you already have the ready rojak sauce like this, or you can also try to make one at home.  There are variable ingredients that can be used for rojak, depending on what you have in the pantry, or what you like.  I used local turnips (correct term is jicama), canned rambutans, pineapples, and the dough fritters of course.  The rojak stalls will usually include beancurd puffs, mango, cucumber and bean sprouts, topped with a generous tablespoons of ground peanuts.

Mid-Year School Exam

examschedule

The mid year exam is starting really soon.  I up-cycled a “horse racing calendar” and turned it into a customized calendar/ exam schedule.  Other items used: brown paper and neon post-it notes (to state down the exam dates and the topics / practice papers we need to go through.)

Took a snap before the dates and plans are written on, it can get quite messy with all our last-minute catch up!

Homemade Chocolate Brownies

brownie2 brownie1 brownie3brownie4

This recipe from Alice Medrich (via The Amateur Gourmet) makes brownies that are crusty on the surface and chewy inside.

// Shopping List :

  • 10 tablespoons (140 grams) unsalted butter,
  • 1 1/4 cups (250 grams) sugar
  • 3/4 cup plus 2 tablespoons (65 grams) unsweetened cocoa powder (natural or Dutch-process)
  • 1/4 teaspoon salt
  • 1/2 teaspoon pure vanilla extract
  • 2 large eggs, cold
  • 1/2 cup (65 grams) all-purpose flour
  • 2/3 cup (75 grams) walnut or pecan pieces (optional)
  • 8 x 8 inch  baking pan
  • Parchment paper

// Instructions : The Amateur Gourmet

DIY Ikea Pello/Poang Chair Felt Cover

diy ikea pello cover // mono+co

Our trusty 10 year old Ikea Pello armchair badly needs a new cover, but the price (starts from $50 for the most basic fabric design) made it difficult for me to decide, when I see a brand new Pello costs only $69.

Since there was nothing really wrong with the frame structure, I decided to sew the cover myself.  I found some ready-cut felt cloth (70cm x 60cm) in gray (I used four) and a ball cotton lace yarn in matching color within the craft section of Daiso. Total bill came up to just $10.
Here’s my plan to put the 4 pieces of felt together.

diy ikea pello cover // mono+co

diy ikea pello cover // mono+co diy ikea pello cover // mono+co diy ikea pello cover //mono+co

I kept the original cushion + cover inside as stuffing.  I hand-sewn the entire thing with back stitch, did not take too long as there was no cutting, or detailed measuring required.  The dimension of the ready cut felt cloths fits wonderfully well, and the cover was still removable for washing (or replacing) in the future.