I am still a novice when it comes to fancy bread shaping. But I am learning.
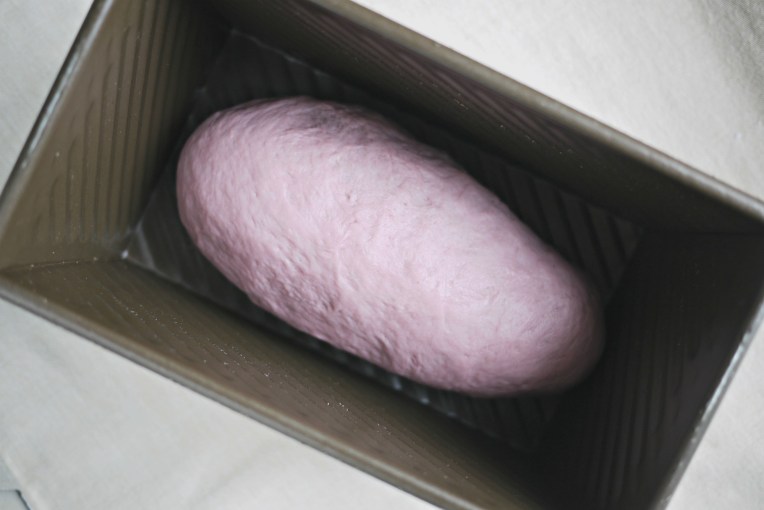
Most of the time, I decide the shape of my bread while the dough is going through its bulk rise, not before I start gathering ingredients to bake. Having said that, there were occasions when I switched lanes at the very last minute. It helps that bread recipes are really versatile in terms of shaping and baking. Like today’s post. The bread was meant to be baked into a loaf, I changed pans to bake them into small buns instead. On a separate day, I might shape them into bagels and bake them on a tray. Or, divide the dough into 3 portions, and bake a plaited loaf. The possibilities are endless, as long as the recipe produces soft buns that I like.
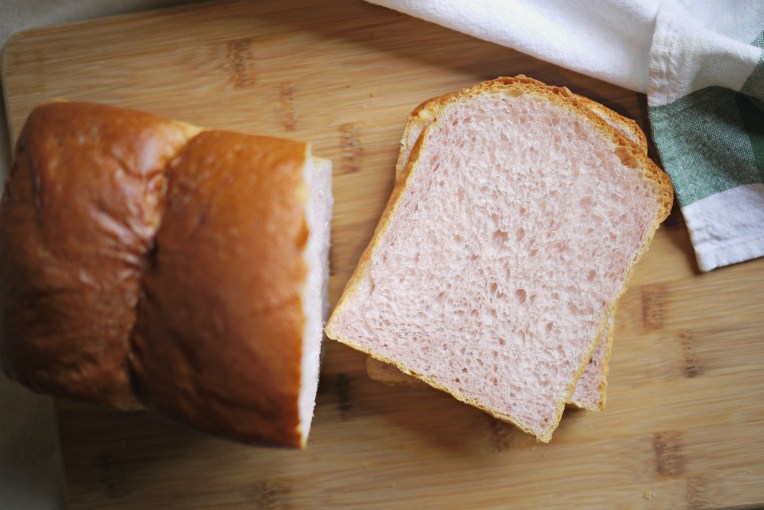
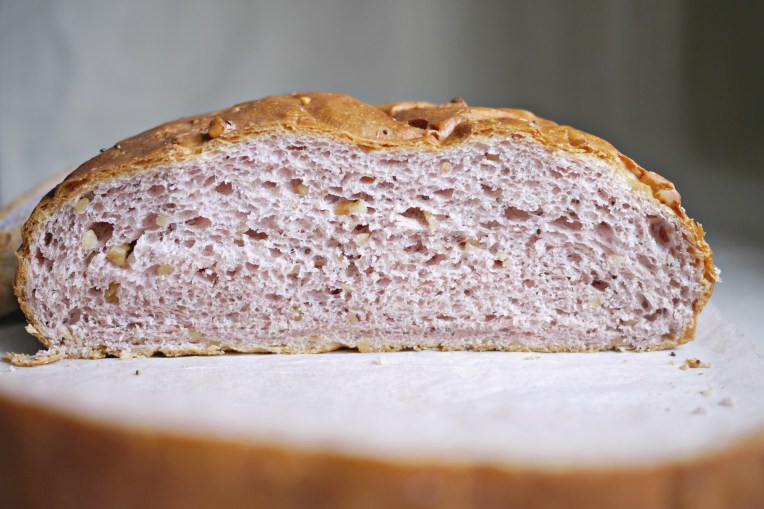
The basic ingredients and method that I have been playing around with are pretty similar. To the purists, bread should be no more than a coagulation of flour, water, and yeast. I added more because I will be bored with eating the same thing every day. Same reason for shaping them differently. With a little bit of prompting from my grocer (taro was highly recommended that day!) and some creativity in shaping the bread, I can’t wait to explore more on bread shaping.
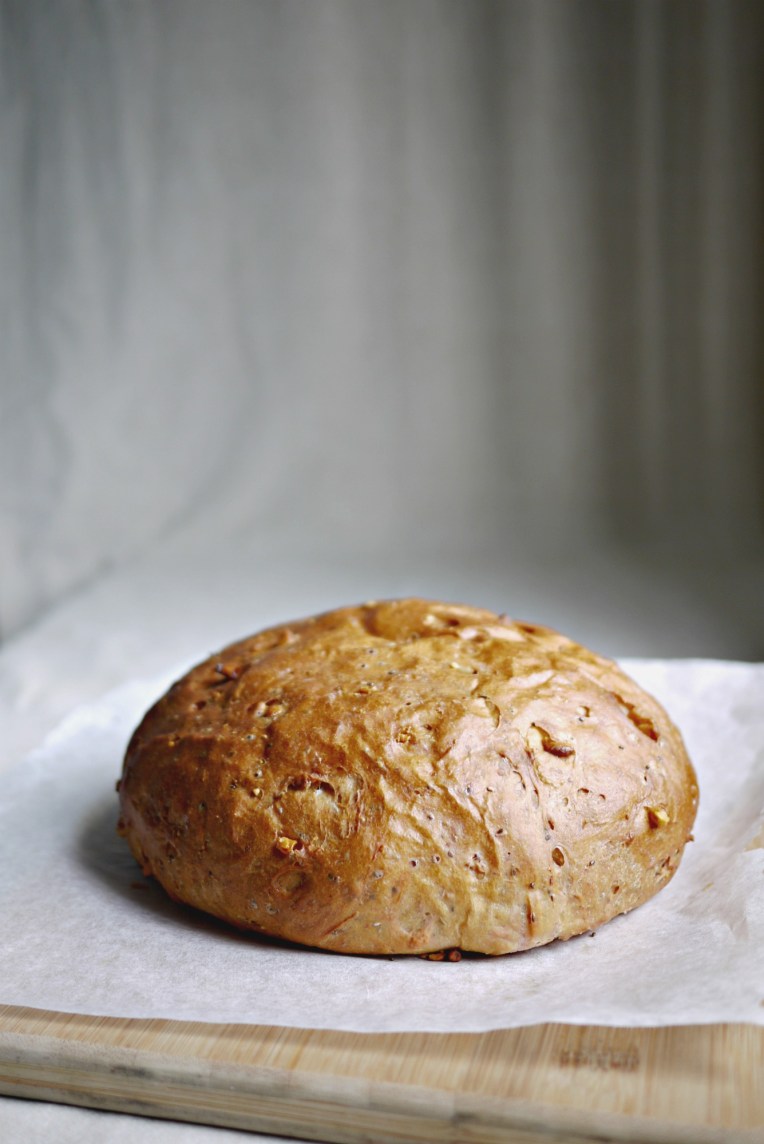
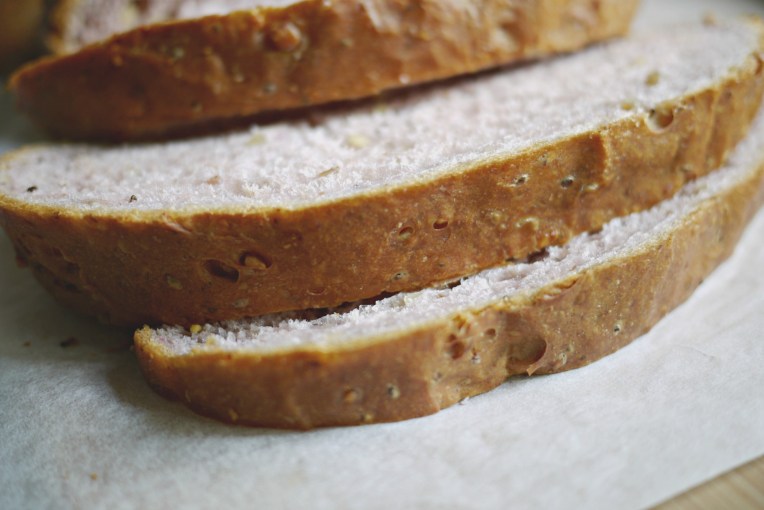
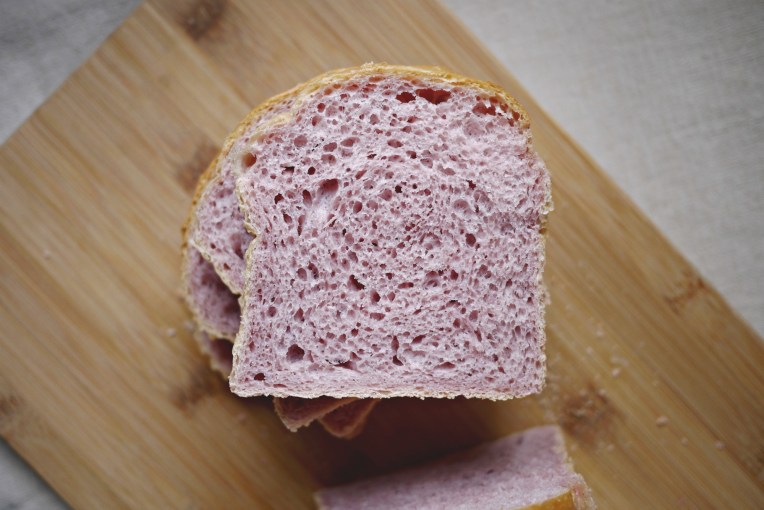
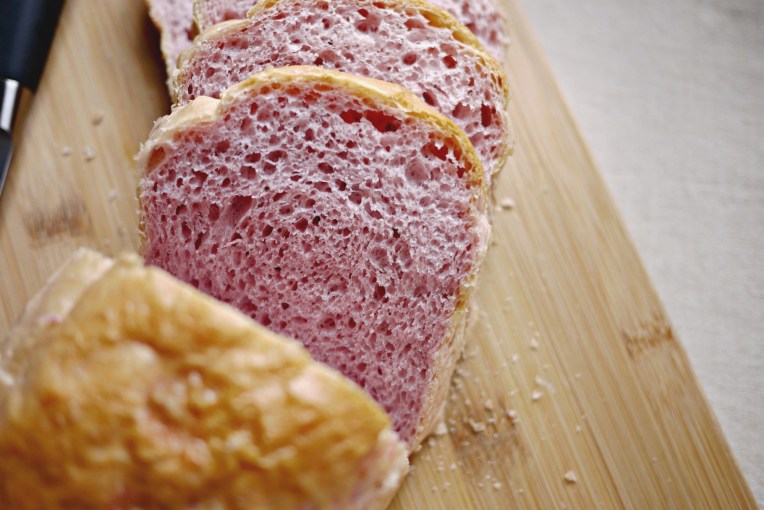
Fluffy Soft Taro Buns
230g bread flour
1/2 tablespoon instant dry yeast
1/4 teaspoon sea salt
2 tablespoon raw sugar
100g steamed taro
1 large egg **
30-40g water
37g cold butter
optional toppings: black,white sesame seeds
** I use a large egg weighing 70g
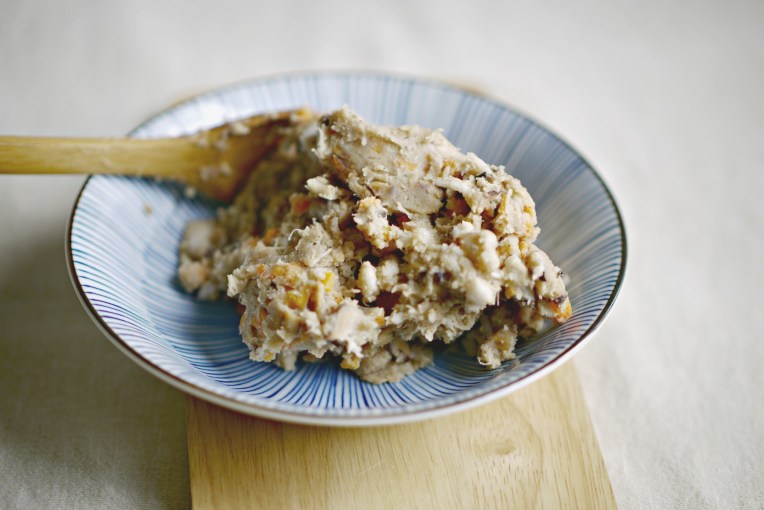
In mixer bowl, combine bread flour, yeast, salt, and sugar well with a hand whisk. After the dry ingredients are mixed, add cooled mashed taro, beaten egg and half of the water. Start the mixer and knead on its lowest speed (KA 1) . If the ingredients do not come together into a ball, slowly add more water, tablespoon by tablespoon, once a rough ball dough starts to form, stop. Let the dough sit for 15 minutes. If your kitchen is windy, cover the bowl with a clean tea towel.
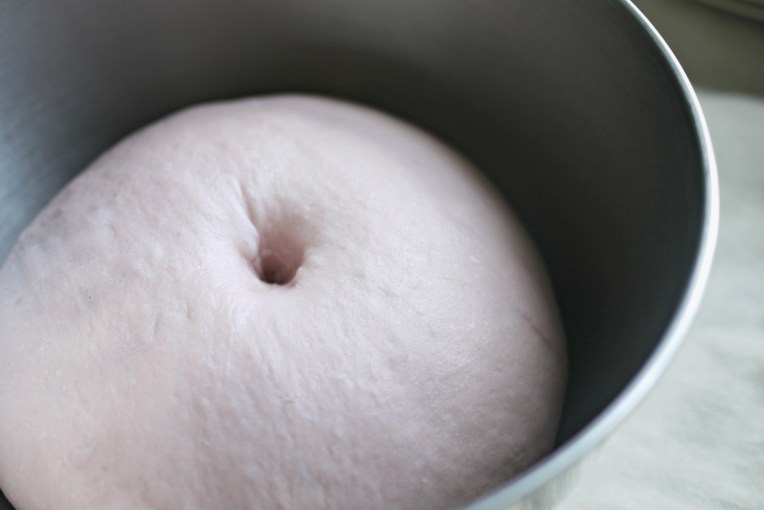
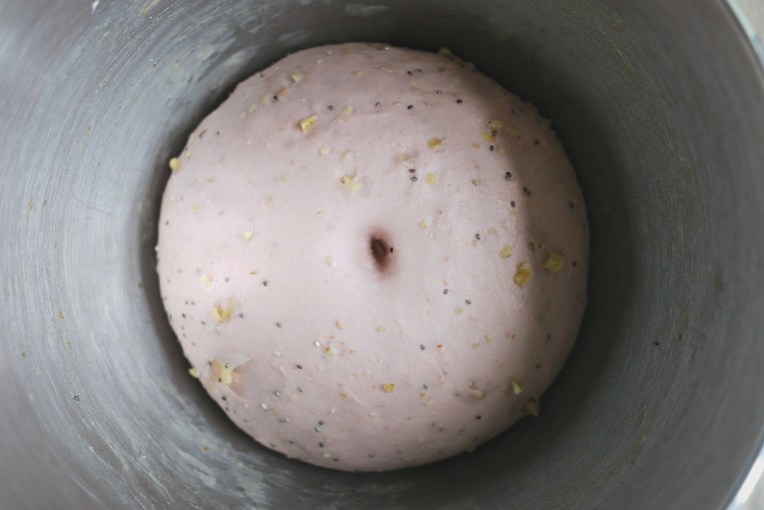
After 15 minutes, start the mixer again and knead for 1 minute before adding cubed butter, one by one. Knead this until the dough reaches window pane stage; when the dough becomes very smooth and elastic. Remove bowl from mixer and bulk rise this for 1 hour. It will rise to double its original volume.
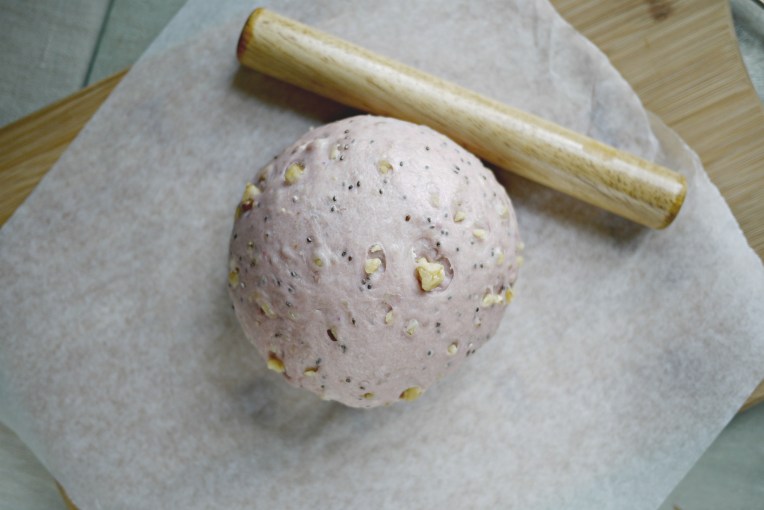
Punch the dough down and transfer it to a clean work top. Divide the dough into 6 equal portions and shape each one of them roughly into a ball, let them rest for 15 minutes, covered.
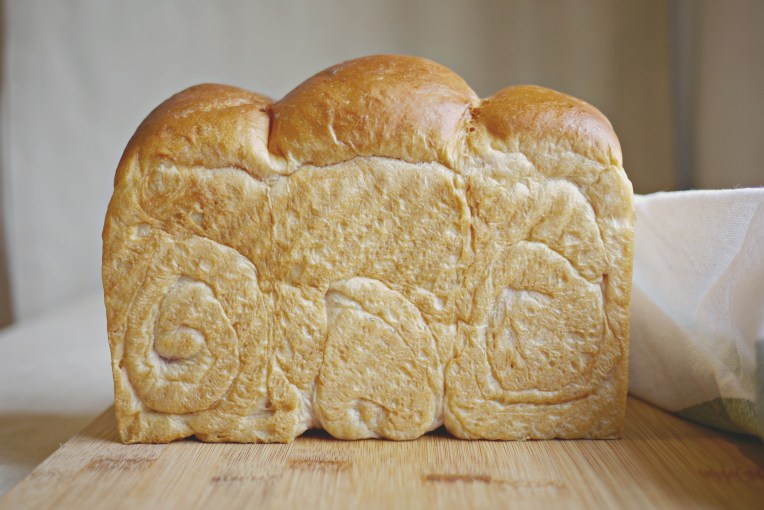
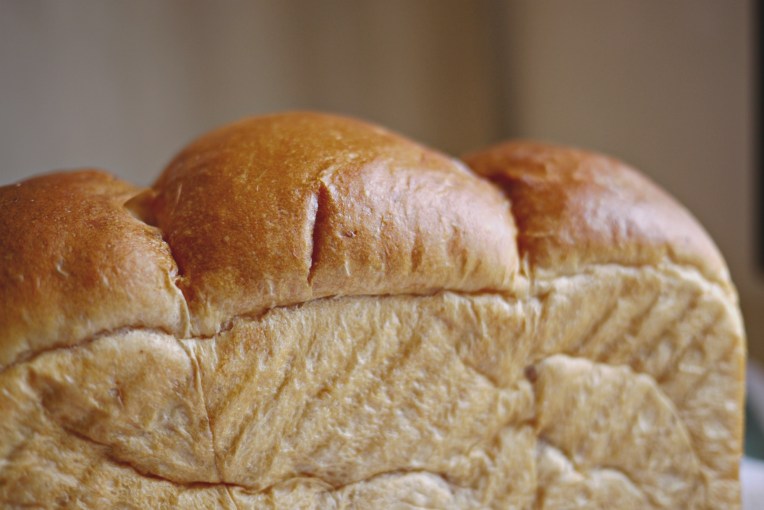
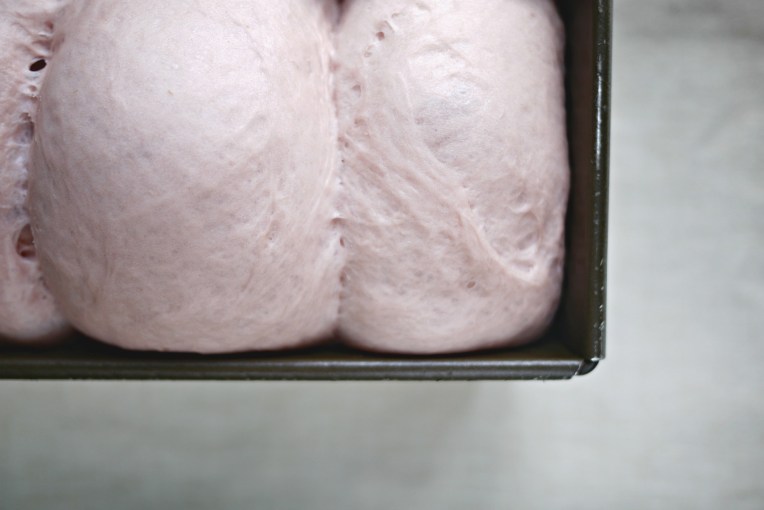
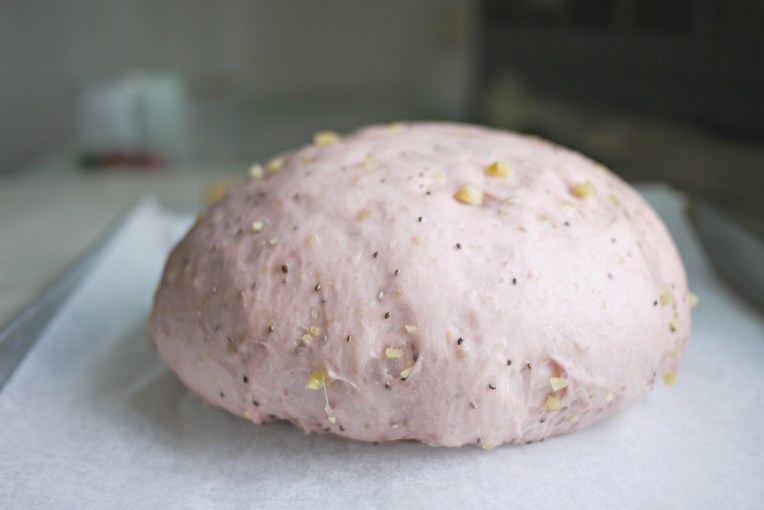
After 15 minutes, the doughs would expand slightly. With a rolling pin, flatten each dough to push out the gas and then shape them into tight balls. Place them in a well greased 8″ tube pan and proof for 50-60 minutes. The doughs would expand to reach the top of the pan, and form triangular shaped buns. Spray a light mist of water on top, and sprinkle black/white sesame seeds on each dough.
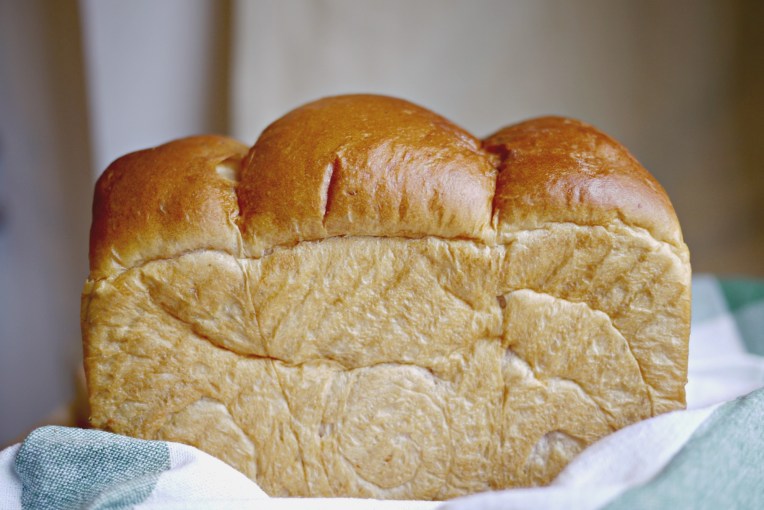
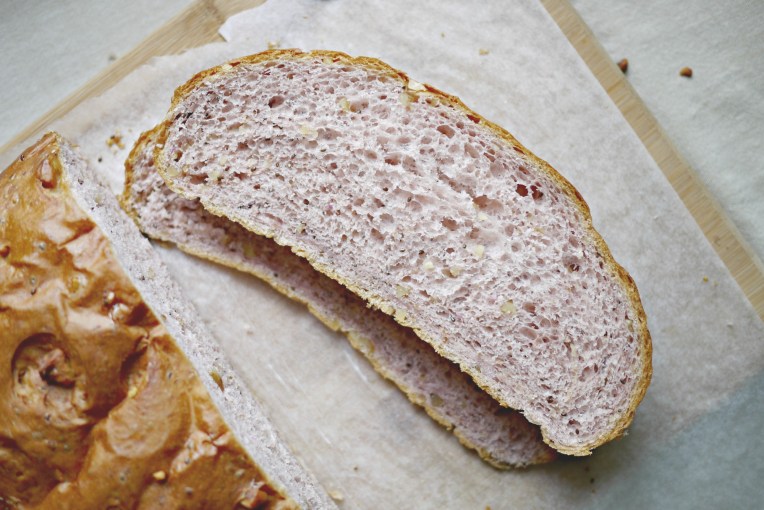
Bake in a preheated oven at 160C for 25 minutes. Once done, invert pan to carefully remove bread from the pan and let it cool completely on a rack.