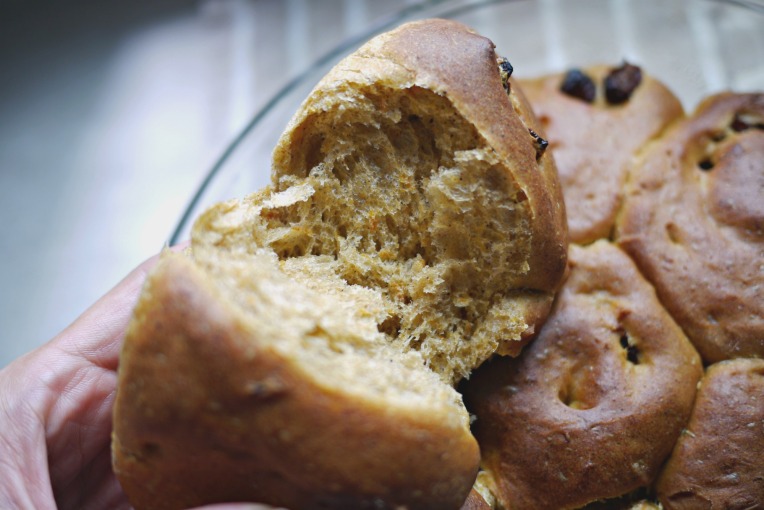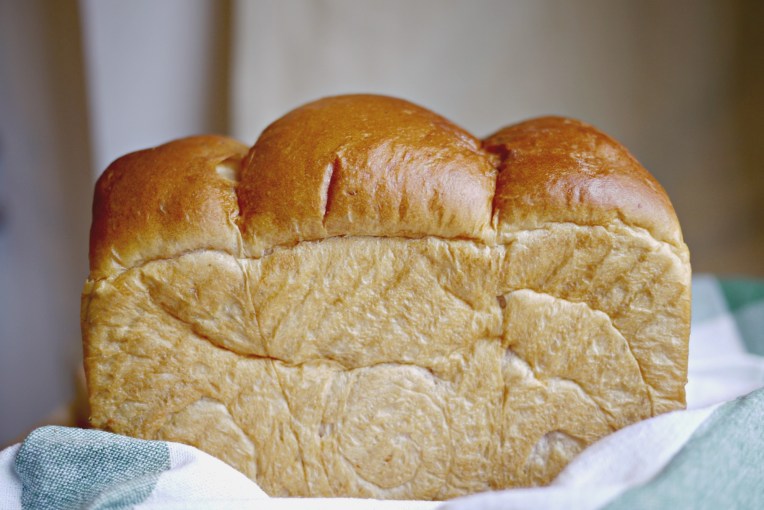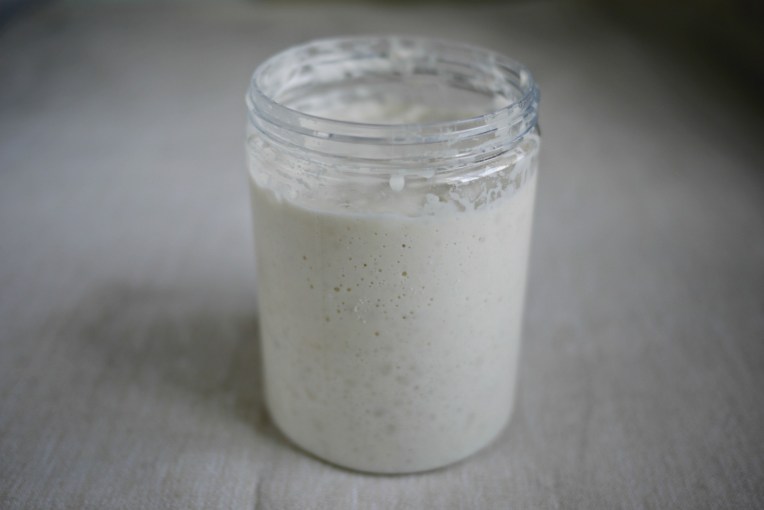
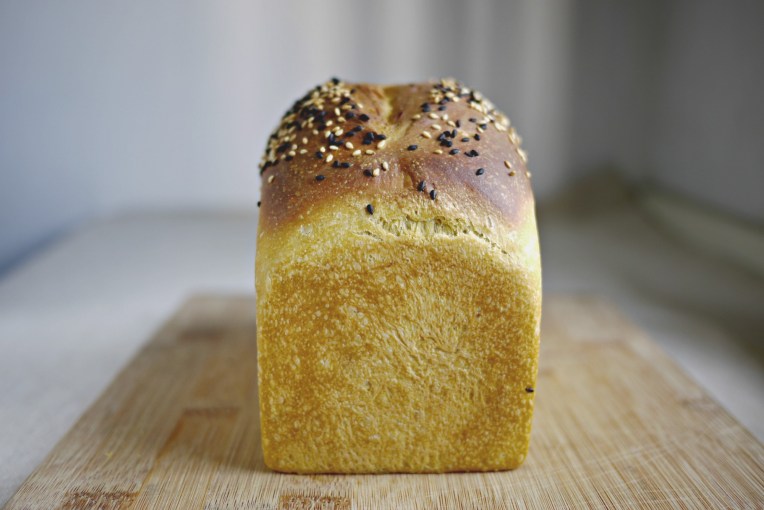
I am so addicted to the height my natural starter gives to all the homemade bread. The dough might take longer to bulk rise or ferment, but the magic they do once they are in the oven is amazing.
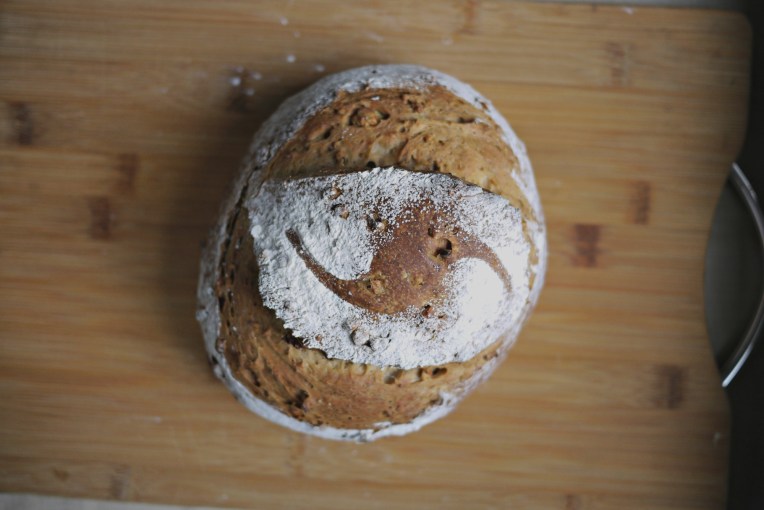
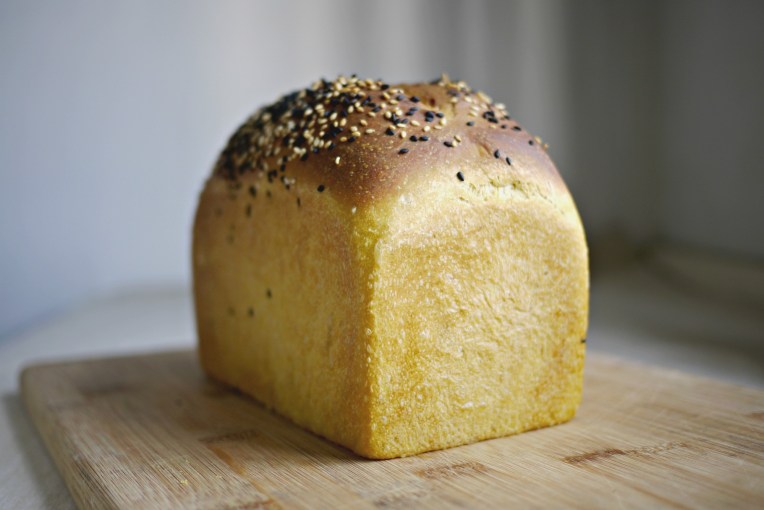
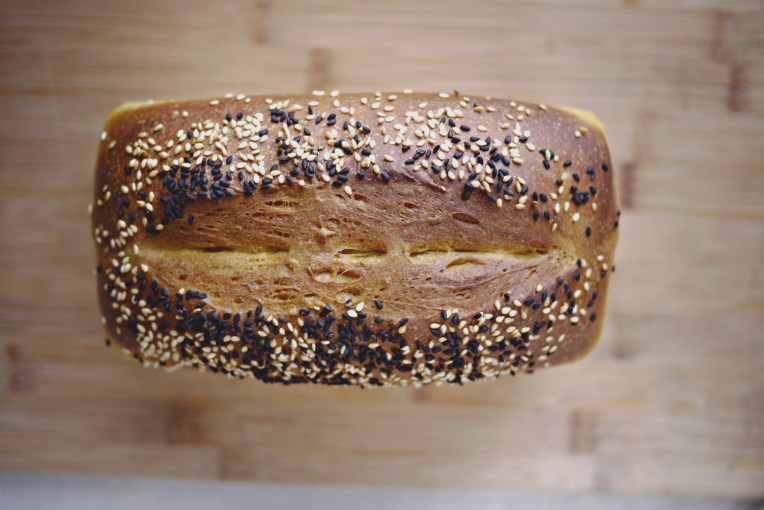
I sprinkled a mixture of white + black sesame seeds and slashed the loaf top lengthwise for decorative effect because I know the natural starter will create an oven spring that gives the loaf a beautiful split top look. And I was not disappointed.

NATURAL STARTER PUMPKIN PULLMAN LOAF
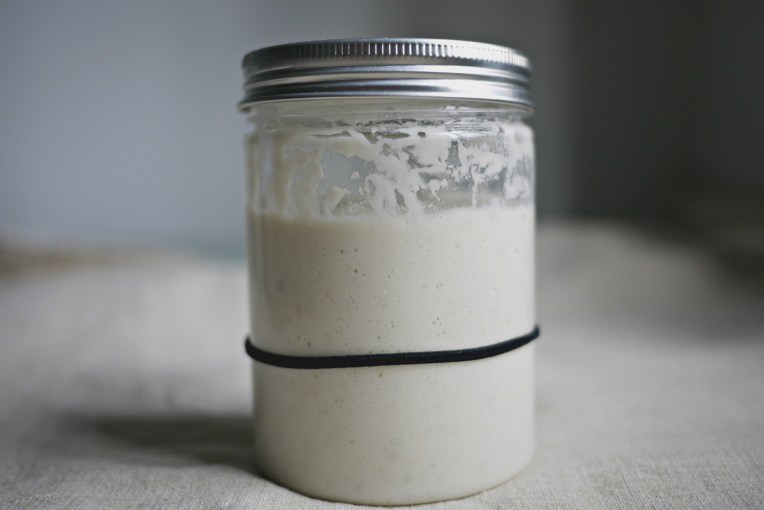
150g fed starter **
245g plain flour
100g steamed pumpkin
2 tablespoons brown sugar
17g water
1/4 teaspoon sea salt
20g cold butter, cubed
1 tablespoon black + white sesame seeds
** I used a starter made from raisin yeast.
In a mixer bowl, add the starter, plain flour, cooled and mashed pumpkin, and brown sugar. Start mixer to knead on its lowest speed with a dough hook, and add water in a trickle until a dough ball is formed. You might not use up all the water or you might need more, depending on the hydration level of the ingredients, especially with pumpkin. Stop the mixer and let the dough rest for 15 minutes to allow the flour to absorb the liquid better.
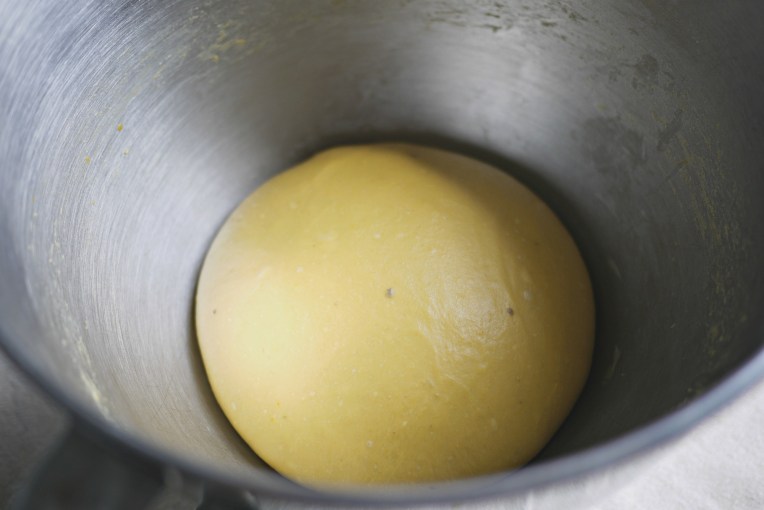
After 15 minutes, sprinkle the sea salt on the dough and start the mixer again to knead for 1-2 minutes before adding cubed butter one by one. Knead until the dough reaches window pane stage. Stop mixer and leave the dough to bulk rise at room temperature for 120 – 150 minutes, until the dough expands and passes the poke test, a sure sign that the first fermentation is completed.
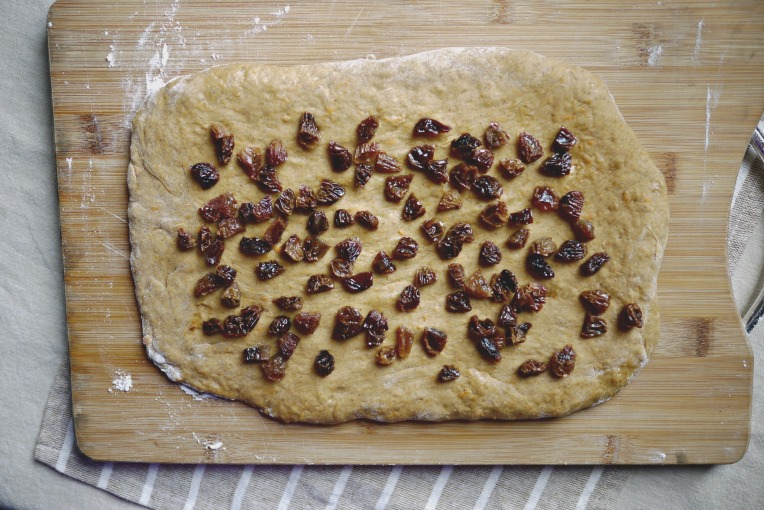
After the dough has risen to double its volume, punch down the dough to deflate and transfer to a clean work top. Sprinkle worktop and palms with flour if the dough is too sticky to handle.
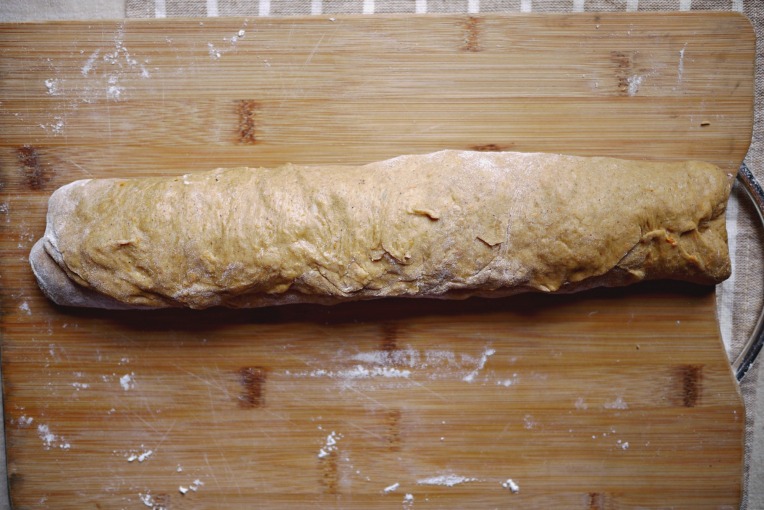
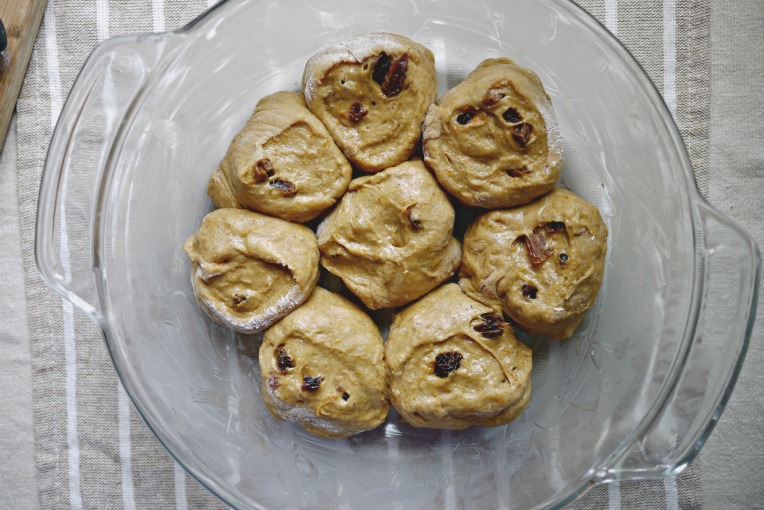
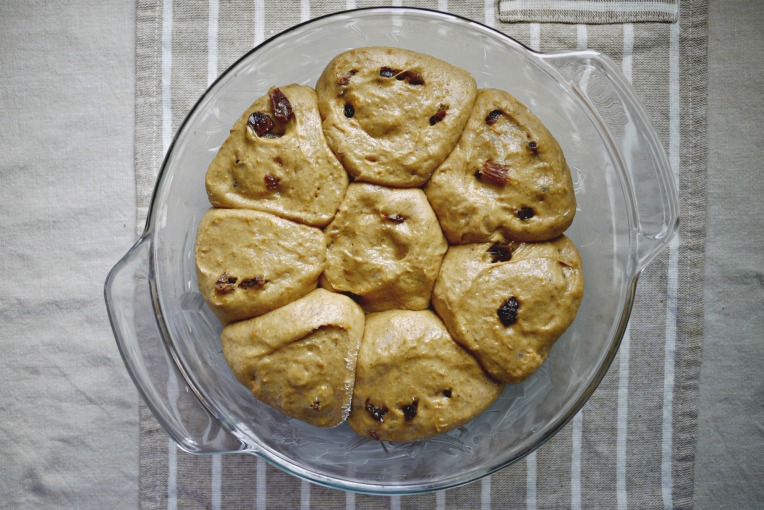
Flatten the dough with a rolling pin to push out air bubbles trapped inside during the bulk rise stage. Shape the dough into a long roll that fits inside a Pullman tin, mist the top of the dough with some water, and sprinkle black and white sesame seed mix on top evenly. Then place the dough in the tin and proof for another 120 – 150 minutes, till the bread height rise to reach the top of the tin. Make a deep slash across the top of the dough, lengthwise, before baking in a preheated oven at 200C for 25 minutes.
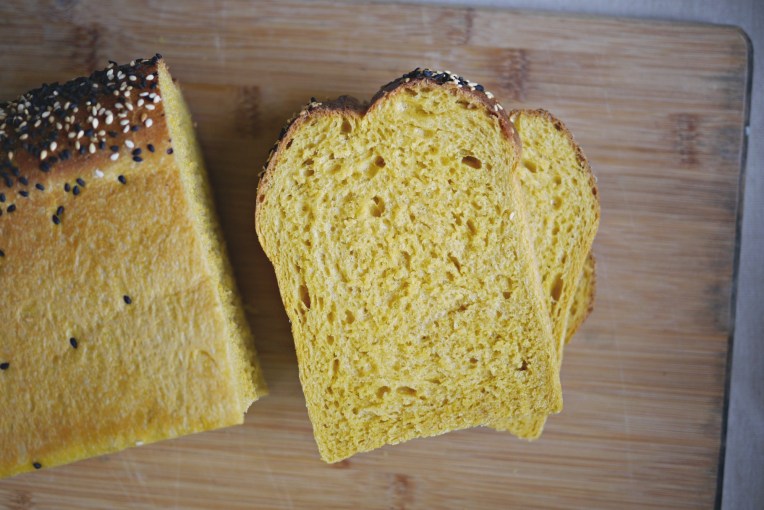
Remove bread from tin immediately after baking and cool completely on a rack before slicing or serving.