The dry goods store ran out of plain flour so I went home looking for a wholemeal flour recipe to bake instead.
I ended up baking with this oat and wheat sandwich bread recipe but not before tweaking it with homemade oat flour instead of rolled oats. Simply run the rolled oats/instant oats/oatmeal in food processor for a while until they become oat flour. Instant, quick-cooking version or not, all works. If you want them really fine, sift before using. If not, simply dump everything like me into the recipe that calls for oat flour, I consider those larger bits as “additional fibre”. I have been doing this for years, saving money and storage space for yet another pantry item. Since it is so easy to make, I only make what I need to use up, nothing more.

Back to the bread. Another interesting thing I find about this recipe is that I can leave the dough to ferment in the fridge for up to 5 days. Sounds like a good idea for Sunday breakfast.

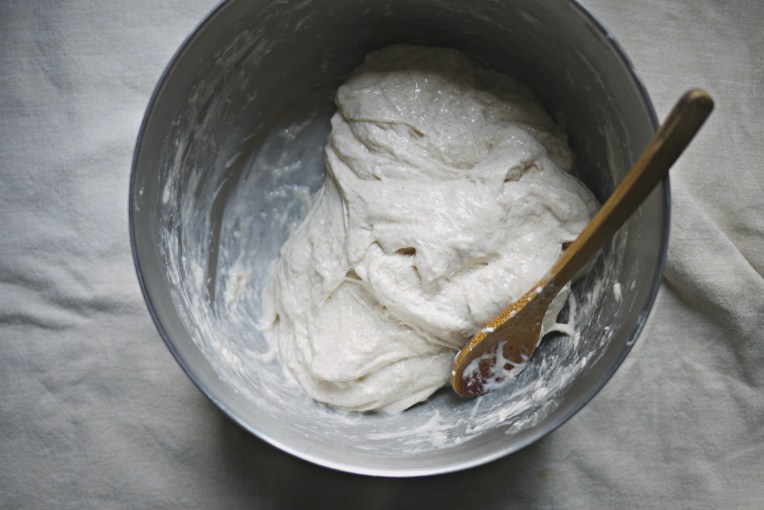
I knead the dough until window pane stage although the original recipe didn’t mention. It’s my ticket to fluffy soft bread.

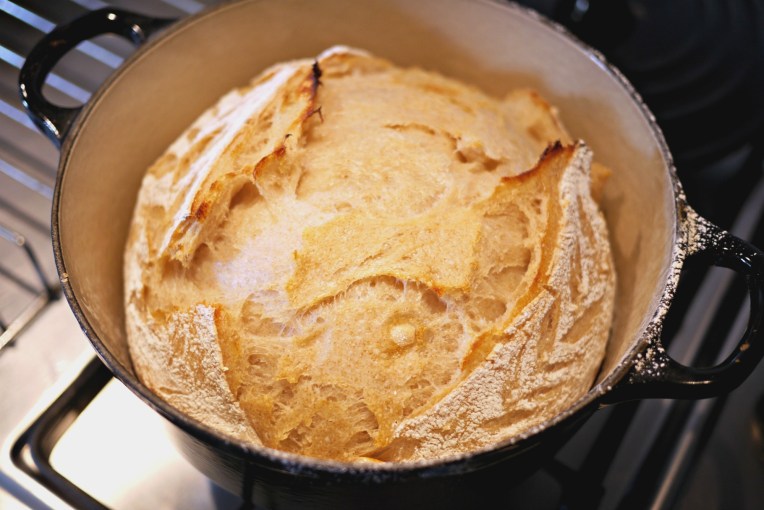
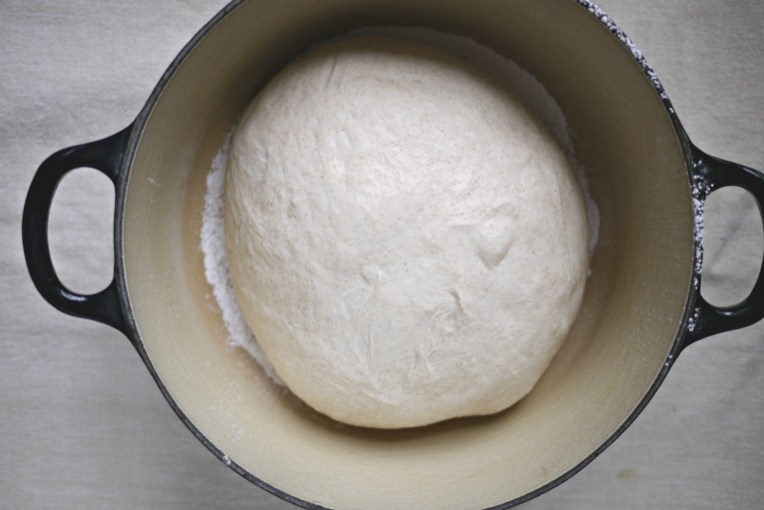
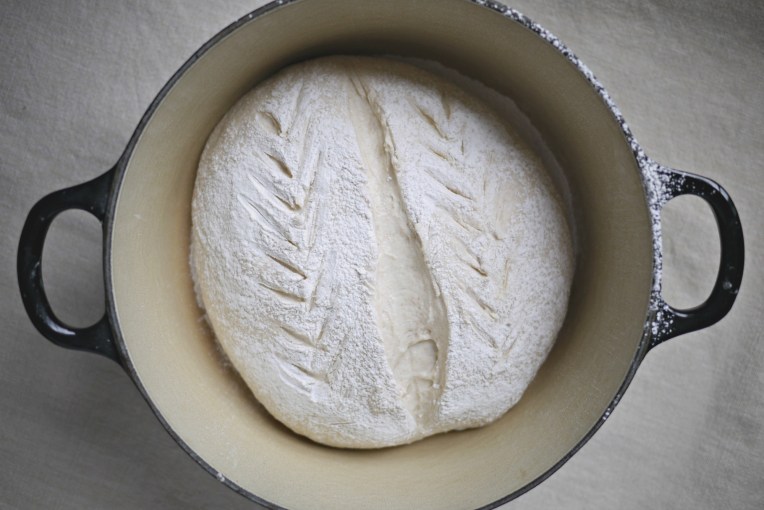
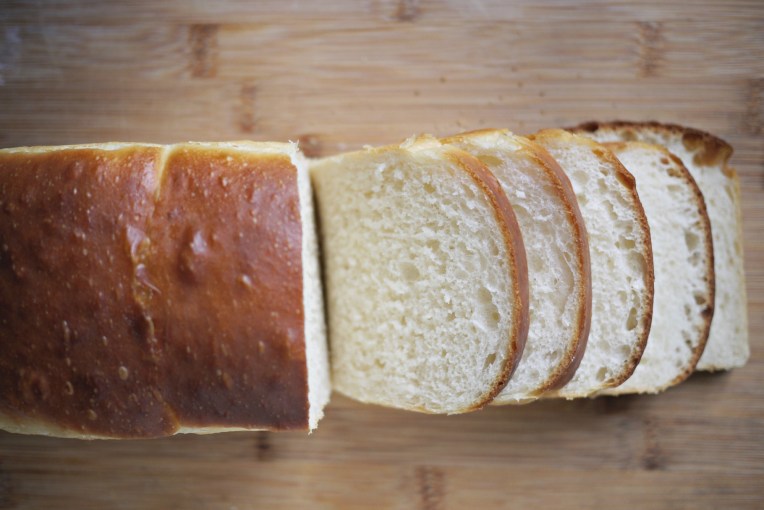
I proof all my loaves in a 10 inch diameter pot with a glass cover, so I can see how much the dough has risen. Before baking, I brushed the top with water and sprinkled some rolled oats for decoration. But…..

… the rolled oats topping seemed unnecessary afterall as they fell off while I sliced cooked bread. I won’t mention this step in the recipe below.

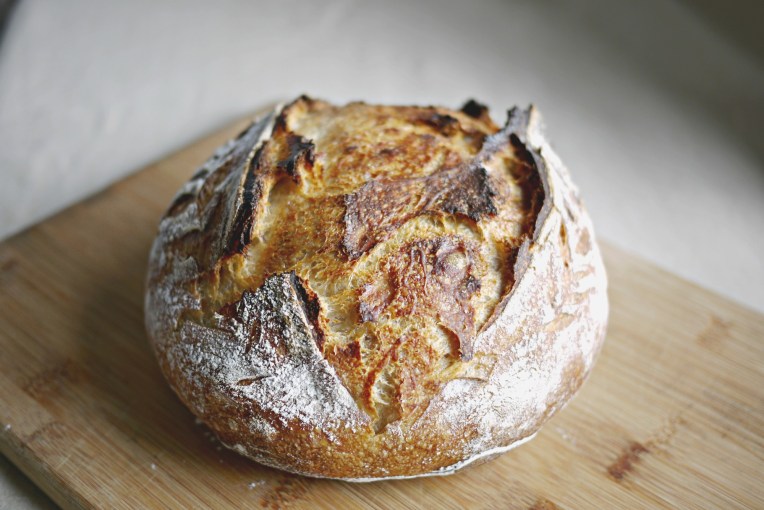
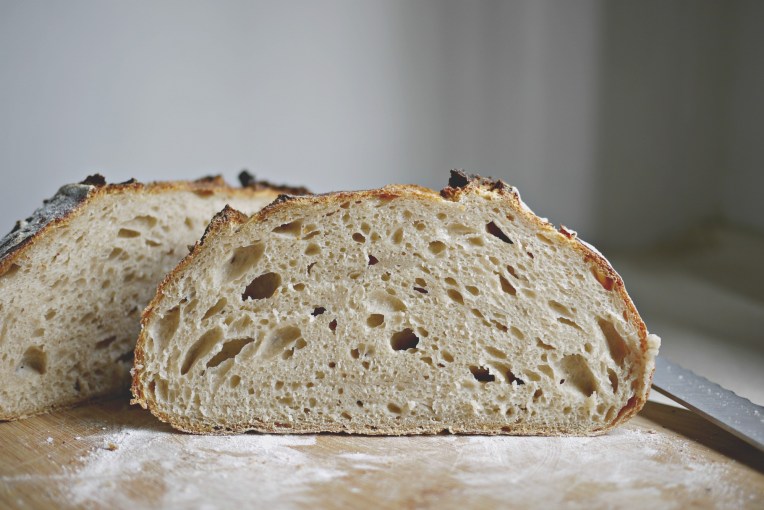
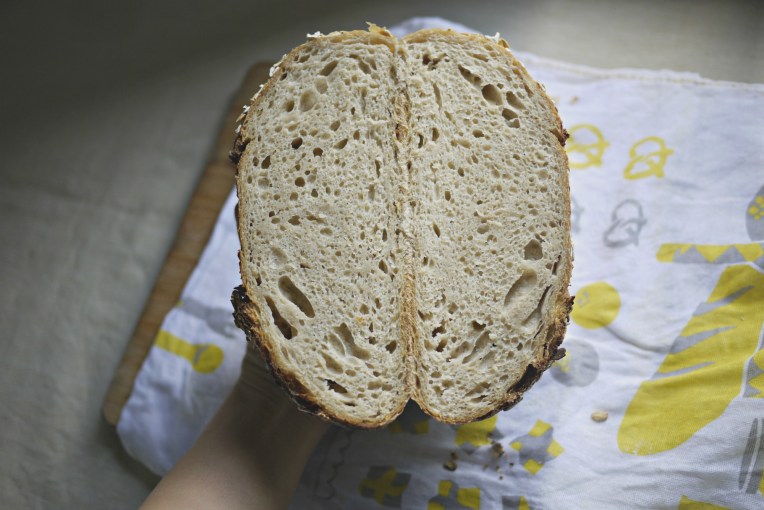
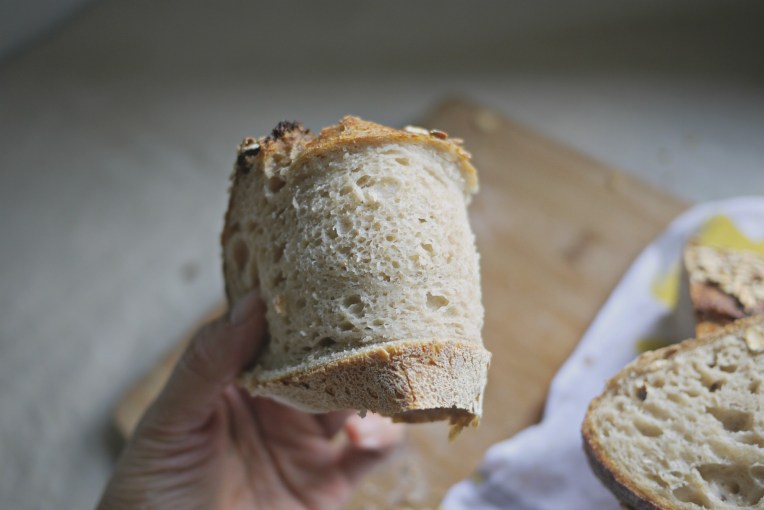
For some reason (low gluten flour as this article stated?) the bread slice was crumbly, but held together better significantly after popping it inside toaster for 2 minutes. Come to think of it, I have never baked a bread without plain flour, most of my homebaked wholemeal bread is a 50/50 flour mix. 5-day fermentation is the next thing to try with this bread recipe.

Oat and Wholewheat bread loaf
adapted from here

315g wholemeal flour
80g oat flour
1 teaspoon sea salt
2 tablespoon raw sugar
1 teaspoon instant dry yeast
1/2 egg
1 1/4 cup water
25g chilled butter, cubed
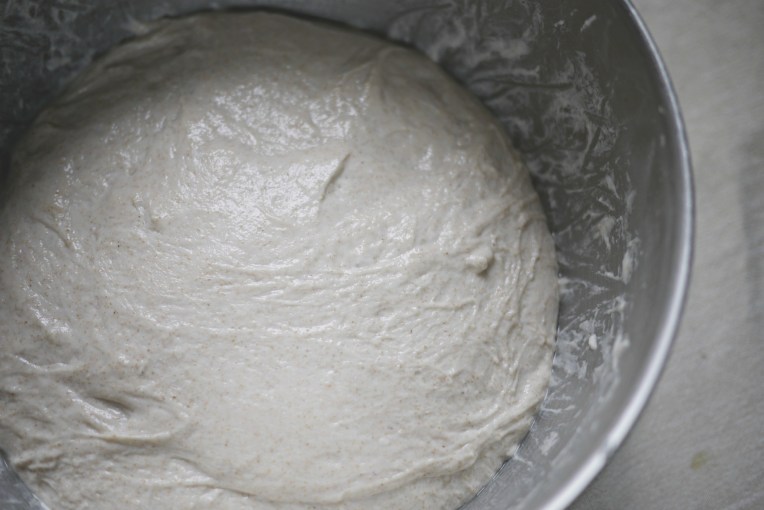
In a mixer bowl, place these ingredients: wholemeal flour, oat flour, sea salt, raw sugar, instant yeast, egg and knead with a dough hook attachment on the lowest speed (KA 1). Slowly add the water with the mixer running, you may need more or less of the water stated in the recipe. Watch the dough, when the ingredients come into a ball, stop adding and turn off the mixer. Let the dough rest for 15-30 minutes.
After resting the dough, start the mixer running on its lowest speed again to knead the dough for 1 minute, before adding cubed butter, one by one. Knead until the dough reaches window pane stage, this is when the dough becomes very smooth and elastic, and starts to pull away from the sides of the bowl. Remove the bowl from mixer, cover and bulk rise for 1 hour.
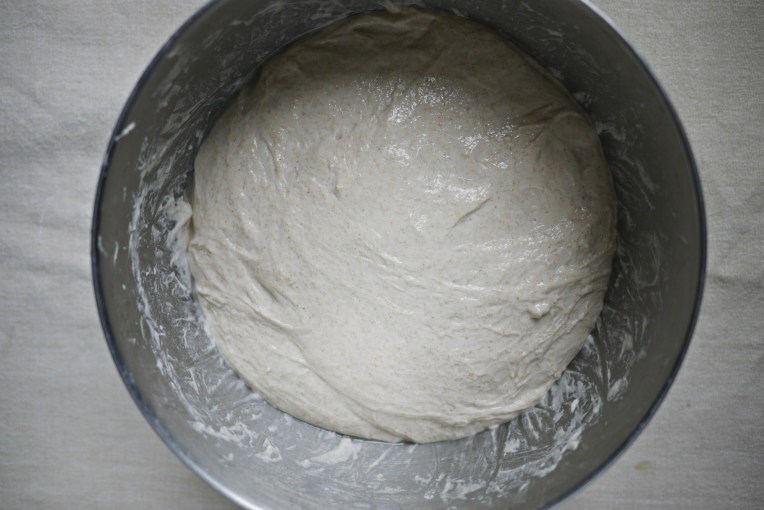
After an hour, the dough should rise and increase its volume, punch it down to release the gas, and transfer to a clean work top. Flatten the dough to push out gas trapped inside the dough, either by hand or a rolling pin. If the dough is sticky, flour hands and worktop to help with shaping. Shape the dough into a log and place it in a greased bread tin, seam side facing downwards. Let this sit in a draft-free place to rise for another 50-60 minutes.
Bake in a preheated oven at 170C for 30 minutes. Remove the bread from the pan immediately after baking, and let it cool on a rack completely before slicing or serving.
Store in an airtight container if not consumed immediately, to keep the crumbly loaf from further drying out.