Pancakes With Molded Butter Pads

kidsmakepancake1 kidsmakepancake3 kidsmakepancake4

I’m not sure my kids like making the banana pancakes or the butter pads better, but both recipes are pretty fool-proof, and extra fancy for a looong morning breakfast.  If your kids can stir, they can make these.

A plea from the pancakes: use real butter, not man-made margarine.  Make these individual servings of butter with your favorite chocolate molds the night before.  I got mine from Daiso, they have cute looking teddy bear ones too!

DIY MOLDED BUTTER PADS

1. Soften butter (salted or unsalted are fine, individual preference) to room temperature.
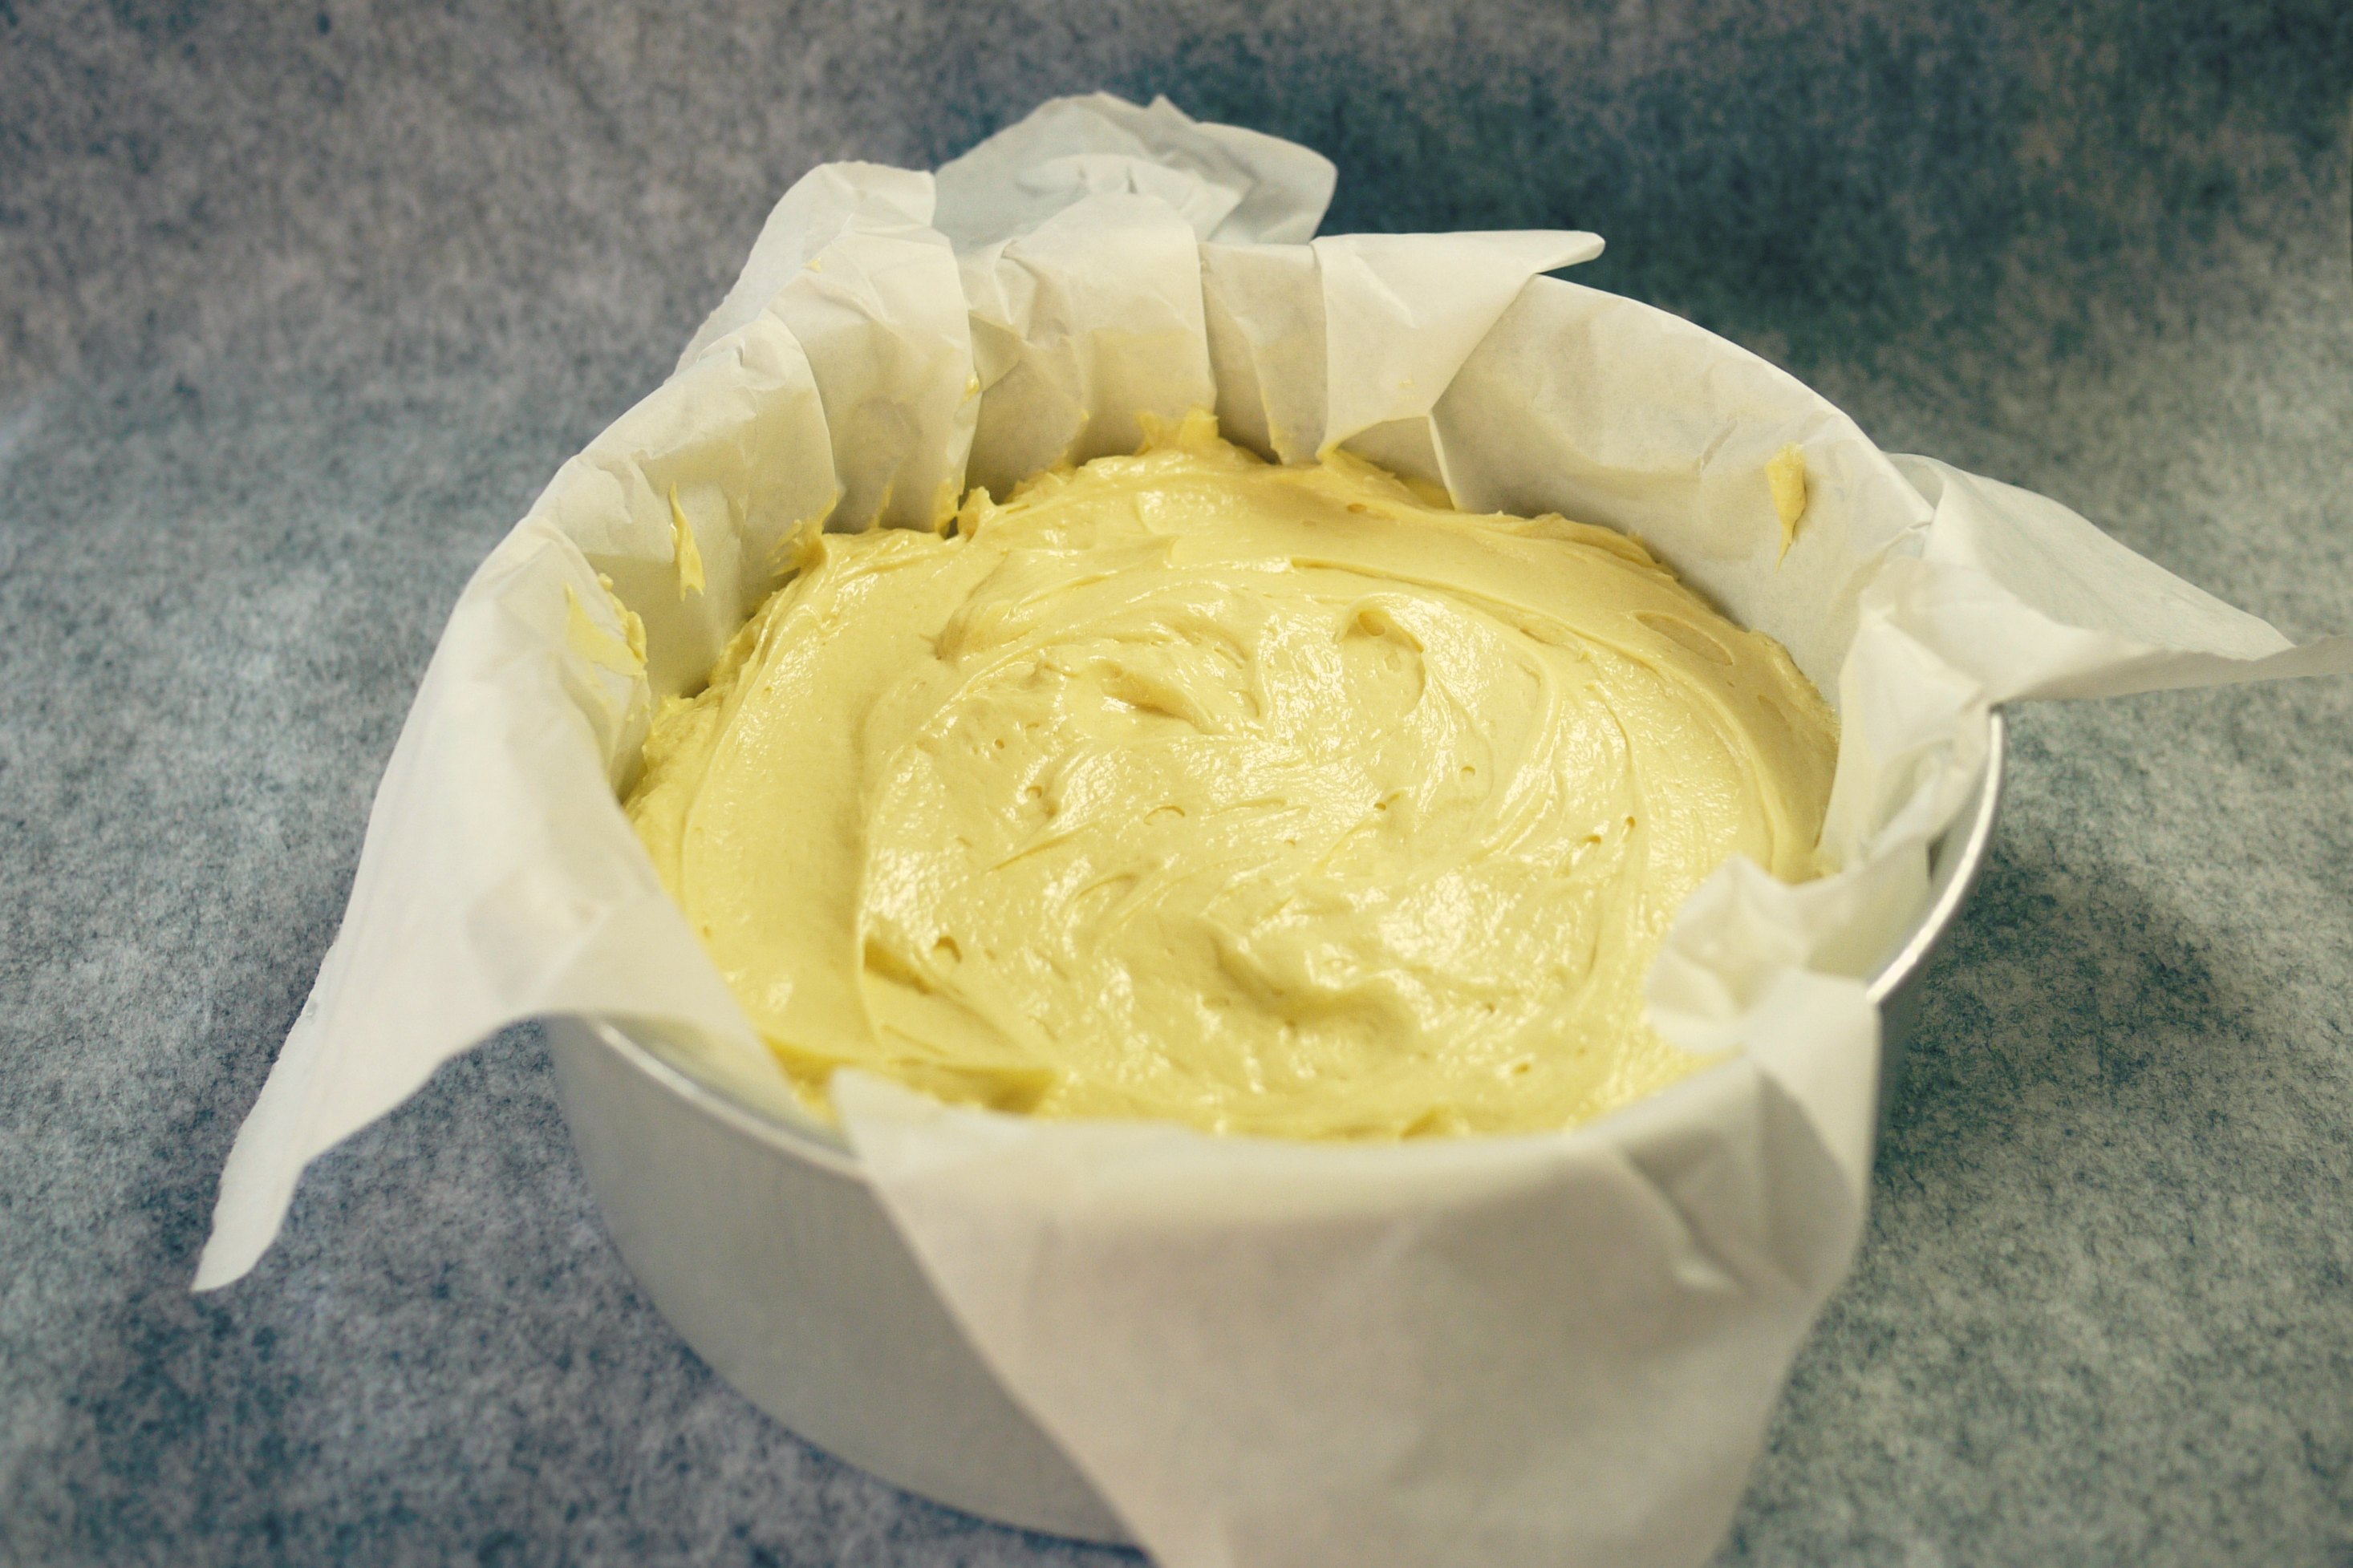
2. Spoon softened butter into molds, minimizing air bubbles.
3. Freeze the molds in freezer for 1 hour, or chiller compartment overnight.
4. Remove mold from fridge and tap them on counter top to dislodge the butter pads from the mold.
5. Use immediately, or keep them in a container, but always keep them in the chiller so that they won’t melt and go out of shape.

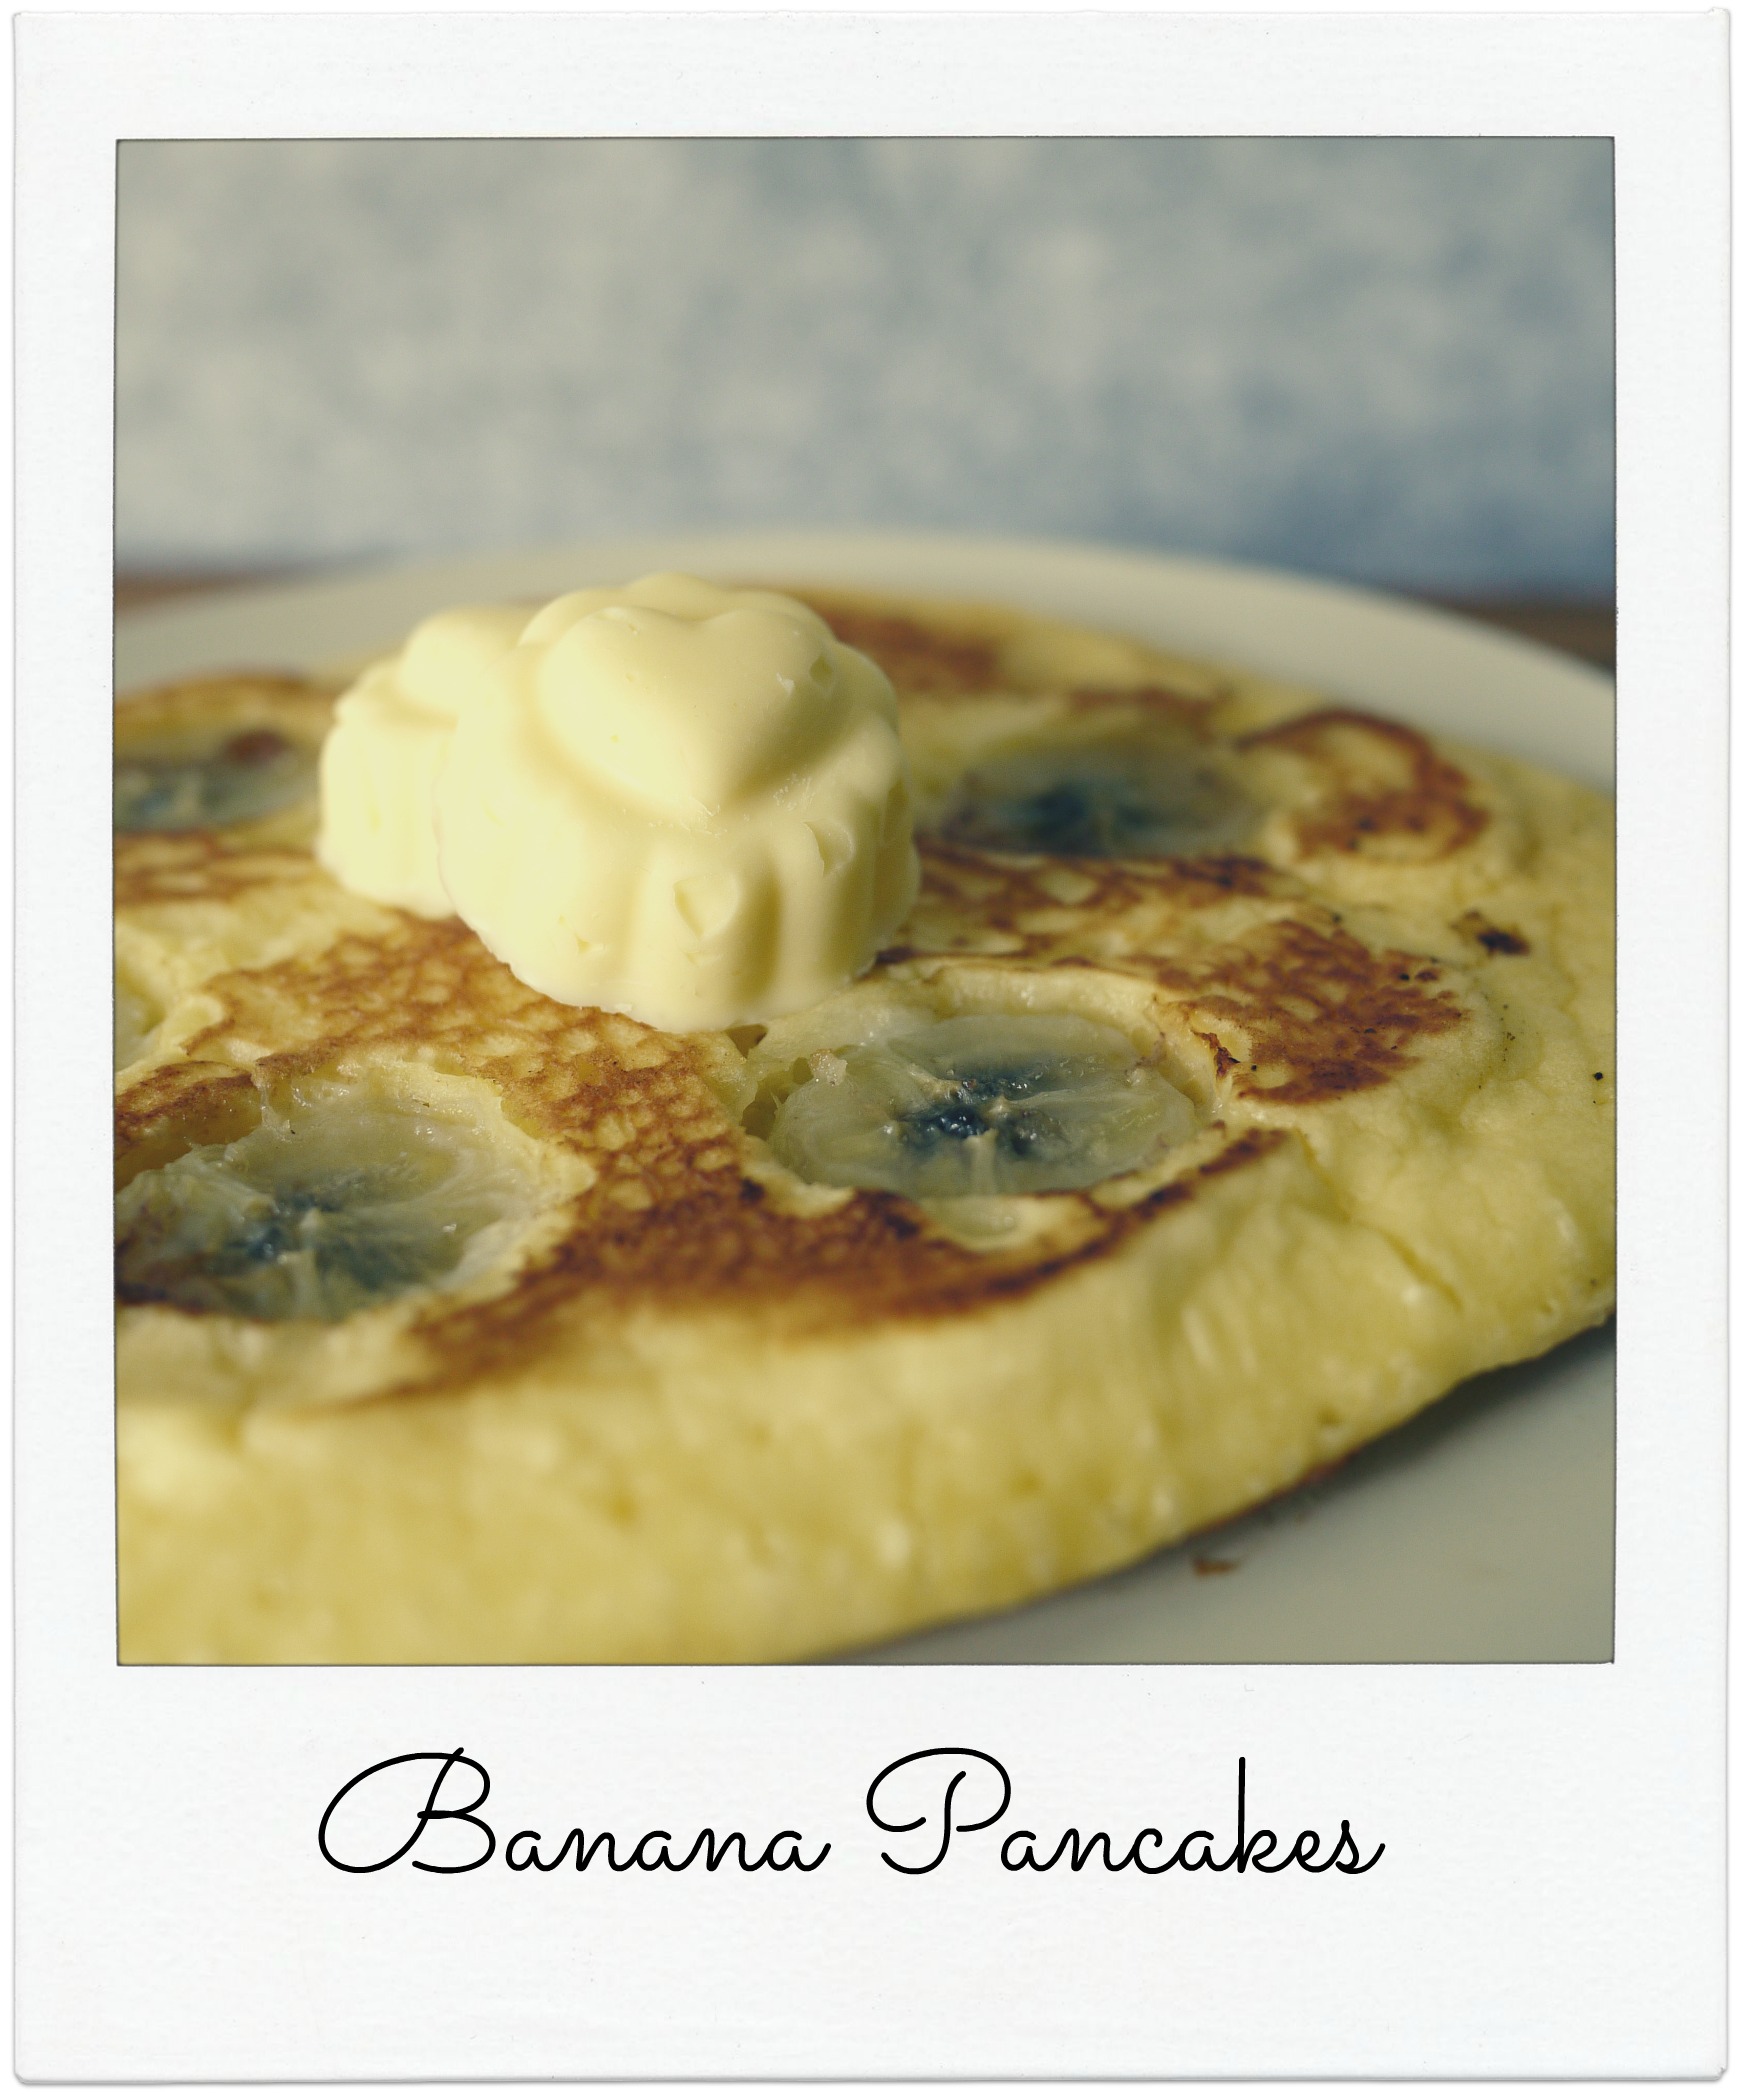
FLUFFY AMERICAN BANANA PANCAKES
// Adapted from : BBC Food
Yields : 4 fairly large thick pancakes.

INGREDIENTS

  • 135g plain flour
  • 1 teaspoon baking powder
  • 1/2 teaspoon salt
  • 2 tablespoons castor sugar
  • 130ml milk
  • 1 egg, lightly beaten
  • 2 tablespoons melted butter, and slightly more for cooking
  • 1 large banana, sliced

1. Lightly whisk milk and egg in a bowl together, then whisk in melted butter.
2. In a separate bowl, mix sifted flour and powder, salt and sugar.
3. Pour milk mixture in step 1 into the bowl of dry ingredients in step 2, and stir thoroughly with a fork, until the batter has no lumps.  The batter would be thick, not the runny kind, resist temptation to add milk/water to remove lumps, keep stirring and the lumps should disappear.  Let batter stand aside for a few minutes.
4. In a pan, brush some melted butter, and turn on fire to low heat.
5. Pour some batter into the heated pan, and let it cook over low heat.
6. Arrange banana slices on the top of the pancake, tapping them down into the batter slightly.
7. Wait till the top of the pancake starts to bubble, then turn pancake over to cook the side with bananas.
8. Remove pan from heat, and serve cooked pancake onto a plate.  Wipe the pan clean with clean towel, and brush with melted butter first, before repeating step 5-8 for the next pancake.
9. Repeat till all batter are used up.
10. Serve pancakes immediately while they are still warm.  Top with gula melaka syrup (or real maple syrup) and butter pads(above).

.EAT // Classic Butter Cake

classicbuttercake1 classicbuttercake2 classicbuttercake3
This recipe does not belong to my grandma, but someone else’s 79-year-old grandma, who was featured in The Sunday Times few weeks back.  I made a mental note to keep this recipe, and managed to find an online version of it here.  I love collecting grandma/auntie/mother-in-law’s recipes!

The original recipe makes four 20cm cake.  I found the cake a bit flat when I followed the recipe last week.  So yesterday I halved it, less an egg and baked it in a 20cm x 7cm tall round pan to make one cake.

The best form of complement for this cake is an empty pan on the kitchen counter by late morning today.   The Big Man who usually shuns sweet stuffs has gobbled a few slices for breakfast already.  The little ones could not resist the temptation for a butter-cake-with-hot-Milo supper last night….

CLASSIC BUTTER CAKE
// Adapted from : Soshiok.com

INGREDIENTS
250g salted butter, soften at room temperature
1 cup fine sugar
1/4 teaspoon vanilla extract
5 eggs
1 cup self raising flour, sifted

Oven Temp : 150C
Bakeware : 20cm x 7cm (Height) Round Pan

1. Preheat the oven to 150C.
2. In an electric mixer on medium speed, cream the butter and sugar for about 10 minutes until well-mixed and fluffy. Leave the mixer on medium speed for the next two steps.
3. Add the vanilla extract.
4. Crack the eggs in, one at a time.
5. Add the self-raising flour in two batches at low speed. Run a spatula along the side of the bowl to make sure all the flour is blended properly. You should get a smooth and creamy batter.
6. Pour batter into baking pan.
7. Place the tins in the preheated oven to bake for about 50 minutes.
8. Insert a toothpick or knife into the middle of each cake. If it comes out clean, the cakes are ready. Cool them in the baking tins for about 15 minutes on a rack.
9. Take the cakes out from the tins and serve. If not consumed immediately, keep the cakes in air-tight containers and refrigerate.


DIY Envelope Liners

envelopeinserts // mono+co envelopeinserts // mono+co

Followed these instructions to make DIY envelope liners: a simple and low cost way to decorate my otherwise cheap and plain “$1-for-20” white envelopes.  Had extra pattern papers for lining the smaller brown ones too!

And because I used budget envelopes (paper is of the thinnest quality, not Conqueror type) for this project, I could not disassemble the envelopes without tearing them up.  I overcome this problem by simply outlining the envelope with its flap up on the pattern paper, cut this out, and then trim 1cm away only around the flap border.  After that, Insert the liner into the envelope and apply glue on the underside of the pattern paper to secure.  It might not be as neat as if you were to following the original instructions, but hey, no one is going to disassemble the envelopes just to check either!

I find simple monotone pattern papers work best for this project.  You can print your own envelope patterns like these, or browse around here and here to download free paper patterns for personal use.

Brown Bag Makeover

brownbag1 brownbag2 brownbag3 brownbag4 brownbag5 brownbag6

The brown bag is one of my favorite gift packaging material for food and goodie bags.  Using simple decorating embellishments such as a pretty ribbon or a gift tag, the bag can look too pretty to be opened up.

Sometimes, the content that you are putting inside the bag can make an interesting decoration as well, such as these nostalgic biscuits from biscuit king.  I showed them off by adding a see through window on the brown bag.

Simply put a small cutting mat inside the bag, and cut out “window” with an X-Acto knife.  I think the round “window” makes the best looking one.  After that, decorate to desire with embellishments.  I used really minimalistic looking ones like round buttons, and neutral color washi tapes, so that the packaging would not look to “busy”.

Mid-Year School Exam

examschedule

The mid year exam is starting really soon.  I up-cycled a “horse racing calendar” and turned it into a customized calendar/ exam schedule.  Other items used: brown paper and neon post-it notes (to state down the exam dates and the topics / practice papers we need to go through.)

Took a snap before the dates and plans are written on, it can get quite messy with all our last-minute catch up!

School Day Checklist

The week long school holiday was over in the wink of an eye.  To get the kids ready for the new term, we created a leave-home-checklist: a list of items that they need to bring to school, e.g. water bottle, pocket money, student pass etc.  Special items that are needed on certain days (like, art file on Tuesdays) are also jotted down.

It is useful for the morning rush hour, as the kids can get a bit disorganized on their way out to school.  Best part: they do the checking on their own, and are responsible for their own oversight should they forget anything.


Recycled Envelopes : Part 2

The school holiday has started.  Since it is only for a week, we don’t plan much.  Not too little either, so that we have a variety of activities to choose from, even if we can’t complete all.  Fab Four.  That’s what I like. With the leftovers from here, I printed a 4×8″ list with it.  I love lists!

Hit a snag with a mis-spelled ‘museum’.  Only realize after printing out.  Since this is for a week only, I’ll correct it with a Sharpie later.

An empty template right at the bottom is for future holidays.  I learn how to print on journal cards with instructions from Paisley Press here, and my mounting template on A4 paper for 5×5″ and 4×8″ is here.