

I go by a simple rule that if something can be diy-ed relatively easily, then resist buying, unless leaving the ‘making’ to someone else saves me plenty of money. Beeswax cloth food wraps definitely fall under the “can-do” category.
For the uninitiated, beeswax food wraps are the environmentally friendly solution to plastic cling wraps since it can be reused, unlike the disposable nature of the latter. I have long given up on plastic food wraps as they never seem to “cling” once out of the dispenser. I find old newspapers a better wrap for my leafy vegetables and see through food savers are my preferred storage containers for halved lemons, avocados and carrots. But if you are still buying, using, and discarding rolls and rolls of plastic cling wraps, perhaps you might want to consider investing one of these reusable food wraps. I have since made these wraps on 2 separate occasions and share some tips and thoughts on this DIY project below.

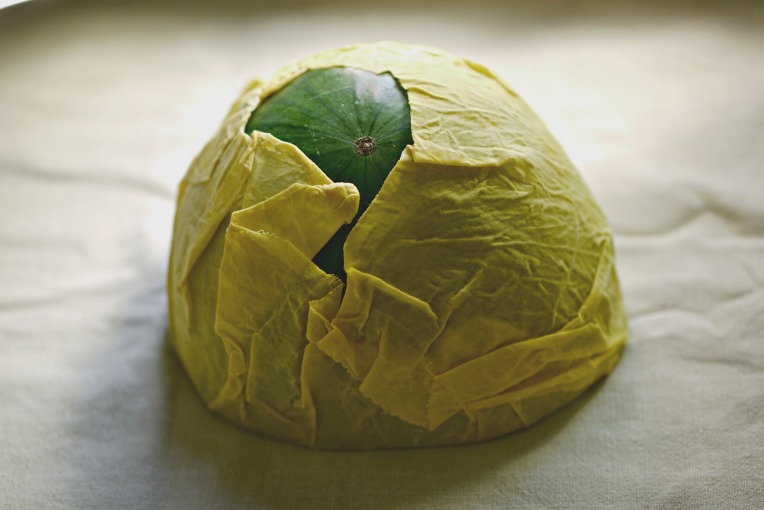
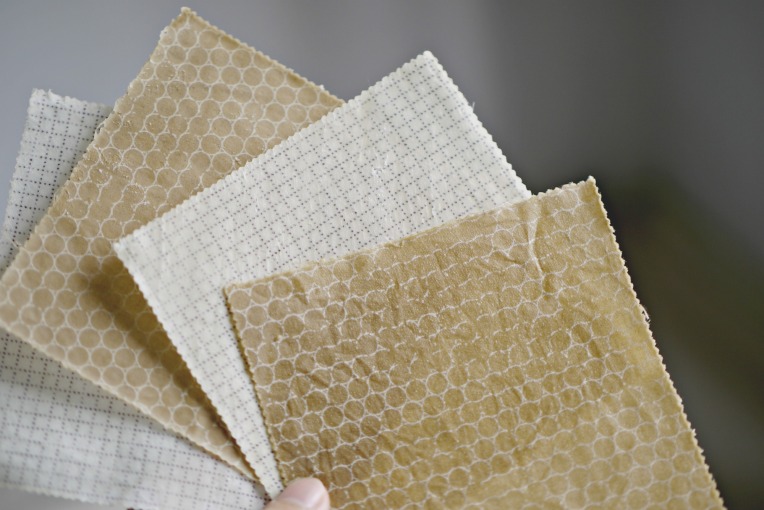
// 001. Sizes: XS and XL
The best thing about making my own wrap is that I can decide how big or small I want the wrap to be. As big as this one that I can easily use to wrap watermelon half, or
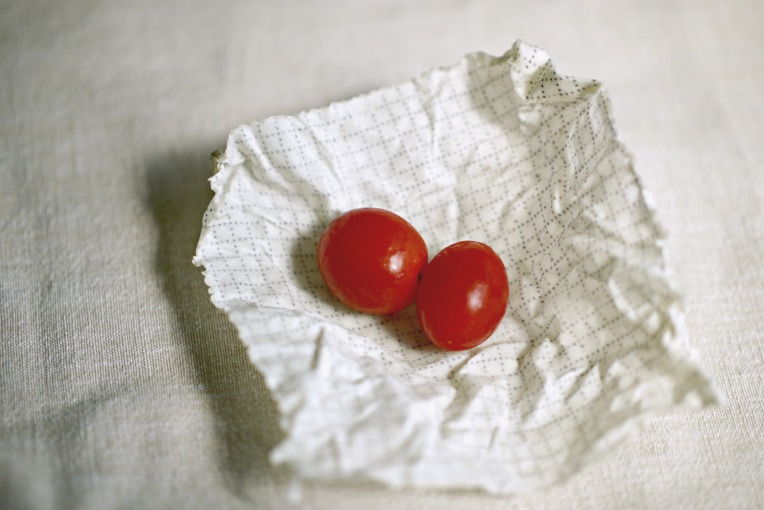

as tiny as this one for 2 cherry tomatoes,
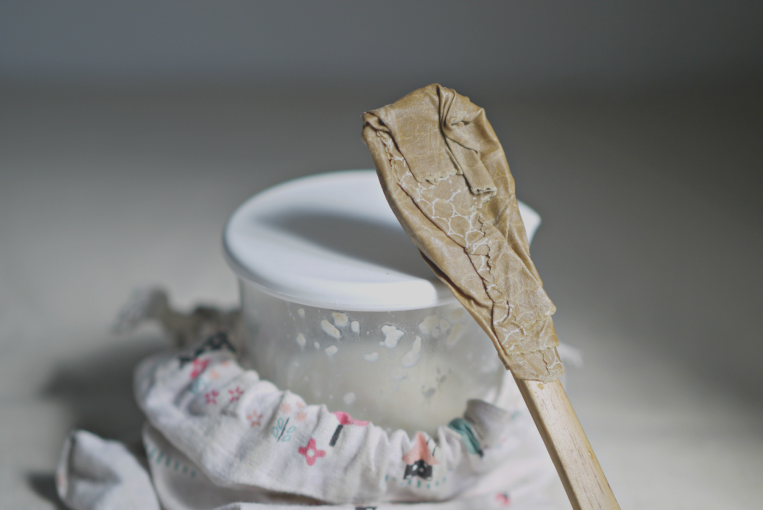
I even have one for wrapping a bamboo spoon for a packed meal. Neat.
// 002. Methods: Oven or Iron?
These are the initial few sheets that I have made. Things went smoothly right from the very first piece, simply because the bake in the oven method is really easy.
I first line a baking tray with parchment paper, then place the cotton fabric on the paper, sprinkle beeswax pellets evenly on it and place it in a preheated oven at 150C. It takes just 3 minutes for the beeswax pellets to melt.
Take the tray out, add 1/8 – 1/4 teaspoon of coconut oil (I learned that the addition of oil helps to make the wrap more pliable and cling better here) and use a clean large paintbrush with short bristles (so that the beeswax is not absorbed by the bristles) to spread the wax and oil evenly on every inch of the fabric. Do this step swiftly before the wax starts to solidify at room temperature. If the wax solidifies before you can even spread them, pop them back into the oven for another 30 sec to 1 minute this time to melt again, but watch closely and do not leave the oven unattended since beeswax and cotton are flammable.
Once the wax has been evenly spread, remove the fabric from the parchment paper and let it dry. Once dry, wash it once with water and mild soap before its first use.

The only teething issue I have is how to keep the melted beeswax remaining on the cotton fabric, not on my baking tray. Even after lining the tray with baking paper, I still ended up with beeswax staining my tray, which I have yet to clear. (Oops)
There is another iron-on method with instructions here. But I decided not to try just in case the beeswax stains my iron and ironing board.

// 003. Do they cling well?
Yes. Much better than plastic cling wraps. Make these with the lightest cotton fabric, not the heavy kind for making curtains with. The thin fabric will allow the food wrap to cling better.
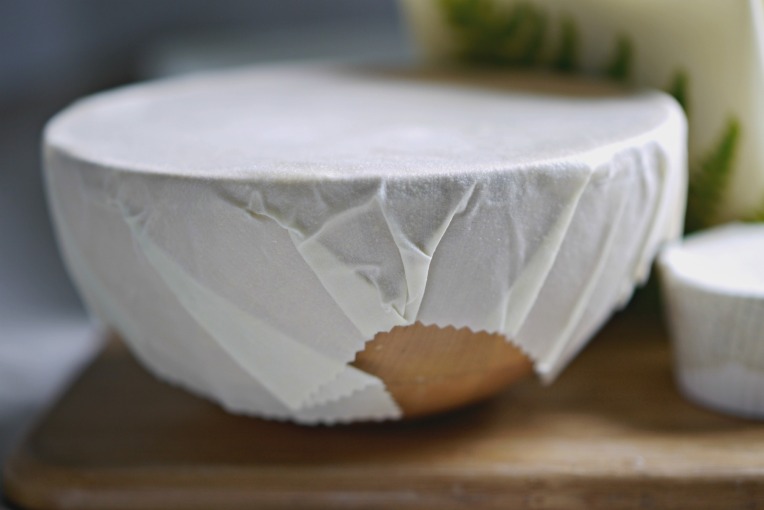
I have since been testing these wraps vigorously, at home as well as on-the-go, washing, and drying in between just to see how well they can replace the plastic version. They definitely work, and they “cling” so much better than the plastic ones. As beeswax softens at the warmth of my hands, I managed to shape and mold the wrap closely to the contour of the food items or containers. And once they are placed in the chiller, the shape is further set as the beeswax solidifies.

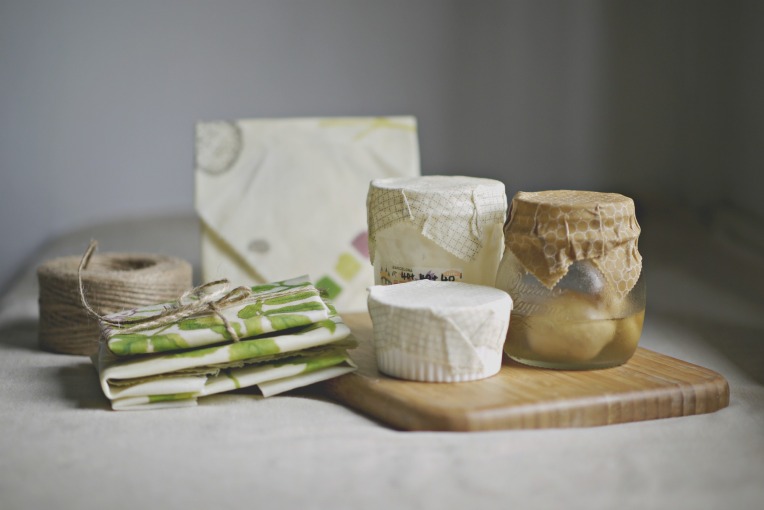
I am so happy with the result that I customize one as a lid for my baking pan so that it becomes my “bread storage tin”.
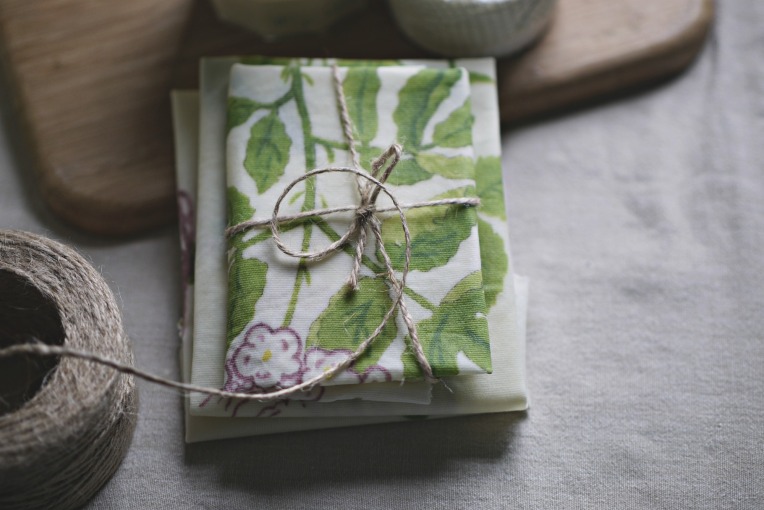
And made more with some fabric scraps from Ikea.
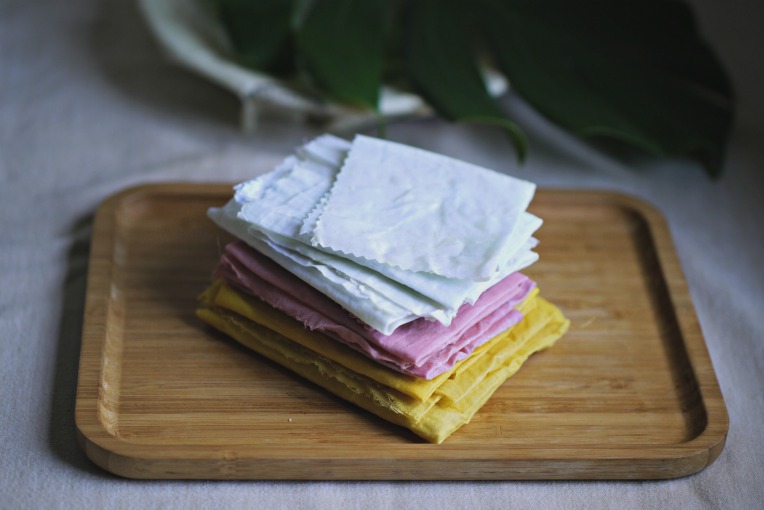
But I still prefer plain ones, so I made more with my plain fabric and dye them with pomegranate tea and turmeric tea for a colour variety.


// 004. How to care for them?
First thing first. These wraps are not to be used for raw meat and dairy products since the wrap can only be washed with cold water and mild soap. Keep the wrap away from heat sources as the beeswax will melt. For the same reason, do not it use to wrap hot food.
To wash, simply run the wrap under cold water and wash with mild soap. Wipe dry with a tea towel if reusing immediately. Otherwise, hang to air dry, then fold the wraps and store in a drawer. The wraps will retain the creases from the previous usage and will need a re-wax (same instructions a making a new one) when the wrap no longer clings as well as before.

// 005. Other tips?
++ A pair of pinking shears will help to earn extra design points.
++ Be careful if you are allergic to beeswax or pollen, you might want to get wrap made with plant based wax such as soy instead.
++ When passing food to friends wrapped in these wraps, make sure to inform them that these are reusable and non-disposable. I am adding this tip because one ended up being trashed by an unaware friend.

Thanks for your suggestion for using coconut oil with the beeswax, instead of more expensive pine resin & jojoba oil. It worked very well. I melted the wax & oil in a double boiler and dipped the fabric one piece at a time into the wax, then ironed any lumpy bits between layers of baking parchment. Worked well, and no mess on baking tray or ironing board!
LikeLiked by 1 person
Nice!
LikeLike
All-natural organic beeswax is actually edible and works as a safe and natural preservative and nonstick so the issue with the residue on your cooking sheets is actually totally ok, a lot of people coat their cooking trays in beeswax intentionally!
LikeLike
I notice you haven’t used any pine resin, are they as effective without it?
LikeLike
Yes, I believe so. they have been working just fine! 🙂
LikeLike
Hi, an update on my earlier comment,..yes, I found that using the coconut oil mixed with the beeswax (in double boiler/AKA tin can floating in pan of boiling water!) gives a very good cling without needing resin, and also I saved the sheets of parchment that I first used to iron my fabric, as they had surplus wax residue on them, so now (it’s more than 5 months) if my wraps get a bit tired and less effective, I refresh them with a quick iron between the old saved parchment papers. This re-melts the original wax and adds a little bit more from the previous residue still on the parchment. I haven’t needed to buy more beeswax, nor apply any more coconut oil. Just ironing with the residue on the old parchment is enough and they are like NEW!
LikeLiked by 1 person
Hi Merrilyn, thanks for providing this useful update!
LikeLike
Hi, what kind of coconut oil should I use for beeswax food wraps? The massage type or essential oil? Thanks
LikeLike
Hi, I use edible coconut oil from the cooking oil aisle.
LikeLike
Yes, like San, I also used the jars of edible virgin coconut oil from the cooking aisle in Aldi supermarket, about $4 or $5 a jar.
LikeLike
Hi! Do you have a problem with the coconut oil leaving a residue on what it clings to? Another tutorial mentioned they had tried the beeswax & coconut oil combo, but had that issue. It could have been due to their ratios, though.
LikeLike
Hi Briana, the beeswax wrap does leave a layer of wax residue, it is kind of tricky to wash them off bowls. But I am not too concerned if them are left on food, since beeswax and coconut oil are edible grade ingredients. I have asked users of commercial brand beeswax wrap, and they replied that commercially bought wraps leaves behind residue too!
LikeLike
Do you wash your fabric before applying the beeswax mixture?
LikeLike
Hi Jen, yes, I wash and wait for the fabric to dry before working on them.
LikeLike
What amount of coconut oil did you use please?
LikeLike
Hi Andrea, depending on the size of the wrap you make, I add 1/8-1/4 teaspoon of coconut oil to make 10-cm square wrap. Add more if you are working with a larger piece of fabric, but make sure that you spread-mix the coconut oil-beeswax mixture evenly with a brush.
LikeLike
Thank you for sharing this with us.
LikeLike
I don’t use any kind of carrier oil. Just plain beeswax on its own works really well.
LikeLike
Thanks for sharing.
LikeLike
I made these today, such a great idea and so easy too!
One question, I found that there was a lot of excess wax under the material once it dried, have you experienced this? Do you just leave it as is or scrape it off?
LikeLike
Hi Melanie, glad to know that it works for you! You may have used more beeswax than needed. I would leave it, they are food -safe anyway!
LikeLike