I never imagined that I would be baking mooncakes from my home kitchen. Thanks to the various internet communities that post recipes and photos of their successful bake almost daily, I am able to save up quite a tidy sum this year by gifting my homemade version.
The only hard choice I had to make was which recipe to use, as almost everyone’s finished bake seemed wildly successful, even the first timers. I eventually decided to get store bought fillings, and focus all my learning efforts on making the mooncake skin first. Then I patiently scrolled through as many homemade mooncake recipes as possible, and made the following list of important tips to take note on D-Day.
The next time I try my hands on baking mooncake will be a year later, so this list of 10 tips will be useful as refresher note.
01. Most recipes use plain flour, but hong kong flour or top flour is highly recommended here. I used hong kong flour for making “pao”, and was immediately sold when I saw the packaging specified “for making mooncakes”.
02. I wanted to omit alkaline water, but decided against this since it is supposed to neutralize the acid in golden syrup, so that there is no sour taste in the mooncake. Sour mooncake skin? Yikes, no way! I will find some other ways to clear the bottle of lye water by either making some ramen noodles, or transforming spaghetti into ramen, or yellow hokkien noodle.
03. Do not overknead the dough, once the ingredients come into a ball, stop. I wonder if this only applies to recipe with plain flour with higher gluten level? I just follow this rule since longer kneading doesn’t really make sense for mooncake skin, not making bread here.
04. Leave the dough in the fridge overnight. The suggested dough resting time range from 40 minutes to 2 days. I decided to leave it overnight in the fridge, instincts tell me that a colder dough will be less sticky thus easier to handle.
05. Proportion of skin to filling is 3 : 7. I used this ratio to make 170g mooncakes (51g :119g) and I think it is perfect. Same ratio applies for making smaller 50g mooncakes; 15g skin, 35g filling.
06. Dust hands and worktop with just enough flour to prevent the dough from sticking. Dust the dough again with flour before placing it in the mould. Do not oil the mould or dust the mould with flour.
07. It is a must to mist the mooncakes with water first before baking, especially the sides of the mooncakes. This will prevent the skin from cracking after baking, apparently a common problem that takes place when the mooncakes are cooling down on the rack.
08. Halfway through the baking, the mooncakes need to be taken out and cooled down first for 15minutes, before applying egg wash and return to the oven. If the mooncakes are not cooled down before apply eggwash, you will get cooked egg mixture on the mooncakes, cracks may form too.
09. Sieve the beaten egg for a more even egg wash. Adding a few drops of water, or oil will also make a prettier eggwash. I added a few drops of peanut oil.
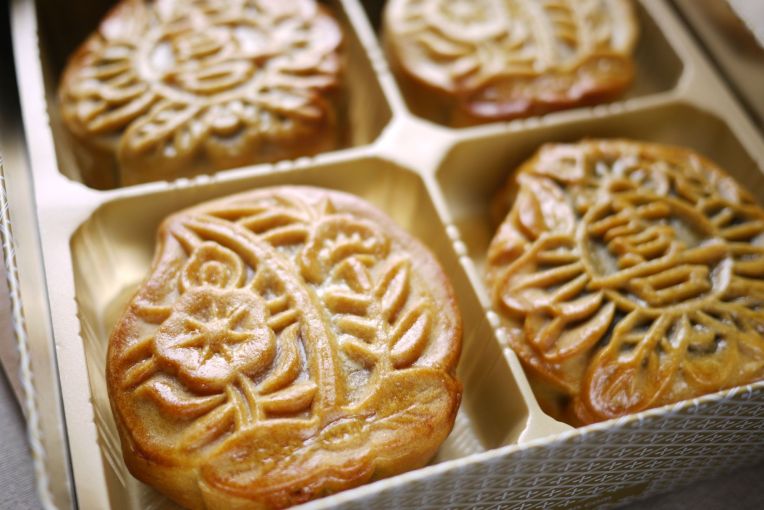
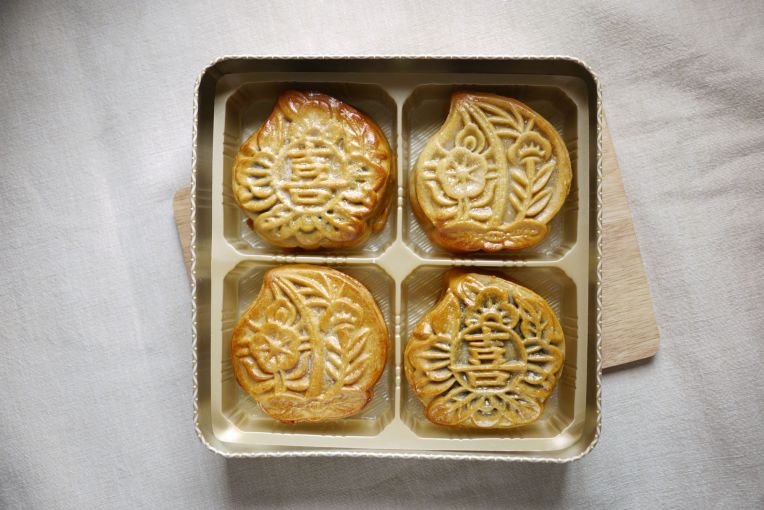
10. Leave the completely cooled mooncakes in an airtight container for at least 2 days to allow the skin to absorb the oil from the filling, a process call 回油 / release oil , this is the step that makes mooncakes looking all shiny and pretty. It also makes the skin soft and chewy.
I managed to test out two dough recipes, modified with peanut oil instead of vegetable oil, followed the baking process to a T, and found not much difference between them. Both types of dough are easy to handle, as long as you dust your hands with hong kong flour. But I noticed a chilled overnight dough is easier to manage than one left to sit for 2 hours. So planning ahead and make the dough the night before would be ideal.
There is not much difference taste wise, though I thought the mooncakes made with 10g additional golden syrup produced a sweeter aroma when they were just taken out from the oven. But frankly, after the mooncakes had been left to 回油 and the skin softened, the difference in sweetness of the skin is even more negligible, as I am tasting more of the filling than the skin. So I gathered that it is more important to stick to the the right skin to filling ratio and get a good quality filling that isn’t too dry. I got my white lotus paste and red bean paste from here and I am giving them two thumbs up.
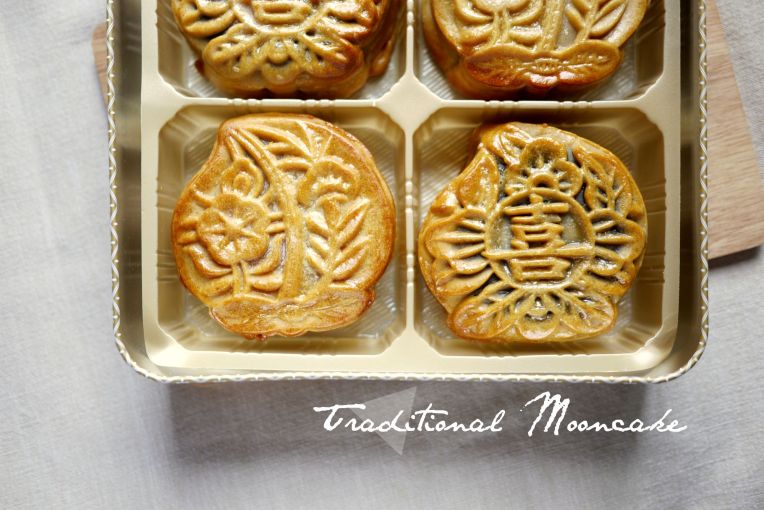
TRADITIONAL BAKED MOONCAKE
ADAPTED FROM CHRISTINE’S RECIPES & NOOBCOOK
INGREDIENTS
christine's mooncake skin recipe
100g hongkong flour
60g golden syrup
½ teaspoon alkaline water/lye water
28g peanut oil

noobcook's mooncake skin recipe
100g hongkong flour
70g golden syrup
½ teaspoon alkaline water/lye water
25g peanut oil

fillings
store bought red bean paste / lotus seed paste

others
1 egg, for egg wash
clingwrap for shaping the mooncake into balls
mooncake mould
METHOD
01. Choose one of the skin recipe above. I made 12 large mooncakes (170g) with 3x the recipe with some left over for making a few mini mooncakes. According to both original posts, one serving of the skin recipe is enough to make 12 x 50g mini mooncakes.
02. In a mixing bowl, mix golden syrup, alkaline water and peanut oil together with a whisk.
03. Add sifted hongkong flour and knead into a dough. The dough will be sticky.
03. Place the dough in a plastic bag, seal tight and rest the dough overnight in the fridge.
04. When ready to make the mooncakes, prepare a baking sheet lined with parchment paper. Roll the filling into 119g balls. I prepared 6 x red bean and 6 x white lotus. Set aside.
05. On a clean worktop, place a sheet of cling wrap, about 30cm x 30 cm. Leave a heap of about 2 tablespoons of hong kong flour aside on the worktop, this will come in handy to dust hands and dough with, whenever it becomes too sticky to handle.
06. Take out the dough from the fridge. Dust clean, dry hands with hongkong flour and weigh 51g of skin dough out. With floured palms, roll it into a ball and place it on the clingwrap, flatten it into thin disc with palm/fingers so that it is big enough to wrap a filling ball.
07. Place the filling ball in the center of the disc, and fold up the dough (with the cling wrap, it is easier without sticking to hands) around the filling, slowly wrap and seal the skin around the filling. Gently push and slide the soft dough skin to create an even layer of skin all around the filling and make sure that the filling ball is all covered. Peel away the clingwrap and shape the mooncake into a ball with floured hands.
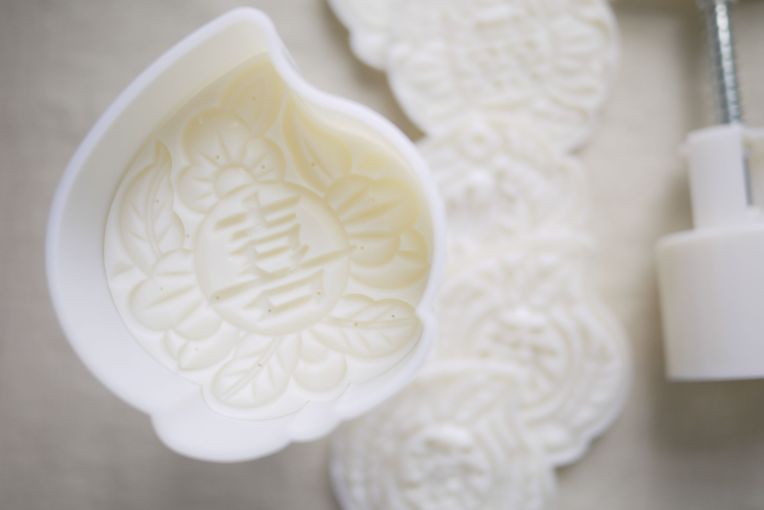
08. I use a plastic piston mould (see second photo above), and this is how I carry out the moulding process. Dust more flour onto the mooncake if needed, paying more attention to the top part of the mooncake that will be imprinted with design. Place the mooncake ball on the baking tray lined with baking paper. Place the piston mould over the mooncake to cover it completely and press down the plunger as it creates the pattern on the surface. Stop when you feel that you cannot push down the plunger anymore, do not over exert the downward force or continue pressing, otherwise the mooncake dough will be forced to ooze out from the mould. Release the plunger and slowly lift the mould up, pressing down the plunger gently if needed to release the mooncake onto the baking tray. I do this directly on the baking tray so that I will not accidently damage the mooncake patterns during the process of transferring, as they can be quite soft before baking.
09. Mist the mooncakes with water before baking them in a preheat oven at 180C, for 10 minutes.
10. Prepare egg wash by running a lightly beaten egg through a sieve, add 2-3 drops of oil and mix well.
11. After 10 minutes of baking, take out the mooncakes and allow them to cool down for 15 minutes on the baking tray.
12. Apply eggwash thoroughly, and bake again at 180C for 8 to 10 minutes, or until the mooncakes turn golden brown.
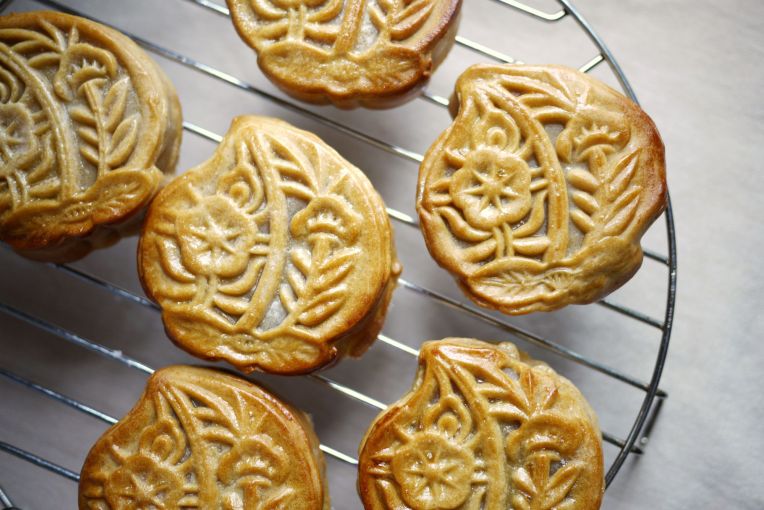
13. Let the mooncakes cool completely before storing them in an airtight container for at least 2 days. By then, the mooncakes should turn shiny and the skin will be soft, this is the best time to consume.



Thanks for sharing your experience. I’m also trying to perfect mine so I can supply my mother come mid-Autumn. I have a question though and wondering if you have any tips. I’m reasonably happy with the outcome of mine but they seem to attract moisture like crazy to the extent of feeling moist to the touch after 4-5 days, whether I store them cool/open or cool/tin. Haven’t tried fridge yet but have you ever encountered that problem and/or a solution?
LikeLike
The pastry skin is absorbing the oil from the lotus paste filling an so will turn “moist”. If you prefer a less moist skin, perhaps you can make the skin slightly thicker. Did you cook the lotus paste filling at home? Is it excessively greasy?
LikeLike
Hi San. Yes, I know about wooi yau and I expect a certain degree of moisture but mine are turning out too moist – they almost have that feel of a cold surface on a really humid day in HK 😉 If I leave them out in the lounge for a few days, it goes “settles” and becomes less moist to the touch. Maybe storing in a tin is a mistake?
I’ve not progressed to making my own paste yet (I wanted to get my technique & recipe, including the salty eggs right first, otherwise I’m juggling too many experiments at the same time!). This year I tried Wu Chung’s paste which says it’s 50% nut. Previously I tried Mong Lee Shang, similar issue.
One thing I noticed was that if I used a tin that I bought a year or two back, there was less of a problem and the flavour was more intensive…
Maybe it’s time to make my own paste so I can control what goes into them.
LikeLike
i dont know if ill ever get a reply because the post has been a long time ago. but i’ll take my chances…
i put my pastry skin in refrigerator so i can make mooncake tomorrow. as i checked again after a few hours, the pastry skin has become very hard… almost impossible to press… is that normal? thank you so much for you help
LikeLike
Yes! It’s normal, you’ll need to return the dough to room temp first before using it. Do share photos of your bake!
LikeLike
I haven’t tried that specifically with mooncake pastry but I do a lot of European style Christmas biscuit baking and yes, after making it, it’s very soft, normally I chill it just for 1-2 hrs, if I leave it over night by accident, it goes really hard and I have to work it a bit to get it slightly warmer and smoother.
LikeLiked by 1 person